How to Fix Your PC Did Not Start Correctly Error in Windows
Unexpected errors always arise when using computers. Despite the advanced technology, it is inevitable to come across problems. If you're using a Windows computer, you may come across an issue telling you that your PC did not start correctly. In this article, we'll provide you with five easy methods to easily fix this error.
Part 1. Overview of "your pc did not start correctly"
This is in the form of an error prompt: Automatic Repair, Your PC did not start correctly. The immediate recommended fix by Windows is to restart your PC. However, most of the time, this doesn't fix the issue. Many users are alarmed by this message because they think that this implies impending data loss, or worse, data loss has already occurred. For this reason, it's imperative to back up as much of your data as possible. Errors like this are unpredictable, and it's always better to be on the safe side.
Whatever the reason for your PC not starting correctly, there is always a solution you can perform. Keep on reading to discover eight methods you can fix 'Your PC Did Not Start Correctly Error.'
Part 2. How to Fix Your PC Did Not Start Correctly Error on Windows?
Method 1. Use Command Prompt to Launch System File Checker
Step 1. Run Command Prompt as administrator by typing in Command Prompt in the Search bar and right-clicking on it, and selecting Run as Administrator.
Step 2. The Command Prompt window will open. Type in sfc /scannow and hit Enter. This will launch the System File Checker.
Step 3. Insert a Windows bootable media into the PC. If it's in a CD, insert it into the optical drive. If it's in a flash drive, plug it in the USB port.
Step 4. Beside Language to install, select your preferred Language. Change the time & currency format and the keyboard or input method. Click on the Next button.

Step 5. Select Repair your computer at the bottom left corner of the window.

Step 6. When asked to choose an option, click on Troubleshoot to reset your PC or see advanced options.

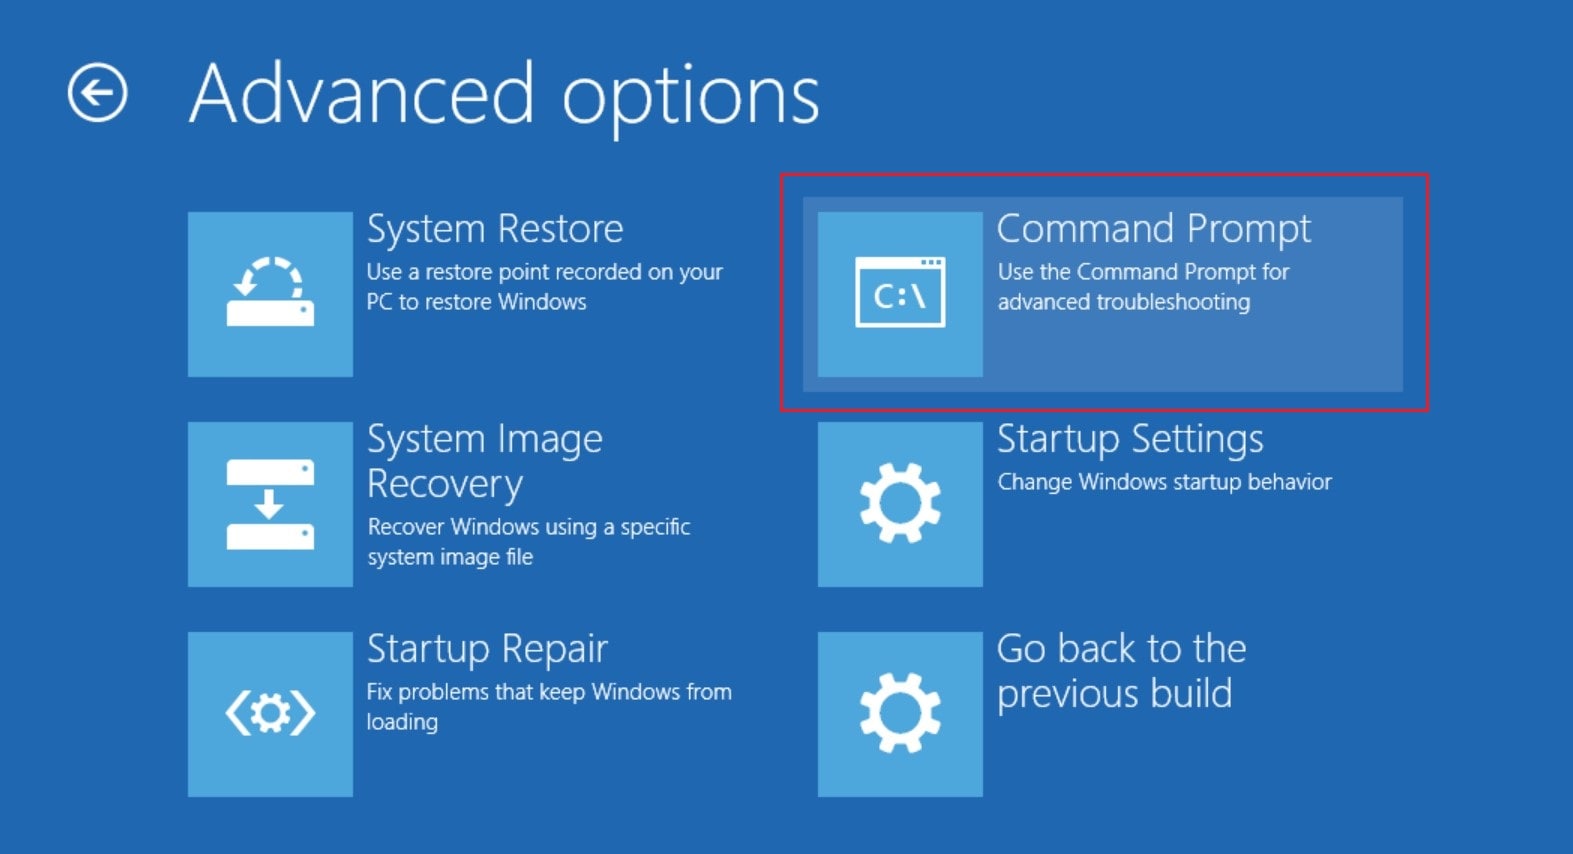
Step 7. Select Command Prompt for advanced troubleshooting.

Step 8. Type in sfc /scannow and press Enter in the command line. This will again run System File Checker.

Step 9. Type in exit and hit Enter to exit Command Prompt.
Step 10. Perform a reboot of your PC and see if the error persists.
Method 2. Delete Drivers and New Software
Step 1. Boot from a Windows bootable media. This may be in the form of a CD or a flash drive.
Step 2. Beside Language to install, select your preferred language. Change the time & currency format and the keyboard or input method. Click on the Next button.
Step 3. Select Repair your computer
Step 4. Then, click on Troubleshoot. Select the Startup Settings. Click on Restart.

Step 5. Repeatedly press on the F4 key on your keyboard to run Windows in Safe Mode.
Method 3. Rebuild BCD | Boot Configuration Data
Step 1. Boot from a Windows bootable media. This may be in the form of a CD or a flash drive.
Step 2. Beside Language to install, select your preferred Language. Change the time & currency format and the keyboard or input method. Click on the Next button.
Step 3. Press on Shift + F10 keys on the keyboard to launch Command Prompt.
Step 4. The Command Prompt window will now open. Type in bootrec /fixmbr in the command line and hit Enter.
Step 5. Now, type in bootrec /fixboot then hit Enter.
Step 6. After that, type in the command bootrec /rebuildbcd and hit Enter again.

Step 7. Lastly, exit out of Command Prompt by typing in exit and hitting the Enter key.
Step 8. Give your PC a reboot. See if Automatic Repair, Your PC did not start correctly message persists.
Method 4. Turn off Antivirus Softwares
Antivirus softwares work in the deepest parts of your PC's system. So, it's only understandable if they sometimes interfere with your operating system's functionality. For this, you have to disable any antivirus, anti-malware programs you may have installed. You may always install them back if you find out that this isn't causing the problem. Follow the steps below:
Step 1. When you see the Automatic Repair, Your PC did not start correctly error prompt; press the Advanced options.
Step 2. Select Troubleshoot.
Step 3. Go to Startup Settings.

Step 4. Select Restart and wait for your PC to reboot.
Step 5. Press down on 8 or F8 on the keyboard. This will Disable early launch anti-malware protection.

Step 6. Perform another restart of your PC and see if the error persists.
Method 5. Use System Restore
System Restore allows you to revert your PC's system to the way it was at a certain point in time. It's one of the most commonly used methods to solve any system issues. Do this by following the instructions below:
Step 1. When you get the Automatic Repair, Your PC did not start correctly error prompt; click on Advanced options.
Step 2. Select System Restore.

Step 3. The System Restore window will ask you for the target OS. Choose from the list. In this case, it is Windows 10.

Step 4. System Restore wizard will open. Follow the instructions.

Method 6. Fix Corrupted Master Boot Record
Master Boot Record is an exclusive boot sector, which saves the boot settings and content on your HDD. You won't usually get to boot your system if it is corrupt or unfinished. There are many errors due to this problem, and it is not entirely easy to solve this problem, especially without the installation or recovery media. However, there is still a way, and by following these directions, you should be able to execute this action.
Step 1. Select Advanced Options on the error screen.
Step 2. Launch Command Prompt.
Step 3. Type chkdsk/r in the command line and wait until repairs have been completed.
Step 4. If the issue remains, additional commands can be required to make it functional.
Step 5. Type the following commands into the command line and then press Enter:
- bootrec /RebuildBcd
- bootrec /fixMbr
- bootrec /fixboot
Step 6. Reset the PC and check for modifications.
Method 7. Uninstall Updates
If the issue encountered after the recent update, there is a possibility that you’ll have to delete it and get back to the previous working version of your system.
Step 1. Open Settings>Updates & Security> Windows Update.
Step 2. Navigate to View Update history> Uninstall Updates.

Method 8. System Image Recovery
Windows will build a system image backup that entails windows and all content on your HDD. The system image backup is accessible from Windows 7, where users are using it in order to take backup of their system and content on an external HDD of Bluray DVD. It takes too much room depending on the size of the files. When you take a system image recovery backup without the data, 10-15 GB will be given.
Creating a system backup is too simple to do if you want to know-how from the control panel. To achieve a device recovery, follow the following steps.
Step 1. Connect your computer to your HDD or USB Flash drive.
Step 2. To open the Run dialogue box, press the Windows +R button and enter the control + hit.
Step 3. Change the view to tiny icons, then open the backup and restore.
Step 4. Now tap on Create a system image.
Step 5. Select next upon the detection of the HDD or USB Flash.
Step 6. Then choose which drives you to want to build a backup device and press next.
You will use it to resolve the issue if you have a problem with windows initialization. And if you don't understand how to restore files using device image recovery, follow the protocol below.
- Access the advanced options and pick system image recovery, or click F11 while Windows is loading to go straight to the Advanced options.
- You must connect the HDD/USB flash drive to restore your files when you select the system image recovery.
- When the system image recovery has been found, click next, and your file is restored.
Conclusion:
If you've received the same error message, don't panic. Any of the solutions should fix this issue for you. PCs are no way from being perfect, so occasional errors like this should only be expected.
Partition Recovery
- Partition Management
- Solve Partition Problems
- Partition Tips


David Darlington
staff Editor