
Question: A user who needs to play a video file in slow motion posted the question below in the Microsoft website forum:
"How can I reduce the playback speed in windows media player 12 to incorporate additional sound effects?".
Windows media player is a media player and media library application developed by Microsoft that is used for playing audio, video, and viewing images files on computers that run of Microsoft Windows operating system as well as windows based mobile devices. This is a legendary application that has been in the industry since the introduction of computer media. It is known for its clear visual and audio output, simplified user interface, and its ease of use.
Part 1. How to View in Slow Motion Using the Windows Media Player
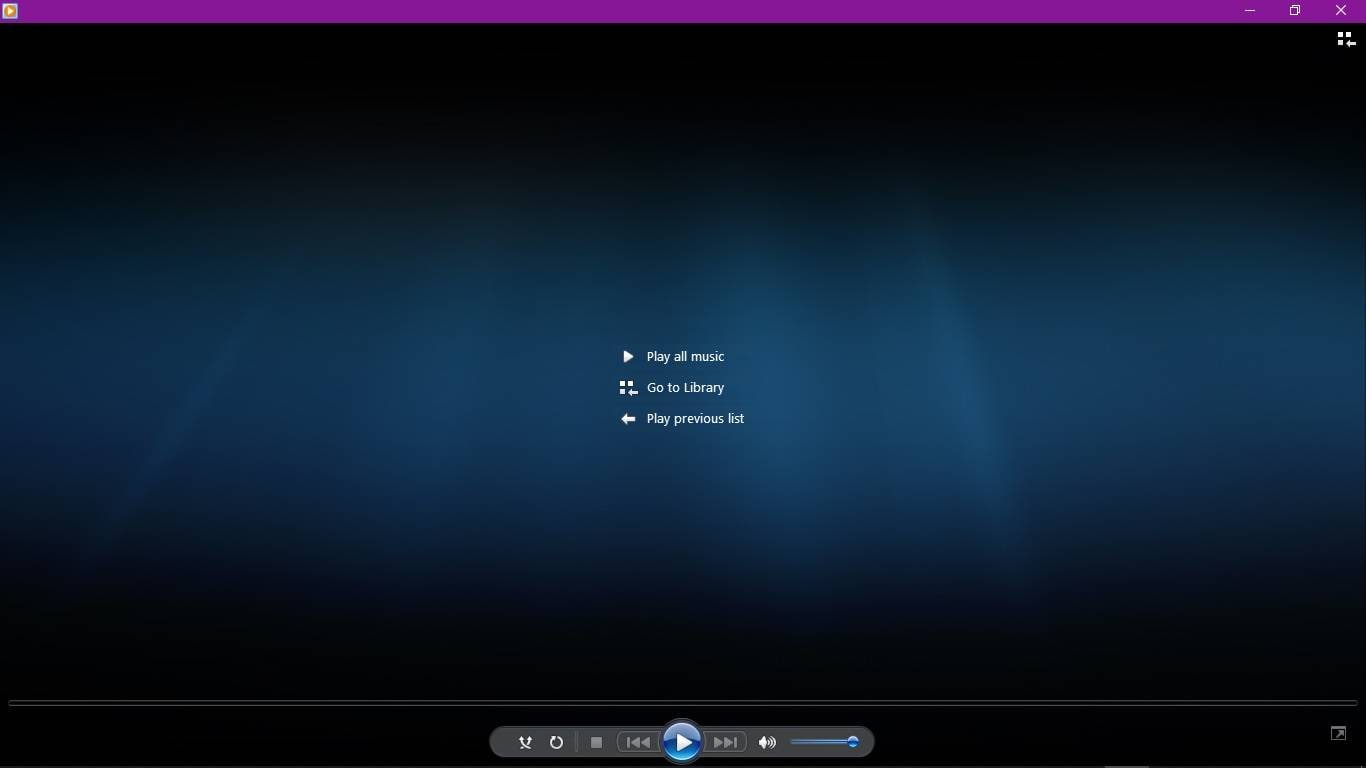
Step 1: Activate your menu bar if it is not visible
Launch the windows media player application. If you are using windows operating system version 8 and above, press the alt key to display the menu. If you are using windows 7 and below the menu items are visible at the top of the screen.
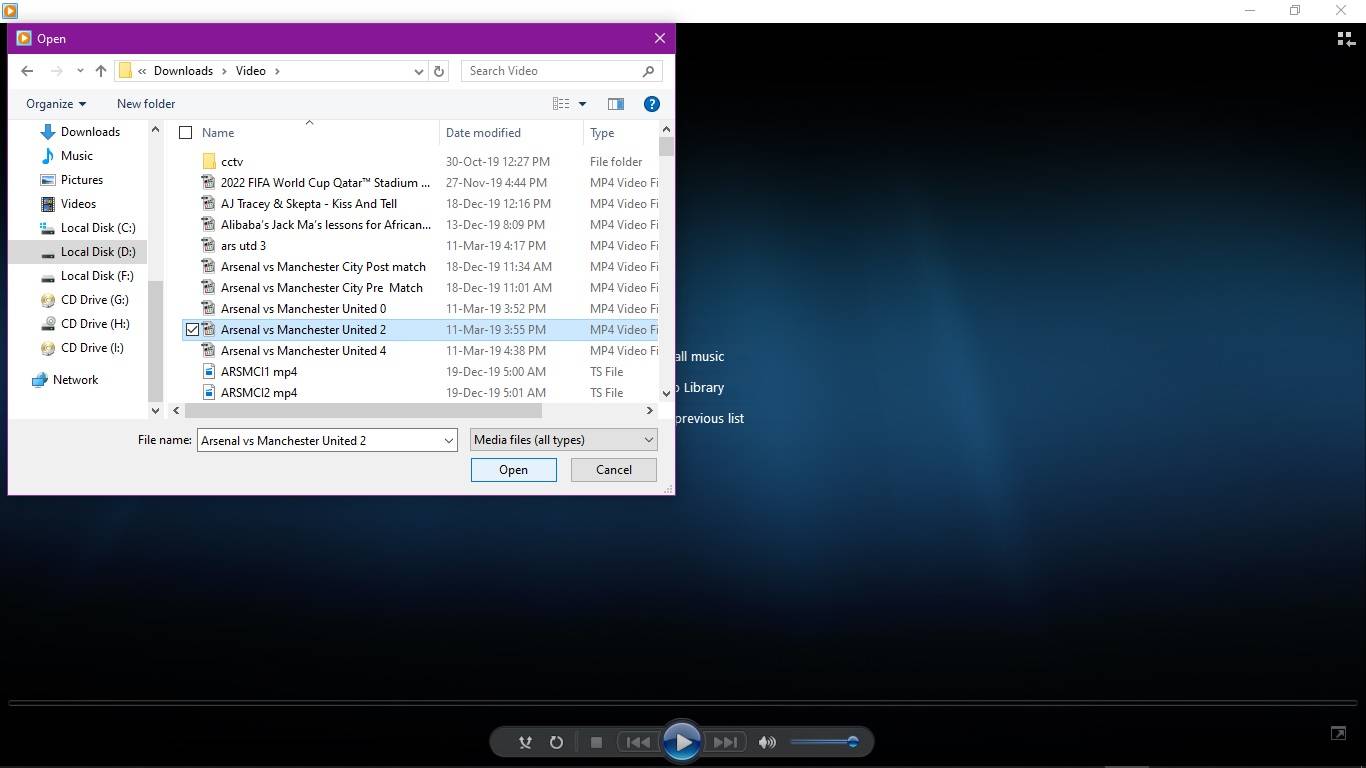
Step 2: Open your video
From the menu, select the file, and click open. A dialog box as shown below will be displayed. Select your desired video and click the open button to play your video.
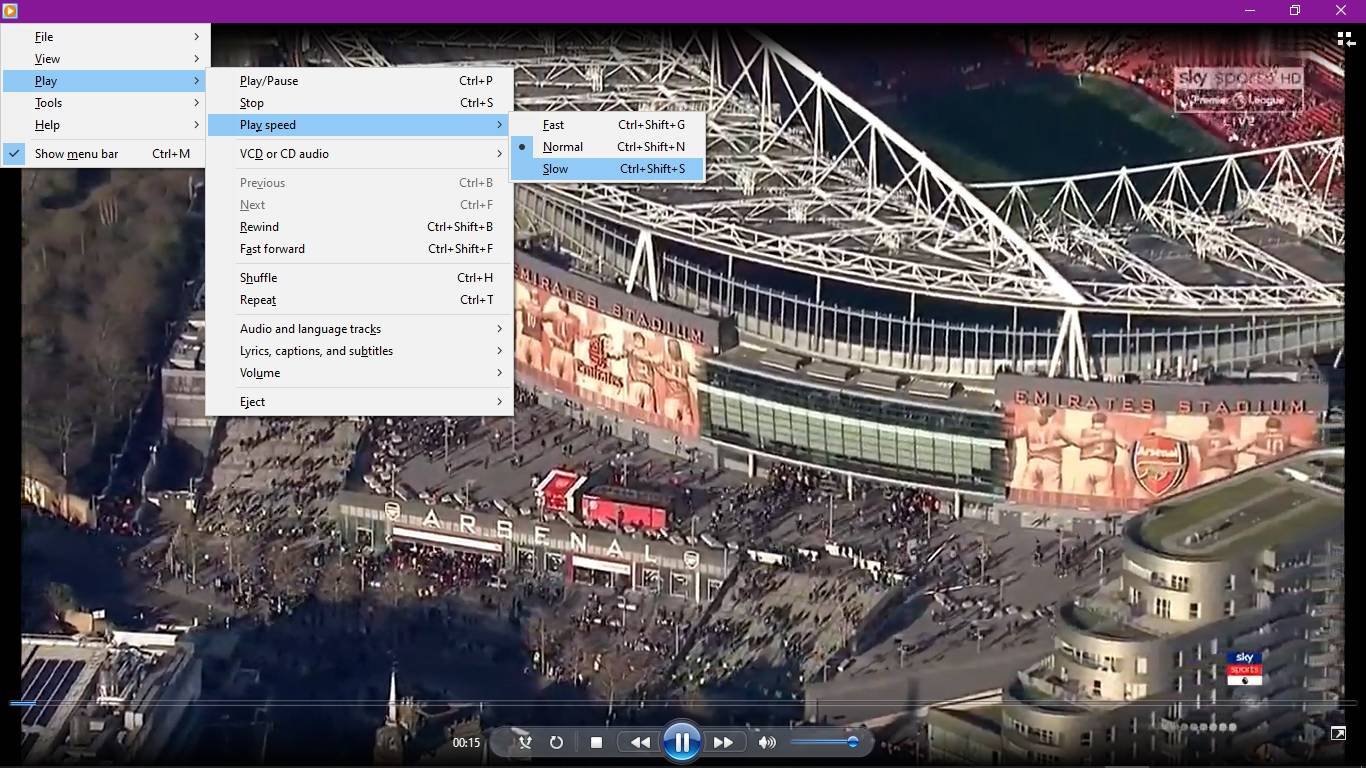
Step 3: Slowing down the playing speed
Repeat step one if you are using windows 8 and above. From the menu go to Play, select Play Speed, and click on Slow to decrease the playing speed of your video as shown below.
Part 2. How to View Slow Motion in Windows Media Player Alternative - Quicktime Player
It is a media framework developed by Apple Inc. that is used to handle various forms of digital video, audio, and images. QuickTime is currently available on Mac and Windows operating systems through support for the windows version ceased in 2016. This is the default media player for video files on Apple devices.
A user recently posted the following question in the apple website community forum:
"How can I use QuickTime to play slow-motion movie playback?"
The user needed assistance on how to reduce the playback speed when using the QuickTime player. Below is a step by step guidelines on how to view a video in slow motion using QuickTime player.
How to view in slow motion using QuickTime player
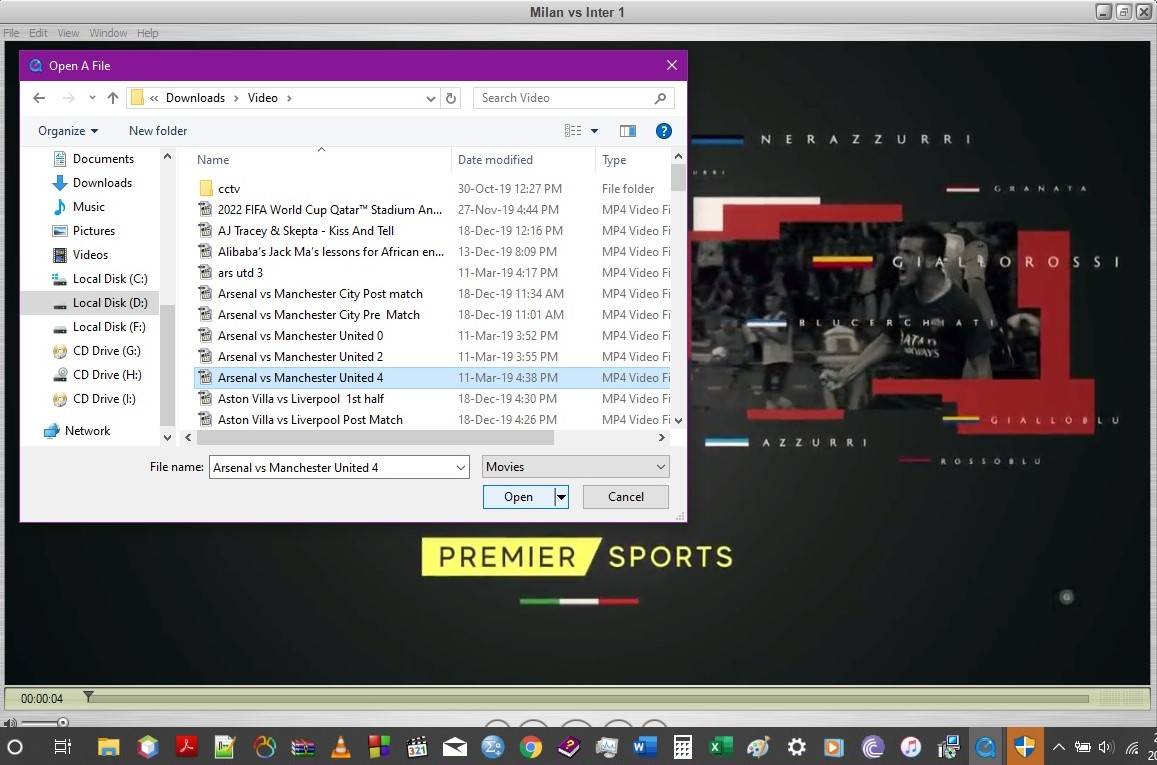
Step 1: Open your video file
Launch your QuickTime application. On the File menu, click the open file. A dialog box will pop up as shown below. Select the file you wish to play in slow motion and click the open button.
Step 2: Playing in slow motion
From the menu bar, select Window and click on show A/V controls.
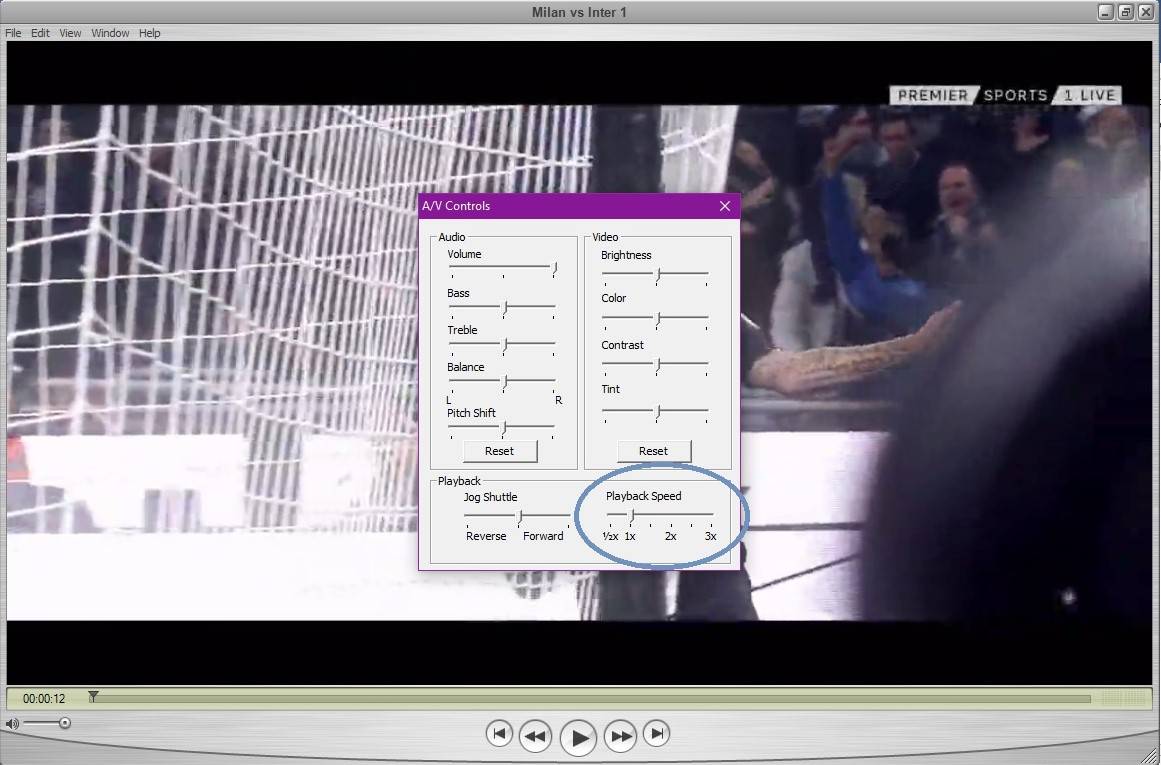
Once you click Show A/V controls, a dialog box titled A/V controls will pop up as shown below. Under the playback speed section, click on the respective pointers for the decrease of the video playback speed.
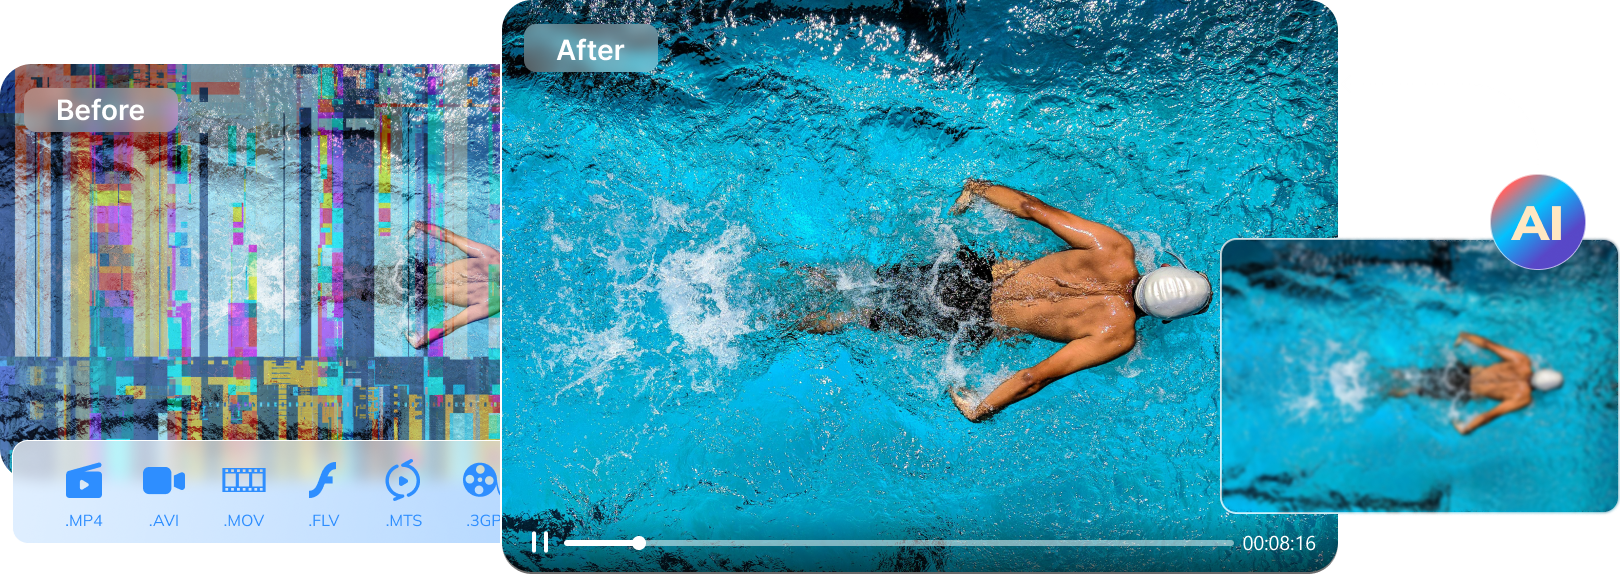
Bonus Tip. How to Repair Video Sluggish or Playing Slowly
Repairit video repair is an application owned by Wondershare that is used to repair corrupt, inaccessible, and damaged videos. The various video formats supported by this application include MOV, MP4, MKV, M2TS, MTS, FLV, 3GP, and AVI video formats. Cameras and video recorders like Canon, Sony, Go Pro, Olympus, Nikon, Fuji, Samsung, Panasonic, DJI, Parrot, Skydio among others use some of the video formats stated earlier. If one encounters an error after recording a video you can use the recoverit application to restore the contents of our recording. Size is not a limitation to this application. No matter how big a video is, this software can rectify any challenges that a video may have. To access this application, go to www.wondershare.com. This application is a closed source meaning that once you download it, you can only use it on a trial basis for 7 days being prompted to purchase it to continue using it.
There are two repair modes available:
1. Quick repair- this is used to repair video files that are not severely damaged. An issue that can be solved through a quick repair is a video glitch. This normally occurs when the visual output is not very clear which is caused by having a memory that is faulty or removing the storage device while recording a video.
2. Advance repair- it is used to repair severely corrupt video files by analyzing the data and technology used to create the video. Recoverit will break down the content of the video minute by minute to determine the faulty points of the video file. Once all the faults have been identified, the software will reconstruct the damaged sections by understanding the underlying technology to figure out how to restore the original contents of the video.
How to repair you're corrupt/frozen/destroyed video
Step 1: Launch and select files
Launch the application. Select the files you want to repair as shown below. Once you have selected the required files, click the open button.

Step 2: The repair process
Once you have selected the files that you wish to repair, click on the Repair button. The repair process commences immediately as shown below. Take note of the oval shapes. They have been added to show the progress of the repair process.

Once the process is done, a dialog box will pop up to confirm that the repair process was done.
Step 3: Preview the repaired videos
Once you have retrieved the newly repaired videos, it's important to assess their quality and gauge whether you are satisfied with their quality.

The above output confirms that the repair process was successful.
Step 4: Advanced repair
If the above steps of repairing fail, you can choose to proceed to advanced repair. As previously stated, the application will attempt to reconstruct the contents of the video by breaking it down and understanding the technology used to repair the video.
The above dialog box shows that a quick repair failed to recover the video. The advanced video repair mechanism is automatically prompted to recover the video.

Step 5: Save after advanced repair
Once the advanced repair process is successful, the user should select the destination directory for the video.

What if the video play in slow motion suddenly? what can you do to fix video playing in slow motion on Windows?