
My Windows 10/11 keeps on showing green screen when playing videos and states that "Your Windows Insider Builder has run into a problem and needs to restart."
Entertainment and recreation have become a need these days. Due to the pandemic at hand, we crave it more than anything in this world. Videos shows and thrillers should work as if nothing can affect their flow. However, things are not that ideal as we want them to be, don't you agree?
The YouTube green screen problem has taken us aback. In the middle of a video, green color covers the whole screen while the video keeps playing. If you are bothered by video playback green screen and need a permanent solution, allow us to lead and end your suffering this instant.
Part 1: Why Does My Screen Turn Green When Watching Videos?
We all know the phenomena of Cause and Effect. The problem that occurs brings an impact on it. Therefore, it is mandatory first to understand the root causes of the issue and then adopt certain measures to eradicate it. So, without any delay, let us know the causes of the green screen when watching videos.
One of the major reasons is the hardware performance of your system. The poor working performance of hardware brings the green screen issue to the table. Other causes include outdated graphic drivers and flash players that create irritability for the audience. The video players, sometimes, are unable to process the high-definition videos.
To combat this issue, we have devised 4 methods for you. They are guaranteed to work in the long run. However, it is advised that you follow the guidelines precisely to have favorable results.
Part 2: Fix Video Green Screen Issue Caused by Video Itself Corruption
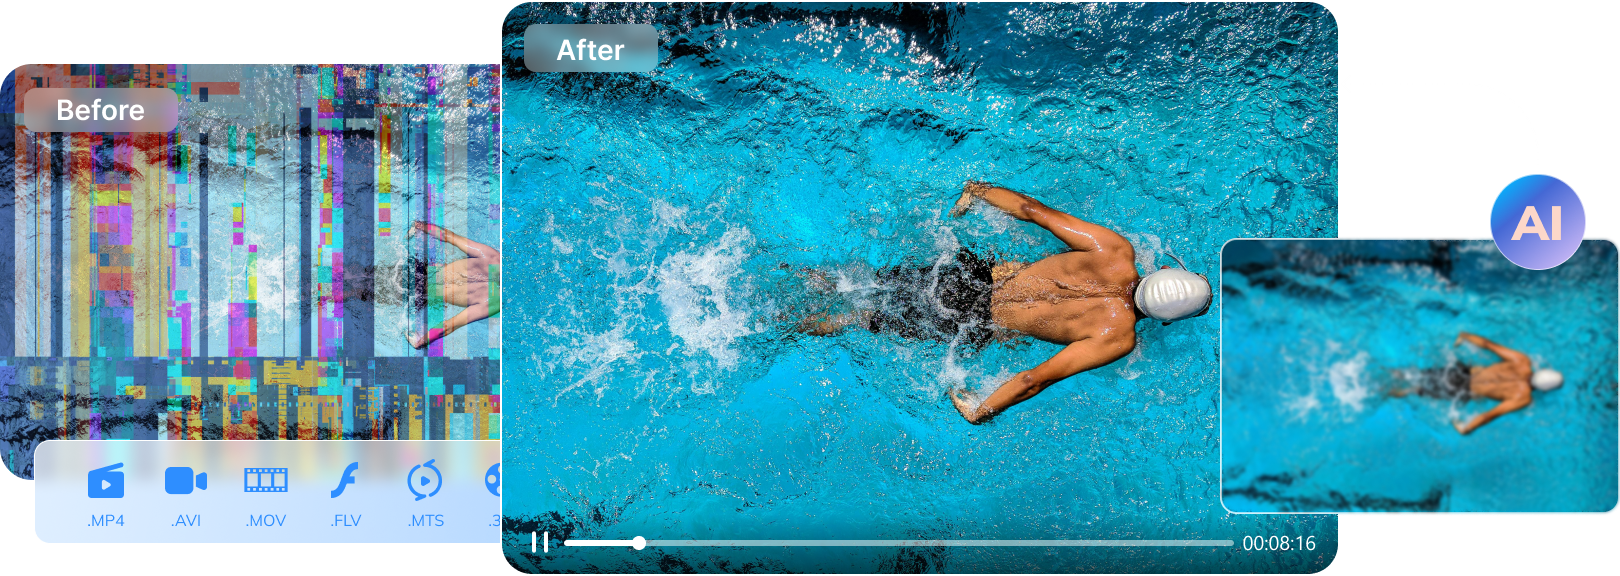
If the methods mentioned above do not work, it must be because your video itself is corrupted. Therefore, professional video repair software will be your ideal choice. Wondershare Repairit - Video Repair is a professional video repair software that repairs videos of all levels of corruption, the following are its main features:

Wondershare Repairit
Security Verified. Over 7,302,189 people have downloaded it.
-
Support to repair damaged videos with all levels of corruption, such as video green screen, video no sound, sluggish video display, missing video codec, etc.
-
Support to repair videos of diverse formats, including MOV, MP4, M2TS, MKV, MTS, 3GP, AVI, FLV, etc.
-
Repair critically damaged or corrupted videos available on SD cards, phones, cameras, USB flash drives, etc.
-
Repairit has a quick and advanced scanning mode. You can use either depending upon the level of corruption the video file has undergone.
-
No limit to the number and size of the repairable videos
-
Compatible with Windows PC, Mac OS, and supports PC to mobile transferring/sharing.
Attention:
If you want to repair video online and your corrupted video is no more than 3GB, you can try the Wondershare Repairit Online Free Version to get your video repaired online with ease.
Step 1: Inserting the Corrupted Video
For starters, launch the software Wondershare Repairit. In the center of the interface, you will find the (+) option. Tap on it and then browse the corrupted video that requires treatment.

Step 2: Repairing Video Process
In the bottom right of the page, the user will find the "Repair" option. Hit it. The software will initiate the repairing process.

Step 3: Saving and Previewing Repaired Video
After repairing the videos, you can preview the video to check its quality and click "Save" to donload the repaired video.

There exist some severely deamaged videos that require an advanced process of repairing. To handle those videos, Wondershare Repairit brings you the "Advanced Repair" option. You have to add the sample video of the same format as the infected video and then insert it into the software.

This video can help you fix your corrupted video files with a step-by-step guide.
Part 3: 4 Tested Ways to Fix Green Screen on Videos on Computer
After analyzing the probable causes of the occurrence of green screen on videos, we can now work on ways to mitigate it. If you are looking for the answer to how to remove Green Screen from video, this is where all your prayers will be answered.
Method 1: Disable Hardware Acceleration in Google Chrome / Firefox / Internet Explorer
As mentioned above, the poor performance of hardware leads to YouTube green screen problem. One of the most productive solutions is to disable Hardware Acceleration. It means that the system uses the Graphics Processing Unit (GPU) in place of the Central Processing Unit (CPU) so that graphic programs can be uploaded.
The green screen video often occurs when there is a change of webpages to GPU, which generates performance issues in the hardware. To disable hardware acceleration, follow the steps below:
Step 1. Right-click the video that reflects the green color.
Step 2. From the menu bar that appears, tap on "Settings."
Step 3. You will see "Hardware Acceleration" there. Uncheck it.
Step 4. Switch off the window and reload them again.
Check if the problem has been resolved.
Sometimes, disabling the Hardware Acceleration option is only available in browsers. Please stick with us as we provide you steps for Google Chrome, Firefox, and Internet Explorer.
Disable Hardware Acceleration in Google Chrome
Step 1. Launch your Google Chrome.
Step 2. From the top right corner, hit the "Menu" button.
Step 3. Next, go to the "Settings."

Step 4. Tap on the "Advanced" option.
Step 5. Navigate down to choose "System."
Step 6. From there, you will find "Use Hardware Acceleration when available." Disable it by unchecking them.

Step 7. Now, restart the browser and reload the video again.
Disable Hardware Acceleration in Firefox
Step 1. Launch the Firefox browser.
Step 2. Click on the "Menu" option and select "Options" from the sub-menu.

Step 3. From there, click on "General."
Step 4. Navigate down to check the "Performance."
Step 5. You will find "Use Recommended Performance Settings." Disable it by unchecking it.
Step 6. Moving on, you will find "Use hardware acceleration when available" Disable it.

Step 7. Now, restart the browser and reload the video again.
Disable Hardware Acceleration in Internet Explorer
Step 1. Launch your Internet, Explorer.
Step 2. From your system, hit the "Settings."
Step 3. From there, tap on the "Internet" settings.
Step 4. Select the "Advanced Tab."
Step 5. Click on "Accelerated Graphics."
Step 6. Next, the user is supposed to tick mark the "Use software rendering instead of GPU rendering."

Step 7. Now, restart the browser and reload the video again.
Method 2: Update your Graphics Card Drivers
Even after disabling the hardware acceleration, if the YouTube Green Screen problem continues to emerge then you should focus on updating your graphics card driver. To do this, follow the steps below:
Step 1. Click on "My Computer."
Step 2. Right-click on it.
Step 3. From there, hit the "Manage" option.
Step 4. Click "Device Manager" from the menu bar that appears.
Step 5. Select "Display Adapters."
Step 6. Moving on, the user is supposed to right click on the "Graphics Card Driver."
Step 7. Tap on "Update Driver Software."

Step 8. This will allow the system to look for the latest driver.
Step 9. Then, restart the system.
Method 3: Using the Trouble Shooter
Even if following the above procedure does not solve your green screen problems, do not lose your calm and patience. We are here with another amazing and viable solution. You can run the troubleshooting and get rid of this problem once and for all.
Follow the guidelines below precisely to have the desired results.
Step 1. From your computer, tap on the "Settings,"
Step 2. Select the "Update & Security Section" from the menu bar.
Step 3. Hit the "Troubleshoot" button.
Step 4. Tap on "Run the Troubleshooter."

Step 5. In a couple of minutes, the process concludes.
Step 6. Restart the system and check if the problem has been resolved.
Method 4: Enable JavaScript in the browser (PC, Mac)
To resolve the green screen issue that may appear during video streaming, enabling JavaScript in your browser is a crucial step. Whether you are on a PC, Mac, Android, or iPhone, activating JavaScript can drastically improve your viewing experience by ensuring that web pages load correctly and interactive elements function as intended.
For Chrome users - enable JavaScript on computer:
Step 1. Open Google Chrome and type chrome://settings/content/javascript in the address bar.
Step 2. Hit Enter, then check-in "Sites can use JavaScript" and close the window.
For Safari users - enable JavaScript on Mac:
Step 1. On macOS, click Safari Preferences in the top menu bar.

Step 2. Choose the "Security" tab in the Safari Preferences window.
Step 3. Click on the "Enable JavaScript" checkbox to enable it in Safari.

Step 4. Close the "Preferences" window and then play videos in Safari. The green screen video problem should not occur.
Conclusion
The issue of the screen going green when watching videos can be both stressful and frustrating. By understanding the root causes and applying the solutions provided, you can effectively fix this problem. Take action today to resolve the green screen issue and enjoy a seamless video experience. We hope these solutions help you get back to smooth viewing!
Related Content You Might Want to Know
-
Why does my computer screen turn green when watching videos?
This issue is often caused by hardware acceleration, outdated graphic drivers, or corrupted video files. Poor hardware performance or incompatible video settings can also lead to a green screen. -
How to solve the YouTube video green screen problem?
Try these steps:- Disable hardware acceleration in your browser settings.
- Update your graphics drivers via Device Manager.
- Run the Troubleshooter under Windows "Update & Security."
- Enable JavaScript in your browser settings.
- If the issue persists, use video repair tools like Wondershare Repairit.
