Imagine you capture a special moment, only to look back later and realize it comes out blurry. It is always satisfying to capture the perfect moment in a photo, but when you have to deal with low quality, it can be frustrating. Distorted pictures often fail to meet expectations, whether you use them for professional purposes or only share them online.
A blurry image lacks sharpness and detail, requiring you to make its appearance pleasing. For that, modern technology offers a variety of solutions to enhance image quality, which range from quick online tools to powerful offline software. In this guide, you’ll learn how to fix low resolution photos with the help of a reliable tool available online and offline.
In this article
Part 1. Understanding Image Resolution Before Fixing the Resolution
Image resolution fixation is a technique where you have to increase the number of pixels in a blurry image, which transforms it into a high-quality picture. Before you learn how to fix low resolution pictures, it is essential to understand the image resolution by adhering given details:
1. Pixel Density (PPI & DPI) and Image Clarity
Pixel density plays a crucial role in knowing how sharp the image appears on screen or print. PPI (Pixels Per Inch) affects digital images and defines how many pixels exist within each inch of the display. However, for printed images, DPI (Dots Per Inch) controls how many ink dots appear within an inch to produce high-quality prints.
Regardless of the usage, the standard resolution of PPI is 72, and 150 or more is considered high quality. However, 300 DPI or higher is the standard or high-quality print. Plus, large formats such as posters or banners can use a lower DPI of 100-150 since they are viewed from a distance.
2. Image Dimensions and Resolution
The image dimensions, such as the width and height of the image, directly affect the quality of pictures. For example, 3000 x 4000 pixels have 3000 pixels in width and 4000 pixels in height. If you do low resolution image fix by stretching the image, the pixels become more visible, which results in a blurry or distorted appearance.

3. Compression and Loss of Quality
You can use compression to reduce an image’s file size, but excessive compression can result in a noticeable loss of quality. It's one type, lossy compression, such as JPG, reduces file size which removes details that can cause visible pixelation or blurriness. In contrast, lossless compression, such as PNG or TIFF, preserves all image details and still reduces the file's size, which makes it ideal for high-quality visuals.
4. Resolution for Different Uses
Different platforms and formats need specific resolutions to ensure images appear clear and professional. Web images typically use 72 PPI (JPEG/PNG) to reduce loading time while still maintaining acceptable quality. However, print materials need at least 300 DPI (TIFF/PNG) to refine details and prevent blurriness when printed. Thus, selecting the appropriate resolution based on the intended use ensures images look their best in both print media.
Part 2. How to Fix Low Resolution Photos on Your Windows PC or MacBook?
If you have a blurry picture and wonder, “How can I fix low resolution pictures?” we have got you covered. With a reliable tool, Repairit, you can fix the resolution of more than 22 picture formats using its AI Enhancer tool. It provides a static blur feature that optimizes the color balance and sharpens the edges of the picture to make it crystal clear.
Key Features

-
Denoise: Remove noise and grain for smoother pictures using AI
-
Printed Grid: Eliminate gridlines and distortions
-
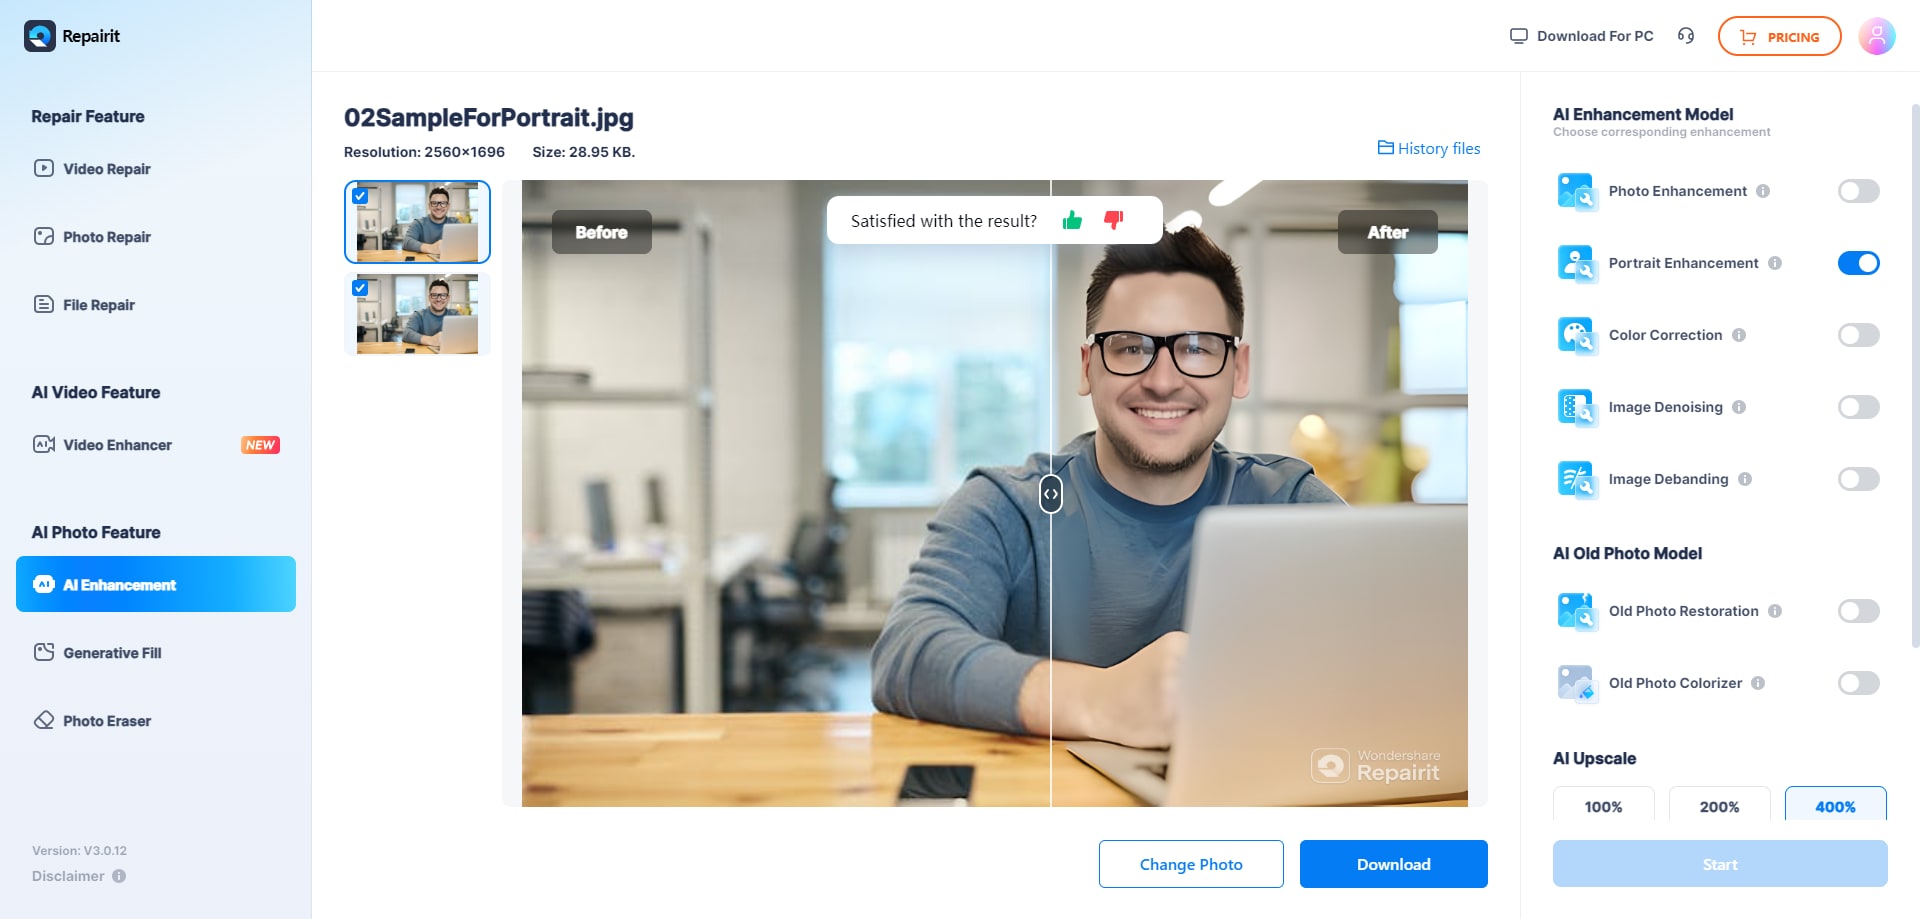
Before/After Result: Compare enhancements side-by-side
-
Unlimited Enhance: No limits on photo quantity or size
-
Support Windows 11/10/8/7/Vista, Windows Server 2003/2008/2012/2016/2019/2022, and macOS 10.12~macOS 13.
Detailed Guide on How to Increase Resolution of Images Using Repairit
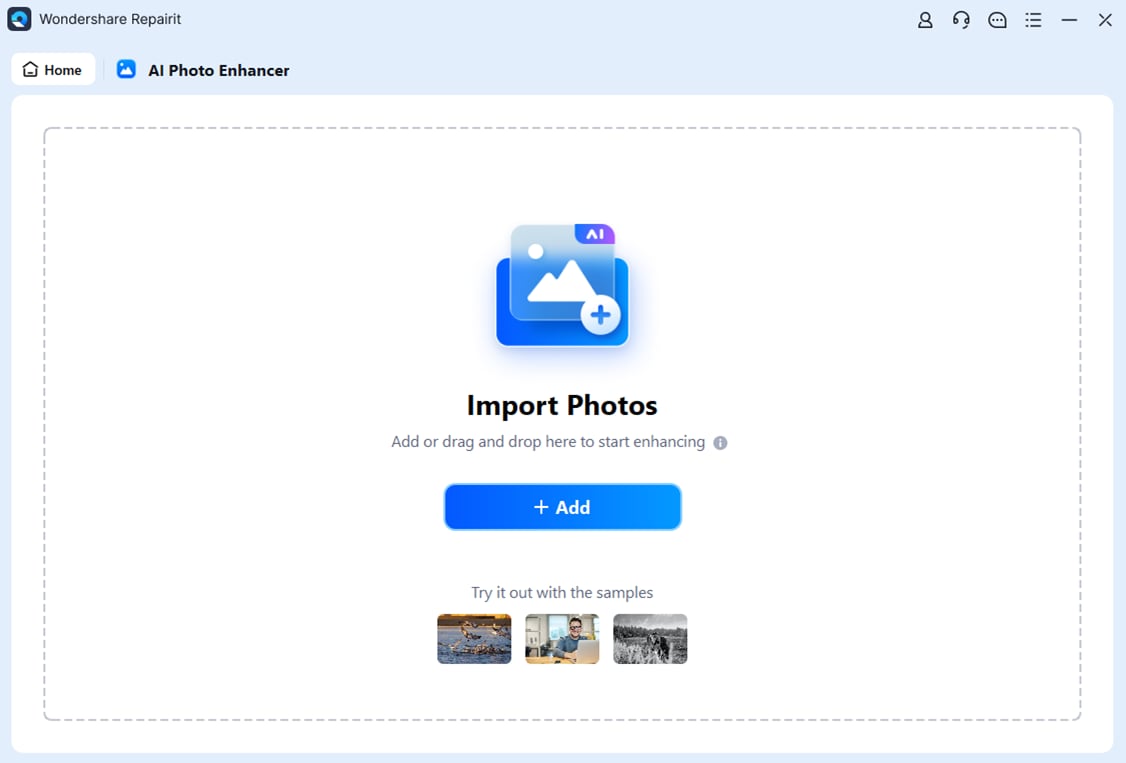
Step 1. Select the “AI Enhancer” tool from the main interface

Step 2. Press the “+Add” button and import your photo
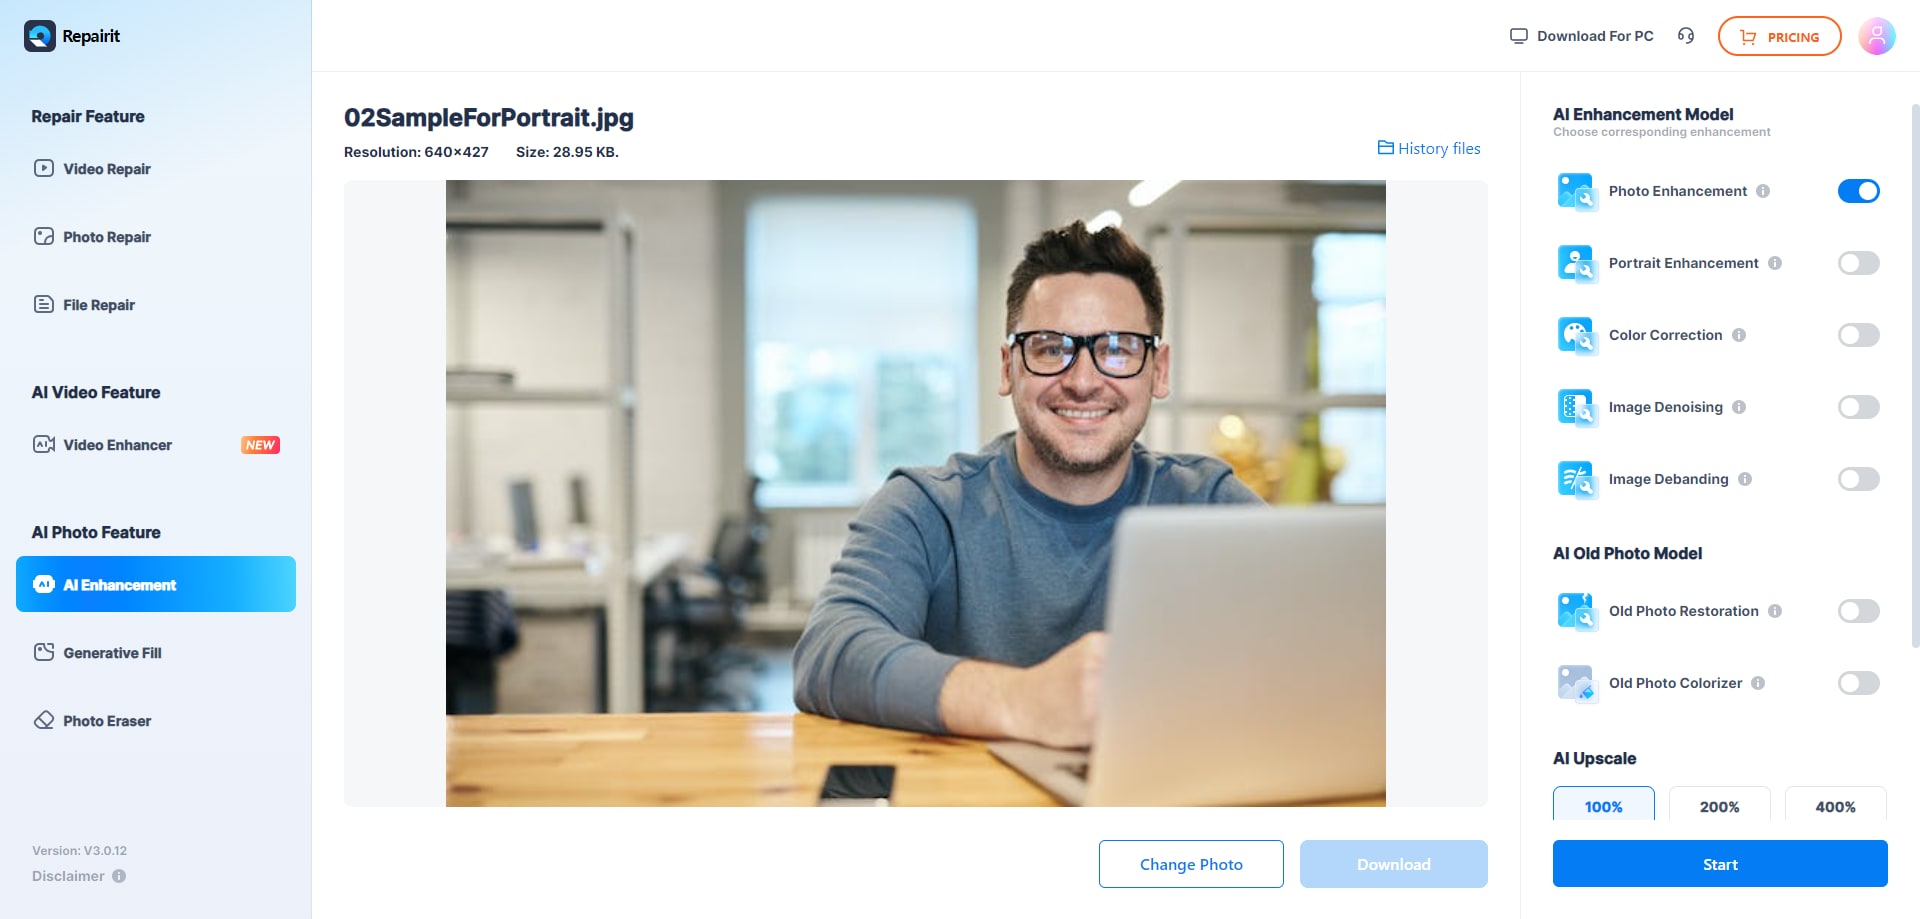
Step 3. Click “Start Enhancing” to begin processing

Step 4. Save enhanced results with “Save All”

Enhance Your Low Resolution Photos Now
 Security Verified. Over 7,302,189 people have downloaded it.
Part 3. How to Fix Resolution Pictures Online Using Any Browser
Repairit's online version allows enhancing 300 blurry photos/month for free. Key features include:
- Lens blur restoration
- Supports JPG/PNG/BMP/WEBP formats
- Batch processing for multiple files
- Accurate Face Focus technology
Guide on How to Increase Resolution of Images Online
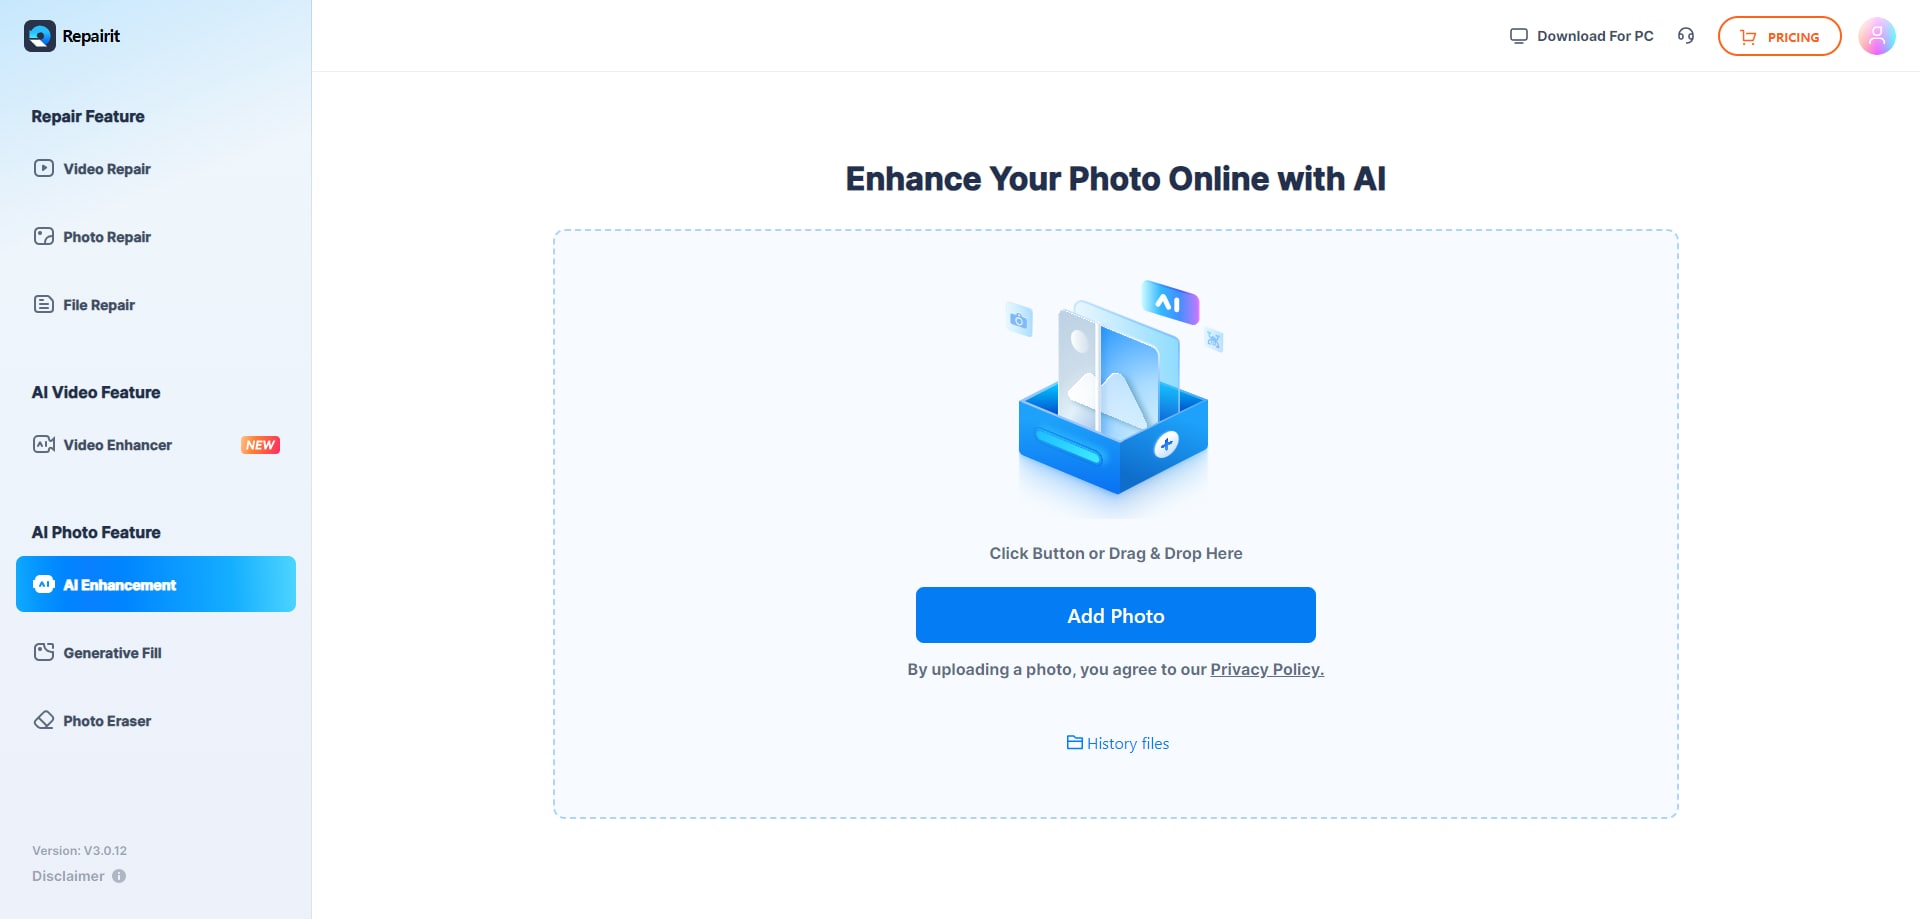
Step 1. Click “Add Photo” to upload images
Step 2. Select “Photo Enhancement” and click “Start”
Step 3. Download enhanced photos
Conclusion
Repairit provides comprehensive solutions for fixing low-resolution photos through both desktop and online versions. Its AI-powered tools effectively sharpen details, remove noise, and enhance image quality while maintaining a natural appearance.
FAQ
-
Why do photos lose resolution?
Caused by compression, resizing, low-quality sensors, or excessive editing. -
What role does pixel density play?
Higher PPI/DPI means sharper images; lower values create blurriness. -
Best tool for blurry images?
Repairit's AI Enhancer provides professional-grade photo restoration.