
Though Linux operating systems are secure enough to carry sensitive data, they are not fully immune to data losses. There could be multiple reasons behind losing your important stuff, like a virus attack, hardware failure, accidental deletion, etc.
It is an inevitable fact that losing data has become a serious problem everywhere around the world. But a number of Linux partition recovery tools have made it super easy to recover lost data. Whenever your data gets deleted or lost from Linux partitions, don’t worry but use a reliable Linux partition recovery software. The contents we will discuss in this article include:
Top 10 Linux Partition Recovery Tools
Top 10 Linux Partition Recovery Tools
Are you on the hunt for trusted and efficient Linux partition recovery tools to restore your data from Linux partitions? Don’t have enough knowledge of this domain? Just Relax! Below we have presented a list of the top 10 software to get your lost or deleted data back in a matter of minutes. Let’s look at how these tools can help you get out of trouble.
1. Wondershare Recoverit
It is a leading Linux data recovery program that performs quick and deep scans to search for deleted data in the Linux partitions. The major reason why you should use Recoverit is that it comes with a 95% data recovery rate. In addition, it supports thousands of file formats and hundreds of recovery scenarios.
For Windows Vista/7/8/10/11
For macOS X 10.10 or later

Price:
Free trial (up to 100MB)
$69.99/year (Essential)
$79.99/year (Standard)
and $99.99/year (Premium)
Pros
Appealing user interface
Compatible with 1000+ file formats
Secure data recovery
Available for Windows and Mac
Trusted by millions of users
Cons
Free version can only recover data of up to 100 MB
Video Tutorial on How to Recover Files on Linux?
For Windows Vista/7/8/10/11
For macOS X 10.10 or later
Step-By-Step Guide
Within 5 simple steps, you can recover Linux partitions with Recoverit.
Step 1: Launch Recoverit on your system once you download and install this tool.
Step 2: Navigate to the option “NAS and Linux.” You can find this option in the left pane.
Step 3: Now, hit the “Linux Recovery” option to proceed.

Step 4: It is time to tap on the “Connect” button to connect your Linux computer. It will help you establish a remote connection.
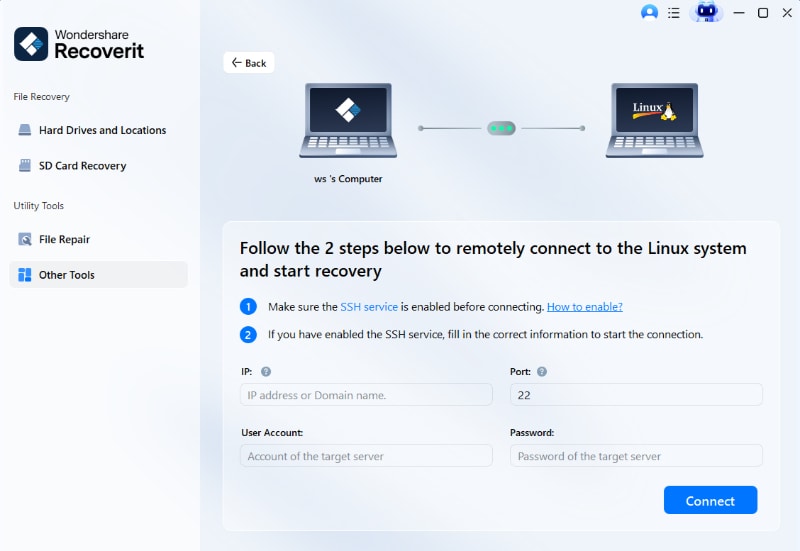
Step 5: Once the connection is established, Recoverit will start scanning automatically to search for lost or deleted Linux partitions. You can see the scanning progress from the bottom of the software screen.

As soon as you find the data you wish to get back, you can stop scanning and preview the files to confirm. To preview, all you need is to hit the “Preview” button.

Now, you can save the recovered partitions on your Linux computer. It is always better to choose a different path from where you lost the data earlier. This is how Recoverit helps you get your lost or deleted Linux partitions back.
2. R-Linux
It is a free utility designed to recover Linux partitions. R-Linux offers sound support for the Ext2, Ext3, and Ext4 file systems. It doesn’t matter if you have lost the data due to a system crash, power failure, or virus attack, R-Linux will be your trusted partner to get the data back.
Price: Free to use
Pros
Features Linux data recovery even after the files were deleted, damaged, or reformatted
Ability to display hardware health
Highly compatible with the Ext2, Ext3, and Ext4 file systems
Cons
Does not support object copy, RAID reconstruction, or network data recovery
Step-By-Step Guide
A 2-step, simple process to restore lost Linux partitions is presented below.
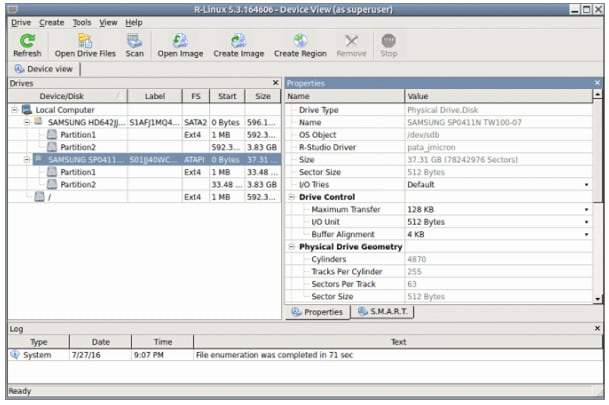
Step 1: Install R-Linux, open it on your system, and provide the sudo password.
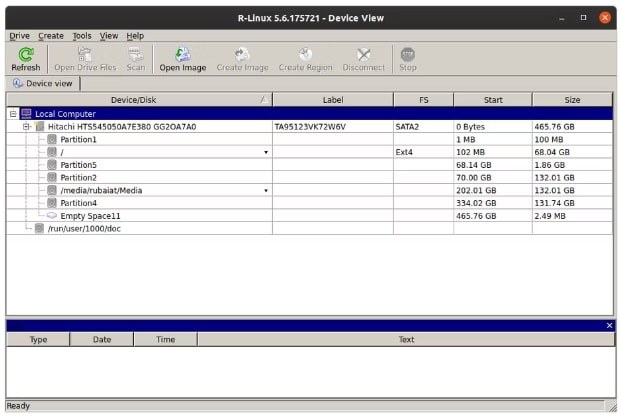
Step 2: Now, choose the source partition and scan it using GUI. You can select various scanning methods.
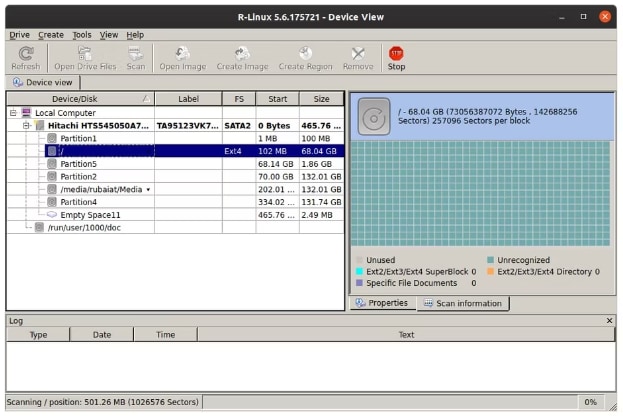
After the scanning is completed, R-Linux will show you multiple lost files. You can choose the one you wish to get back.
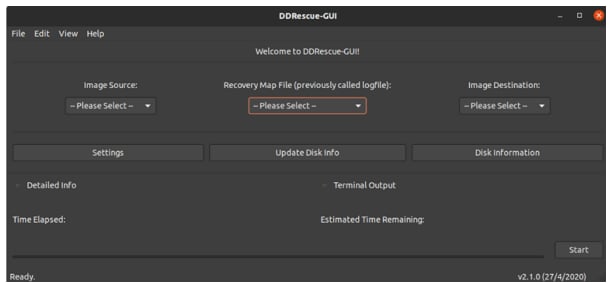
3. DDRescue - GUI
GNU developed this command-line utility. Whenever read errors happen, DDRescue can help you recover deleted partitions. It also enables you to recover Linux data from the disk having bad sectors.
Price: Free to use
Pros
Features efficient data recovery
Despite bad sectors and disk errors, DDRescue can recover your important data
It allows you to stop any ongoing process and resume it at any time you want
Cons
You must be familiar with the common Linux file command options
Step-By-Step Guide
Follow the 3 steps listed below to get over the line.
Step 1: This step deals with creating images from a failing disk. The command for this activity is as follows:
# ddrescue -d -r3 /dev/sda test.img test.logfile
- d = It tells DDResuce to ignore Kernel’s cache and use direct disk access
- -r3 = It is for retrying bad sectors thrice
- /dev/sda = It is the drive we want to rescue
- test.img = It is the image file’s name
- test.logfile = It is the logfile’s name
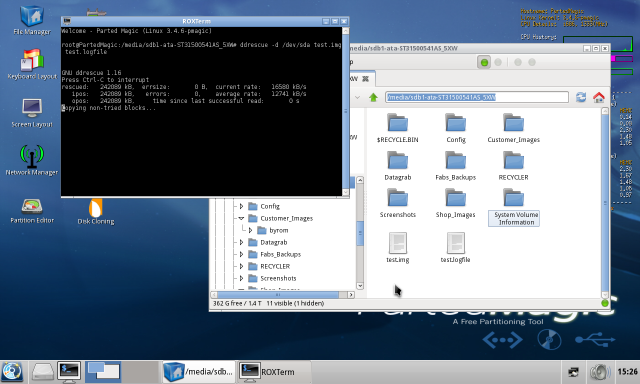
Make sure you notice the new files appearing in the File Manager.
Step 2: It is time to restore the image to a new disk. The command for this step is given below.
# ddrescue -f test.img /dev/sda restore.logfile
Since we want to output to a block device, the use of “-f” is compulsory. Ensure to choose a different logfile name.
Step 3: Now, clone to a new disk directly using the below command.
# ddrescue -d -f -r3 /dev/sda /dev/sdb /media/PNY_usb/rescue.logfile
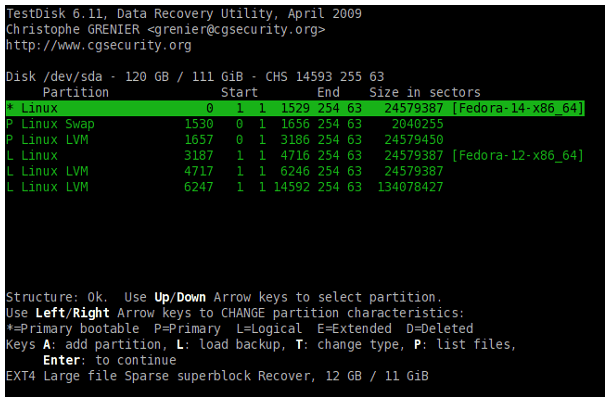
4. TestDisk
The best thing about this data recovery command-line-based software is that it is an open-source program, which means you can take help from online resources on how to use this program. Try this software to recover Linux partitions regardless of the reasons behind the data loss.
Price: Free to use
Pros
Ability to create backups for EFI GPT partitions
Compatible with both Windows and Mac
Supports Linux data recovery for a number of file formats
Cons
You must familiarize yourself with common Linux command files
Step-By-Step Guide
A 6-step convenient process to restore Linux partitions is presented below.
Step 1: Tap on “[Create]” once you open TestDisk. Now, select the disk where you lost the partitions.
Step 2: It is time to select the partition table type. Once done, choose “[Analyze].”
Step 3: You will see a new window. Here, continue by selecting “[Quick Search].”
Step 4: Wait for a while until the analysis gets completed. Then, tap on “[Continue].” It will show you both lost and existing partitions.
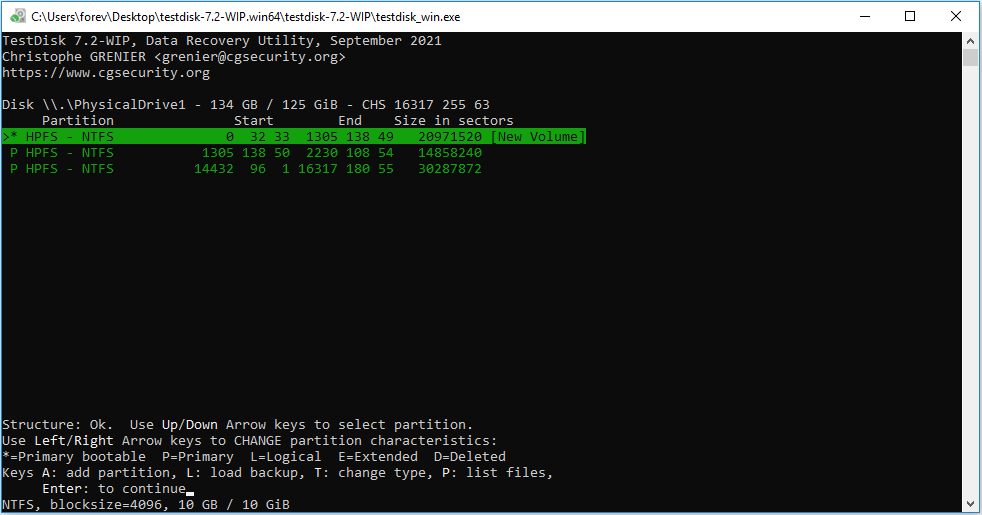
Step 5: Pressing “p” will help you check the files in the lost or deleted Linux partition.
Step 6: If TestDisk has listed the corrected data, hit “Enter.” Now, save the partition by selecting “[Write].” Once done, the program will recover the lost or deleted Linux partition.
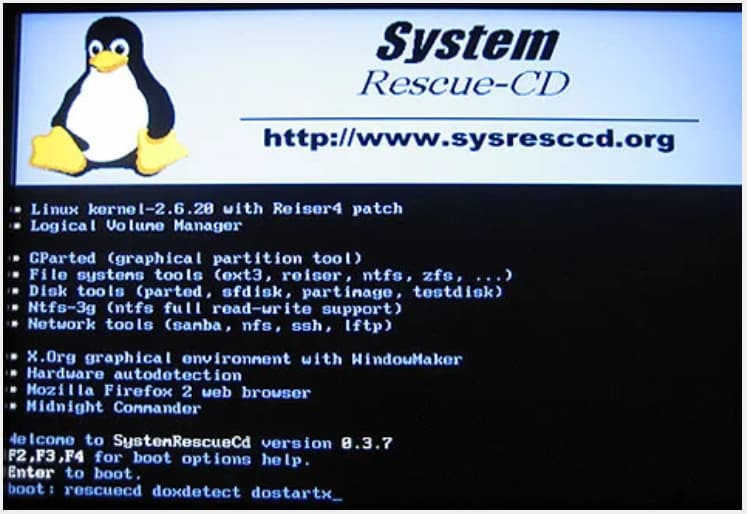
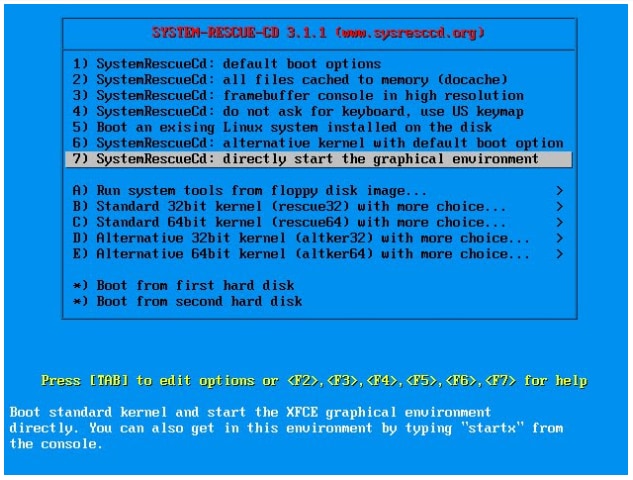
5. SystemRescueCD
This tool allows you to recover both partitions and deleted data files. SystemRescueCD offers support for each major file system, including but not limited to HFS, FAT32, and NTFS. A potential reason why many people trust this tool is its highly responsive customer support.
Price: Free
Pros
Requires no installation
Offers support for XFS, VFAT, NTFS, BTRFS, Ext2, Ext3, and Ext4 file systems
Free to use
Blind people or people with limited vision can also use this software
Cons
User interface is not appealing
Step-By-Step Guide
To recover lost partitions, follow these 6 steps.
Step 1: Download and install SystemRescueCD on your system.
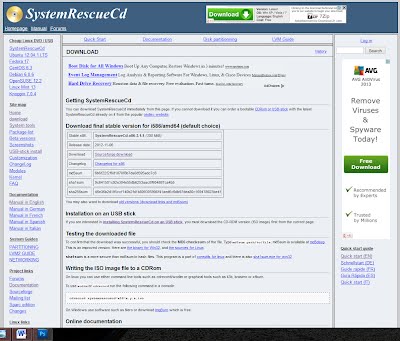
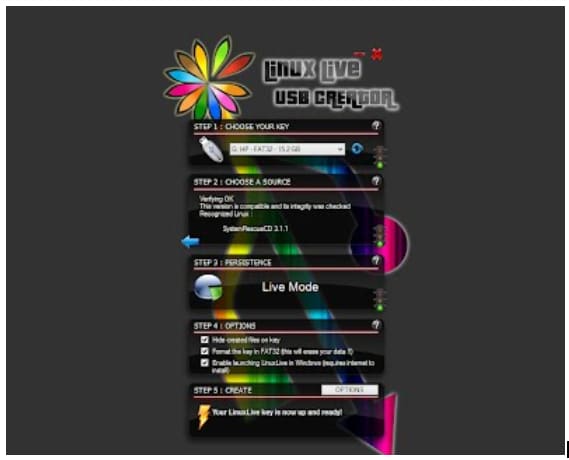
Step 2: Now, burn SystemRescueCD as an ISO image or install it to USB Stick. Follow the instructions to install it on a USB.
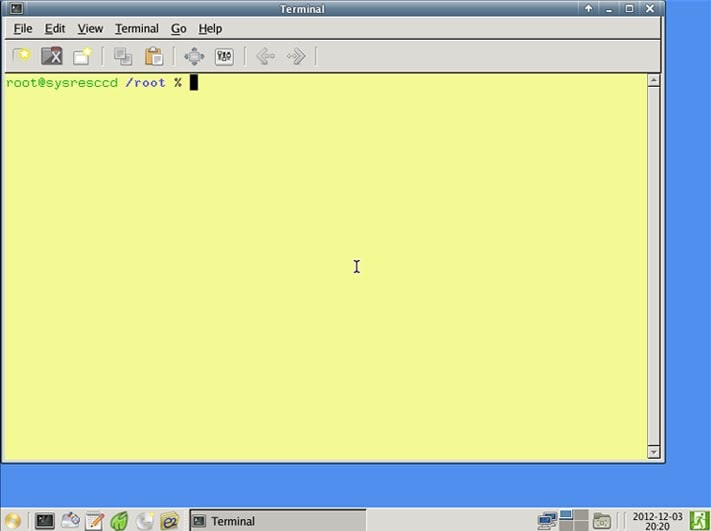
Step 3: Now, run the program on your infected system.
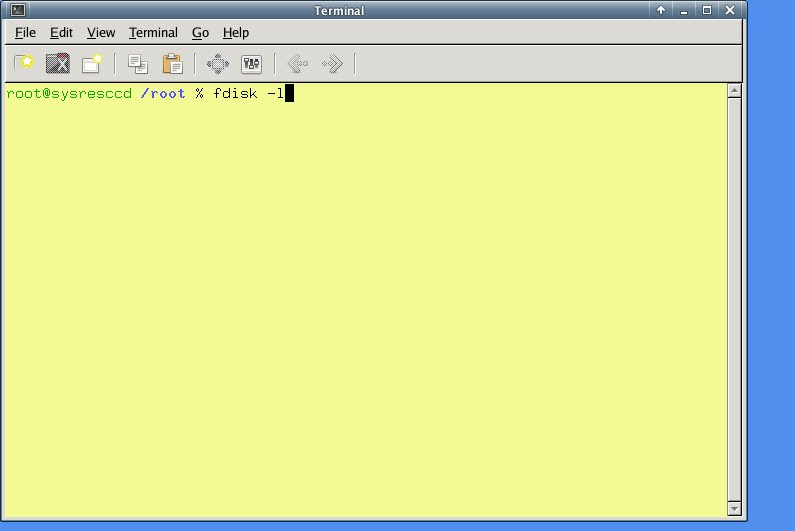
Step 4: Search for the disk in the terminal window.
If you want to see the list of the hard drives, type “fdisk - I.”
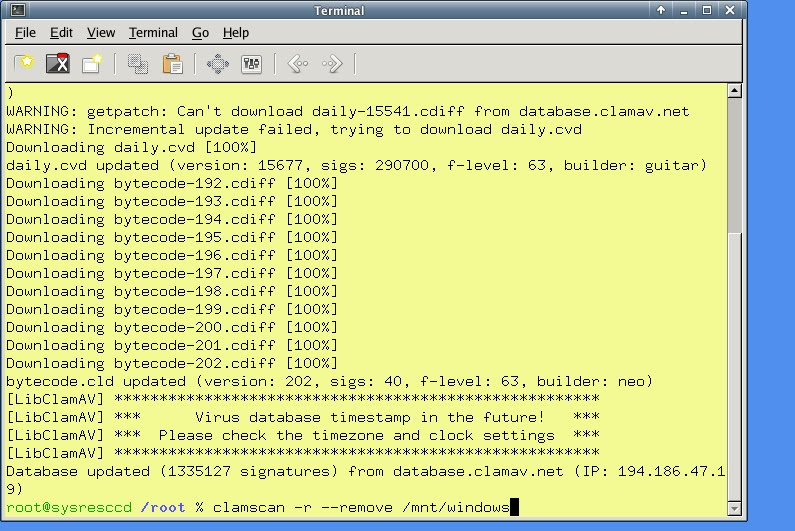
Step 5: Now, mount the drive you want to scan. The command for this type is presented in the image below.
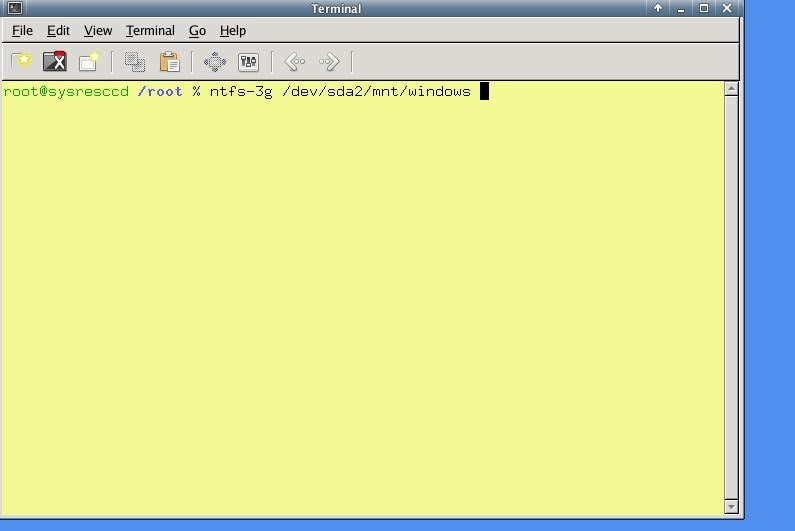
Step 6: Now, use the command displayed below to scan the hard drive.
If you want to scan only, type: clamscan -r /mnt/windows
If you want to scan and remove infected files, type: clamscan -r –remove/mnt/windows
The scan summary will be displayed as follows.
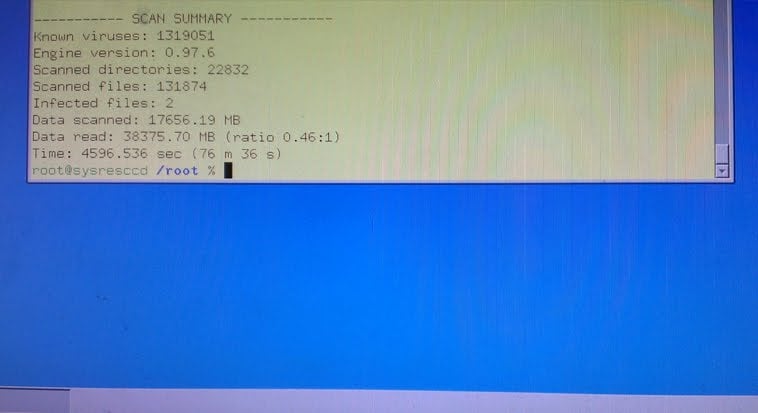
Once the scanning is completed, reboot your Windows.
6. Gparted Live
It is a wonderful Linux partition recovery software designed to enable and disable partitions efficiently along with recovering deleted or lost Linux partitions. In addition, it is also used for effective data recovery purposes.
Price: Free to use
Pros
Recover data from both external and internal hard drives
Highly compatible with every sector size (e.g., 512, 1024, 2048, or bigger)
Offers supports for RAID devices, flash memory, and hard disks
Cons
You can’t use this software if your system is 64-bit
Step-By-Step Guide
All you have to do is to follow the 9 steps listed below.
Step 1: Take a USB flash drive and extract GParted zip file content into it.
Step 2: Now, run the below command on your USB and follow the instructions appearing on the screen. Doing this will enable you to burn GParted to the USB drive.
utils\win32\makeboot.bat
Step 3: It is time to boost your system from the GParted Live USB. For this, insert the USB drive and then start the computer. Now enter BIOS setup by hitting the BIOS key.
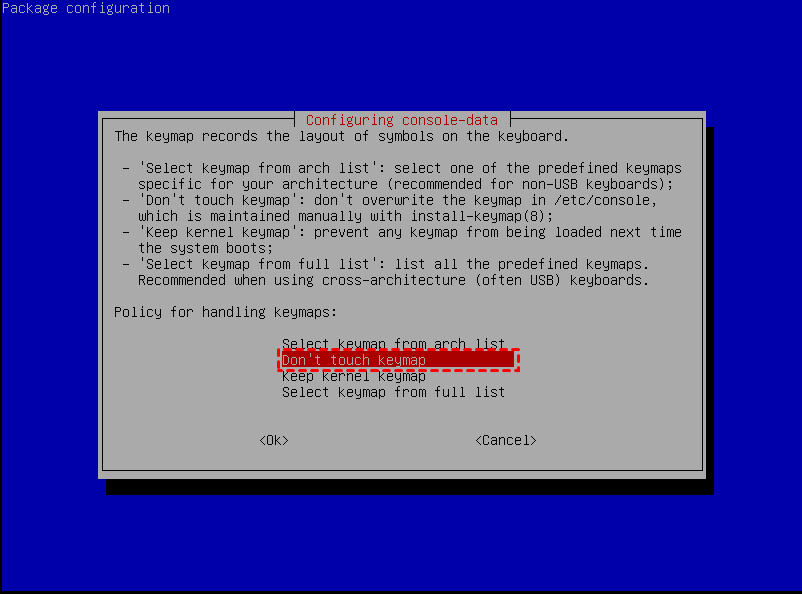
Step 4: Now, select “GParted Live (Default settings),” as shown below.
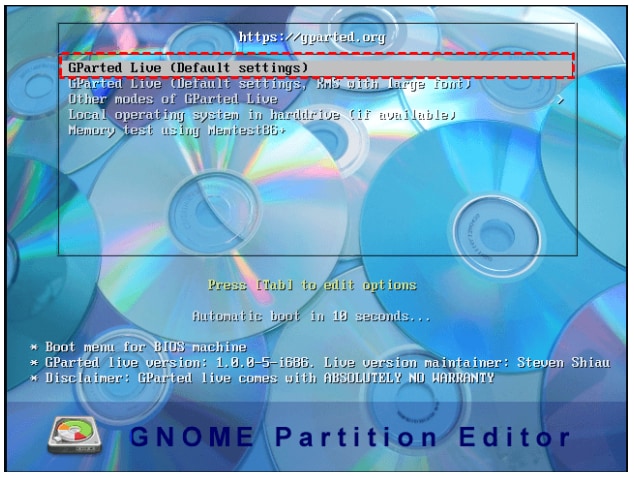
Step 5: Here, simply select the “Don’t touch keymap” option and select the desired language.
Step 6: Once the GParted window is opened, hit “CTRL + Alt + T.” It will help you open the terminal window. Now, type the “testdisk” and “sudo-s” commands on this terminal window.
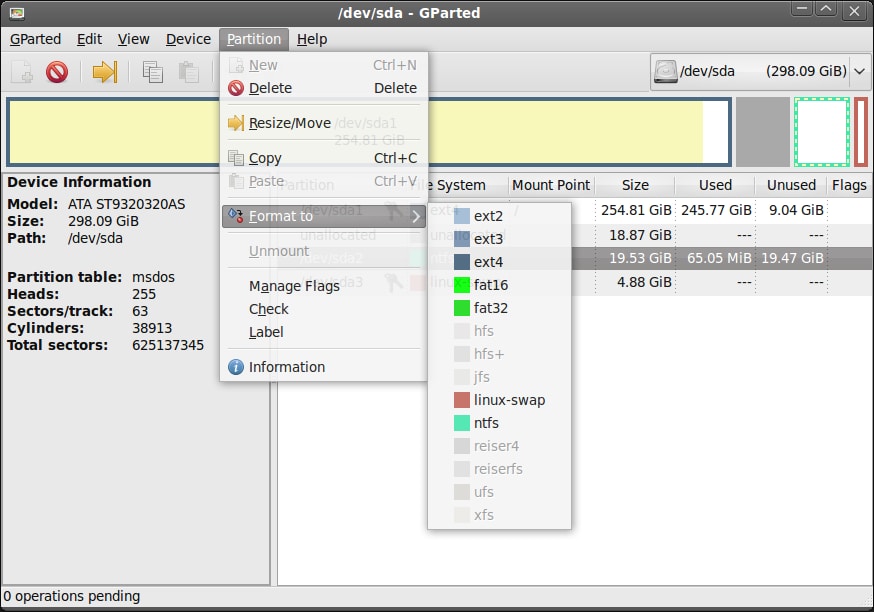
Step 7: Select the drive with the lost or deleted partition. Once done, select the “Analyze” and “Quick Search” options.
Step 8: Now, GParted Live will start searching for the lost or deleted partitions you want to get back.
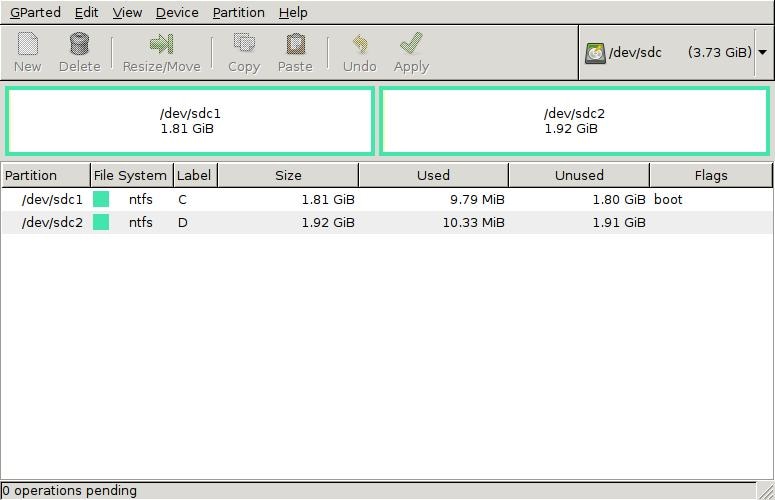
Step 9: Select the outcome to restore the partition table. As soon as it gets recovered, the main interface will display all the details, as shown below.
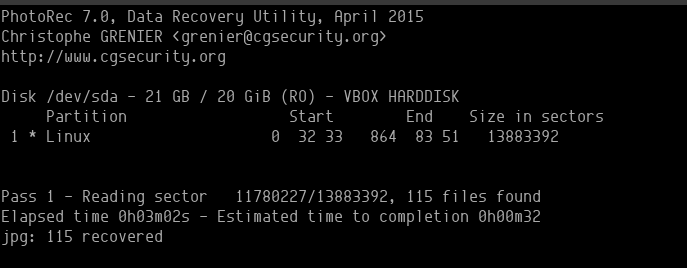
7. PhotoRec
It is another worthy addition to the family of Linux partition recovery tools. In the beginning, PhotoRec was introduced to restore images only. But these days, with major updates, it has become a complete package for data and partition recovery.
Price: Free to use
Pros
Ability to recover Linux data even if your disk is severely damaged
Compatible with a wide range of file formats
Performs efficient data recovery
Cons
User interface is not attractive
Step-By-Step Guide
A 7-step, simple process is as follows.
Step 1: First of all, install this program on Linux using the below command.
sudo apt -y install testdisk
As soon as the setup gets completed, run this software with the command presented below.
sudo photorec
Step 2: Now, go to the desired directory where you want to run the recovery.
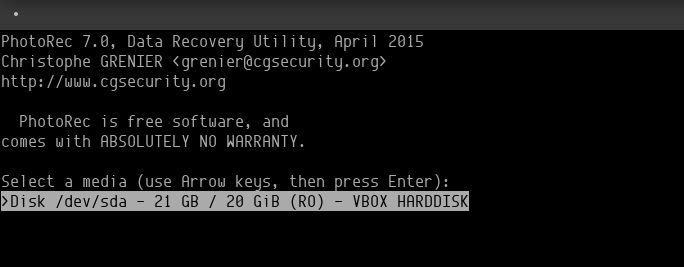
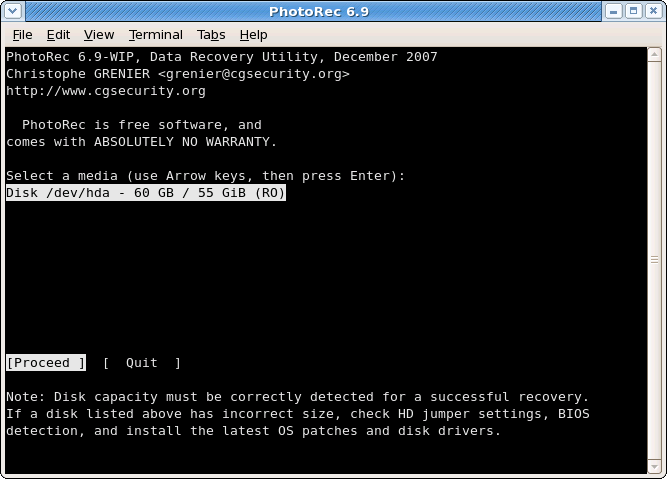
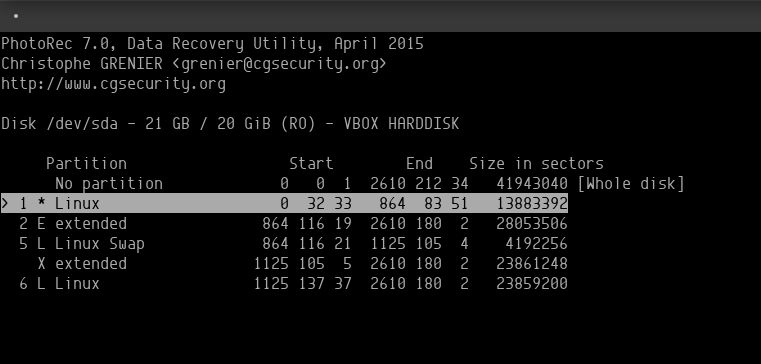
Step 3: It is time to choose the partition you want to recover.
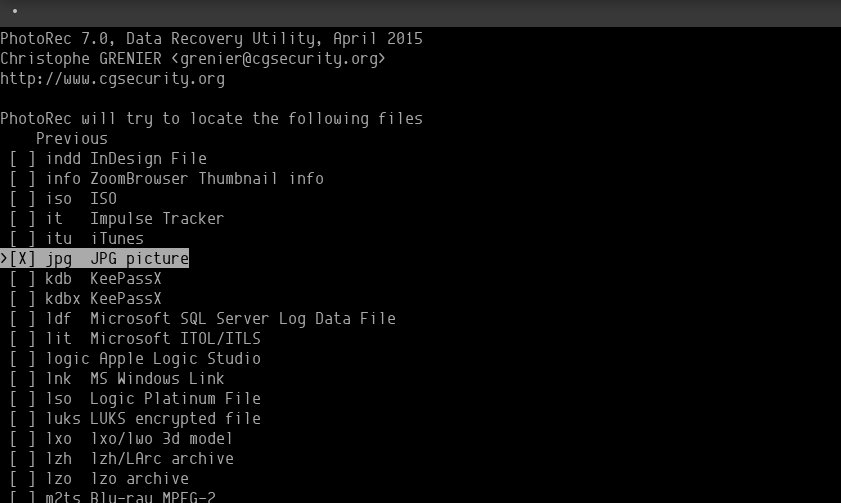
Step 4: Now, choose the file type listed under the file options, as shown below.
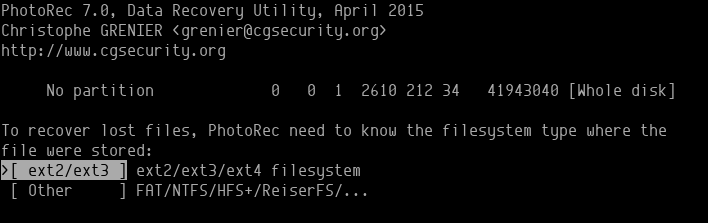
Step 5: This step is about choosing the partition type.
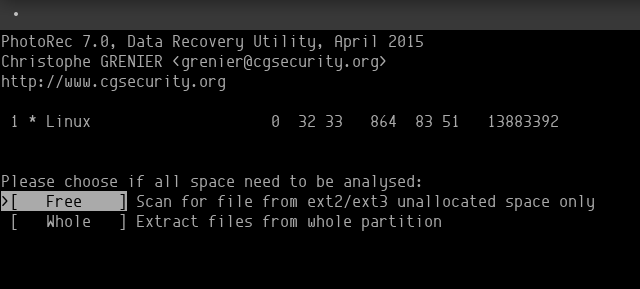
Step 6: It is time to choose whether you want to scan the entire drive or free sectors only.
Step 7: This step allows you to recover the restored files. The recovery time may vary depending on the amount of data you want to get back.
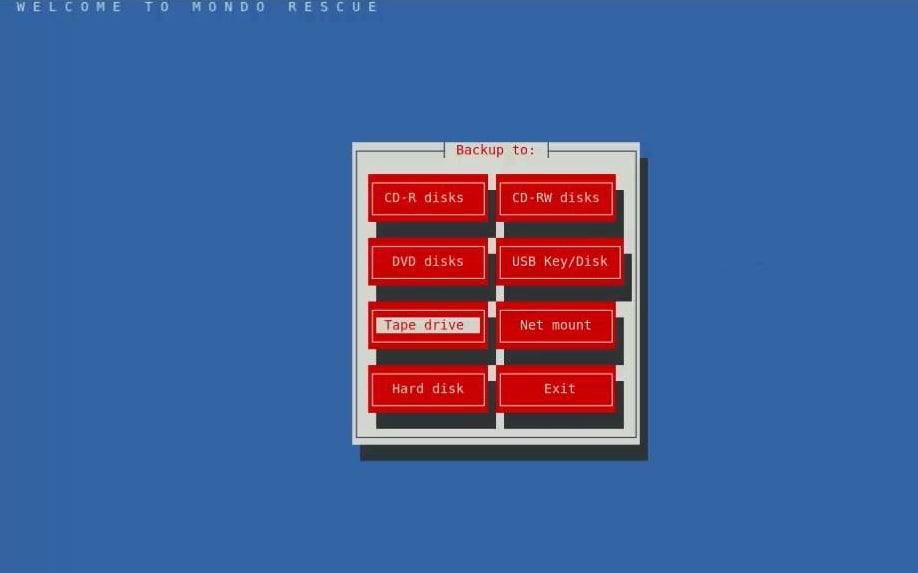
8. Mondo Rescue
This is another command-line-based Linux data recovery program. This software has been serving the data recovery industry for more than a decade and has successfully made the community of a number of happy users. Verifying the data integrity sets this program apart.
Price: Free to use
Pros
It can create backups and recover lost data efficiently
Supports both non-RAID and RAID devices
Top features include; partition formatting, resizing, and partitioning
Cons
Does not have an engaging user interface
Step-By-Step Guide
This tool asks you to follow the 6 steps given below.
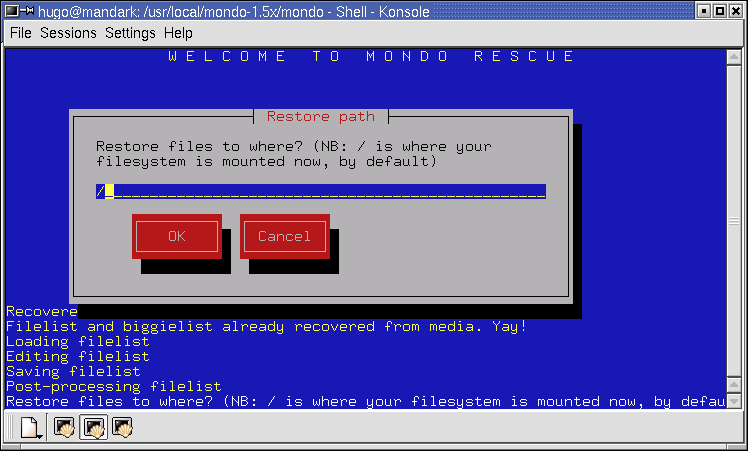
Step 1: Open the program and select the type of backup media.
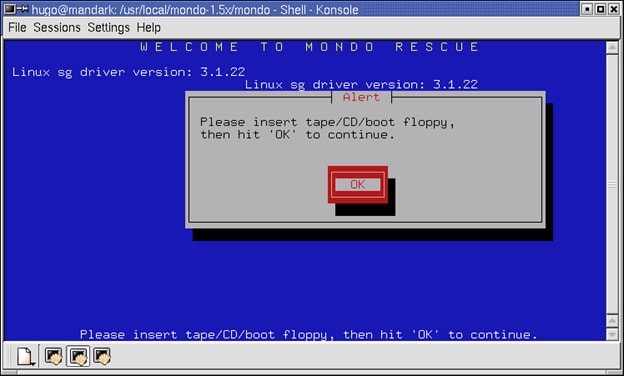
Step 2: Now, insert the CD and press “OK.”
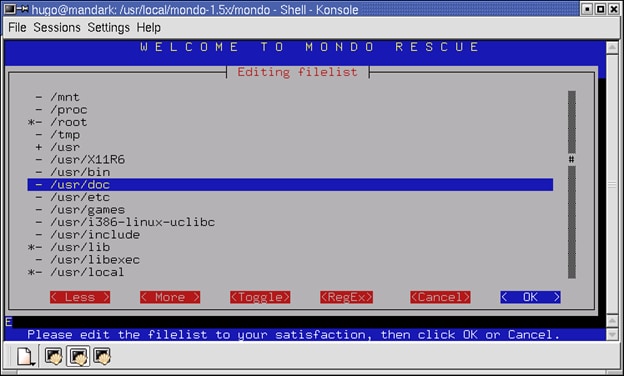
Step 3: It is time to flag the directories and files you want to recover. You can use the “Less” or “More” buttons to close and open subdirectories.
Step 4: Now, select the desired location to recover files.
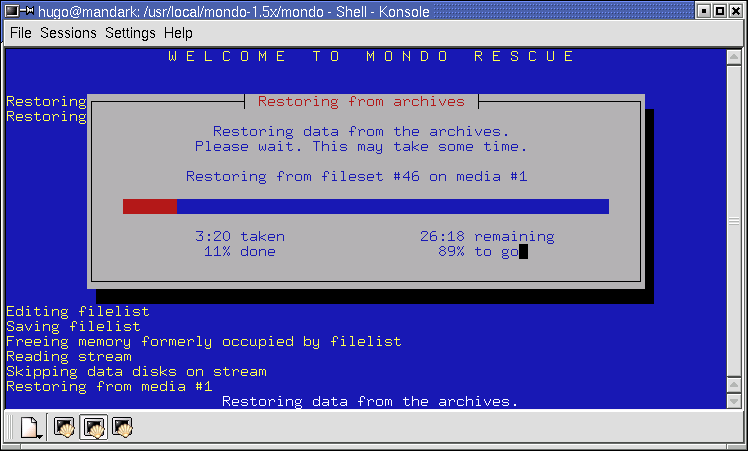
Step 5: The program will help you retrieve the information about the configuration from the media.
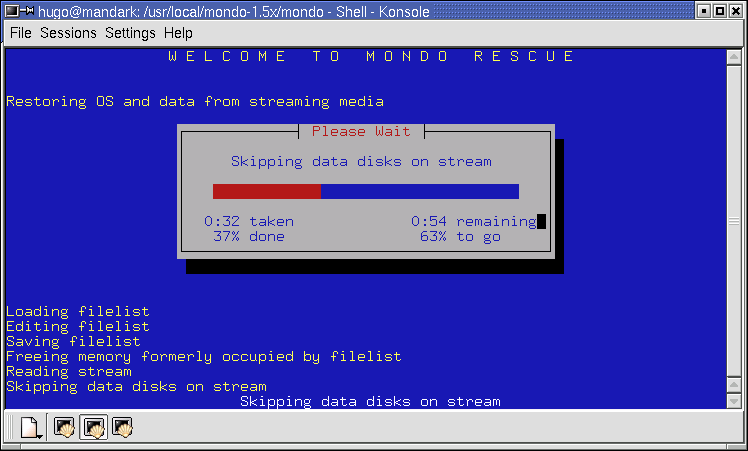
Step 6: Wait until the data is recovered. Regular files will be restored first. Then, you will be able to get your 32 MB or bigger files.
9. Redo Backup and Recovery
You can plug this regular utility into any device you want to recover partitions or data you have lost. Redo Backup and Recovery is a platform-independent Linux data recovery software that is compatible with almost all operating systems.
Price: Free to use
Pros
User-friendly interface
It enables you to access other apps when recovering data
Comes with pre-installed apps, like a text editor and browser
Supports all operating systems including Linux
Cons
The data may take longer to get downloaded on your system
Step-By-Step Guide
It is a pretty simple process consisting of 7 steps.
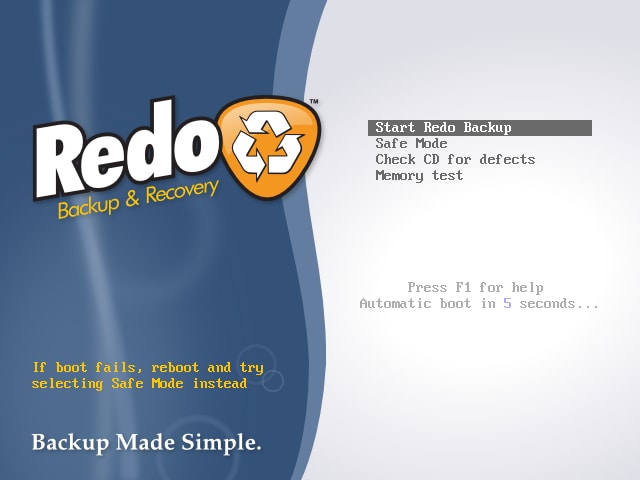
Step 1: Download the program, burn an ISO disc image with a CD burning tool, insert CD, and reboot your system.
Step 2: When your computer is starting, press the “F12” or “F8” key from the keyboard. It will help you boot from a CD-ROM disk.
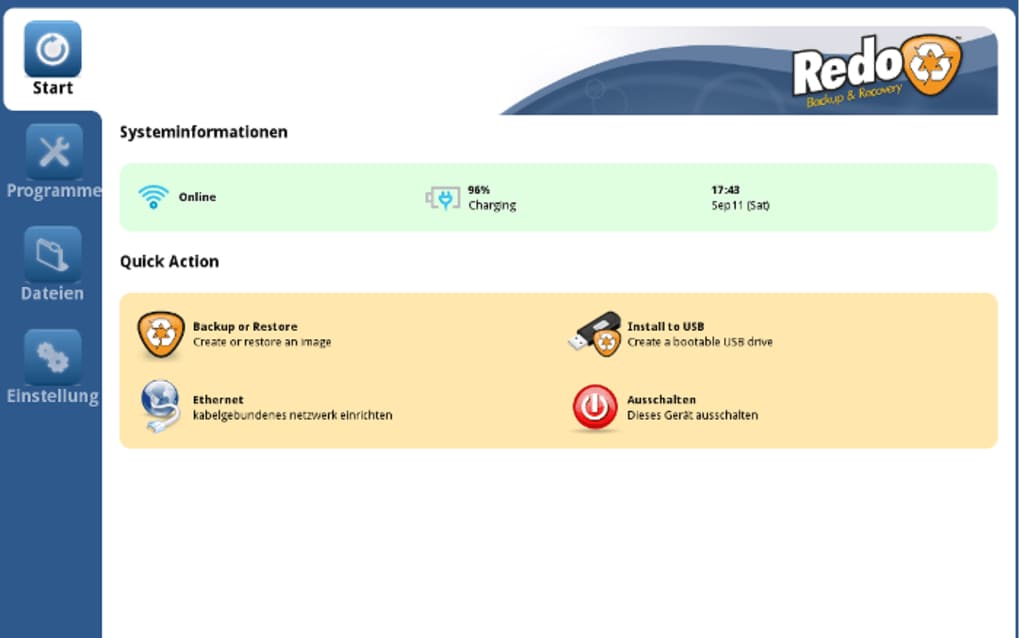
Step 3: Now, tap on “Start Redo Backup.”
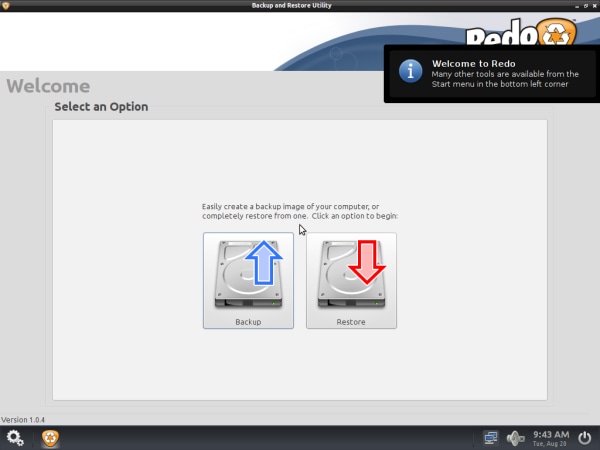
Step 4: It is time to create the backup of the full system. For this, tap on “Backup.”
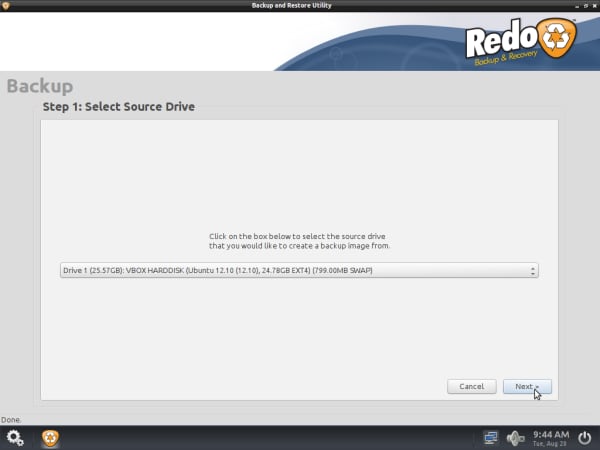
Step 5: Now, search the drop-down list to choose the source drive and hit “Next.”
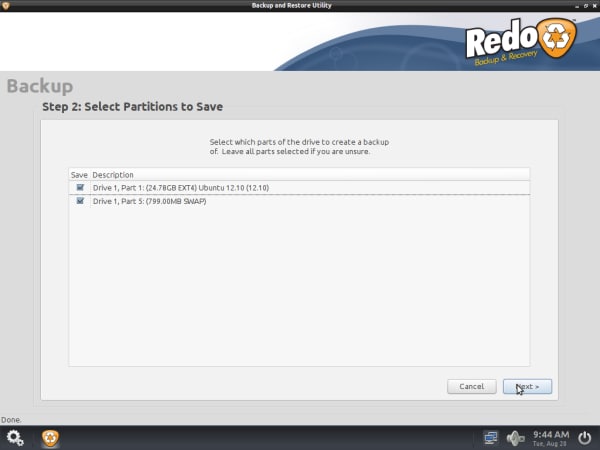
Step 6: Choose the desired parts of the disk to create a backup and press “Next.”
Step 7: This step enables you to select the destination drive. It could be the shared network drive or a local disk connected to your system.
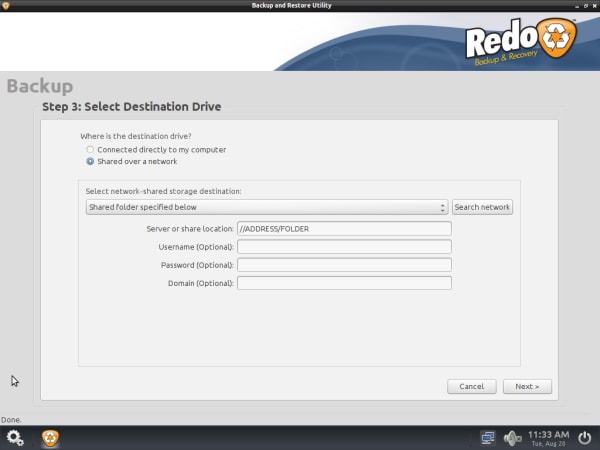
Provide this backup with a unique name and you are done.
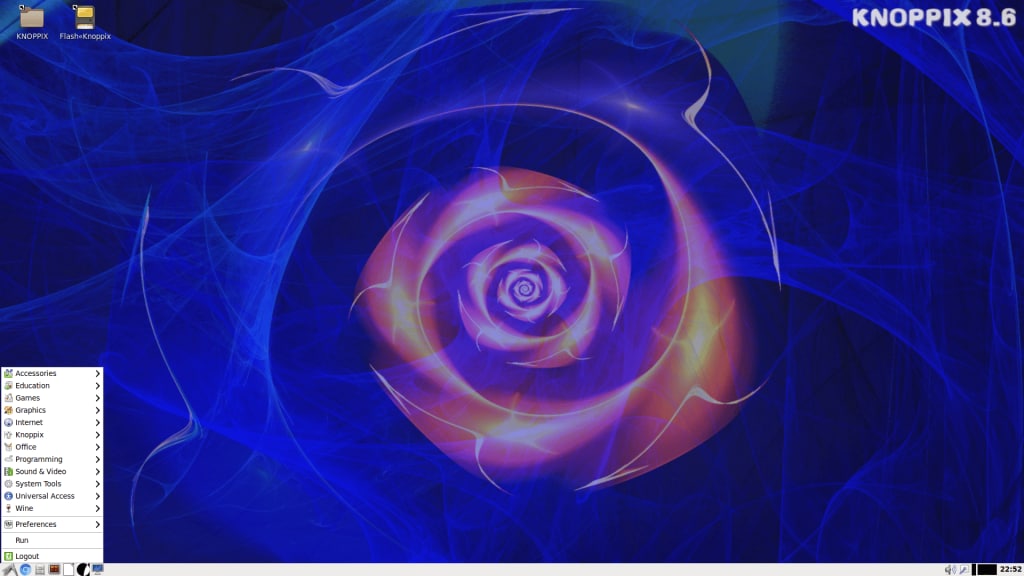
10. Knoppix
It is a Debian-based Linux partition recovery software introduced to run directly from a USB, CD, or DVD. Knoppix has the ability to run as the sole OS for your computer. This software comes with a variety of tools you need for data recovery purposes.
Price: Free to use
Pros
Features seamless design
Easy to install
You can run it fully from a CD
Perform quick data recovery
Cons
It starts slowly when you install it on hard disk
Step-By-Step Guide
It consists of 13 quick steps, as listed below.
Step 1: Search Infrastructure > Servers section of Cloud Panel to choose the relevant server.
Step 2: Go to the Applications tab and choose the Knoppix DVD.
Step 3: Tap on “Load DVD” and wait until the status becomes green (100%).
Step 4: Tap on “Actions” and then hit “Restart.”
Step 5: Select “Software” and click on “Yes.”
Step 6: Navigate to Actions > Access KVM Console. It will open a new tab.
Step 7: Start the Terminal Emulator.
Step 8: Use the below command to get administrator rights.
knoppix@Microknoppix:~$ su
Step 9: Use the below command to set the password for a root user.
root@Microknoppix:/home/knoppix# passwd
Enter the password. Now, repeat it for security reasons.
Step 10: Run the below command to enable external access.
root@Microknoppix:/home/knoppix# /etc/init.d/ssh start
Step 11: It is time to create a directory using the below command.
root@Microknoppix:/home/knoppix# mkdir /mnt/old
Step 12: The below command is used to display the volume group.
root@Microknoppix:/home/knoppix# vgs
This command will display the information about the volume group.
Step 13: The below command allows you to mount the volume group.
root@Microknoppix:/home/knoppix# mount VGpath /mnt/old
How to Choose a Linux Partition Recovery Tool for You?
Since the market holds many Linux partition recovery tools, choosing one to proceed with is a tough nut to crack. This is where thousands of people worldwide often struggle. This section presents a few factors to consider before you choose a Linux partition recovery software.
- User Interface: A program’s UI must be attractive enough to keep you engaged.
- Ease of Use: All the functionalities should be easily accessible so that every user can easily use the tool even if they are not tech-savvy.
- Features: Every single feature must produce an effective outcome to ensure you can get the desired results.
- Recovery Time: A good Linux data recovery tool does not take much time to restore partitions or data files. However, time varies depending on the data size you want to recover.
- Recovery Rate: Efficient Linux partition recovery software comes with a data recovery rate of at least 90%.
Considering all the above-listed parameters, you will find nothing better than Wondershare Recoverit which comes with a 95% data recovery rate, more than 1000 file formats, and over 500 recovery scenarios.
Takeaway
If you have lost or accidentally deleted the data from Linux partitions, try using any of the 10 Linux partition recovery tools. Are you unsure which one to proceed with? Give Recoverit a try and you will surely be surprised to see the results.
For Windows Vista/7/8/10/11
For macOS X 10.10 or later

