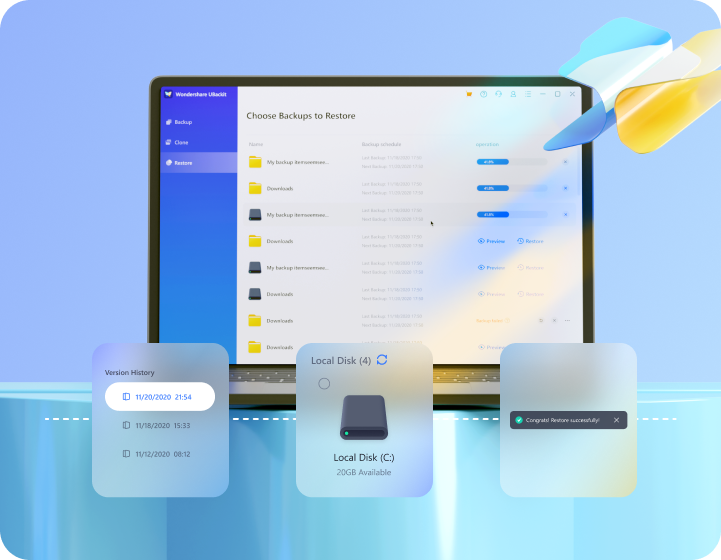
Wondershare UBackit

File Backup

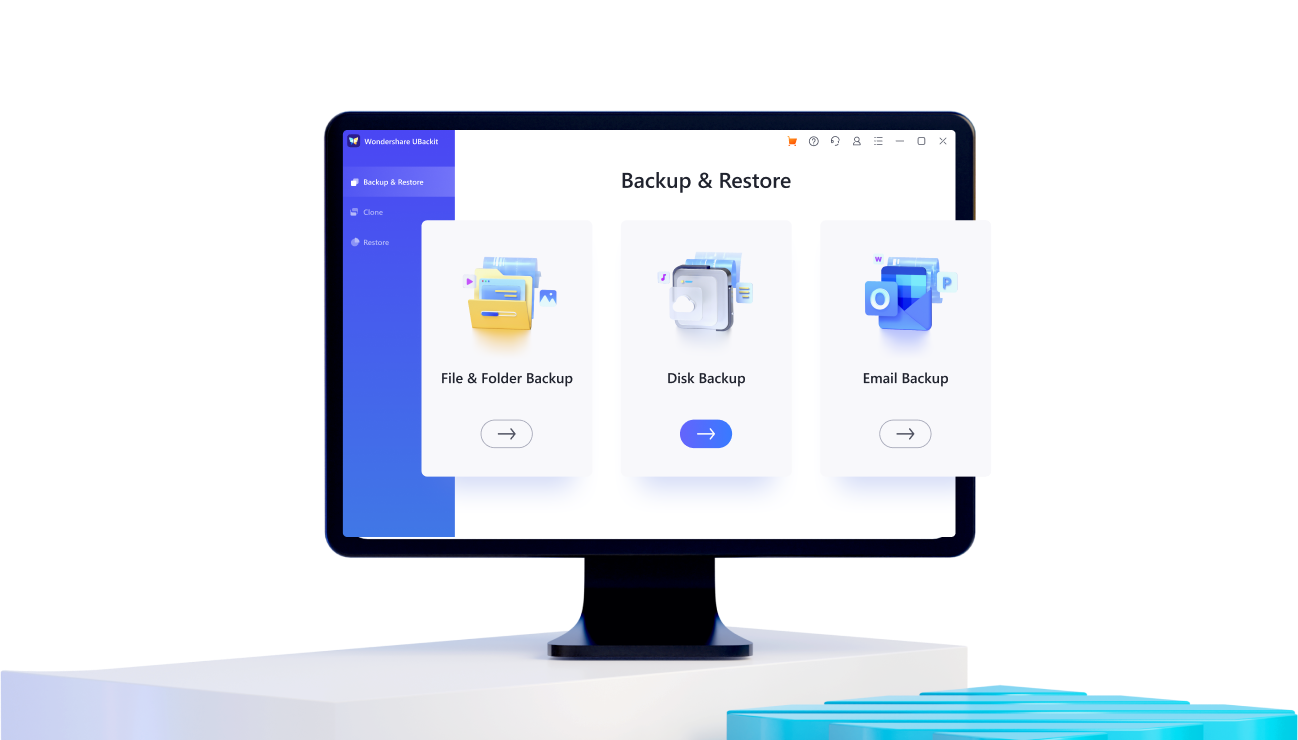
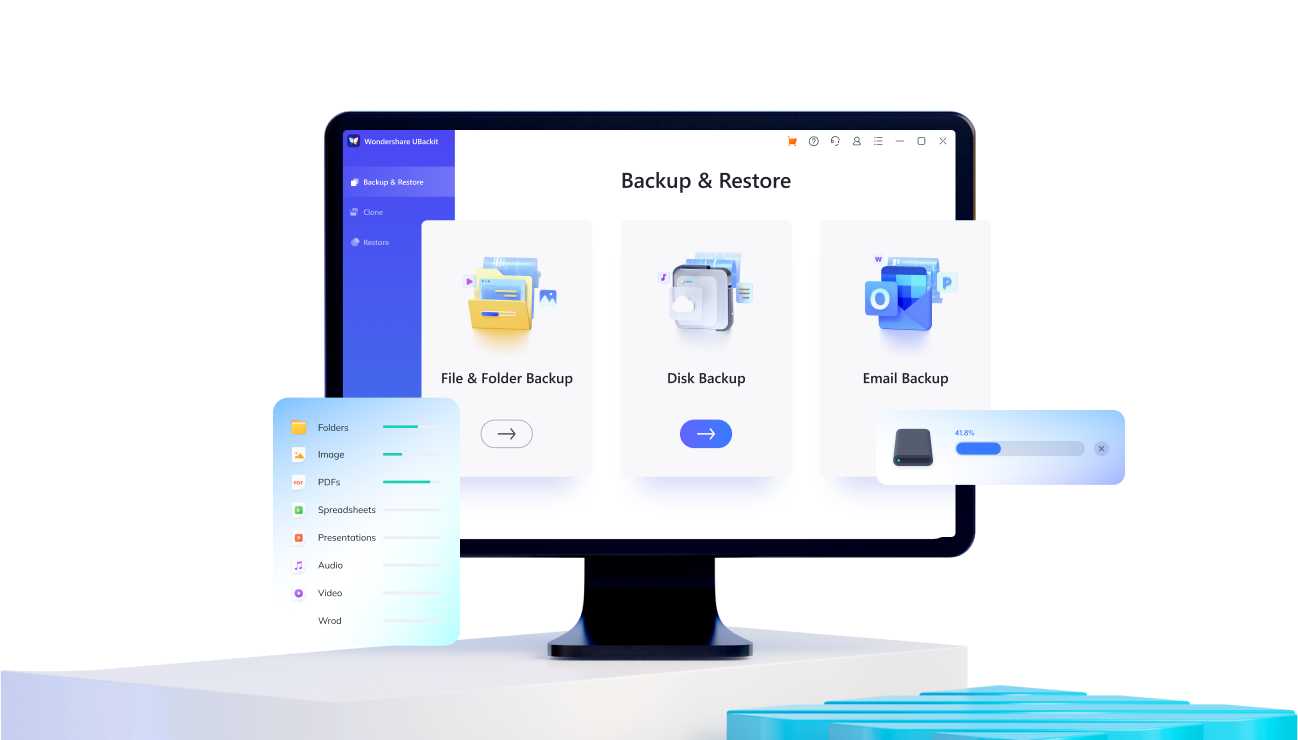
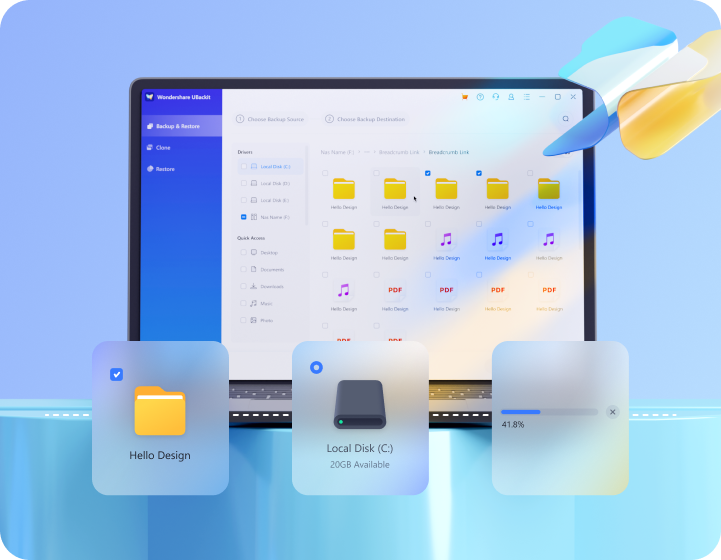
  • Backup files, partitions, NAS disks, hard drives, effectively, incrementally and automatically.
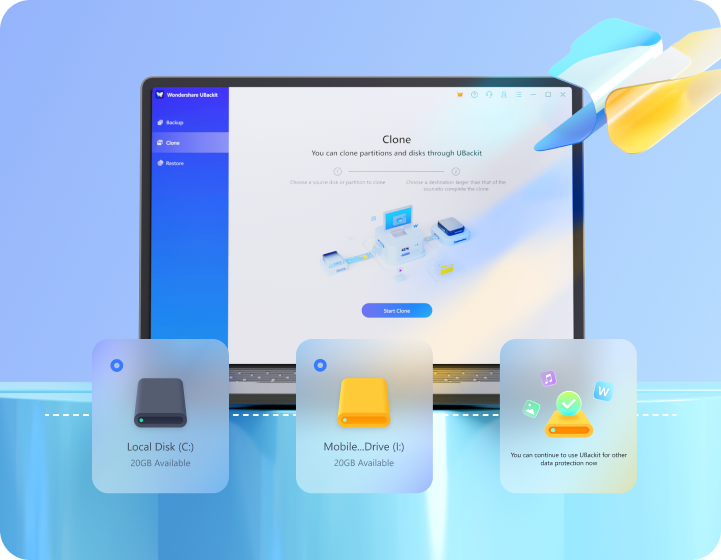
  • Provides many features, such as, disk clone, Outlook backup, scheduled auto backup, and more.
  • Supports 1000+ file formats backup, including JPEG, PNG, AVI, M4V, MOV, MP4, DOC, XLS, PST, etc.
Free Download Free Download Learn More >
data backup

How to Schedule SyncToy in Windows 10

Wondershare Recoverit Authors

Jan 27, 2024 • Filed to: Take Data Backup • Proven solutions

Q: How to schedule SyncToy in windows 10?

“A few days ago, I’ve tried to schedule SyncToy on my computer but I’m unable to conduct the procedure properly. I can’t find the perfect way to do that. The problem is that I want to schedule the backup because of my busy routine and the backup is surely made on my computer. I want to know if there is any way to resolve this issue completely, if yes then I want to know the easiest steps to do so. I also want to know about SyncToy in detail, this will enable me to utilize the software much efficiently.”

Windows may surprise you with multiple built-in features but they all have some instructions. Still, there is no need to panic, you can surely resolve this issue and can schedule SyncToy in windows 10. The perfect way to solve this situation is mentioned in the guide. In this guide, you will also have an overview of the SyncToy which will let you know about the scenario in detail. You will certainly know some about all the features of SyncToy in the guide. Getting aware of the problem will enable you to tackle this problem in the future. So, follow the guide carefully to get yourself out of this devastating situation. We will also be using the third-party software to give you an alternative to this situation.

Part 1: Overview of SyncToy

SyncToy is another built-in utility given by Microsoft to its users. This is a free tool that is cherished by users from all over the world. It has quite a simple operation interface for the users. It is simple to utilize and has multiple modification options. The software is capable of helping the users in tasks like copying, moving, synchronizing multiple directories. All the operations can be done in no time. SyncToy primarily offers three types of options for its users;

1. Synchronize

The utmost utilized is synchronize. In this option, updated and new files have copied both ways. The change is synced across to another folder if a file is renamed or even deleted in one folder.

2. Echo

This option gives the utility to copy updated and new files left to right. It is quite different from the two-way process of synchronization. However, echo is a one-way process from left to right. This is the reason that renaming or deleting a file in the left will affect changes in the right folder but it won’t happen in the opposite direction as it is a one-way process.

3. Contribute

The third option which is given to the users is the contribute option. It enables the new and updated files to be copied left to right. However, there are no deletions. It is quite the same as echo, as it also has a one-way process from left to right but deletions are excluded. This means that if you delete a file in the left folder, it will not be deleted in the right folder. These are the three options that SyncToy gives it to its users, you can utilize any of it.


Part 2: How to use SyncToy windows 10?

After reading the overview, you are quite aware that SyncToy is the built-in Windows tool. Still, you need to know the proper ways to utilize this software. Follow these two major tasks to use SyncToy properly;

1. Download and install Microsoft SyncToy on windows 10

First of all, you need to learn the steps to download and install the software properly;

Step 1: You need to go to the website of Microsoft and click the download button of SyncToy.

Step 2: You can select the version upon your demands. Choose the x86 version if you are using a 32-bit version of Windows 10. However, if you are using 64-bit Windows 10, you will also see the option of a 64-bit version of SyncToy. Choose the “next” button to start the downloading.

synctoy-windows-10-1

Step 3: After the file is downloaded, locate it, and run the setup.

Step 4: You will have the agreement of SyncToy on your screen, make sure to read it and accept it.

Step 5: After accepting, the software will start installing, then you are required to choose the option of “I agree” in the next window.

Step 6: Before you install it, make sure you have chosen the destination path for your installed SyncToy.

2. Sync folders windows 10

Once you have successfully downloaded the software, you need to learn the steps to sync folders with the software in windows 10;

Step 1: Open the software from the location you installed it. After that, choose the option of “Create new folder”, this will enable you to the folder sync option.

synctoy-windows-10-3

Step 2: A new window will open up, you need to click the “Browse” button to select the left folder and right folder to move on. Choose the option of “Next”.

Step 3: This is the screen where you will have the three options that were previously mentioned in the guide, you need to choose any one of them, as per your requirement.

Step 4: After choosing the option, type the name of the folder and press “finish” you can also cherish the option of preview to cross-check everything. Once that is done, you can click the option of “Run”.

synctoy-windows-10-6


Part 3: How to schedule SyncToy in windows 10?

This is the core section of the guide. Here you will learn to schedule SyncToy software in windows 10, as you have previously learned the steps to use it to sync folder. Now, you need to learn the steps to schedule SyncToy in windows 10;

Step 1: Firstly, open the search box and type task scheduler and click.

Step 2: Now, click the option “create basic task” in the right actions pane.

synctoy-windows-10-8

Step 3: A new window will open up, enter a name and description for your ease.

Step 4: Now, choose the schedule as per your requirements and set up the time point for the task to run.

synctoy-windows-10-9

Step 5: Furthermore, check the start program option and click the browse button in the program/script and locate it to SyncToy.exe. lastly, choose the option of “finish”

synctoy-windows-10-12


Part 4: How to create a scheduled file sync task with AOMEI Backupper?

If you are done with SyncToy or you want multiple other features, you can choose the remarkable AOMEI Backupper;

AOMEI Backupper

AOMEI Backupper is the most diverse software available in the market. It also contains all features of the Standard Edition, provides complete and reliable PC backup and restore strategies for any of the windows version. System Clone, Backup Scheme, Dynamic Disk Backup, Dissimilar Hardware Restore, Merge Images, etc. and many other diverse and useful features are available. Not only the backup, but the software allows you to an auto-sync USB drive when connected with File Sync. The software is compatible with almost every operating system. There are a vast number of functions that this software contains. You can conduct incremental or differential backup for the scheduled task, this software allows you to set backup schedules as hourly, daily, weekly, or monthly. You can use to create a scheduled file sync task;

Step 1: Firstly, download and install the AOMEI Backupper on your computer. Launch it and in the main interface, window chooses file sync.

file-sync

Step 2: You can name the task to create ease in recognition. Now, click on “Add folder/file” to choose the folder you want to sync.

add-folder

Step 3: After that, choose the destination path of the synced file. Also, choose the option of schedule given at the bottom.

Step 4: In the next window, choose the frequency of the task to run click on “Start sync” to start the process.

file-sync-start-sync


Conclusion

There is no denying the fact that SyncToy is an amazing utility but still if you want to cherish many advanced features, you can choose the option of AOMEI Backupper anytime you want.

Recoverit author

Amy Dennis

staff Editor

Home > Resources > Take Data Backup > How to Schedule SyncToy in Windows 10