How To Clone SATA SSD/HDD to NVMe SSD With Perfect SATA to NVMe Cloner

So you've heard of the new, high-speed NVMe drives from a friend, and now you want to purchase one. However, you don't want to start from scratch, reinstalling your entire operating system and all the apps individually. Instead, you want to move your data using a SATA to NVMe cloner.

Fortunately, hundreds of apps can handle this and clone your old HDD to an NVMe SSD, but not all can do this safely and without issues. That's why, today, we'll show you the perfect app for it and give you the easiest way to clone SATA to NVMe drives.

What Does It Mean to Clone SATA to NVMe?

You can start considering the cloning process once you meet all the requirements to upgrade to NVMe drives. But what exactly does cloning a SATA SSD to NVMe mean, and how do you go about it?

Cloning any drive, whether making an HDD to NVMe clone, moving data from HDD to SSD, or backing up an SSD to NVMe, will always be the same.

sata vs. nvme drives

It involves creating an exact copy and 1-to-1 replica of all your data, including the hidden or lost files, and moving your entire operating system and installation to the new drive.

Is It Possible to Clone SATA to NVMe?

Whether you can even use an NVMe drive will depend on your motherboard. Namely, some motherboards include M.2 slots that can only handle SATA-based SSDs. In that case, you won't be able to clone a SATA SSD to an NVMe drive because your motherboard doesn't have the needed NVMe slot.

However, most newer motherboards have M.2 NVMe slots, which means it's possible to clone SATA SSD to NVMe relatively easily. These drives also require a UEFI boot mode-compatible motherboard, and even though these slots and the UEFI mode go hand in hand, it's still worth checking if the motherboard is capable of it.

You Need a Reliable SATA to NVMe Cloner

wondershare ubackit sata to nvme cloner

Using just about any cloning tool to move your most important data from an SSD to an NVMe drive is not the smartest thing to do. Not all disk cloning software are equal, and not all can handle such a task efficiently and without hiccups.

If you want to ensure the safety of your data and the cloning process going without any issues, you should use a dedicated disk cloning app from a reputable brand. That's where Wondershare UBackit comes in.

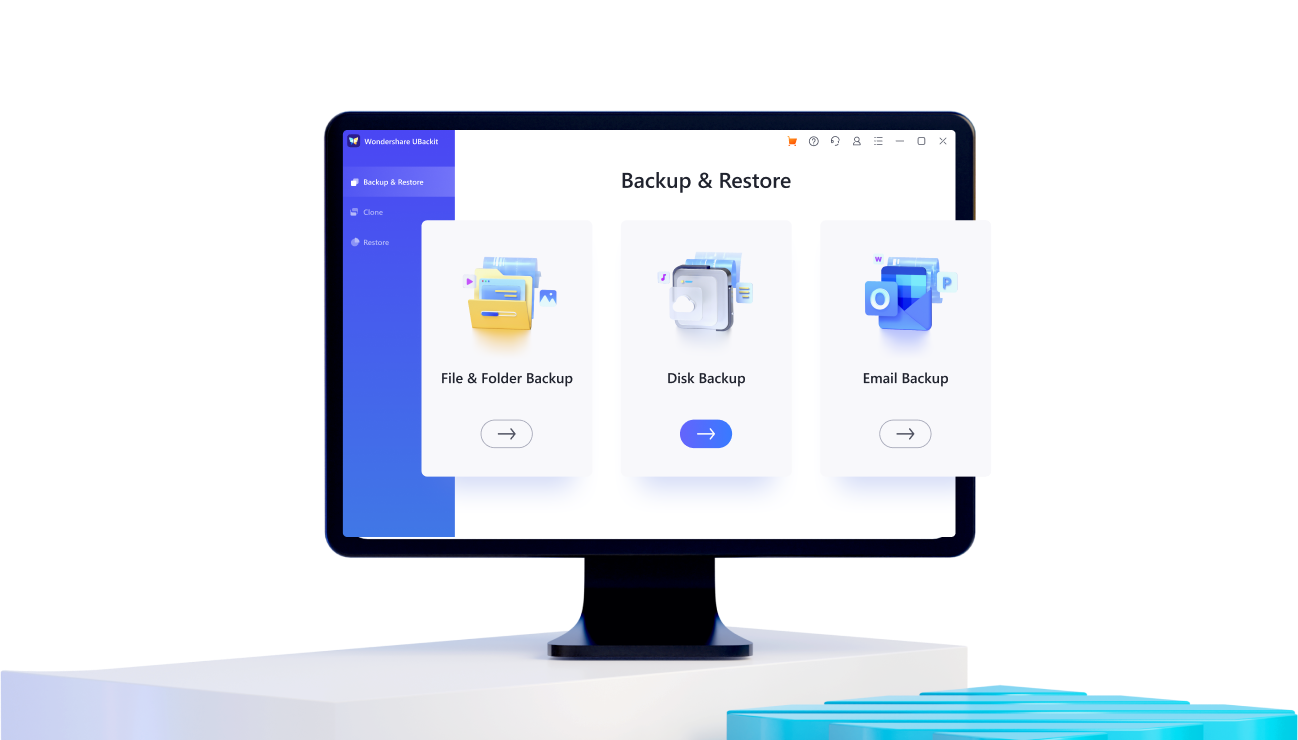
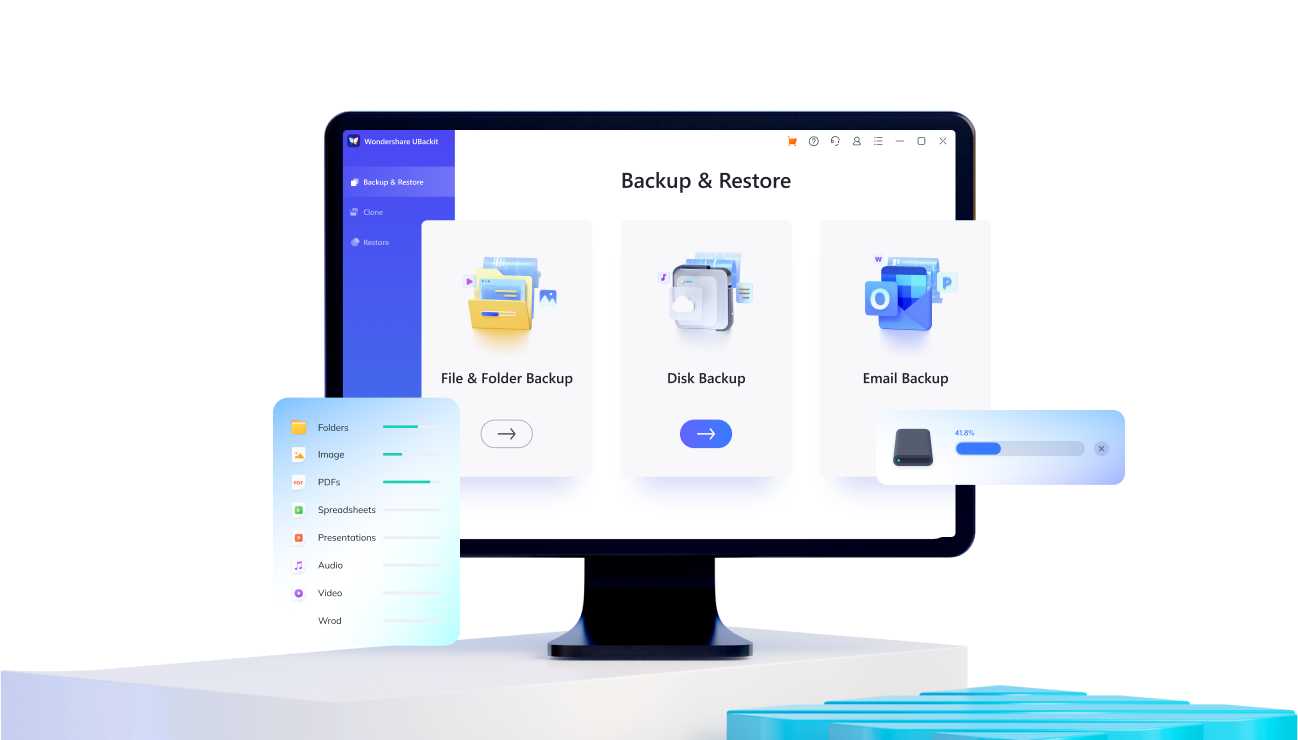
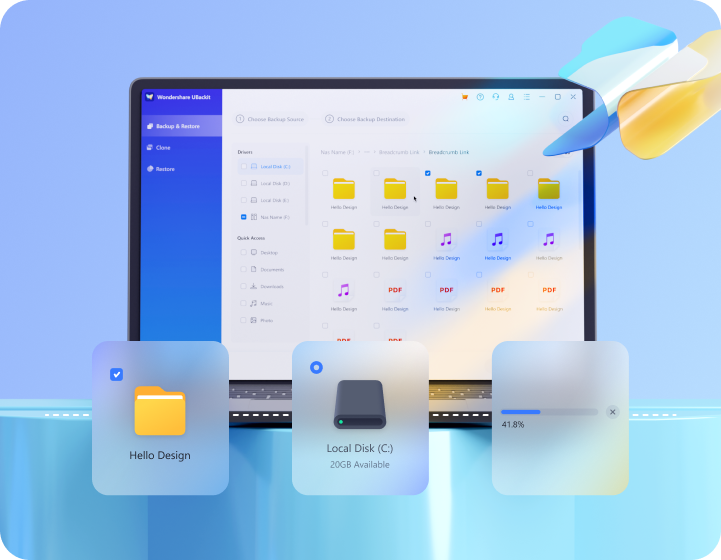
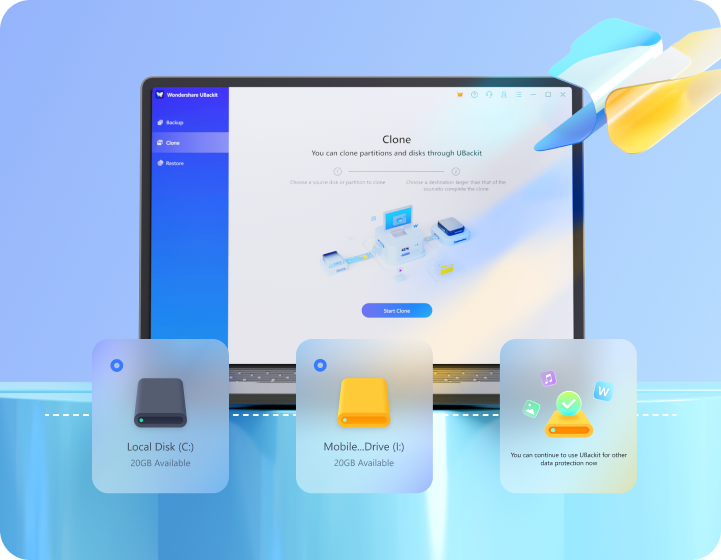
Primarily a backup and restore app, Wondershare UBackit includes a powerful Disk Clone tool for all your cloning needs. Whether you want to upgrade PCs, move data from HDD to an SSD, or clone from a SATA SSD to an NVMe drive, UBackit's Disk Clone tool has your back.

wondershare ubackit

Wondershare UBackit - Your Reliable Disk Cloning Software

Disk Clone: You can clone hard drive to SSD or another HDD easily. It supports a wide range of disk types, such as HDDs from all brands, SATA/M.2 SSDs, NVMe SSDs, USB drives, NAS drives, and SD cards.

Partition Clone: Instead of cloning the entire disk, you have the option to clone a particular partition.

Sector-by-Sector Clone: You are allowed to replicate a hard drive or partition bit by bit.

Supported OS: It is compatible with Windows 11/10/8.1/8/7, 32 bit and 64 bit.

Wondershare Ubackit offers a 30-day free trial, your cloning operations will not only be incredibly straightforward, but they can also be completely free since they're often a one-time thing.

Things to Do Before Cloning SATA to NVMe

Before jumping into the cloning part or moving data from SATA SSDs to NVMe, you must ensure everything is ready for the cloning process. Otherwise, you may lose your valuable data if things go wrong and anything malfunctions. Here's what you'll need to do first:

  • Add the new NVMe drive to the computer by locating the M.2 NVMe slot on your motherboard, correctly placing the NVMe drive in the appropriate space, and tightening the screw;
  • Ensure that your new NVMe drive is visible in both your BIOS/UEFI and your operating system;
  • Check your SATA cables and the connection between the SATA SSD and the motherboard;
  • Create a New Simple Volume on the NVMe drive inside the Windows Disk Management tool;
  • Install the appropriate disk cloning software.

Once you're ready with all the preparations, you can move to the cloning guide and use Wondershare UBackit to clone SATA SSD to an NVMe drive effortlessly.

How To Clone SATA SSD/HDD to NVMe Using Wondershare UBackit

Cloning drives with Wondershare UBackit is effortless because of its simple, clean, and straightforward user interface. Anyone can use the app and navigate through powerful backup, restore, and disk cloning tools.

Here's what you'll need to do to clone a SATA SSD to an NVMe drive with UBackit's Disk Clone:

  • Step 1: Open the Wondershare UBackit application on your Windows PC > Clone.
start the ubackit sata to nvme cloner
  • Step 2: Choose which SSD (or partition) you want to clone > Next.
select the sata ssd as clone source
  • Step 3: Choose the NVMe drive to clone the SSD onto > Clone.
select the nvme ssd as clone destination
  • Step 4: Confirm the SSD to NVMe cloning process by pressing the Continue button.
confirm cloning sata ssd to nvme
  • Step 5: Let UBackit handle the cloning operation as you watch the progress.
start sata to nvme cloning progress
  • Step 6: Hit Okay once the cloning operation is done, and you see the “Cloned successfully!” message.
sata ssd to nvme cloning successful

Even though SSD drives are much faster than traditional mechanical HDDs, cloning might take some time. If you have a massive installation with thousands of music, photo, and video files and many games, it can take up to a few hours to complete. Be patient and let Wondershare UBackit work its magic.

Why Clone SATA to NVMe?

As the tech industry is slowly moving away from SATA drives because of their slower file transfer speeds and limitations, it's understandable why you'd want to get an NVMe drive. The NVMe standard is much newer and provides incredible speed benefits to PC users. Yet, this is only one of the reasons why you'd want to clone a SATA SSD to NVMe.

  • Speed - As NVMe drives use PCIe lanes, they can reach speeds up to 8 times greater than SATA SSDs, which can be highly beneficial if you're constantly working with large files such as video or photo editing or backups.
  • No cables - Since NVMe drives are connected directly to the motherboard, they require no wires. They can even be hidden behind other components, creating an excellent and clean PC build.
  • Low power - The new NVMe drives don't require cables from the power supply and are powered by the motherboard. They're also much more power-efficient than SATA SSDs in the long run.
  • Low latency - Because NVMe drives connect directly to the motherboard, they're often much closer to both the CPU and the RAM, creating a low-latency environment and having much faster access times that can be particularly handy if your work can benefit from it.

Whatever your reason for upgrading to NVMe from SATA, you'll see plenty of benefits in real-world usage, and it's why cloning SATA SSDs to NVMe makes a lot of sense. However, it is essential to be prepared for potential data loss situations and know how to recover data from NVMe SSD to ensure your valuable files are safe during the transition.

Conclusion

Cloning SATA drives to NVMe is slightly more complicated than cloning old and slow HDDs to new and fast SSDs. However, it's still a relatively simple task, especially if you have a newer PC and use a proper dedicated app.

There are hundreds of readily available apps that can help you with this, but Wondershare UBackit and its powerful Disk Clone feature are undoubtedly the best tools for disc cloning. With it, you can easily clone your old HDD or SSD to an NVMe and move your data quickly.