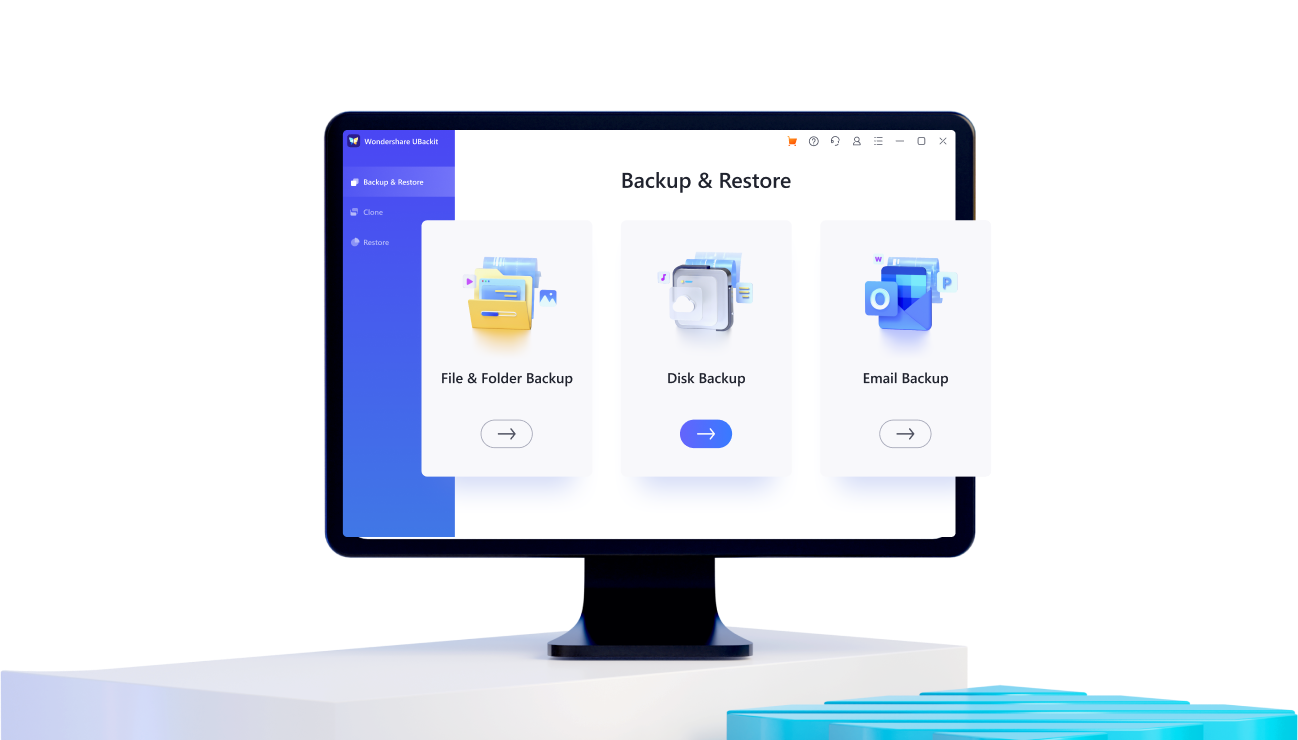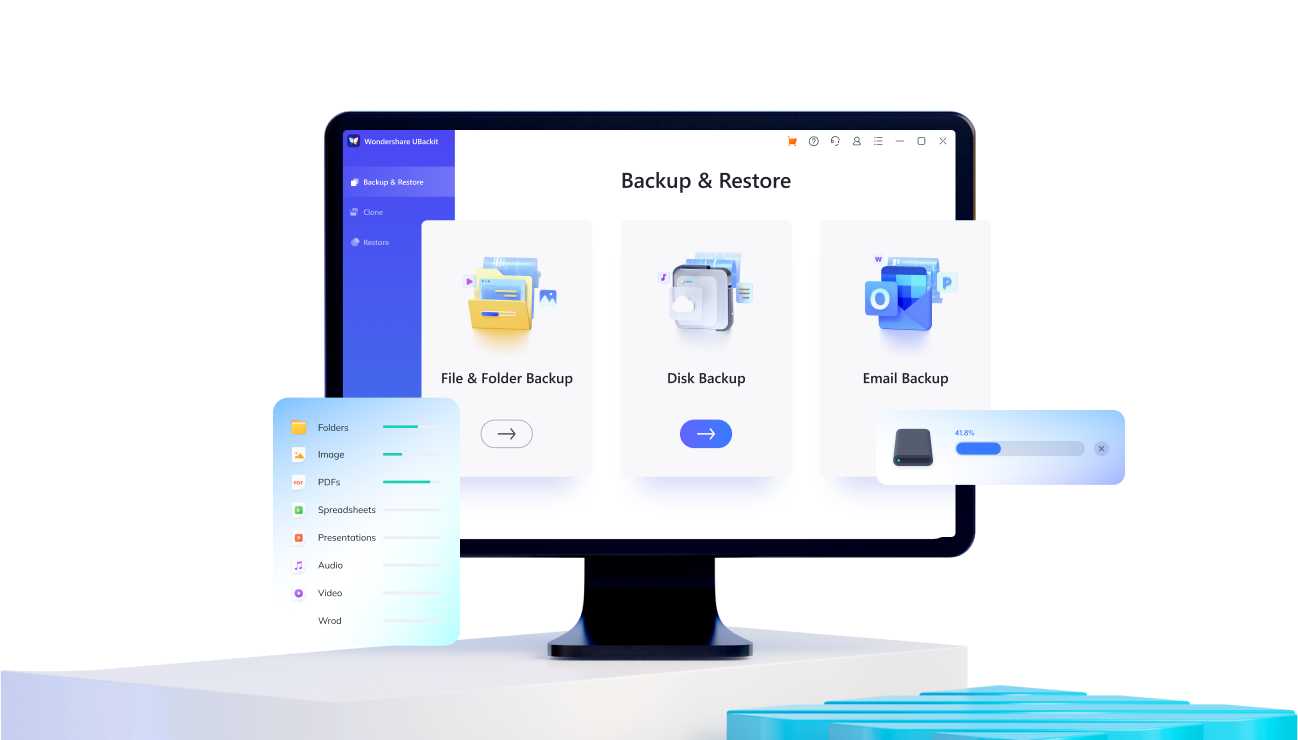
Wondershare UBackit

File Backup

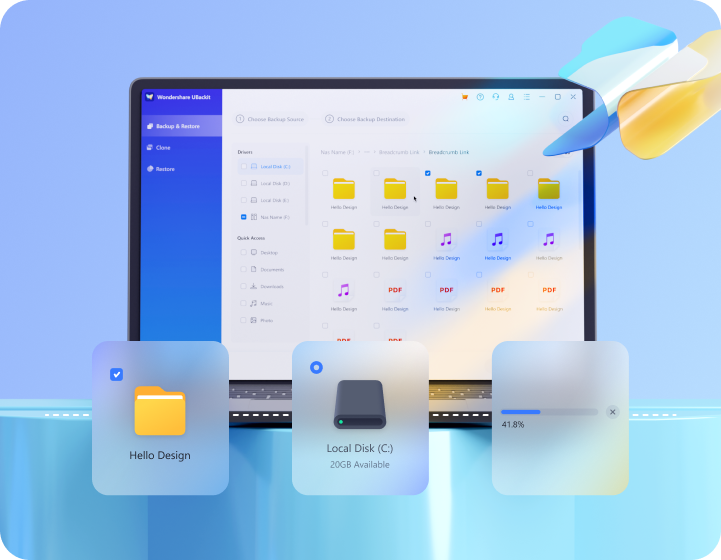
  • Backup files, partitions, NAS disks, hard drives, effectively, incrementally and automatically.
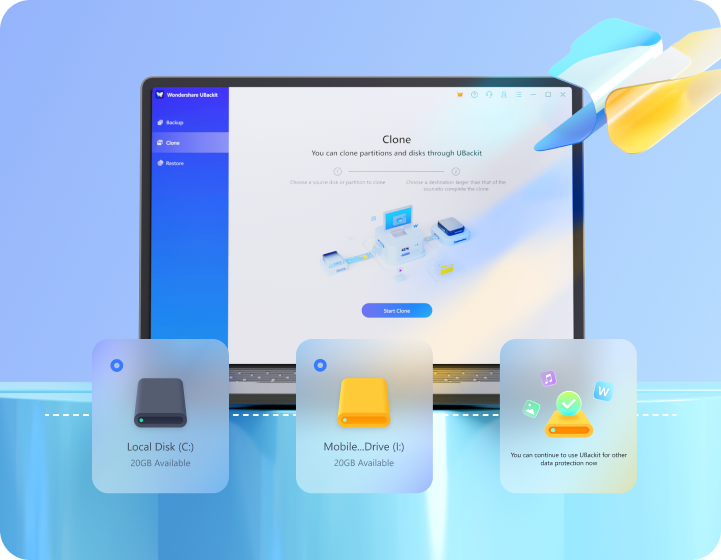
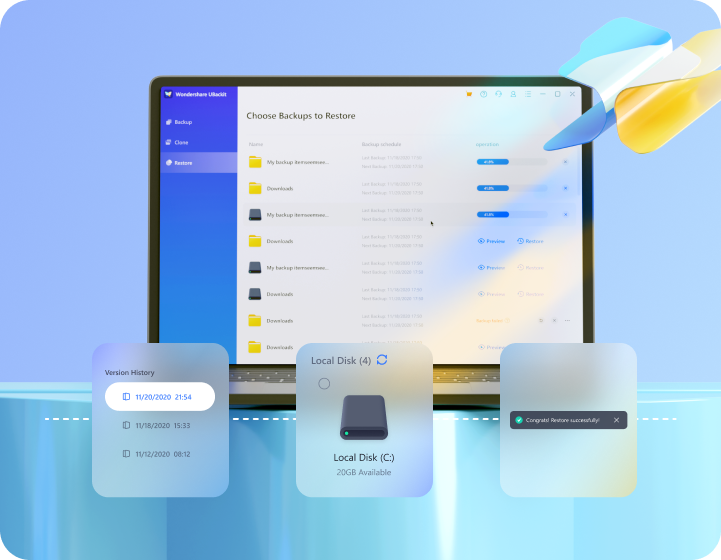
  • Provides many features, such as, disk clone, Outlook backup, scheduled auto backup, and more.
  • Supports 1000+ file formats backup, including JPEG, PNG, AVI, M4V, MOV, MP4, DOC, XLS, PST, etc.
Free Download Free Download Learn More >
data backup

How to Fix Cloned Hard Drive Shows Wrong Size

Wondershare Recoverit Authors

Jan 27, 2024 • Filed to: Take Data Backup • Proven solutions

Cloning a disk is, indisputably, the most practical way to replace a disk with a new or larger one without losing files and respecting the original structure of the folders and system settings. However, the incorrect management of this method can cause Windows incorrectly indicates the size of the device. If this is your case, don't worry. In this post, I will explain why this happens and also show you some methods that can fix your problem in no time.

Part 1: Fix Cloned Hard Drive Shows Wrong Size

Q: A month ago, a friend helped me clone my old hard drive to replace it with a new hard drive, but a few days ago, I noticed that my hard drive has a 4TB capacity, and it only allows me to use 2TB. Is there any way to correct this problem?

Disk cloning is an effective method of fully backing up the information on a hard disk. Unlike other data backup methods, cloning not only allows you to back up files or folders, but it also preserves the original structure of the files. For this reason, cloning is the most effective method when it comes to backing up all the information on a computer at once. In this way, you can replace the original disk with a new one without noticing a single change in your files or settings. However, this backup method often presents problems when you don't do it properly. Later I will talk about the issues that can arise, and I will also explain in detail how to avoid them.


Part 2: The Reason that Cloned Hard Drive Shows Wrong Size

Cloning a disk may or may not be a simple task, which depends on the method or tool you use to manage the cloning process. Some tools are not able to adapt the clone image with the new storage device and, as a result, leave unallocated space on the device.

If you want to understand why a cloned disk shows the wrong size, it is necessary to know how the cloning process of a disk works; cloning a disk consists of copying the information and characteristics of the source disk to a destination disk. In other words, this process will not only copy the data and settings of the operating system, but it will also copy the file system and the partition table scheme of the source disk.

Next, I will talk about the two possible causes of this problem.

The disk image is smaller than the capacity of the target disk: Some cloning tools tend to create non-adaptive images of the source disk, and as a result, when you install the image on a larger-capacity device, this image preserves the storage limits of the source partition, leaving the remaining space on the device unformatted.

MBR partition table: If you intend to use a storage device with a capacity greater than 2TB, you must make sure that you are not cloning an MBR partition; this partition table is incompatible with disks of this size, also, if you decide to use Disk Management to change the table of a disk partition, you will erase all the content on the device, making the cloning process a waste of time.

What is a partition table?

Partition tables are partition structuring models that define how the operating system will manage data reading and writing processes on disk partitions. There are two partition tables supported by Windows, GPT (GUID Partition Table), and MBR (Master Boot Record).

MBR is a scheme designed to work in conjunction with BIOS. Currently, MBR is considered an outdated format due to the limitations of logical sector management and the development of a more intuitive and efficient firmware such as the new market standard, UEFI.

The main problem with MBR is that due to the 32-bit architecture, it is impossible to handle disks or partitions larger than 2TB. Although 2TB was a big storage capacity in the past, today, it is much more common to have hard drives of this or greater storage capacity, even for home use.

What if I cloned an MBR disk?

If you cloned an MBR disk to a disk with a capacity greater than 2TB, the operating system would not recognize the space exceeding this figure.


Part 3: How to Fix Cloned Hard Drive Shows Wrong Size?

If, after having cloned a disk to replace it with a new or larger one, Windows indicates the wrong size on your new disk, two simple solutions can solve your problem. The first consists of manually adjusting the size of the partition on your disk and, the second consists of cloning your disk again, but this time, correcting the configuration problem that caused the problem. Next, I will talk about these two methods in detail.

Section 1. How to use the full capacity of cloned hard drive?

If the cloning image sets a lower storage limit than your disk has, you can use the Windows built-in Disk Management tool to solve it. This tool allows you to create, erase, and modify the size of the partitions on your disk. Next, I will show you how to use it, but you must bear in mind that this method will not help if your disk uses the MBR scheme and has a capacity greater than 2TB.

Step 1: Open Disk Management

disk-management-image-1

There are several ways to access Disk Management. The easiest is by right-clicking on the Windows icon on the taskbar and clicking on the Disk Management option.

Step 2: Select the volume to extend

disk-management-image-2

Within Disk Management, you will be able to see the storage devices connected to your computer. Right-click on the local disk (C :) and select the Extend Volume option...

Step 3: Set the amount of space to extend

disk-management-image-3

A window like the one shown in the image will appear. You must adjust the size so that it uses all the unallocated space and then click on Next.

Section 2. How to avoid cloned hard drive shows the wrong size?

As I mentioned earlier, cloning a hard drive can be an easy task if you use the right tools. There are professional data backup tools that can manage cloning processes effectively. I recommend Wondershare UBackit. This software has a very intuitive and easy-to-use user interface with which you can perform cloning processes without worrying about something going wrong since the software will assist you during all the configuration processes. I will show you how to use it below.

Step 1: Select Clone

Once you have installed and opened Wondershare UBackit, go to the Clone section in the left panel of the window. Select the Start option.

select-disk-clone

Step 2: Select a source disk

A list will appear where you can see the storage devices connected to your computer. Select the disk you want to clone and then click on Next.

disk-clone-source

Step 3: Select a destination disk

Now you must select the disk where you want to store the information resulting from the cloning process and then click on Clone. (Any information stored in the location of your choice will be overwritten, so make sure to back up the data of this device before beginning this process).

disk-clone-destination

Step 4: Start the cloning process

If everything is ok, click on Clone and wait for the process to finish.

start disk cloning


Conclusion

As you can see, cloning is not a difficult task, and it has many advantages that no other backup method can offer; and if you use the right tool, you can make the process much simpler. Wondershare UBackit is a professional software specially designed to perform all kinds of backup tasks efficiently. Just make a couple of clicks, and you will have created a complete backup of your disk, preserving the original structure of the folders and operating system settings.

Recoverit author

Amy Dennis

staff Editor

Home > Resources > Take Data Backup > How to Fix Cloned Hard Drive Shows Wrong Size