How to Send Pictures to SD Card
Capturing moments in the form of pictures has become the tradition of every culture. No matter what kind of even it is, you will see everyone around you capturing memories in the form of pictures. You do not have to take cameras everywhere because now every smartphone has a camera. You can take photos and save them on your smartphone.
It's quite often that people want to transfer pictures from a phone or computer to an SD card. A similar question, i.e., " how to move pictures from phone to SD card," got our attention. Now, gear yourself up because we will introduce you to the easy steps you will perform to move your pictures to the SD card. So, let's begin the ride!
Part 1: How to Move Photos to SD Card on Android Phone?
Solution 1: Transfer photos from internal storage to SD card
In Android phones transferring photos from internal storage to an SD card is as simple as transferring images from one folder to another. One can select the data like pictures etc., and then move it to an SD card. This section of the article answers your question of how to move pictures to an SD card. So, let's go through the steps to follow to transfer photos to the SD card.
- First of all, you are required to connect your SD card with your phone.
- Ensure your phone is detecting your SD card and SD card has enough free space to transfer pictures in it.
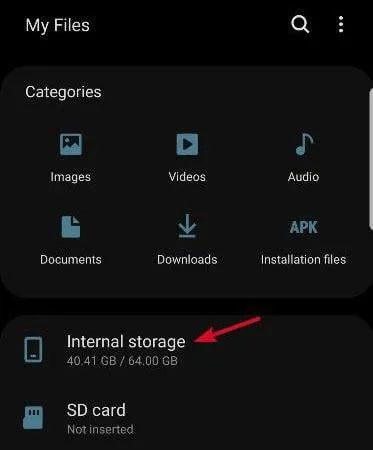
- Go to your phone menu and click on "My files" or "File Manager." It will open different categories on your screen.
- Now click on the option of "Internal storage."
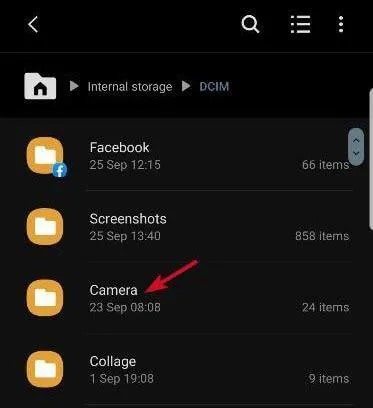
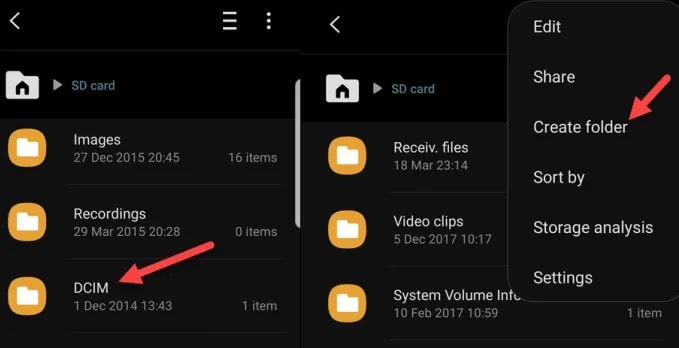
- Then click on the option of DCIM.

- Find the option of "Camera" from the available options and long-press it.
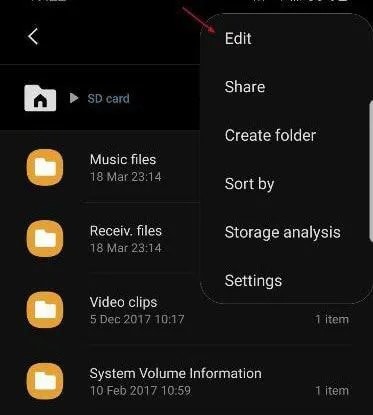
- Click on the option of "Menu" illustrated by three vertical dots at the top right corner.
- Select the "Edit" option.
- Click on the option of "Move."
- Now go back to "My files" and click on the option of "SD card."
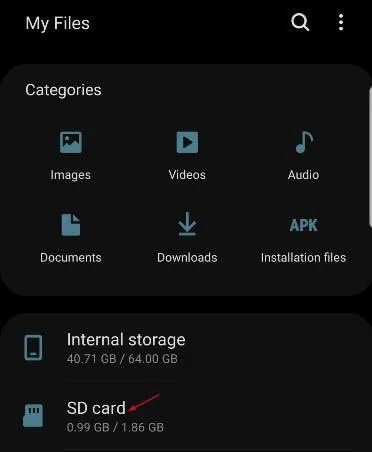
- Click on the "DCIM" option and if your SD card does not have it, then create one.
- After completing step 11, click on DCIM and select the option of "Done." Your pictures will be moved to an SD card.
Following the steps mentioned above, you can move pictures from android internal memory to an SD card without any problem. Moreover, you can also select the SD card as your storage location from your camera setting. In that case, the photos will be automatically saved on an SD card. This method will help you deal with the confusion of how to move pictures to an SD card in Android.
Part 2: How to Move Files to SD Card Using Computer?
Solution 1: Transfer the pictures by connecting the SD card reader
To transfer the pictures from the computer to the SD card reader, you will need an SD card reader. In this way, you will connect your SD card with the computer because the computer cannot connect the SD card directly to it. The following steps will help you in confusion about how to move pictures to the SD card . So, let's see what these steps are.
- First of all, insert your SD card in the card reader.
- Now, connect this SD card with your computer. The computer will detect the SD card in no time. Make sure that your SD card has enough available space to move pictures in it.
- After connecting the SD card, click on the option of "This PC."
- From the available options, click on the option of the "Pictures."
- In case your pictures are in some other folder, you will choose that concerned folder, for example, local disk C.
- Now select all the pictures you want to transfer, or you can also select the whole folder in the first place.
- Now, right-click and select the option of cut and go to the SD card.
- On the SD card, select the desired location and right-click.
- From the available options, click on the option of paste. The moving process will begin, and in no time, your pictures will be transferred.
Through the above procedure, you will get your pictures transferred from computer to SD card. If you want to keep the photos on the computer, too, then you will copy-paste the images instead of cut paste. Hence to deal with the confusion about how to move images to an SD card, follow the above workable and efficient steps.
Part 3: Recover Lost/Deleted Pictures from SD Card?
Pictures are a source of pleasure as they keep memories fresh in your mind. Watching old pictures brings you back to the previous times. Sometimes people lose their essential pictures accidentally or due to some virus. Is not it horrifying? Usually, people give up on this situation and think that there is no way out of this dilemma, but you do not have to be like that.
Because we care for you and are about to introduce you to wonderful software, i.e., Wondershare Recoverit Photo Recovery Software, this software will help you to bring back your important pictures on an SD card. So, let's go through this fantastic software's details and steps, which will help us bring our precious data back.
Step 1: Downloading the software
To get benefit from this software, you will have to download and install it on your computer.
Step 2: Connecting SD card
After downloading the software, insert your SD card into the card reader and connect it to the computer.
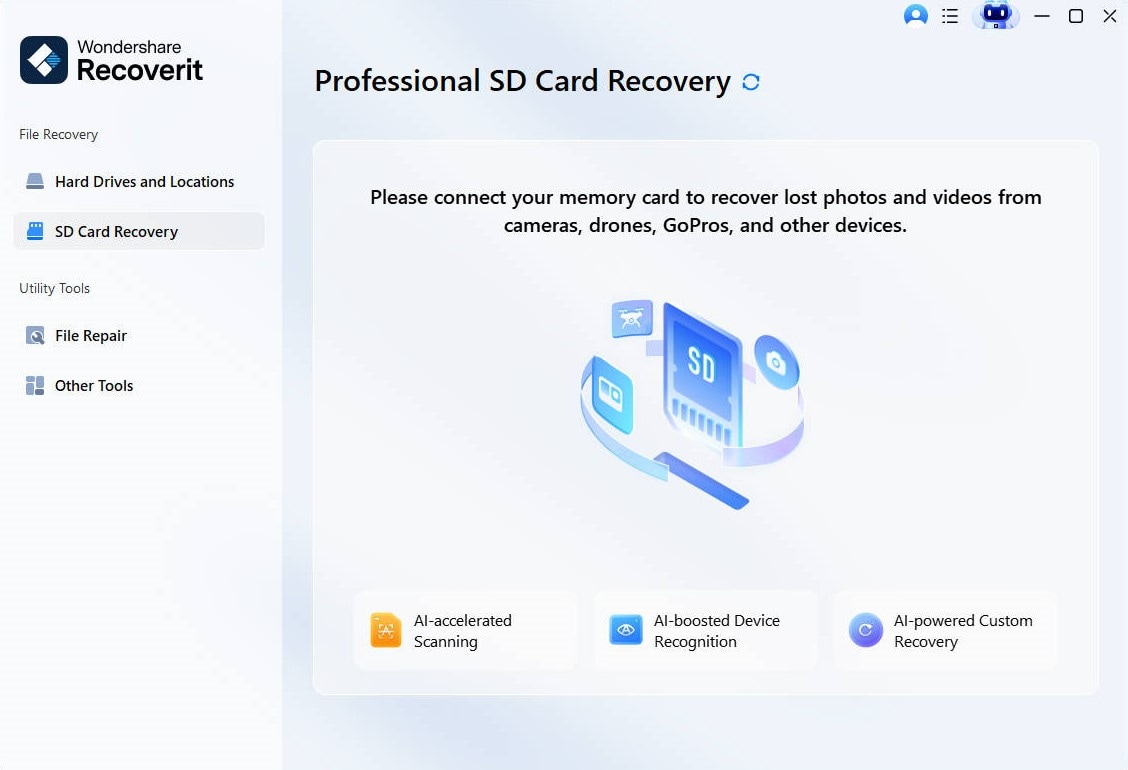
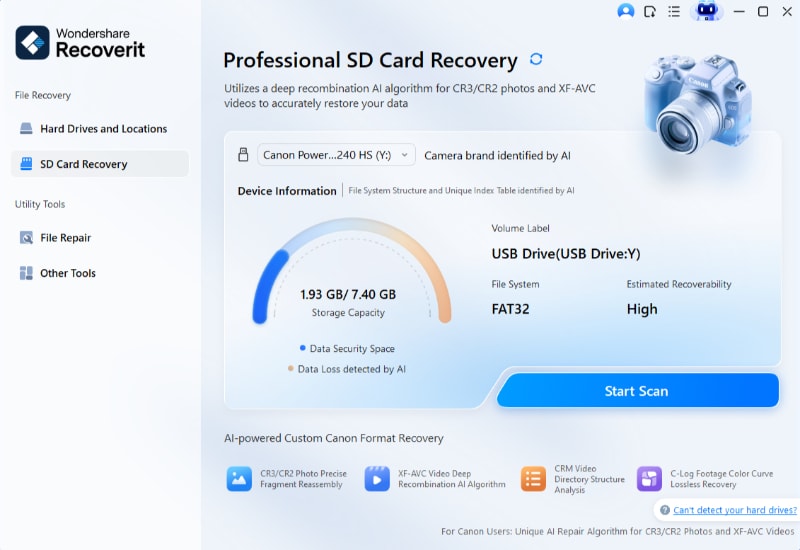
Step 3: Selecting the SD card
Once the SD card is connected, select the device as the target location for the process and click on the "Scan' button. It will launch Scan on SD card.
Step 4: Scanning the SD card
Scanning of the SD card will take some time. You just need to wait for it to complete. Or you can pause and stop the scanning process if you find the files you need during the process.
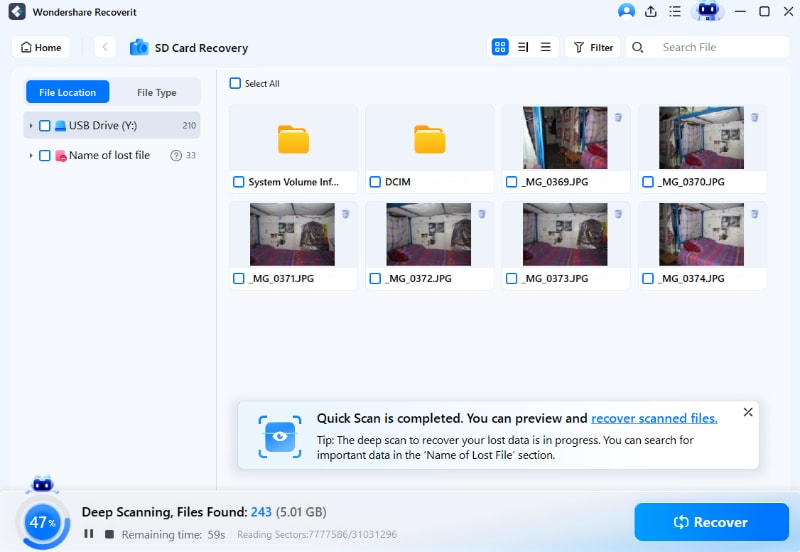
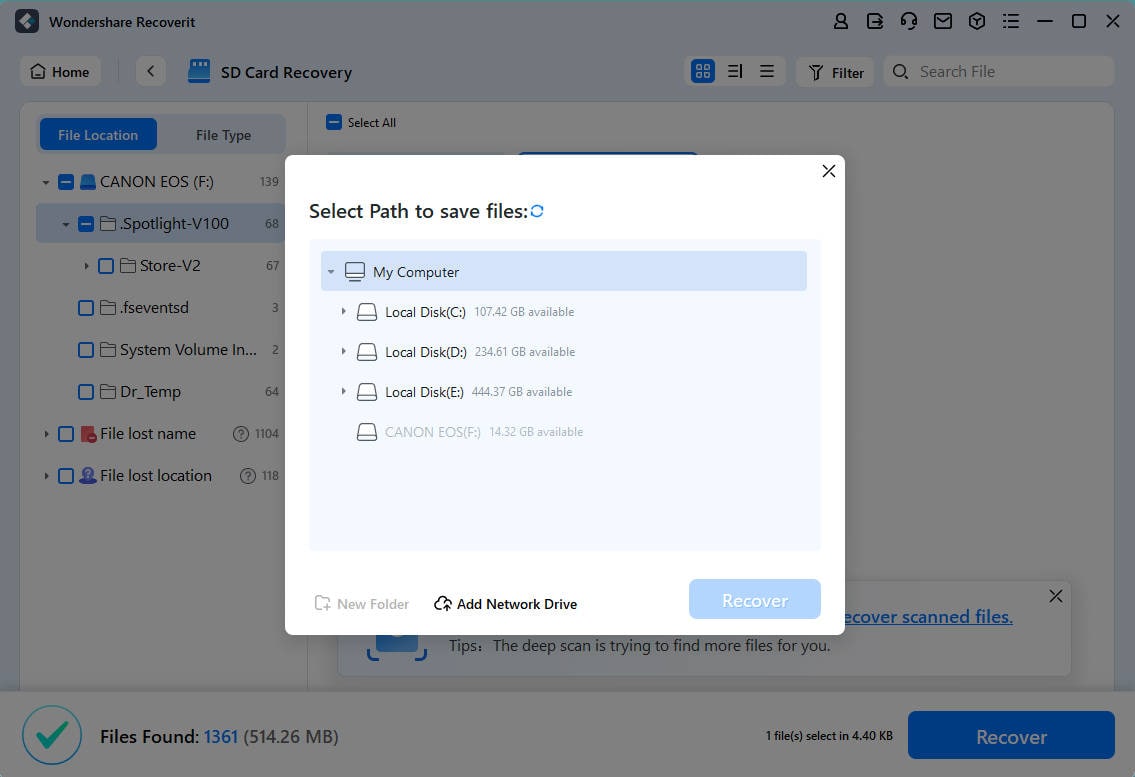
Step 5: Recovering pictures
After completing the scanning process, select the pictures you want to recover and then click on "Recover." Your photos will be recovered to the location you selected.
Following the above easy, efficient, and workable steps, you will get your pictures back in no time. No worry, there's a way to get your precious memories back.
Conclusion
If you want to transfer your pictures to an SD card and confuse how to move photos to an SD card, then do not worry. The process is simple, and you can transfer pictures easily both through Android and computer. All you have to do is to move pictures from internal storage to an SD card. Plus, if you have lost your pictures from an SD card, then Wondershare Recoverit Photo Recovery Software will help you get your pictures back in no time.
People Also Ask
-
How do I move pictures and music to my SD card?
Select the data you want to move and then select the option of "Move." Then select the SD card and choose the desired location. In the end, tap and click on the option of "Move here."
-
Why won't my files move to my SD card?
Your files may not move to an SD card because of viruses or malware. The corrupted SD card can also be the reason for the problem. You can scan the SD card to fix the problem.
-
How do I fix permissions on my SD card?
To grant permission on your SD card, click on Setting in your smartphone. Go to apps and select the option of "Permission" and click on "Enable."
-
Why can't I save pictures to my SD card?
Your SD card may not save your pictures on your SD card because of low storage availability. Corrupted SD card and malware can also be the reason.
SD Card Recovery
- Recover Card Data
- Repair Card Errors


Eleanor Reed
staff Editor