What is the Difference Between Real-time Backup and File Sync?
While managing your data, you might encounter terms like Sync and Backup. Even though the main motive of both these principles is to keep our data safe, they can have a slight difference in their implementation. That’s why a lot of people would like to draw a comparison between real-time file backup vs. file sync. In this post, I will let you know what is the difference between real-time backup and file sync, and would also provide two solutions to work on both these principles.
Part 1: What is a Real-Time File Backup?
Before we draw a detailed continuous file backup vs. file sync comparison, let’s cover the basics.
In nutshell, real-time file backup is a process in which we maintain a second copy of our data. To do that, we can take its second copy on any internal drive or an external source.
Though, the frequency of maintaining the backup is set as continuous (non-stop). This means your backup application would keep checking the source and any changes in the original file would be reflected in the backup. Instead of overwriting, it would maintain different versions of the file in the backup in an incremental manner.

Pros
- Extremely easy to manage.
- Affordable
- Nothing gets overwritten (different versions are maintained).
- Keeps running in the background and takes minimum time.
Cons
- It can consume substantial storage on the target drive where the real-time backup is maintained.
Part 2: What is File or Data Syncing?
Besides backup, some people consider syncing their files to any other storage (cloud or a physical hard drive). In the syncing process, the application maintains a mirror of your data to the target location by creating its true image.
Just like real-time backup, syncing would also reflect the changes in its copy. For instance, if any changes are made on the original file, then they would be reflected in the synced source.
Pros
- Easy to sync two or more sources at the same time.
- Improves the accessibility of your data.
Cons
- It can be tough to check the authenticity of data with syncing.
- At times, the old versions of your files can get lost.
- Mostly, syncing can be a more expensive option than maintaining a backup.
Part 3: Real-Time File Backup vs. File Sync
Now when you know their basics, let’s learn what is the difference between real-time backup and file sync from different perspectives.
Working Principles
By now, you would know that a real-time backup would maintain a second copy of your data. As soon as an edit is made on your file, its new version is maintained on the second copy.
On the other hand, file sync would simply mirror the source to the second location. It will maintain a true image of your data by reflecting all the changes automatically.
Data Versioning
The best part about real-time backup is that it supports data versioning, which is often missing in file sync. When we make any changes in the original file, its new version is maintained on the real-time backup. If you want, you can restore any version of your files to the desired location.
Surprisingly, most of the File Sync tools out there don’t support data versioning. If any change is made on the original file, the synced source will reflect the changes by overwriting it.
Data Integrity and Accessibility
One of the major reasons for performing file sync is to improve the accessibility of our data. Since it maintains a true copy of our files in two or more locations, we can easily access our data however we like. In some cases, when we make changes in one location, it would be reflected in other places that can compromise the integrity of your data.
To protect the authenticity of your data, you can consider taking a real-time backup. This is because it won’t overwrite your files and would maintain their versions with timestamps. In this way, you can easily distinguish between different versions of your files without any confusion.
Part 4: How to Perform Real-Time Data Backup?
After reading our continuous file backup vs. file sync comparison, you can easily decide which method is right for you. Therefore, if you want to take a real-time backup of your data, then consider using Wondershare UBackit.
It is an extremely reliable tool to maintain a backup of your files, folders, or an entire partition. You can also enable scheduled backup to a preferred frequency such as daily, weekly, monthly, on non-stop (real-time backup). The application will take an incremental backup of your data and would let you preview your files before restoring them.
Step 1: Select the Files/Folders or Partition to Back up
Firstly, you can install and launch Wondershare UBackit on your system and go to the “Backup & Restore” section. Here, you can choose to create a new File Backup or maintain a Disk Clone.

Let’s say you have selected the File Backup feature. Now, you can simply browse the storage of your system to choose the files or folders to back up.
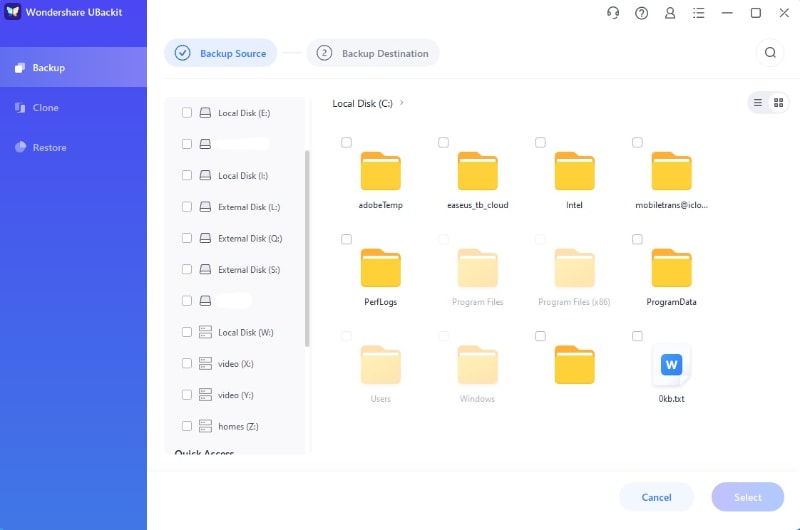
You can also use the existing search option or the available filters to look for specific files that you want to back up.

Step 2: Select a Destination to Save your Backup
Once you have selected what you wish to back up, you can mark a location where you want to save your data. This can be an internal drive or any other connected external hard disk.

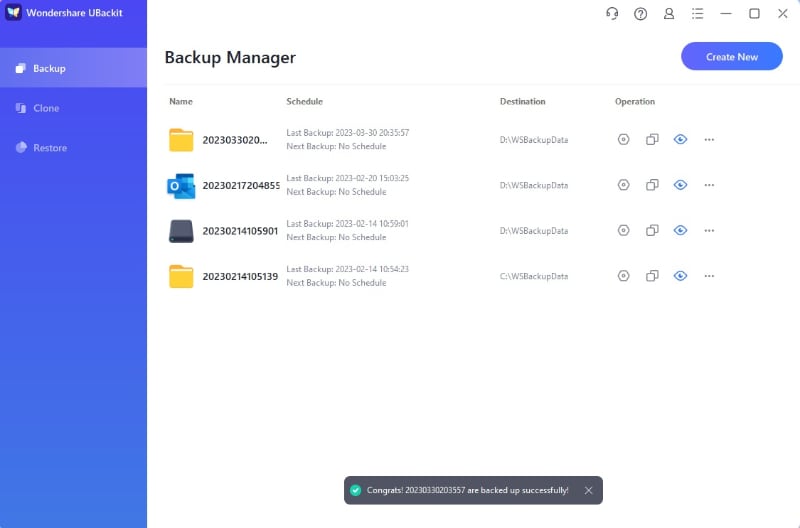
Step 3: Complete the Backup Process
You can now wait for a while as UBackit would maintain a backup of your data at the preferred location. After completing the process, you will be notified by UBackit.
Step 4: Restore your Backup or Set up its Schedule (Optional)
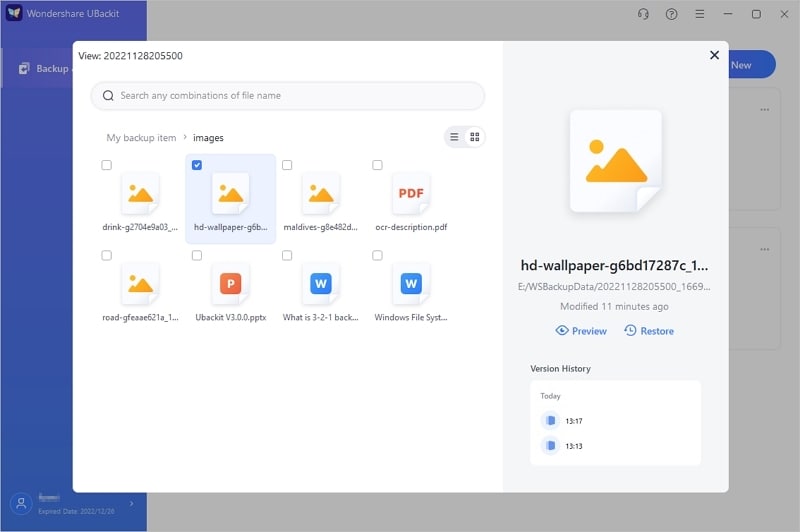
Whenever you wish to restore your data, you can just go to the Backup & Restore section to select any backup file of your choice.
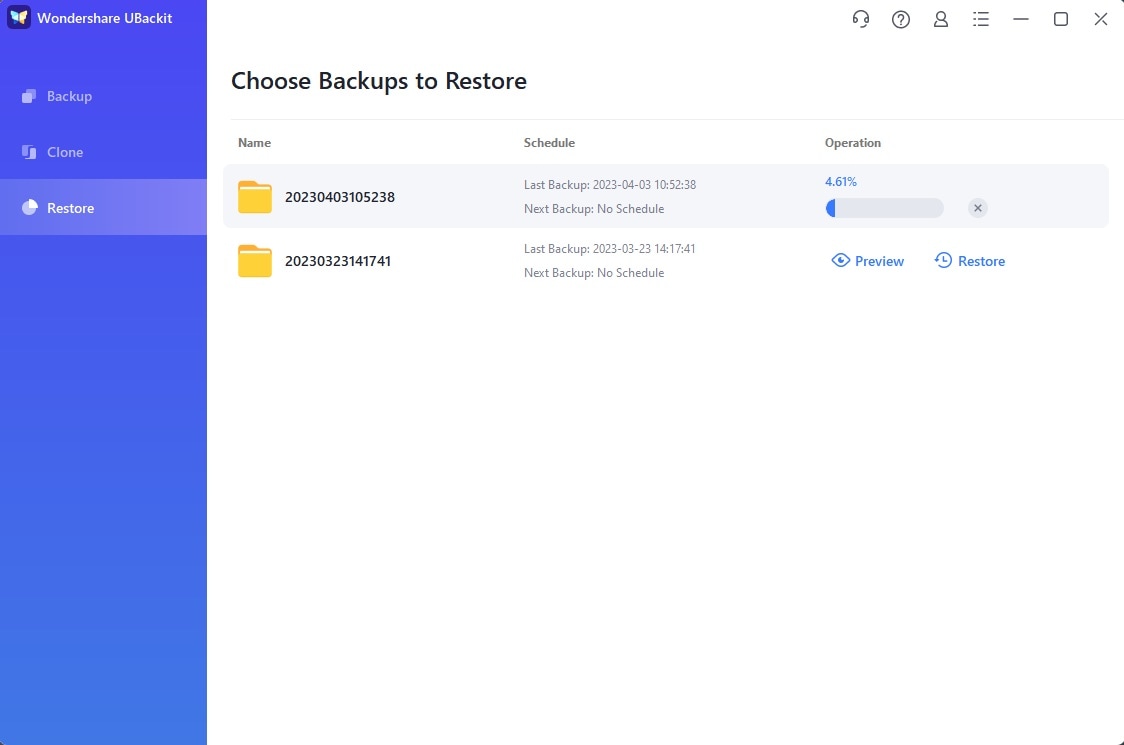
If you click on the “View” button on the backup, then UBackit will let you check the stored files with their dedicated version.
On the sidebar, you can click on the “Preview” button to check the saved version of your media files, documents, etc.

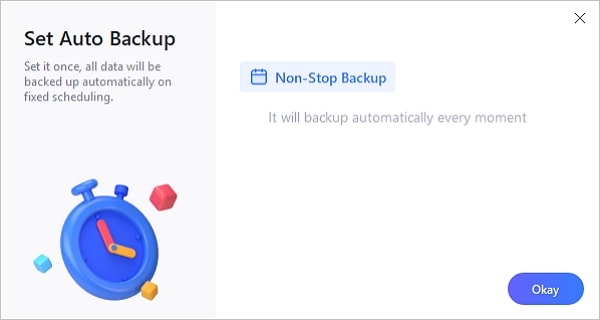
By default, UBackit takes a real-time non-stop backup of your data. If you want, you can go to the settings of your backup to alter its schedule to daily, weekly, or monthly as well.
Part 5: How to Perform Data or File Sync?
After covering the difference between real-time file backup vs. file sync and knowing how to take a continuous backup, let’s perform file sync. For this, I have taken the assistance of AOMEI Backupper, which is a reliable application to back up and sync your data.
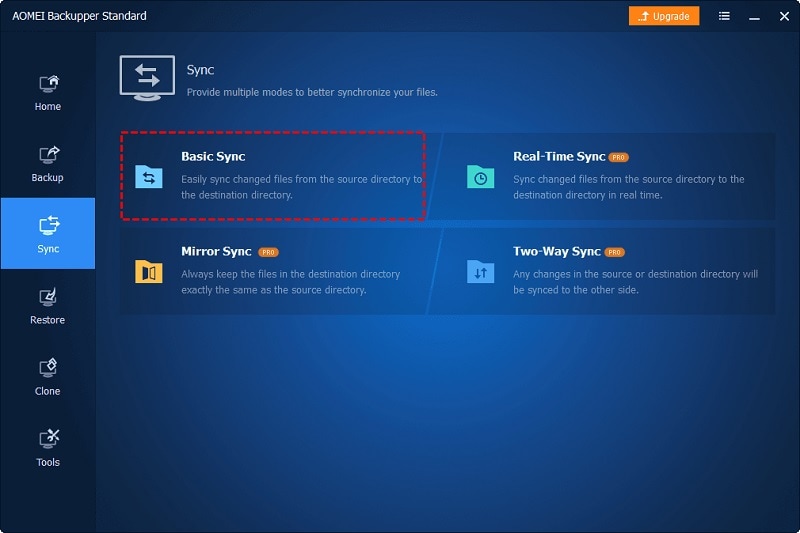
AOMEI is a freeware application that runs on all the leading Windows versions. It can be used to maintain different types of syncs like basic sync, real-time sync, mirror sync, and two-way sync. Let’s consider the example of basic sync and how we can perform it using AOMEI Backupper.
Step 1: Select a Sync Option in AOMEI Backupper
At first, just launch AOMEI Backupper on your system and go to the “Sync” option from the sidebar. From here, you can choose to perform a Basic Sync (or any other kind of data syncing feature).
Step 2: Add the Files/Folders to Sync
To proceed, just click on the “Add Folder” button and simply browse the files or folders that you wish to sync.

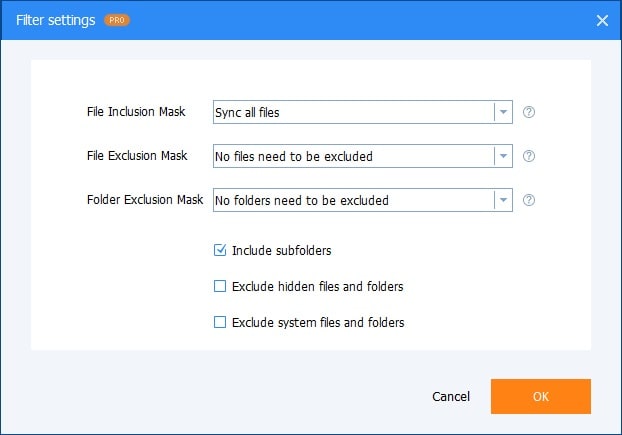
If you want, you can use the inbuilt filter option in AOMEI Backupper to include or exclude specific files and folders for syncing.
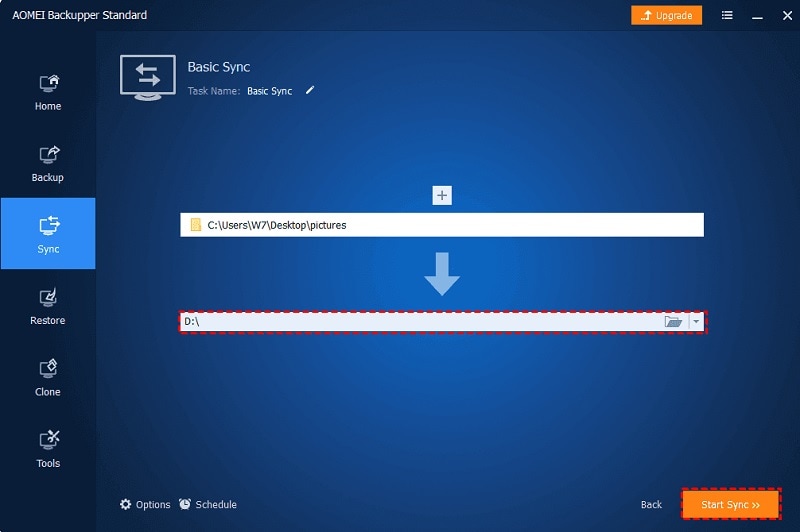
Step 3: Select a Destination to Sync
After selecting the files and folders to sync, you can select a target location where the file sync would be maintained. You can just browse to any location from here to save the synced data.
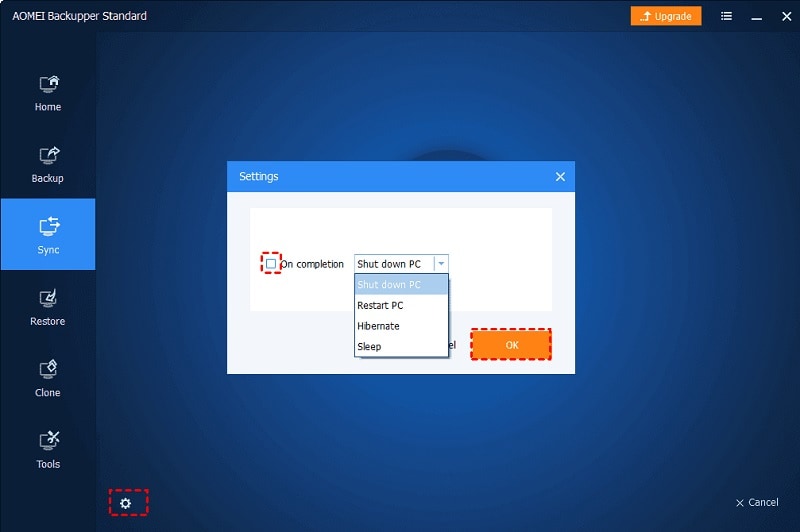
Step 4: Sync your Data Successfully via AOMEI Backupper
Once you click on the “Start Sync” button, the application will start syncing your data to the designated location. You can further click on the gear icon from the bottom to specify what to do after completing the syncing process.
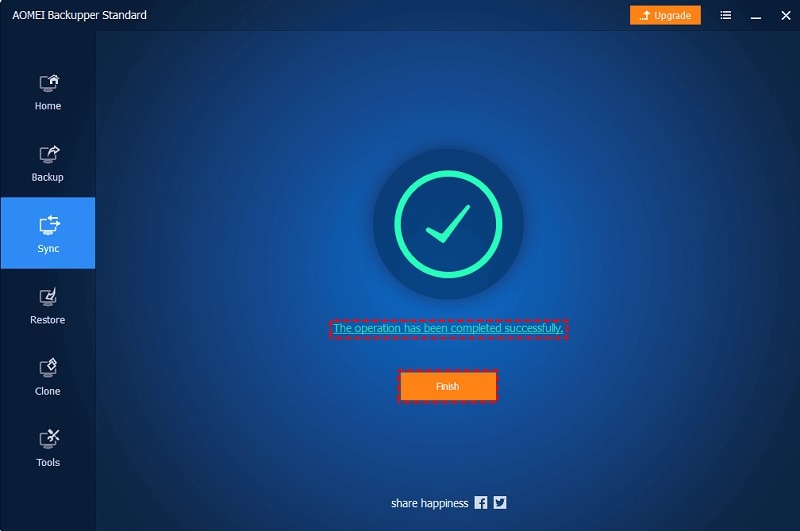
Simply hold on and wait for a while as AOMEI Backupper would sync your selected files and folders. In the end, it will let you know after completing the syncing process so that you can use your system however you like.
That’s a wrap! I’m sure that after reading this guide, you would be able to know what is the difference between real-time backup and file sync. Apart from drawing a comparison between real-time file backup vs. file sync, I have also provided two detailed tutorials. Ideally, you can use Wondershare UBackit to take a real-time backup of your data or can explore AOMEI Backupper to perform file sync, as per your preferences. Both these applications are freely available and will come in handy for managing your data accordingly.


Amy Dennis
staff Editor