How to Backup and Restore Data in Windows 8?
Windows 8 is one of the best versions of Windows released by Microsoft. It contains several advancements and features which were non-existent in previous Windows versions. Microsoft chose to upgrade the Backup and Restore feature that was a part of Windows 7 and introduced a new backup tool for Windows 8 in the form of File History. This backup feature is capable of automatically backing up your data once you have set up File History and have an external hard drive connected to your PC. File History can be used to backup Windows 8 regularly by leaving the external drive connected to the PC.
The following is how you can use File History to backup Windows 8.
1 How to Enable File History
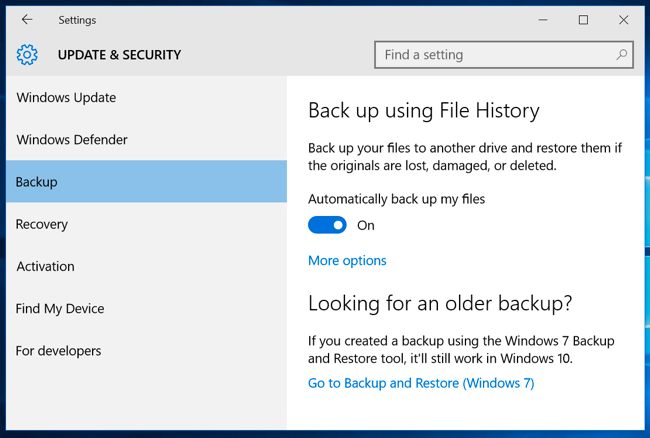
Microsoft has made File History as uncomplicated as possible, which can be enabled very quickly. You need an external hard drive connected to your PC before you allow it, though. After that, open the Start menu and then click the Settings app. Go to Update & security and then choose Backup.
Under the Backup Using File History, press the ‘Add a drive’ button. This is for adding the external drive which File History will use for backing up files.
The Control Panel can also be used for enabling File History as well. In that case, you will have to find System and Security in the Control Panel and then choose File History.

Choose the drive which Windows is going to use for File History. You will see an option labeled ‘Automatically back up my files.’ It will be activated automatically and will continue to backup your data to your external drive whenever it is connected to the computer.
2 How to Configure File History?
To configure the files that File History has to backup, the duration for which the backups need to be kept and the frequency of backup, click "More options."
The default setting for File History is to backup files on an hourly basis. A different schedule can be selected, though. The options available in this regard include after every 10, 15, 20, 30 minutes to every 1, 3, 6, 12, 24 hours.
File History is designed to store backups for eternity. However, you can delete them after every 1, 3, 6, 9 months or every 1 to 2 years. For emptying space on the backup drive, File History can be programmed to delete older backups automatically.

The home folder of the user’s account is the default destination for backing up folders like Videos, Pictures, Music, Downloads, Documents, and Desktop in File History. The folder recording application data and OneDrive folder, among others, are also included in this list.
The complete folder list is available in this window. To additional backup folders, choose the ‘Add a folder’ option. Removal of folders from this list is possible, too, by selecting the folder and clicking the "Remove" button.
NOTE: The inclusion of extra folders for backup in Windows 8 requires their addition to a library instead of adding them using File History.

A section labeled ‘Exclude these folders’ is available too, which allows the exclusion of specific subfolders from the backup list. This option can be found on the File History window’s left-hand side in Windows 8.
The button ‘Stop using drive’ is to be used for choosing a different drive for backup purposes. This option lets you use a new drive for backup. The backups remain intact, but Windows can’t back up to two drives at the same time.

File History can also be configured through a different interface found in Control Panel. It can be accessed by clicking the link ‘See advanced settings.’ Options like letting other homegroup PCs to backup to the external drive, deleting older file versions, and an Event Viewer for viewing new errors can be found by clicking the ‘Advanced Settings’ button.

3 How to Restore Files from Your Backup
For file restoration, click the Settings app. Choose 'Select Backup' after selecting 'Update & Security' and then click 'More Options'. Now, choose ‘Restore files from a current backup’ after scrolling to the Window’s bottom.
Another way to do this is to use the Control Panel. Choose 'File History' after selecting 'System and Security' and then choose ‘Restore personal files.’
(It does not matter whether you are restoring backups made to File History to a current or new computer. Setting up File History and selecting the drive containing the backup files would enable you to restore files using the Restore Files interface to a new computer).
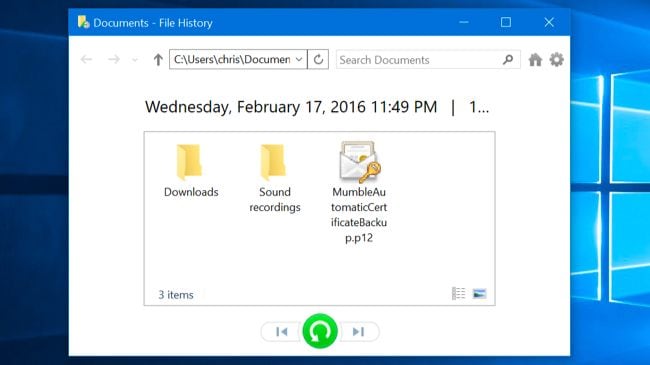
Using this interface, you can view as well as restore backup files. Just go through the files and choose the file or folder you want to restore—Right-click on the files to preview them or restore them by clicking the green button after selecting them.
There are arrow buttons located on the window sides for choosing a time. Information regarding backup periods will be provided to you. For instance, the 2 of 3 you see in the screenshot tells you that the number of available backups is three, and the second one is being viewed at the moment.

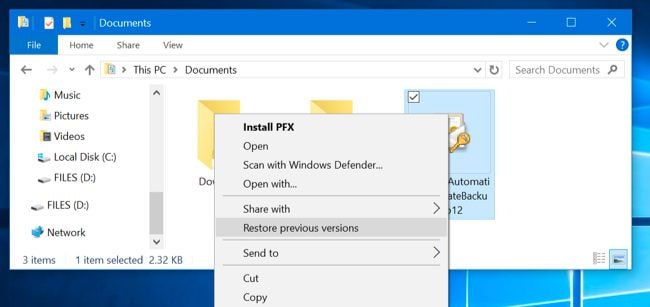
4 How to Restore Files From Within File Explorer
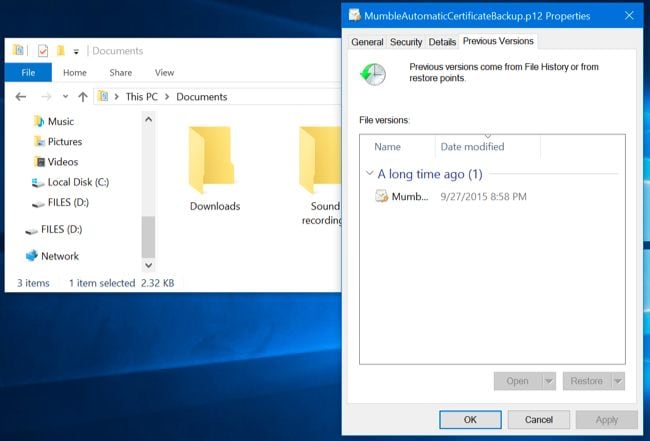
Older versions of files can be restored using File Explorer too. Right-click your chosen folder and select the option labeled ‘Restore previous versions’ after opening File Explorer. This can also be done by selecting the tab ‘Previous Versions’ after clicking the ‘Properties’ option.
Here you will find all older versions of your chosen file contained in File History. You have the option of previewing them or restoring them to their original or a new location on the PC.
For viewing deleted files and previous versions in a specific folder, find the folder in File Explorer and press ‘History’ after clicking the tab ‘Home’ on the window’s ribbon bar.
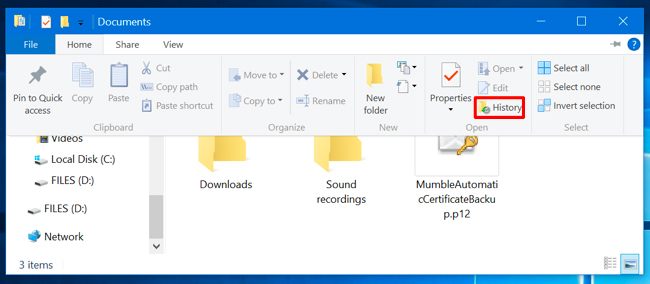
Files contained previously in the folder which can be restored will be presented to you in a list. The interface you see is the same one that is used for regular file restoration. However, to get things done quickly, File Explorer lets you begin from within the specific folder.
5People Also Ask: How Can You Backup Files on Windows 8?
Here Wondershare UBackit is strongly recommended. It is applicable in Windows 10/8.1/8/7. A user-friendly interface and smart backup management get you away from data loss worries. Download it to start a free trial!
Here are the detailed steps on backing up Windows 8 files through Wondershare UBackit.
Step 1 Launch Wondershare UBackit

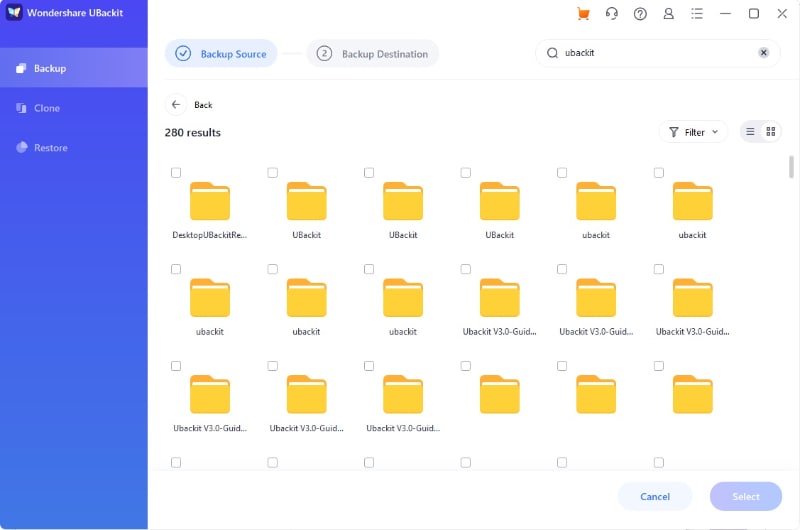
Step 2 Select Files/Folders from Windows 8.1 PC
Step 3 Choose Backup Destination

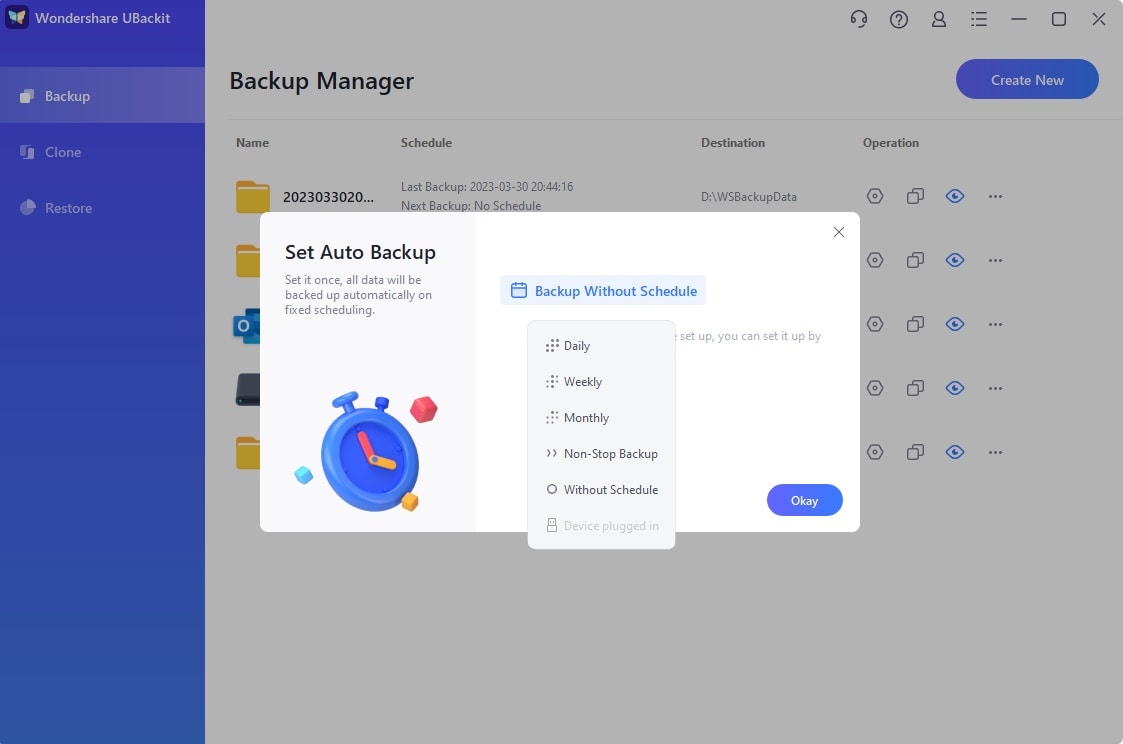
Step 4 Set Automatic Backup
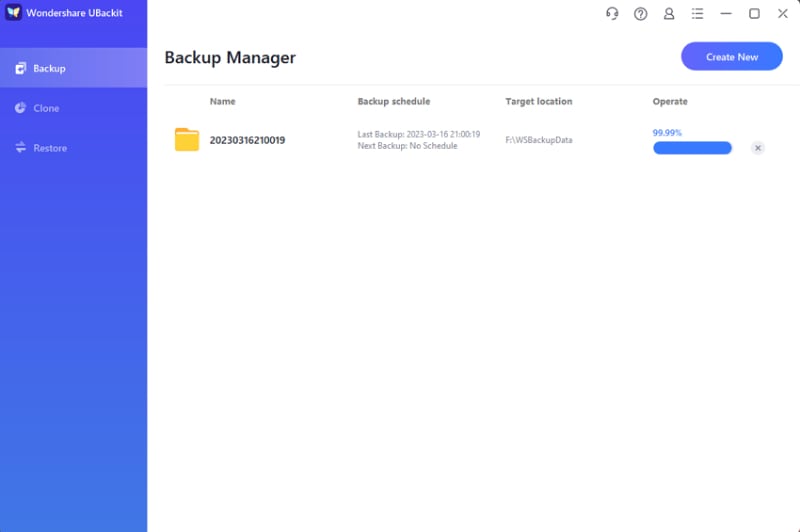
Step 5 Evoke The Backup Process
I believe you will like the backup software. It has the most colorful and beautiful backup interface in the backup market. Besides that automatic and incremental backup schedule is going to relieve you from a heavy backup load.
Conclusion
In short, File History is a competent backup tool that can be used to backup and restore Windows 8 very quickly. It does not require much expertise to set up and can be utilized by anyone who knows how to follow instructions. Using this backup tool for backing up Windows 8 is a critical task. It ensures the safety of your data and guarantees that you don't lose it if your hard drive stops responding suddenly. If you do not use File History to backup Windows 8, then you will most definitely lose all your precious data if your hard drive gets infected with a virus.
START 1 MONTH TRIAL Buy Now


Amy Dennis
staff Editor