
 TL;DR:
Backing up a Windows PC to a Synology NAS secures your files against critical system failures like the Blue Screen of Death and allows you to utilize 16 to 108 TB of storage capacity using Synology Drive Client, Wondershare UBackit, or Acronis True Image.
● Before initiating a backup, you must install the latest Windows security patches, delete unnecessary files to reduce transfer time, and explicitly mount the Synology NAS to your computer when using third-party backup software.
● Synology Drive Client is the native desktop option best suited for users who require selective file synchronization, file versioning, and collaboration tools with continuous or scheduled backup modes.
● Wondershare UBackit is an alternative for users who need incremental backups to conserve storage space alongside built-in data compression and password-protected encryption.
Ask AI for a summary
 ChatGPT
 Perplexity
 Gemini
 Claude
 Grok
Grok

Synology NAS is a secure, cost-effective device to store data. Windows users love it – as one of them, you have probably wondered how Windows backup to Synology works.
You’ve come to the right place because here we dive deeper into the topic and provide the methods you can use to back up files from Windows PC to Synology NAS and keep them secure at all times.
Table of Content
Does Synology Support Windows Backups?
A Synology backup for Windows is possible because Synology systems support backups. After backing up your Windows PC, you can even store data in the cloud with Synology C2 to ensure they stay secure and accessible anytime.
Synology C2 even has excellent encryption. It can protect your data from the client side to ensure it stays secure during transfer. As a result, the Windows data is entirely safe on a Synology NAS, providing you with much-needed peace of mind, knowing you won’t lose your data.
How To Set Up Your Windows PC Before Backing Up
The process of Windows backup to Synology provides the best results if you do some preparation beforehand. Namely, you should always set up your device before backing it up. What does that process entail, and what should you do to set up your Windows device properly? Let’s take a closer look.
- Update your device: Ensuring your device is up to date with the latest security patches and software updates is essential. Not only will that minimize your device’s vulnerability, but it’ll also protect all your existing data from potential threats lurking around.
- Clean up your device: Once you update your PC, it’s time to remove any unnecessary files, programs, or apps you might have. Otherwise, the backup will be time-consuming. Also, why back up files you no longer need?
- Organize your files: After cleaning up your PC, organize your files to quickly find whatever you need and streamline future backups. You’ll thank yourself for not skipping this step later on since you’ll save a ton of time when restoring the data.
- Test your backup: Before you rely entirely on the backup, you must ensure it’s doing the job you need. So, don’t forget to test it before backing up your data. By testing your backup, you can identify and fix any issues before it’s too late.
Back Up Windows to a Synology NAS With Wondershare UBackit
Wondershare UBackit is an advanced backup solution that you can use for a PC backup to Synology NAS process. This software has various functionalities that can streamline backing up your PC, such as data compression and encryption, flexible scheduling options, and many more.

Wondershare UBackit - Your Reliable Windows Backup Tool
Back up PC local drives or external storage devices to NAS effectively, safely, and completely.
Provide automatic backup to back up your files daily, weekly, monthly, or non-stop.
Set a password to protect your backups, keeping your data confidential should it be stolen, lost, or compromised.
Support incremental backup, which saves only the changes made to your files since the last backup, reducing backup time and saving storage space.
If you want to use Wondershare UBackit for a Windows backup to Synology, this step-by-step guide can help. Here are the steps to take after downloading and installing UBackit.
Step 1Choose a backup option
Launch Wondershare Ubackit and select a backup option based on your needs. For instance, if you wish to backup photos from your Windows PC to Synology, choose the File & Folder Backup. Alternatively, if you want to back up all the contents of your PC's local drives to Synology NAS, then opt for the Disk Backup. Here we choose Disk Backup as an example.

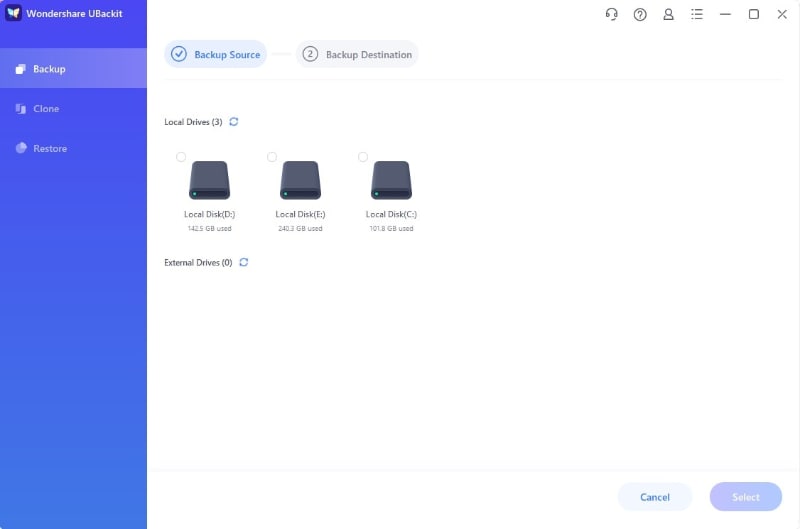
Step 2Choose the backup source
Choose the PC hard drives that you want to back up to Synology and click Select.
Step 3Choose the backup destination
Choose the backup destination where you’d like to save your Windows data. You’ll see your Synology NAS that has mounted to your Windows computer in the NAS Server section – select it and click Backup.

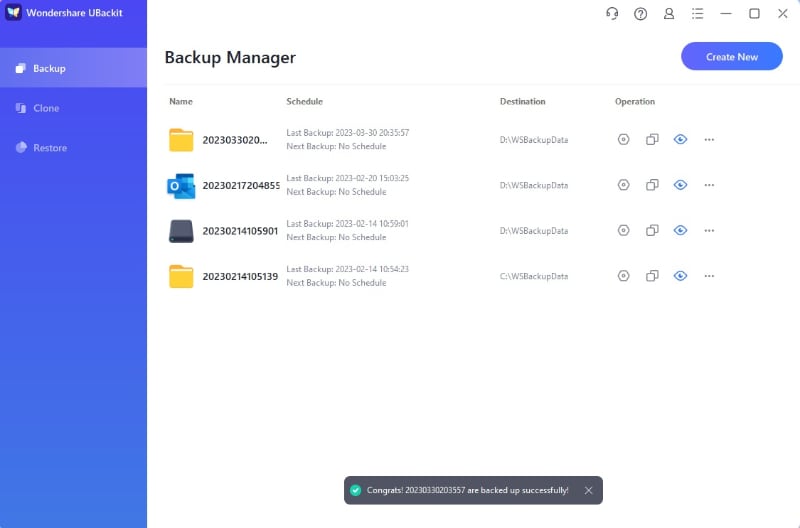
Step 4Finalize the backup
Now you’ll need to wait a few moments for the backup process. Ubackit will notify you once the process completes. Finally, Wondershare UBackit will display your backed-up disks and files, letting you name them and schedule future backups.
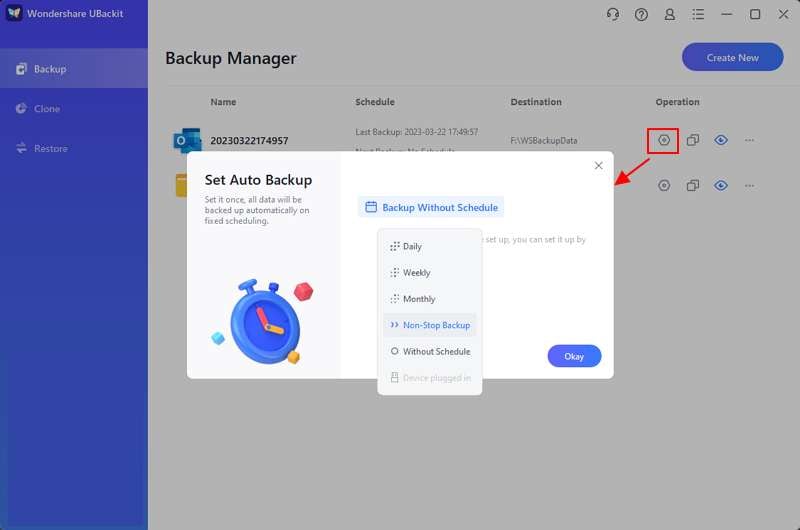
To avoid any unforeseen loss of your data, it’s recommended to use the automatic backup option of Ubackit. You can choose to take a backup of your data daily, weekly, monthly, or on an ongoing basis.
Back Up Windows to Synology Using Synology Drive Client
Synology Drive Client is a desktop app that lets you synchronize your PC and Synology NAS, including all your backed-up files. Some of its essential features include selective sync, file versioning, and various sharing and collaboration features.
Synology Drive Client will streamline your Synology backup for Windows 10, and you can learn more about the process by following this step-by-step guide.
Step 1Start your backup task
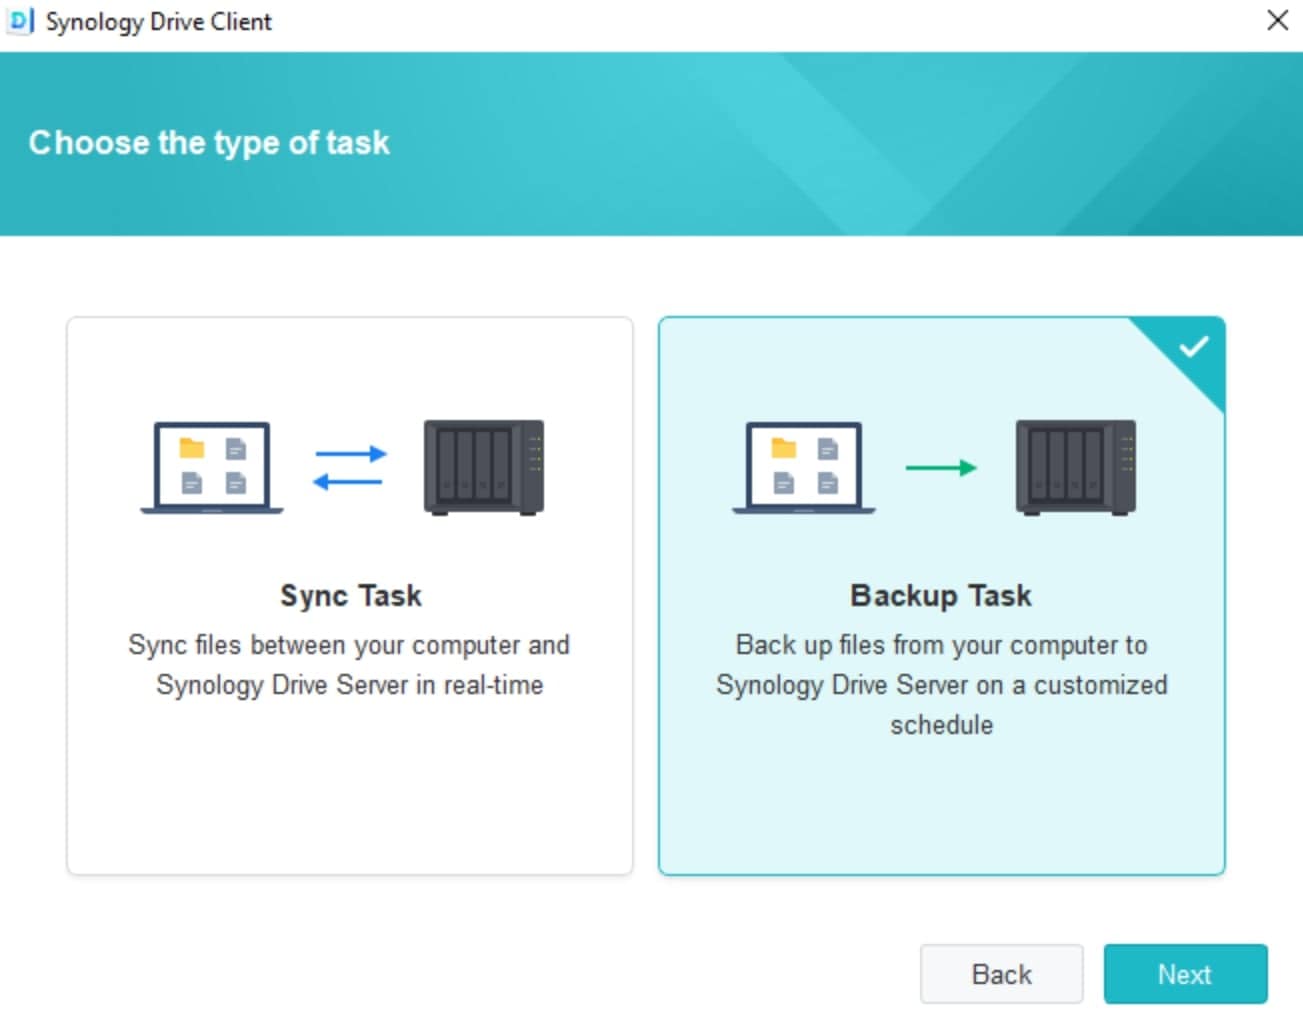
You must first download and install Synology Drive Client. Launch the program, log into your account, and go to Backup Task > Next. Once you choose the files you wish to back up, click Next again.
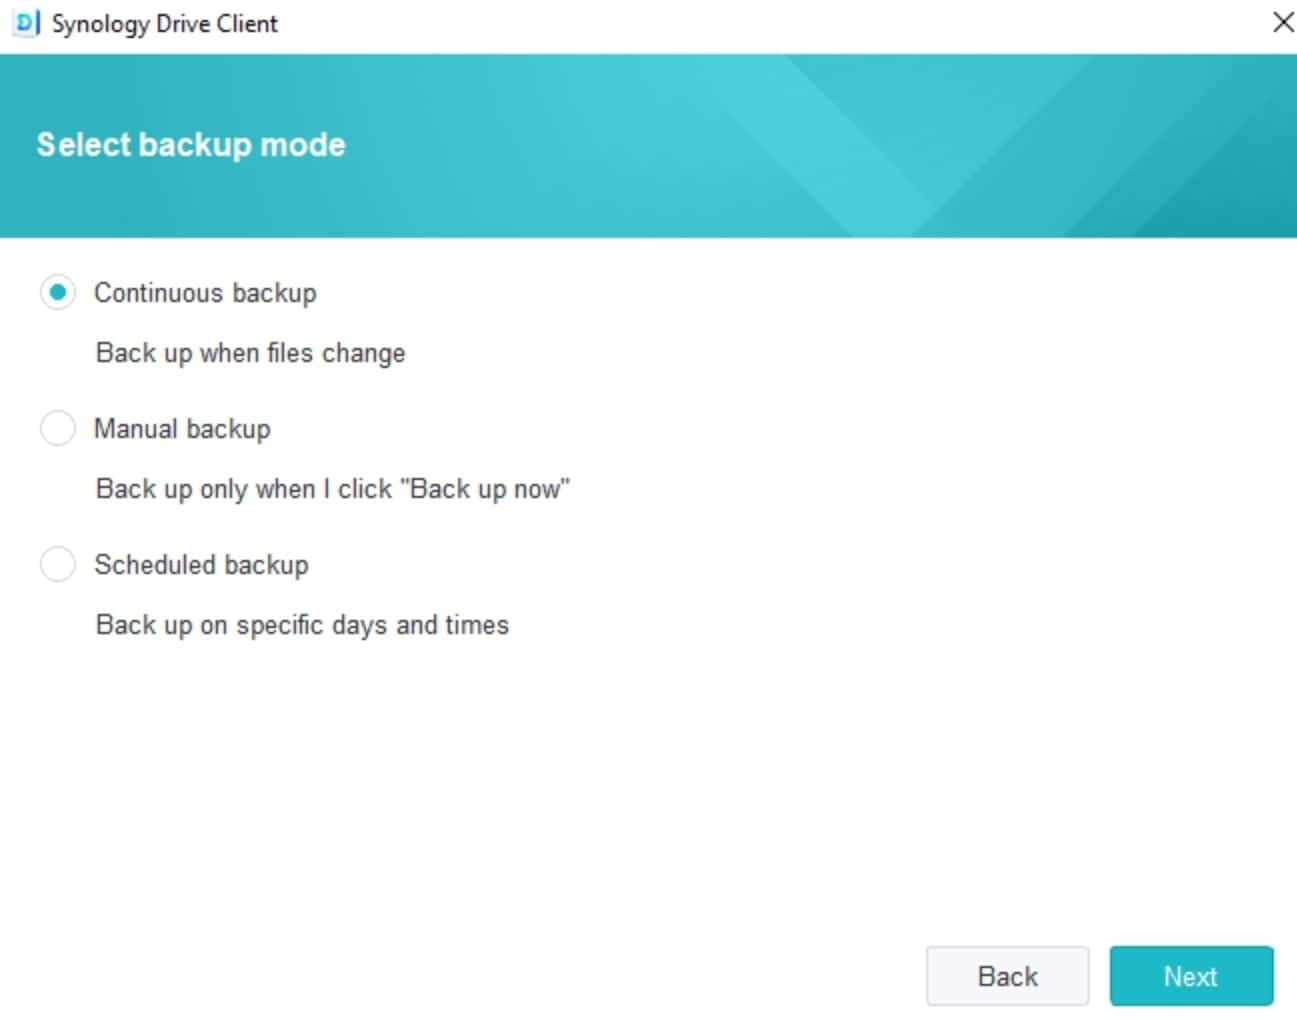
Step 2Choose the backup mode
Now, it’s time to select the backup mode. Choose a continuous, manual, or scheduled backup, depending on what you need, and click Next.
Step 3Complete the backup
Finalize the backup process by following the on-screen instructions. You will access your Windows files on a Synology NAS shortly.
Back Up Windows to a Synology NAS Using a Backup and Restore Tool
Backup and restore tools are software applications to protect your data from accidental loss or file corruption. They let you back up files and store them safely, including on a Synology NAS. Their primary advantage is keeping data and allowing you to restore it from previous backup versions.
The process will differ slightly depending on your chosen backup and restore tool. Nevertheless, here’s how to do it with Acronis True Image.
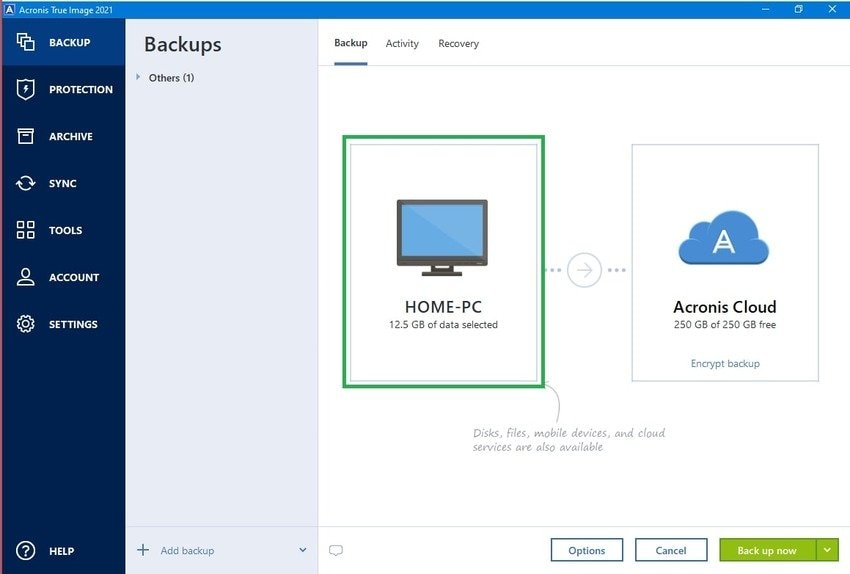
Step 1Add the backup
After installing and launching the software, start a new backup task by going to Backup > Add backup. Your PC will be the default selection.
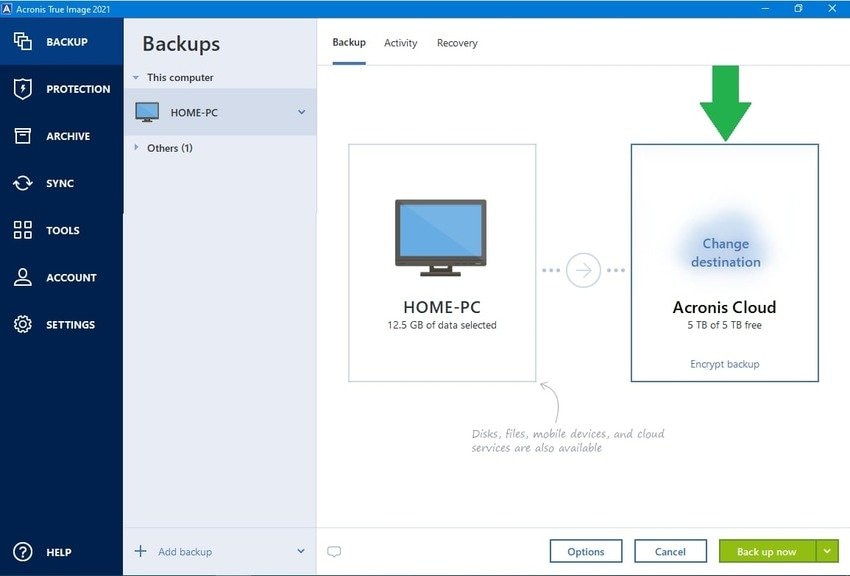
Step 2Change the backup destination
Acronis Cloud is the default backup destination when you have a premium subscription, but you can click to change it.
Step 3Select your Synology NAS
Choose your Synology NAS from the available options (or click Browse to find it) and click Back up now.

Benefits of Backing Up Windows to a Synology NAS
Backing up your Windows to a Synology NAS can equip you with many different benefits. Here’s a closer look at some you might find especially interesting.
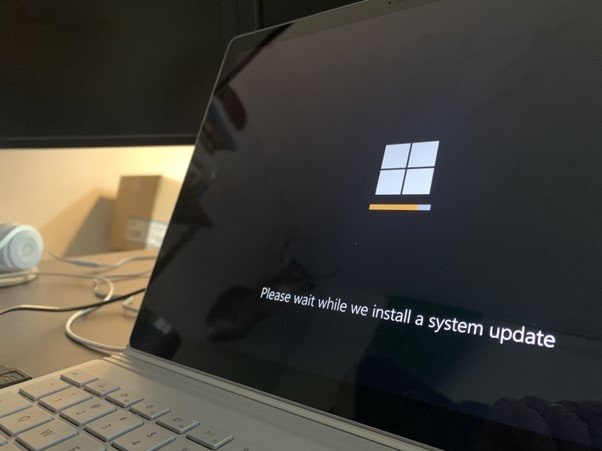
Preventing the losses of black/blue screen
If you’re using Windows, you might experience a frozen black or blue screen, also known as the Screen of Death (BSOD). This type of error displays when a failure or critical system error occurs.
This error results in the inability to access anything on the computer. That includes all your Windows data. Since you can’t use your PC when facing a blue or black screen, you can’t access your data. Automatically, you’re putting all your files at risk of losing them forever.
If you simply back up Windows to Synology, you don’t have to worry about losing all your files. Instead, everything will be available on your Synology NAS, so you’ll quickly get the files even if you lose access to your computer. However, if you encounter the black or blue screen of death without data backup, don’t worry, there is solution to recover data from blue screen of death.
Larger storage capacity
NAS devices have a significantly larger storage capacity than all the other solutions. Quickly running out of storage will become a thing of the past when using Synology NAS since you get 16–108 TB of space. The device can store extensive data, making it perfect for backing up your Windows PC.
Conclusion
A Synology backup for PC is a popular method for all Windows users who want to increase the safety and security of the critical data they store on their devices. By backing up your data using the three methods above, you’ll quickly secure all your Windows files and access them anytime on your Synology NAS.


