
Jun 03, 2026 • Filed to: Recover Emails • Proven solutions
It's always a tentative decision for you when it comes to deleting important emails, isn't it? The situation becomes even more complicated when you have important messages bunched up together with spam and you have to sift out what's important from the useless junk taking up space in your account.
How do you go about deleting email accounts on Mac, then? Yes, it's important to keep a digital record of the emails you receive but you also have to know the most effective ways of emptying your mailbox on your Mac.
The solutions are easy to apply so you shouldn't have too much trouble with them. Just pay attention to the pages below.
Part 1: Why Should You Delete Email Account & Emails on Mac
Time is of the essence and with the busy day you have ahead of you, is there time to waste on going through endless emails? Nope.
- Speed of Human Search – You're not a machine and it's going to be much easier to go through 10 emails than 100 emails, so deleting excess emails becomes a necessity.
- Speed of Computer Search – Okay, so machines may be faster than you, but it's still going to be quicker and more convenient for your Mac to sift through 1000 emails as against 100,000.
- Lack of Value Over Time – Don't be surprised to see emails in your mailbox that exhausted their use 6 years earlier. For instance, emails from a past coworker asking if you're available for lunch.
- Takes Up System Performance – For one, searching through excess emails means your Mac's local email app will usurp your macOS' memory and that can exert a negative effect on your Mac's overall performance.
- Takes Up Mailbox Space – You're only allocated a certain amount of space for your mailbox and unless you're willing to pay monthly for the extra space, you'll have to contend with warnings about the mailbox's imminent approach to a saturation point.
| Goal | Method | Data Impact |
| Stop receiving mail temporarily | Disable Account (Uncheck "Enable") | Emails stay on Mac but hide. |
| Remove account entirely | System Settings > Internet Accounts | Removes account and local cache. |
| Clear storage space only | Remove Attachments / Large Emails | Keeps account; frees disk space. |
| Switch to new Outlook | Outlook > Tools > Accounts | Specific to Microsoft ecosystem. |
Part 2: Top 2 Ways to Delete Mail Account on Mac
No Mac is complete without the Mail app. Yes, you have alternatives at your disposal but few things can beat the default mail app native to macOS, particularly the way it incorporates your numerous email accounts (Gmail, Yahoo, etc.) into it.
Having said that, there might come a time when you'll need to delete a particular email account or address from the Mail app. The primary reason you might want to do this is to get rid of an obsolete email address or one that sees very little use.
There are two main ways for you to do that: Via Mail Preferences and System Preferences.
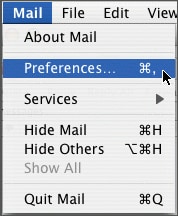
Solution 1: Mail Preferences
1. Open up the "Mail" app.
2. Click on "Mail" located on your Mac's menu bar.
3. In the drop-down menu, click on 'Preferences."

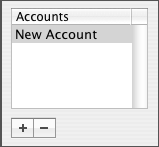
4. Move your cursor over to the left pane and click on the particular email account you want to get rid of.
5. Do you see that "-" button at the bottom left? Click on it.
6. Click on "OK."
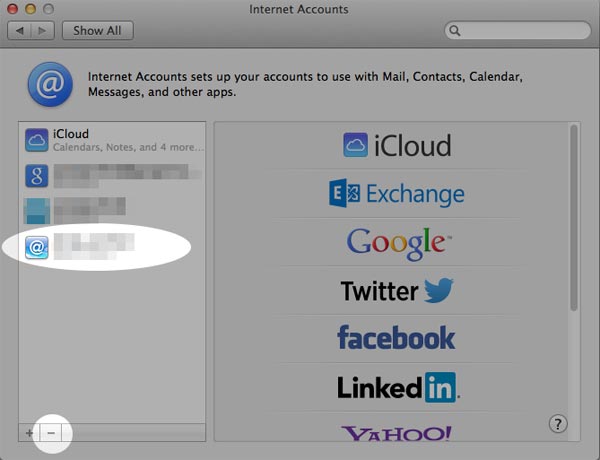
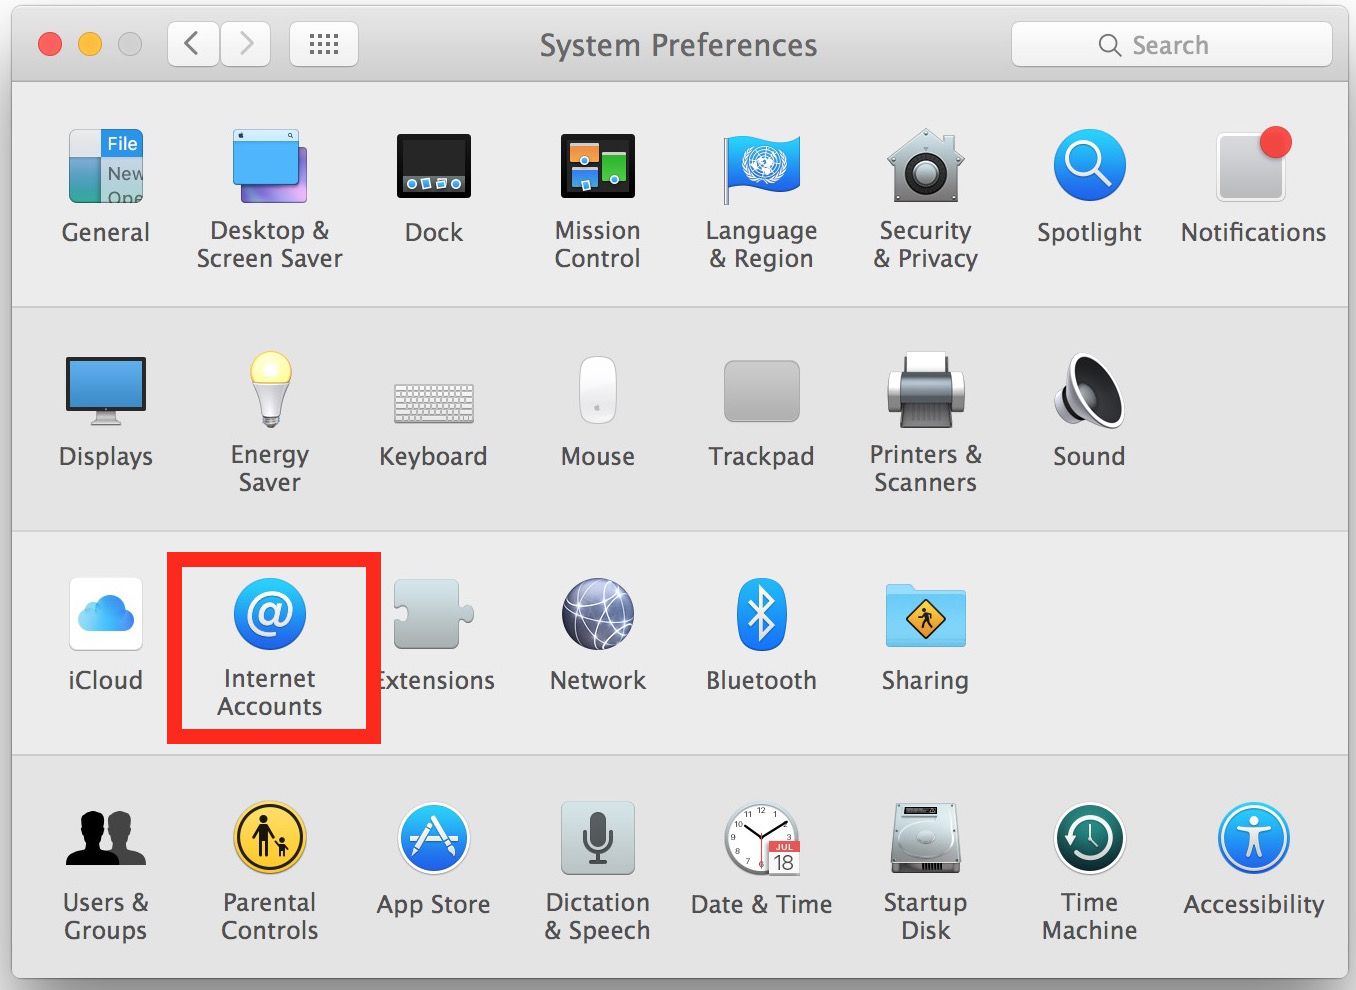
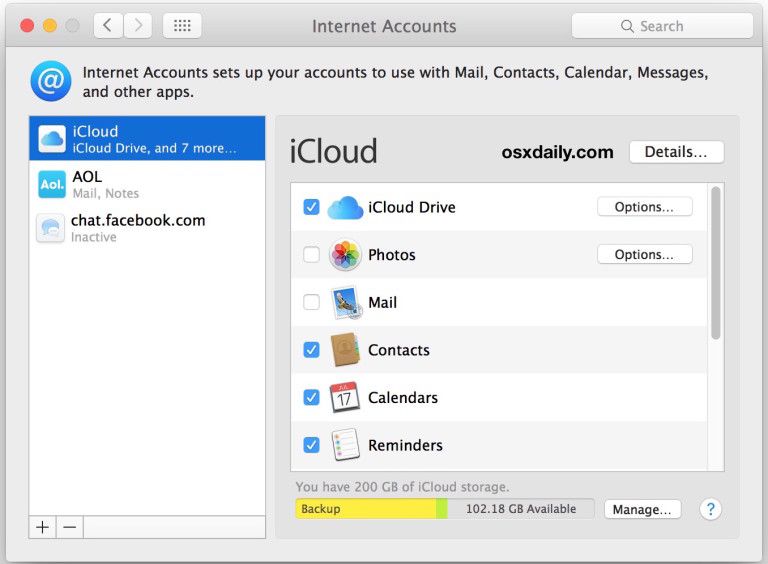
Solution 2: System Preferences
2026 Technical Update: Deleting Accounts in macOS Ventura, Sonoma & Later
In the latest versions of macOS, System Preferences has been renamed to System Settings. If your menu looks like an iPhone interface, follow these updated steps:
- Click the Apple Menu > System Settings.
- Scroll down the sidebar and click on Internet Accounts.
- Click the specific email provider (e.g., iCloud, Google, or Exchange) you wish to remove.
- Click the Delete Account button at the bottom.
- Confirm by clicking OK or Remove from All if you use iCloud Keychain to sync accounts across devices.
1. Click on "Apple" on the menu bar atop your Mac.
2. Click on "System Preferences."
3. Click on "Internet Accounts."
4. A list will appear on the left pane. Choose the email account to be deleted.
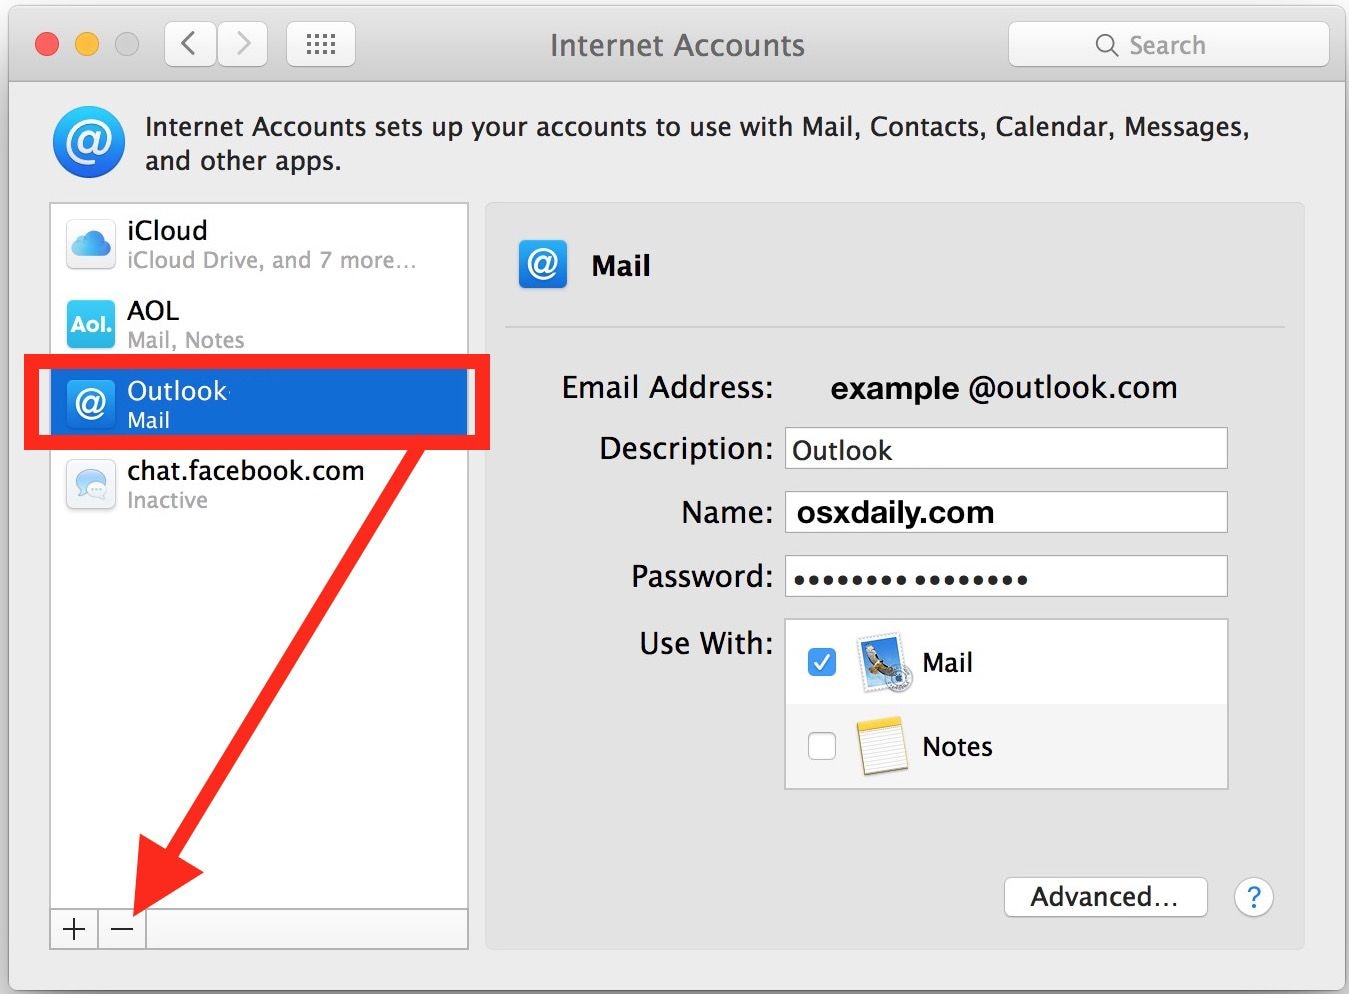
5. Click that "-" button you see at the bottom left. Alternatively, you can press the "Delete" key on your Mac's keyboard.
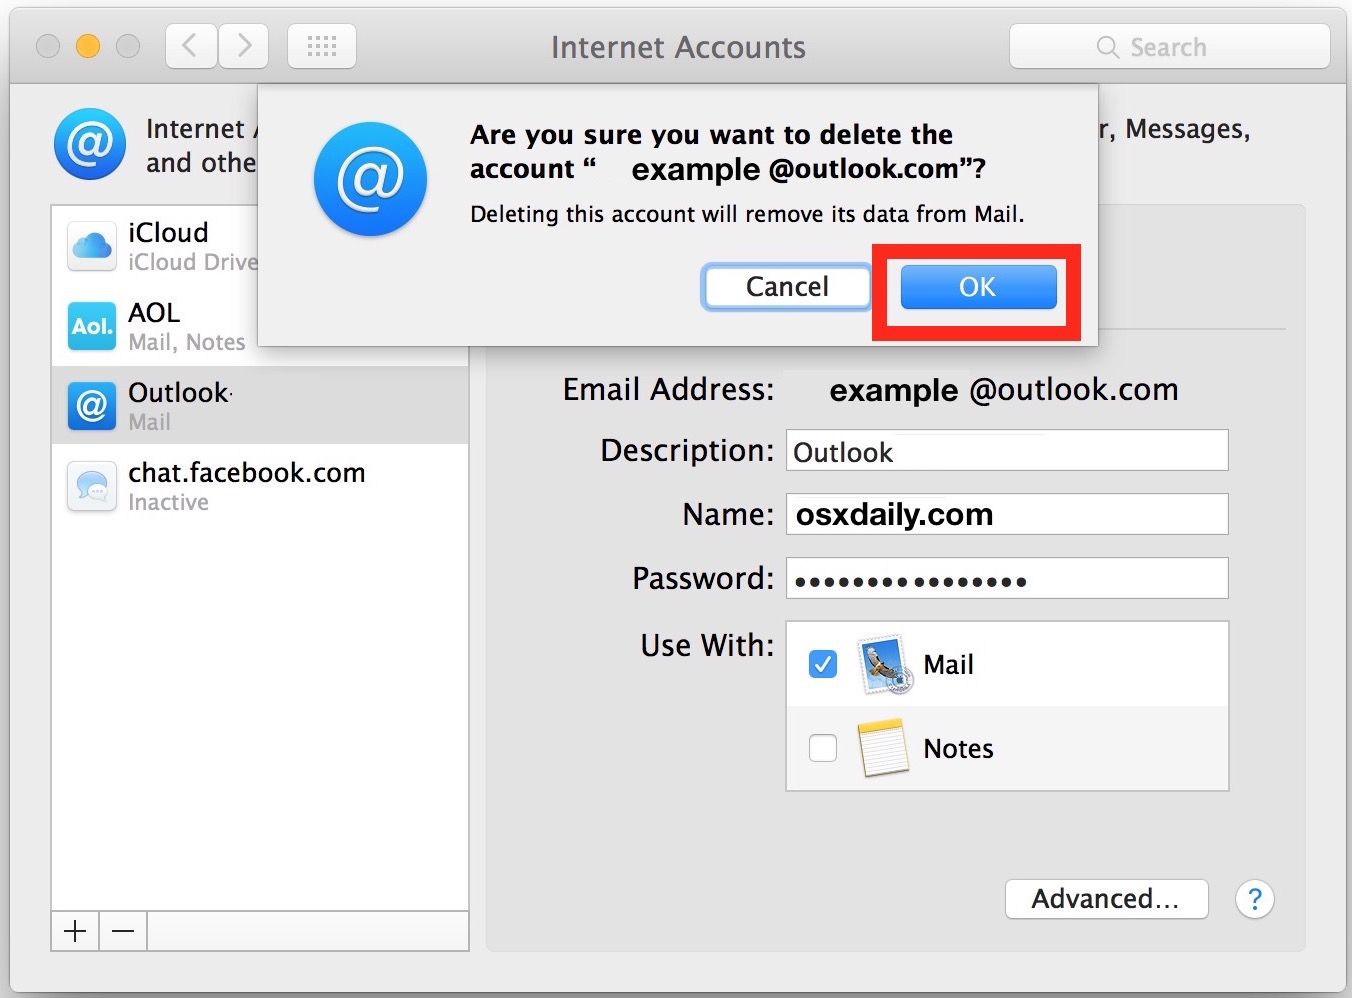
6. Click on "OK" to confirm you want to get rid of the chosen email account. Doing this will also delete the emails associated with the account and the account's settings, as well as the Mail software itself.
7. The email account has now gone 'bye-bye' and disappeared from the list of email accounts. If you want to get rid of more email accounts, just repeat these steps.
However, if you deleted an email account by accident, learn how to recover email account here.
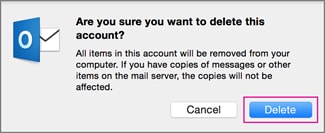
Part 3: How to Delete an Outlook Email Account on Mac
You can think of Outlook as a very competent manager for your Mac. It brings together all your email, files, calendar events, and more, which makes planning meetings and sharing information with friends and family much easier, among a host of other possibilities.
Outlook for Mac is a useful tool; no, it's essential, so it would be best to incorporate it into your Mac and use it to streamline your activities and schedules. It is thus imperative you know how to use it properly, and one of the most important things you should know how to do is delete an email account in Outlook for Mac:
1. Open up your Applications folder and launch "Outlook" for Mac or click on the Outlook icon on your Mac's dock.
2. On Outlook, choose "Tools."
3. Select "Accounts."
4. Look to the left of the window and select the account to be deleted.
5. To the left of the "Accounts" dialog box, click on the "-" symbol.

6. Select "Delete."
Part 4: How to Remove Emails on Mac
Before you "Select All" and delete, check your account type. If you use IMAP (most modern Gmail/Outlook/iCloud accounts), deleting an email on your Mac will delete it from the server and all your other devices. If you use POP3, deleting the local copy usually keeps the email on the server. Always verify your "Mailbox Behaviors" in Mail Preferences to ensure you aren't accidentally wiping your entire digital history across your iPhone and iPad.
Sometimes, you won't even realize why deleting emails is a good idea until you open up your mailbox and are flooded with countless emails from the Coca-Cola company, your boss, and even your grandma. Yeah, it can get that bad.
It's good to know how to delete one email but to make optimum use of time and employ little effort, you should know how to remove all emails from your Mac's Mail app with just the press of a few keys or fewer clicks on your mouse.
It would be unfair to not warn you here, though. Be sure of what you're deleting, regardless of how large the emails are in number. Don't go about deleting something of particular importance.
What happens if you delete an email that ends up being an appointment letter from that job opening you've been seeking and anticipating for almost a year? Yeah, it would suck to be you when that happens. So be mindful of what you're deleting.
Now, go through the steps below to see easy and stress-free ways to remove emails on your Mac.
Solution 1: Delete All Emails
1. Open up your "Mail" app.
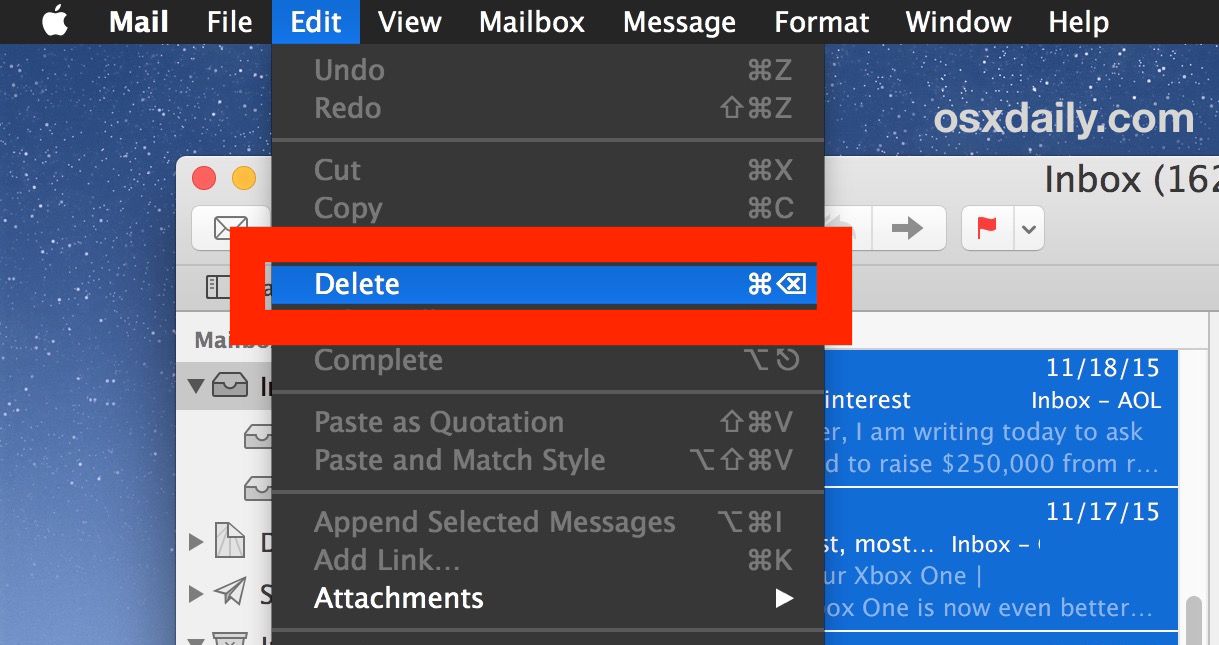
2. At the first inbox screen, click on "Inbox" from the left-hand pane, directly under "Mailboxes."

3. Click on "Edit" on the top menu.
4. In the drop-down menu you see, click on "Select All." When you do this, every message in the mailboxes of your Mail app will be highlighted.

5. Navigate back to the "Edit" menu. Select "Delete." This, of course, deletes all the selected emails and moves them into the Trash of your Mail app.
6. Once your inbox has been emptied of every email, right-click on the "Inbox" button in the sidebar.
7. A drop-down menu will appear. Choose "Erase Deleted Items" to shred every email which took refuge in your Mac's Trash.
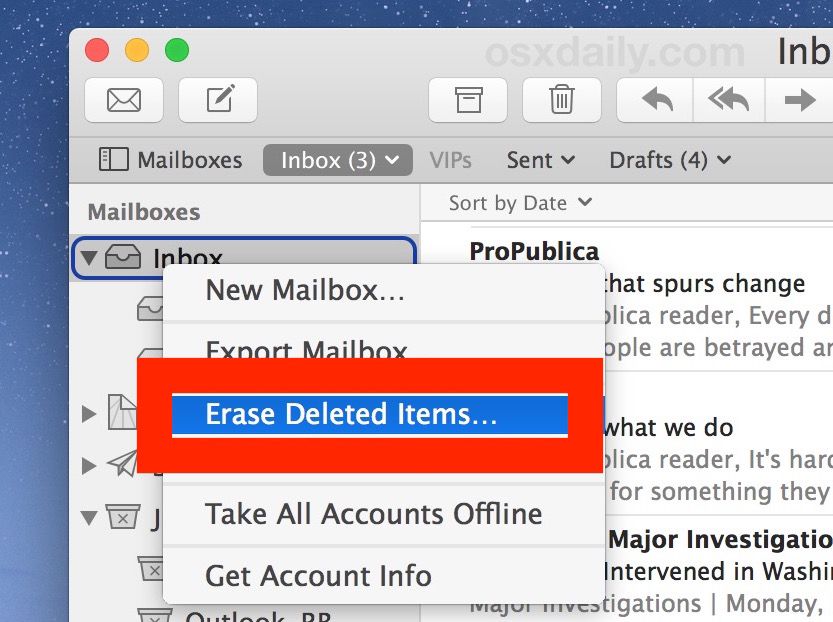
8. Look at the image below. Do you see that? That's what a clean and email-free inbox looks like. Follow the aforementioned instructions and your mailboxes should look like that too.

9. That's not all: If you so wish, you can repeat the same steps for the "Draft" and "Sent" folders in the Mail app. The same steps will work for any other folder in your Mail app.
The above solution is the most recommended because it gets rid of all your emails. But if you would prefer a more fine-tuned and specific approach to deleting emails, try the solutions below.
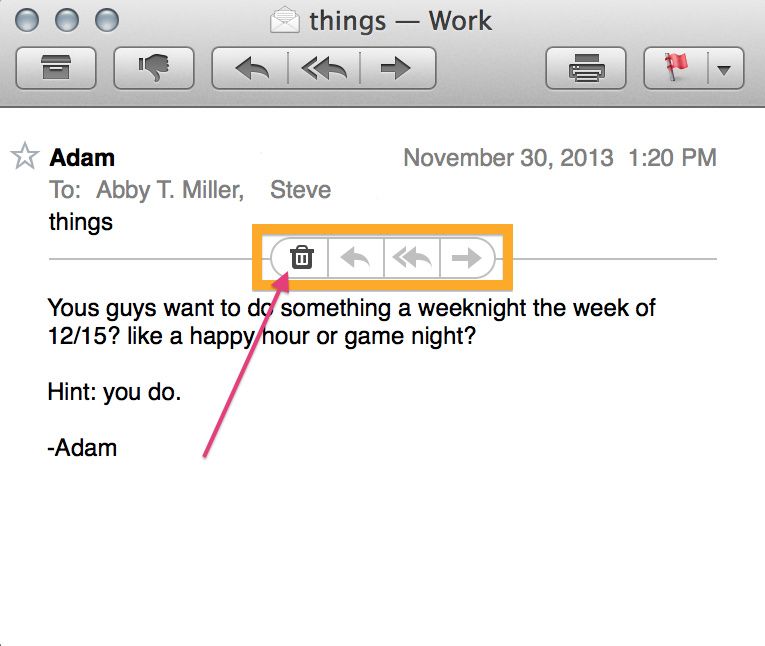
Solution 2: Delete Multiple Emails
1. Open up your "Mail" app.
2. Press on the "Shift" key and leave your finger on it.
3. Select the emails you want to get rid of.
4. Click on the "Delete" button with your cursor (it's the "Trash" icon atop the Mail app window).
Solution 3: Delete Multiple Emails by the Sender
To delete several emails of the same person or sender, do this:
1. Open up your "Mail" app.
2. In the search bar located on the top-right section, type in the name of the sender. This will list out all the emails the person sent.
3. Simply highlight all the emails given by the results.
4. Press the "Delete" key on your Mac's keyboard.
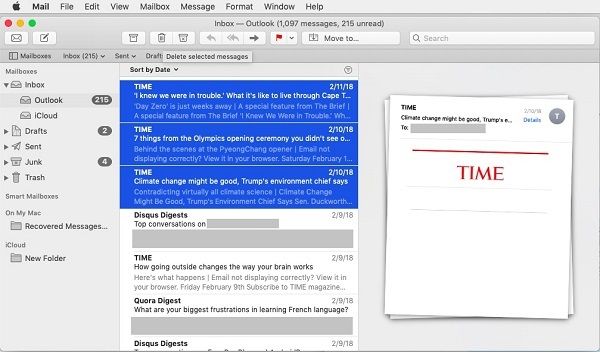
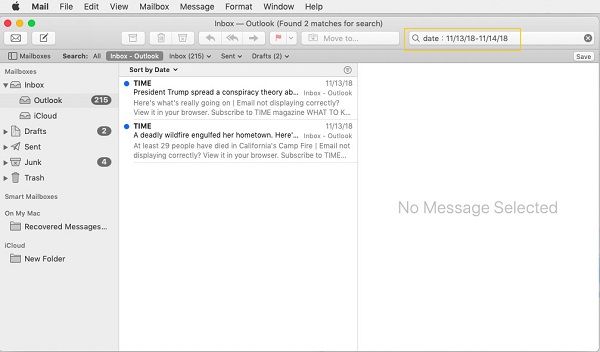
Solution 4: Delete Multiple Emails by Date
Here, you can delete all that emails you received or send on a particular date
1. Open up your "Mail" app.
2. Type in the date corresponding to the day you sent or received the email in the search field located at the top-right section of the Mail app.
3. Once they've been listed out, highlight them all.
4. Press the "Delete" key on your Mac's keyboard or the "Delete" button on the Mail app page.
| Action | Steps | Benefit |
| Remove Attachments | Message > Remove Attachments | Frees space without losing text. |
| Erase Junk Automatically | Mail Settings > Accounts > Erase Junk | Keeps the mailbox clean daily. |
| Archive instead of Delete | Swipe Right or Click "Archive" | Moves mail to "Archive" folder (off Inbox). |
Part 5: Bonus Tips for Deleting Outlook Mail Account & Emails on Mac
How to Recover Lost Data on Outlook for Mac
Unless you're very good at keeping your emails organized, the chances of you deleting important emails are quite high. You're not to blame entirely for this, though. With how persistent, pervasive, and terrible annoyance spam can be, it's perfectly understandable if you inadvertently delete something important.
All hope is not lost though, even if your Mac's Trash has been emptied of all emails. Recoverit Mac Data Recovery was designed to be a life-support system in such situations.
The software was developed specifically to run perfectly on all macOS versions, so regardless of the type of Apple system you have, and no matter how many emails you delete, you can recover them all and find those few important ones you wish to keep.
Note: Recoverit Data Recovery can recover over 1000 types and formats of data. The only thing to be improved is that regarding mail recovery, it can only recover Outlook local emails and files.
Step 1: Choose a Location
Open up Recoverit and choose the location to be scanned. This will be under the "Hard Disk Drives" category because the emails must have been deleted from one of the listed drives. Click the "Start" button.

Step 2: Scan the Location
The scan will begin. It shouldn't take too long. Once it's done, a window will open up and show you a preview of the emails you deleted. There will probably be a lot of them, which is why Recoverit made things easier by giving you the option of using filters to make the search easier, quicker, and more specific.
Among the options, you can take advantage of in streamlining your search is "File Type" or "File Path". Stopping or pausing the scan before it completes it's also a nice little feature you can take advantage of.

Step 3: Preview & Recover Deleted Emails
- In the window with the preview of the deleted emails to be recovered, select some or all of them.
- Click on the "Recover" button located at the bottom-right of the Recoverit window. Your emails will now be recovered.
- Be mindful of this: Do not save the recovered emails in the same drive you just performed the scan on. Save it in any other location in your Mac; better yet, get an external drive and save the emails there.

There is little reason to say any more on why Recoverit Mac Data Recovery is the choice data recovery application for both Windows and Mac users.
The software's simplicity belies its efficiency, and that's why it has persisted for so long, receiving updates that make it even more compatible with all systems and better its performance.
If it's an excellent data recovery software you're looking for, your search ends here.
How to Add an Email Account on Mac
This is a quick and simple process, but you have to be online to complete it, of course.
1. Open up your "Mail" app.
2. On the menu, click on "Preferences."
3. Click on the "Accounts" logo or icon in the "Mail Preferences" page you see.
4. Click on "+" to make a new account.
5. Choose "POP" in the drop-down menu you see.
6. Type in your email information.

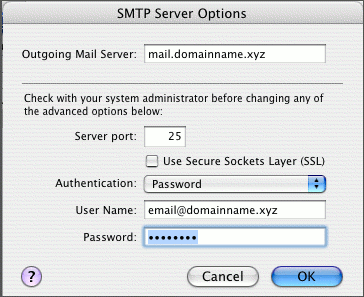
7. In the "Outgoing Mail Server" drop-down menu, click on "Add Server."
8. Type in the Outgoing Mail Server information in the filed provided.
9. Click on "OK."
Closing Words
Now, remember, deleting your emails is necessary when you no longer require them or when there are too many of them taking up space, but don't be too hasty in acting. It's better to be safe than sorry.
If you can, try to organize and sort out your emails so all the important ones are in a custom folder or saved in Draft.
Recoverit can easily recover your lost emails but to make things easier on yourself, exercise caution when deleting emails, particularly if you're deleting them in bulk. Take heed of these words and you shouldn't have any trouble with emails.
Mac Mail Deletion & Recovery FAQ
-
Does deleting the app delete my emails?
No. Deleting the Mail app icon from your Applications folder does not delete your messages. To completely wipe local mail data, you must remove the specific account via System Settings (or Preferences) > Internet Accounts. -
How do I stop emails from coming back after deletion?
This is usually a sync lag between the local client and the mail server. Ensure you select "Erase Deleted Items" and verify that your Trash Mailbox is correctly mapped in the Mail app's Settings > Accounts > Mailbox Behaviors. -
Can I recover emails after emptying the Trash?
Standard macOS tools cannot recover messages once the Trash is emptied. You will need a specialized tool like Wondershare Recoverit to scan the local database files (EMLX) for recoverable fragments before they are overwritten by new data.
What's Wrong with Email
- Emails Lost or Corrupted
- Forgot Email Password


Sue Wayne
staff Editor