How To Backup Files From PC to Asustor NAS or Vice Versa

With increasing digital dependency, protecting your valuable files has become crucial. Learn how Asustor NAS devices simplify backup processes while providing reliable and efficient data security. Dive into this comprehensive guide to explore the benefits and features of Asustor backup solutions tailored to meet your storage and protection needs.

How To Backup PC Files to NAS With Asustor Backup Plan Software

Asustor is an Asus subsidiary, established back in 2011. Named after “Asus” and “Storage”, Asustor is a private cloud storage and video surveillance solution.

asustor windows backup

It offers a wide array of products that can help you better manage your essential files, whether you’re a private or business user, and its Network Attached Storage (NAS) provides you with seamless data access.

Asustor cloud backup is designed to be easy to use and convenient. With the backup plan, you can enjoy full support between Asustor and Backblaze B2, IBM Cloud, Microsoft Azure Blob Storage, Baidu Cloud, Rackspace Cloud Files, and Alibaba Cloud. In addition, you can enjoy the benefits of the hybrid cloud that keeps your data protected online and offline.

With Asustor NAS backup for your PC, you’ll enjoy features such as:

  • Scheduled backups;
  • Real-time synchronization;
  • One-click data restoration;
  • High-speed transfers.

Installing Asustor, backing up files from your PC, and restoring your backups are all simple processes that can be completed quickly.

Installing Asustor Backup Plan

To get started with Asustor backup plan installation, you first have to choose your hardware and prepare it. If you’re using Asustor NAS, you can simply follow their quick installation guide to prepare your device.

Then, you’ll need to connect your NAS and your PC to the same network and start the backup plan installation process:

  • Step 1: Download the Backup Plan directly from Asustor;
asustor backup software downloads
  • Step 2: Unzip downloaded files from your Backup Plan;
  • Step 3: Double-click on the installation file;
  • Step 4: Follow the steps outlined by the installation wizard.

Once you’ve completed the installation process, a Backup Plan shortcut will appear on your desktop for the utmost convenience.

If you need assistance or tips, you can join the Asustor forum to connect with other users.

Backing Up PC Data on Asustor NAS

Once you’ve installed the Backup Plan on your device, you can connect your PC to your NAS in a few easy steps, then back up all the data you need:

  • Step 1: Open your Backup Plan and select Create;
asustor backup plan
  • Step 2: Select your backup destination and create your backup plan name;
  • Step 3: Once the Backup Plan has scanned your local area network, select your NAS device and click Next;
  • Step 4: Input your NAS username and password > Next;
  • Step 5: Configure your backup method > Next;
asustor backup method
  • Step 6: Let the Backup Plan scan your computers for files and folders, then choose the ones you want to back up > Next;
  • Step 7: Choose your destination > Finish.

You can have up to six backup plans and view all relevant information about your plans directly through the dashboard. You can also choose from one of several Asustor NAS backup schedules. Set up the backup frequency, schedule Asustor incremental backup, and configure the settings for existing files that haven’t been changed.

Restoring Asustor Backups

Once you’ve created your backup plans, restoring them is a simple process:

  • Step 1: Open your Asustor Backup Plan shortcut;
  • Step 2: Select the plan you wish to restore;
  • Step 3: Click Restore;
asustor backup restore
  • Step 4: Choose Directly restore the backup or Restore parts of backup > Next;
  • Step 5: Select New or Original directory path;
  • Step 6: Choose the action for files that already exist;
  • Step 7: Click Finish.
asustor backup restoration

The Asustor Backup Plan will start automatically restoring your files. Once the process is complete, you’ll find your files in your chosen destination. If you lost data without backup, don’t worrry. There are ways to recover data from your computer.

How To Backup Asustor NAS to PC With Wondershare Ubackit

wondershare ubackit nas backup

Asustor Backup Plan isn’t the only way to protect your essential files and data. Solutions like Wondershare UBackit could be much better suited to your needs.

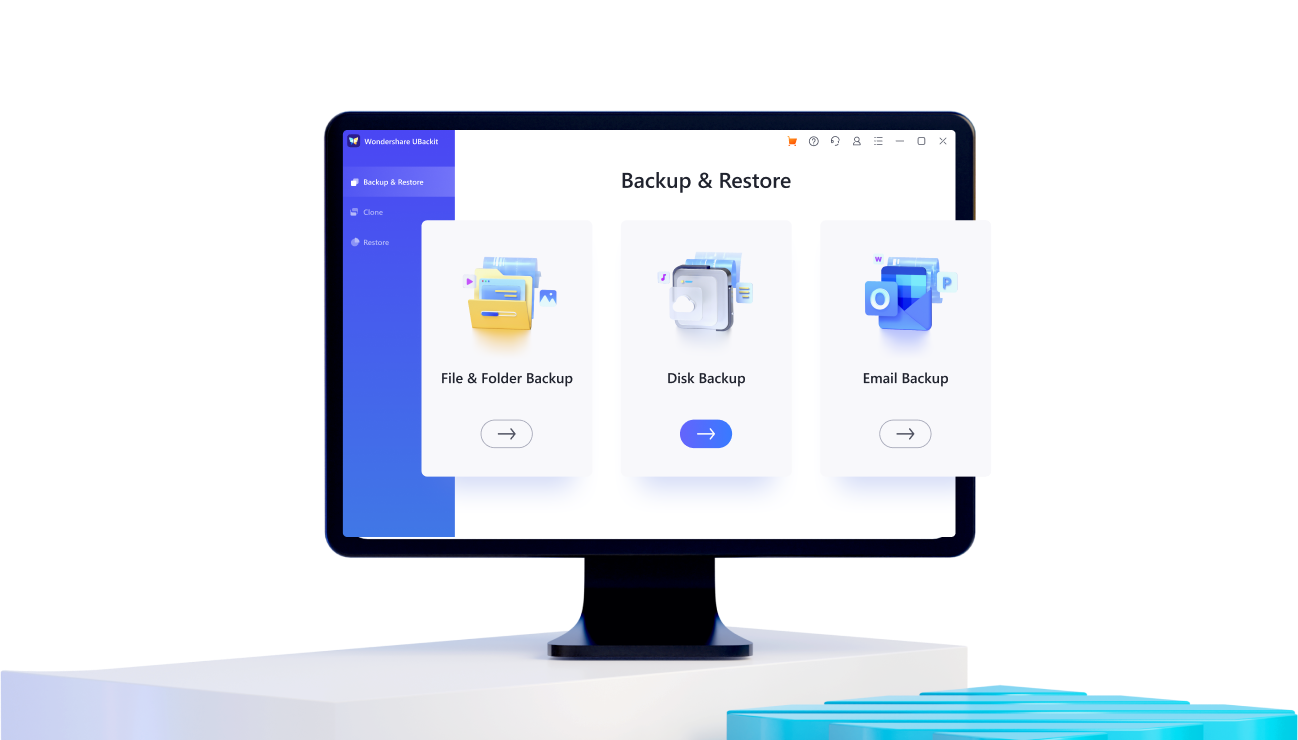
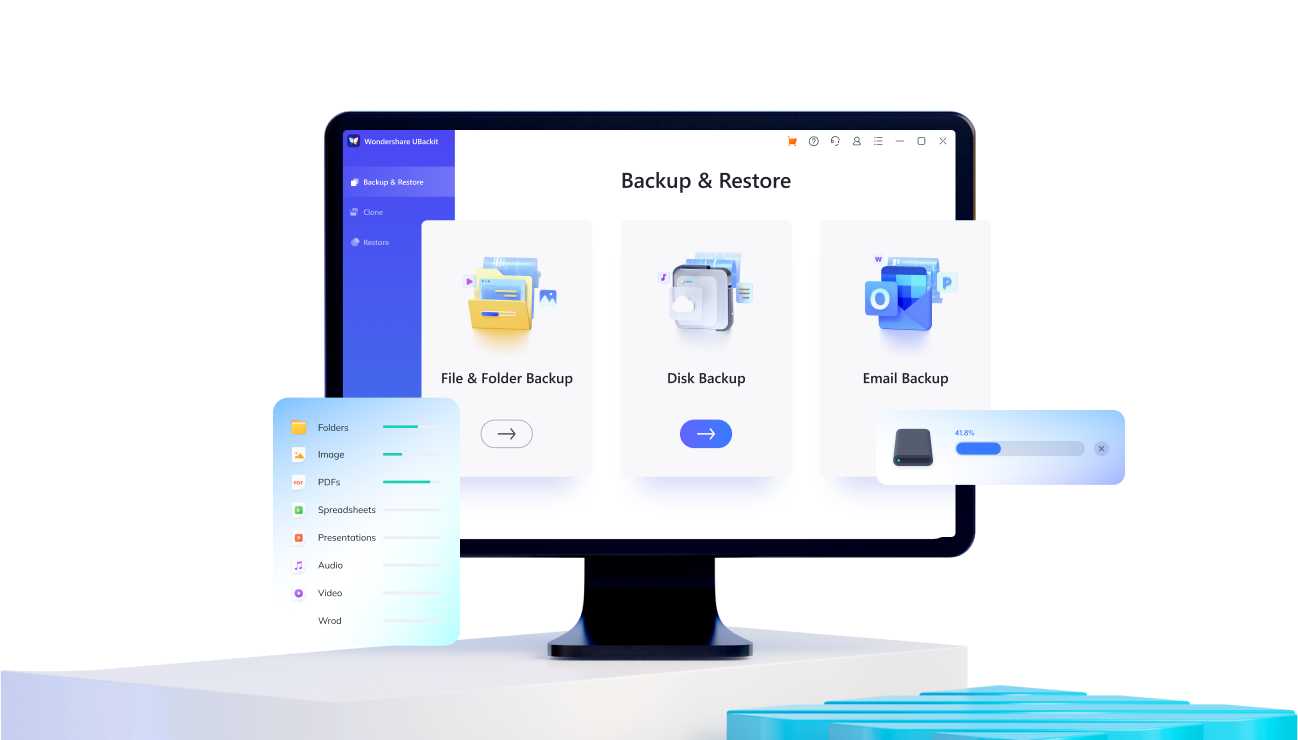
Wondershare UBackit provides a fast, efficient way of protecting your files, partitions, NAS devices, Outlook mail, computer hard disks, and external hard drives.

Some of its key features include:

  • Files, folders, partitions, and disks backup
  • Incremental, scheduled, real-time, and encrypted backup;
  • Disc cloning;
  • Seamless file restoration.

It takes just a few clicks to back up, secure, and restore all files, so you can get used to Wondershare UBackit in no time. To get started with UBackit, you first have to download and install it by clicking the download button below.

Backing Up Asustor NAS Data on PC

With the software installed, you can seamlessly back up your entire PC.The process takes just a few simple steps:

  • Step 1: Launch UBackit and create a Wondershare account for the free trial;
  • Step 2: Select a backup option according to your needs under the Backup section. Here we select File & Folder Backup as an example.
select file or folder backup option
select files from asustor nas
  • Step 4: Choose a computer local drive as your Asustor data backup destination > Backup.
select files from asustor nas

UBackit will automatically start creating a backup of your Asustor files, and you can keep an eye on the progress in the progress bar. You can also create a backup schedule directly through the dashboard, preview all your files, encrypt, manage, and delete them as needed.

asustor auto backup

Restoring Asustor Backups

Restoring your files is just as easy as backing them up:

  • Step 1: Launch Wondershare UBackit > Restore;
restore asustor backup
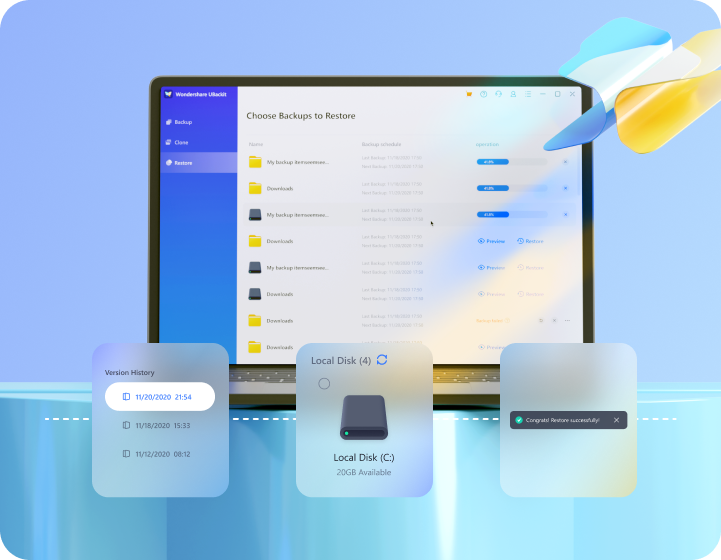
  • Step 2: Select whether you want to restore the entire backup or just some files; Additionally, you can check the file version history to restore the preferred version.
view backup files
  • Step 3: Select your target location > Okay.
restore backups

The restoration process will start immediately, and you can keep an eye on the progress bar to see how it’s going. The software will notify you when the restoration is complete. You can access your restored files from the target location you’ve chosen. If you've misplaced files on your Asustor NAS without a backup, fret not, you can still execute Asustor data recovery to retrieve them.

Conclusion

Both Wondershare UBackit and Asustor backup can help you protect your essential files from corruption or loss. Test out both options and see which one suits you better.

You May Also Like

QNAP NAS Cloud Backup Made Simple With These 4 Tools

Discover how to back up QNAP NAS to Cloud using popular Cloud backup tools for data protection.

Backup Synology NAS to Azure Storage: A Complete Guide

Follow the step-by-step instructions here to back up Synology NAS to Azure using different methods.

Step-by-Step Guide: How to Backup Synology to Amazon Glacier

Securely backup Synology to Amazon Glacier with this easy-to-follow guide for reliable data storage.