"I am using Windows 11 and looking for ways to back up some of my important files to an external hard drive of around 500 GB. Is there anyone who can suggest me some great options?"
Losing your data is one of the most hurtful things you can experience. Imagine if you accidentally deleted your important file folders from Windows 11 or your hard drive crashed. What next? All your important files are gone from the system. It might sound like your worst nightmare. Do not worry! You can always restore them from the "Trash" folder.
But if your files are permanently deleted from Windows 11, it can be a very risky condition as you cannot recover them from Recycle Bin. Do not panic!
To assist you handle such a situation, we have provided our reader with the 5 best backup and recovery methods to Backup and restore lost files on Windows 11 in the article. In addition, of course, you can try backup files to the external hard drive on windows 11 methods to be safe in the future.
In this article
Method 1: Wondershare UBackit
Wondershare UBackit is the best free backup software for Windows 11. It creates a copy of your original files and saves them, which you can use or restore later if you lose your system data.
Whether it is photos, audio, videos, or any other document, this software supports a wide variety of files. However, this software allows you to back up your data with just a tap of your finger. Download and install this tool and follow the quick steps below to Backup your data:
Step 1. Choose the File/Folder
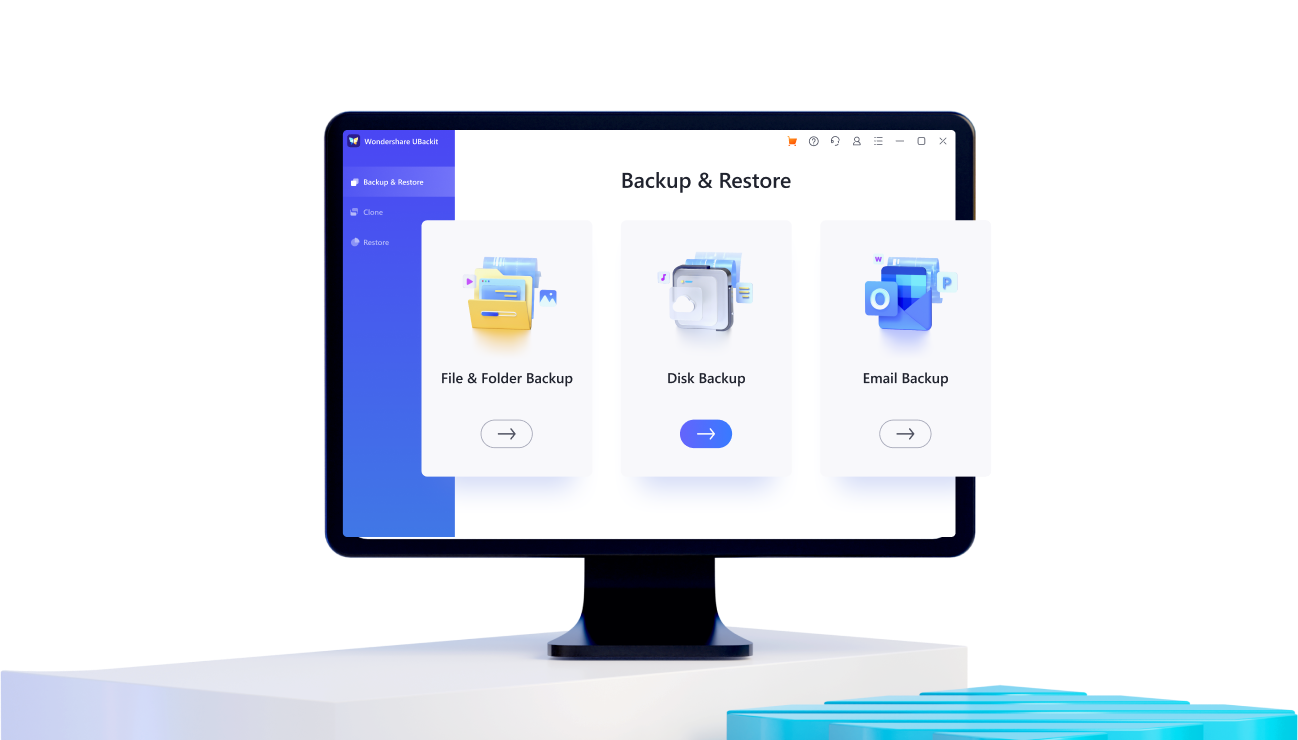
Open the UBackit tool in the Windows 11 system, select the "Backup & Restore" option from the sidebar, and choose the Files/Folders.

Step 2. Choose Backup Destination
Now choose the target location to restore the Backup. You can select any internal drive or connected external source where it will save the backup file.

Step 3. Initiate Backup Process
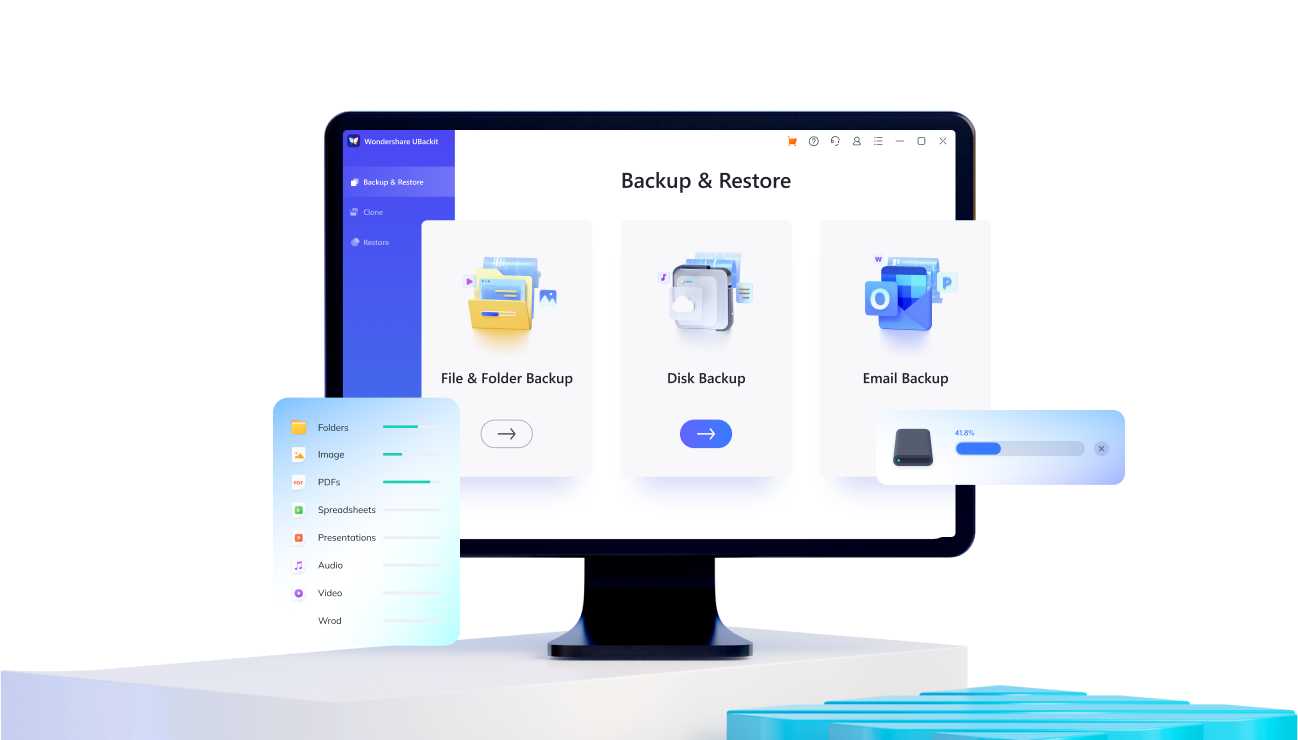
After selecting the location, the software will start extracting the data. After that, you can check the progress of the restoring operation and wait for the procedure to finish.

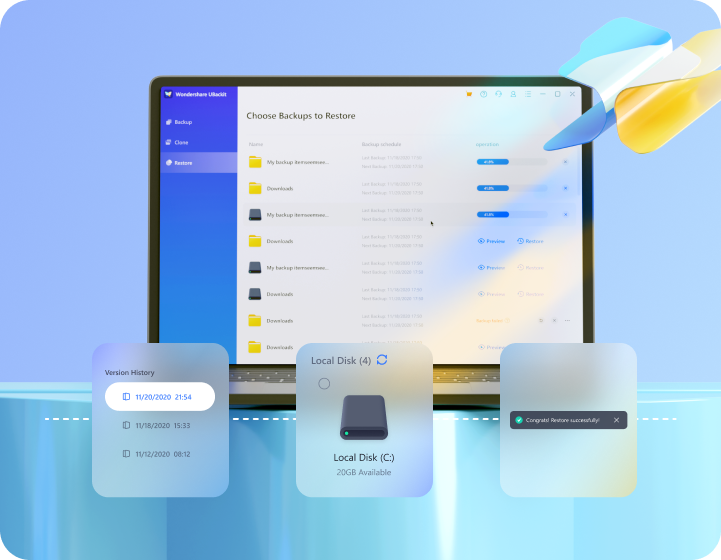
Once the backup process is finished, you will be notified and later view or restore your data from the software.
Method 2: Windows 11 "File History"
The second method for backing up and restoring files in Windows 11 is using file history. It is a utility tool in Microsoft Windows where you can restore your files to a previous version. As a result, your files will also be restored.
If you want to try the windows 11 file history method, here are the steps to follow:
Step 1. Go to Settings on Windows 11, click on the "System", and then select "Storage" on the right pane of your screen.

Step 2. On the storage settings page, click on "Advanced storage" settings and then select "Backup options."

Step 3. Tap on the "Add a drive" choice, and it will direct you to choose the external drive you have connected to the windows.

Step 4. You can even hit the "ON" button to "automatically back up my files", and after every hour, Windows will back up everything in your user folder (C:\Users\username).

Step 5. Go to " More options " to change which files to back up or how often to back up. It means the option will allow you to customize when and how files are backed up.

When you're done, save and exit.
Method 3: Windows 11 "Backup And Restore"
The next method you can use to Backup and restore files on Windows 11 is the "Backup and Restore" option. It is a built-in option accessible by going to the Start menu. However, if you end up losing your important files, you can restore them by following the steps below:
Step 1. Click on the window button on your Windows 11 System, go to "Settings", and click on the "Update & Security" option.

Step 2. Choose the "Backup" option from the right sidebar, tap on the "More option", and then click on the "Restore files from a current backup" section.

Step 3. Now select the Folders from the Backup that you want to restore. You can even:
- Browse for files
- Browse for folders
- Search to add files
Once you have selected the Folder, now click "Next" to start the process of restoring.

Method 4: Cloud Drive
If you have lost your files permanently and want to get them back, you should try the Cloud Drive method like OneDrive. The storage service offered by Microsoft gives you 5 GB of free storage and gives you access to the free version of Microsoft Office. Here are the steps to follow:
Step 1. Go to "Settings" on Windows 11, click on the "System", and then select "Storage" on the right pane of your screen.

Step 2. On the storage settings page, click on the "advanced storage settings" button and then select "Backup options."

Step 3. Now find the "Back up files to OneDrive" option and click on the link that says "Sign in to OneDrive."

Step 4. Enter your email address to sign in. If you are not a user, then create an account.

Step 5. After successfully logging into your OneDrive account, click on the "Next" button to continue with the step wizard.

Step 6. Once you are done with the step wizard, your OneDrive will be ready to use.

Besides, there are other most popular cloud-based storage services, including:
- Dropbox: It's an easy way to back up your most important files online. Dropbox offers 2 GB (gigabytes) of free storage and lets you share files and even entire folders with whomever you want.
- Google Drive: This is a cloud storage service from Google, offering 15 GB of free storage. From Drive, you can also access Google Docs, which allows you to create, share, and collaborate on documents, spreadsheets, presentations, and more.
Method 5: Copy And Paste
The other easy and efficient method to Backup and restore files on Windows 11 is manual copy and paste. This method is an easy way to protect your most important files and folders. You need to connect an external drive to your PC and then click and drag the desired items to the external Drive to use this method. A copy now exists on both the computer and the external Drive.
Conclusion
When it comes to restoring and backup files on Windows 11, several options are to try, as mentioned above. But keep in mind that some methods may not work if you have permanently deleted the files or have not backed up any files before. This is the stage when you need Wondershare UBackit - the professional data recovery software.
It is the most reliable method out of the five to help you successfully recover your deleted/crashed files in Windows 11. With the help of this unique tool, you can even perform a multitude of tasks. It backs up your data in no time and makes the Backup without any hassle.