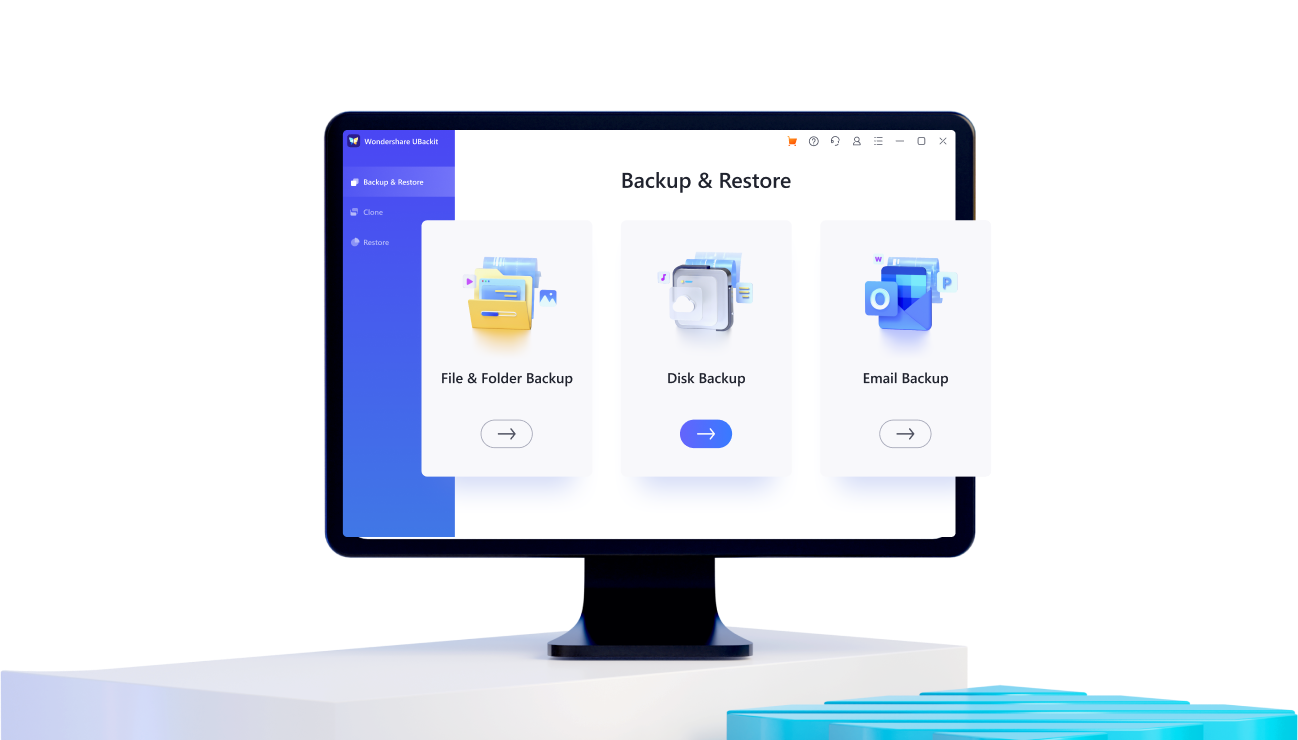
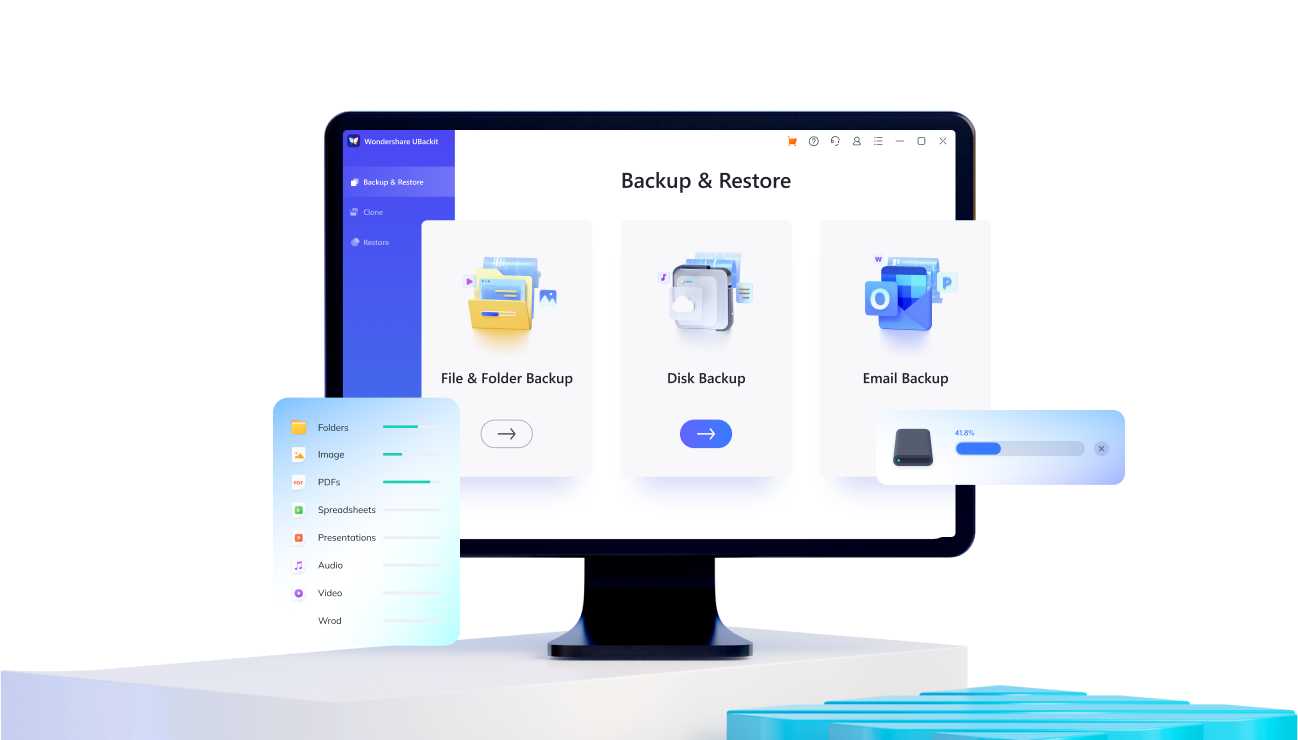
A system backup is a procedure for backing up computer system data, files, etc. It means that a duplicate copy or a data surrogate is created as a backup when the main system data is lost/deleted/crashed.
This situation is quite common when a user tries to upgrade the current version of their system to the latest version. So, if you are using Windows 11 or any other operating system, create a backup regularly. It will prevent data loss and easily restore your system when major issues arise. Besides, the backup ensures that the system and files are not lost or damaged permanently.
Nevertheless, in this guide, we have provided our readers with an effective solution to their question "how to create a full system backup on windows 11" effortlessly.
In this article
Part 1. Why Do You Need A Full System Backup on Win 11?
Due to a system crash, computer blue screen, virus infection, or any other reason. It can be much more serious, such as a failed startup (boot). However, it won't be easy to reinstall the system directly. So, it is important to duplicate important files/folders to create a system image for Windows.
If you want to perform any modifications to your current Windows or if you want to upgrade Win 10 to Win 11, make sure you create a complete system. It will keep your data safe and help you restore it. Creating a backup of the system is crucial, and one should do it regularly to overcome any system crashes or data loss.
In the next segment, we have listed the simple and easy ways on “how to create a full system backup on windows 11.” Just scroll down and read more about them!
Part 2. How to Create A Full System Backup on Windows 11?
There are several different backup methods, but Windows 11 comes with a built-in tool that can help you back up your files.
Alternatively, you can create a Win 11 system image through OneDrive or by using third-party software. Below are the methods with the steps that you can try.
Method 1. Create Win 11 system image via OneDrive
There are many methods to create backup Windows. But the simplest and easiest might be setting up and backing up via OneDrive. It allows you to save and access your files and photos from any device, anywhere.
Follow the steps to create Win 11 System Image on Windows 11 via OneDrive:
Step 1. Open the "Setting" page in Windows 11 PC and click on the "System" option from the left sidebar, and then choose "Storage" from the right side of the screen.

Step 2. Click on the "Advanced storage settings", where you will have more storage choices. Next, select the "Backup" option.

Step 3. Choose the "Back up files to OneDrive" option and click on the link that says "Sign in to OneDrive."

Step 4. Enter your email address to sign in. If you are not a user, then create an account.

Step 5. After successfully logging into your OneDrive account, click on the "Next" button to continue with the step wizard.

Step 6. Once you are done with the step wizard, your OneDrive will be ready to use.

Method 2. Create System Image in Windows 11 Using Built-in Tool
Win 11 comes with a built-in backup that can help you back up the operating system, applications, and files at a specific time and save them to an external hard drive in the event of a system crash.
However, if you are worried about losing important documents that are difficult to replace, the best option is to create a full system backup and store it somewhere. Here are the steps to use the built-in tool:
Step 1. Open the "Setting" page in Windows 11 PC and click on the "System" option from the left sidebar, and then choose "Storage" from the right side of the screen.

Step 2. Under the Storage Management section, click on the "Advanced storage settings" option.

Step 3. You will have more storage options, choose "Backup" and enable the "back up using file history" option.

Step 4. Now click the link "Go to Backup and Restore (Windows 7)", and this will open Control Panel.

Step 5. On the next screen, hit the option "Create a System Image." Then select the external disk to save the system image and hit the "Next" button.

Step 6. Confirm the backup setting and click on the "Start Backup" button.

Step 7. Wait for the procedure to complete, and once it is done, click on the "Close" button.

After the backup is complete, you will generally be prompted to do a system repair disc.
Method 3. Generate A Windows 11 System Image By AOMEI Backupper
It is not safe to directly upgrade Win10 to Win 11 without duplicating vital files/data or your system. Not only that, you may receive unexpected errors when you think it will normally work like:
- Disconnected file history drive
- File history does not recognize this drive
- Win 10 back-ups cannot be added folder
- System backup failed
- Cannot restore system image to a smaller drive, and more.
So, it is better to try professional third-party software like AOMEI Backupper Standard to create a system backup. It is a data backup and restores tool to backup any item to protect data and manage hard drives. You can even schedule a backup with specific settings like enabling email notification, compression, daily/ weekly/monthly backup, incremental or differential backup.
Firstly, download and install the AOMEI Backupper Standard software in the system and follow the below steps:
Step 1. Choose System Backup Option
Open the software on the PC, click on the "Backup" option from the left sidebar, and choose "System Backup."

Step 2. Select the Location
Now select the backup destination and choose one more from - Options, Schedule, and Scheme.

Step 3. Start the Backup
Suppose you select the schedule option. A new screen will appear where you have to schedule the settings. Once everything is set, click the "OK" button and Start the Backup.

Now, wait for the procedure to complete!
Conclusion:
As you know, there are different solutions to create a full backup of the whole system and files online, but finding this one is hard! So, to help you out with the "how to create a full system backup on windows 11" problem, we have already mentioned the above methods and a step-by-step guide. You can back up your data using any option as these methods have minimal steps that are easier to understand and implement.