How to Use Wondershare UBackit
Install & Download UBackit
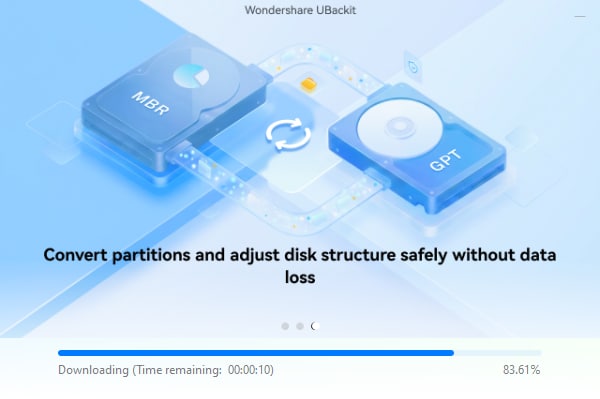
Wondershare UBackit has evolved. Beyond professional data backup, UBackit now serves as your go-to solution for advanced disk optimization. Whether you are running out of system space, upgrading to a new SSD, or preparing your hardware for the latest Windows updates, our specialized toolkit ensures your data remains safe while your disk performance reaches its peak.
Wondershare UBackit supports all the leading Windows versions such as Windows 7, 8, 8.1, 10 and 11.
Install & Launch UBackit
- Install Wondershare UBackit
- Launch Wondershare UBackit
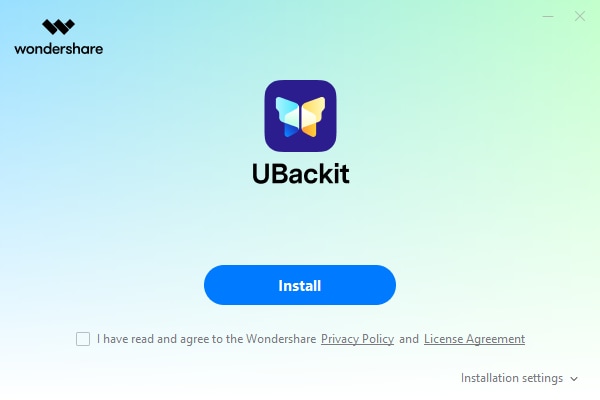
Step 1 Install Wondershare UBackit
Just go to the official website of Wondershare UBackit to download the installer on your PC. Double-click the EXE file to open the UBackit installer and click on the “Install” button to start the process. Just wait for a while as UBackit would be installed on your computer.
Step 2 Launch Wondershare UBackit
After completing the installation, you can launch UBackit from the desktop or look for it from the search option on the taskbar.
Once UBackit is launched, you can log in to your Wondershare account (or create a new one). Now, you can explore the features of UBackit to back up and restore your data.
Dynamic Partition Management
Optimize your storage by reallocating space without data loss.
When your C Drive is clogged with system files and "Low Disk Space" warnings appear, UBackit allows you to intelligently borrow unused space from other partitions (like your D Drive) to balance your disk layout.
How to Adjust Your Disk Layout:
Step 1 Identify and Select Disk
Launch UBackit and navigate to the Partition Management tab. Select the physical disk you wish to modify. Double-click the disk or click the Adjust Disk Layout option from the right pane to continue.

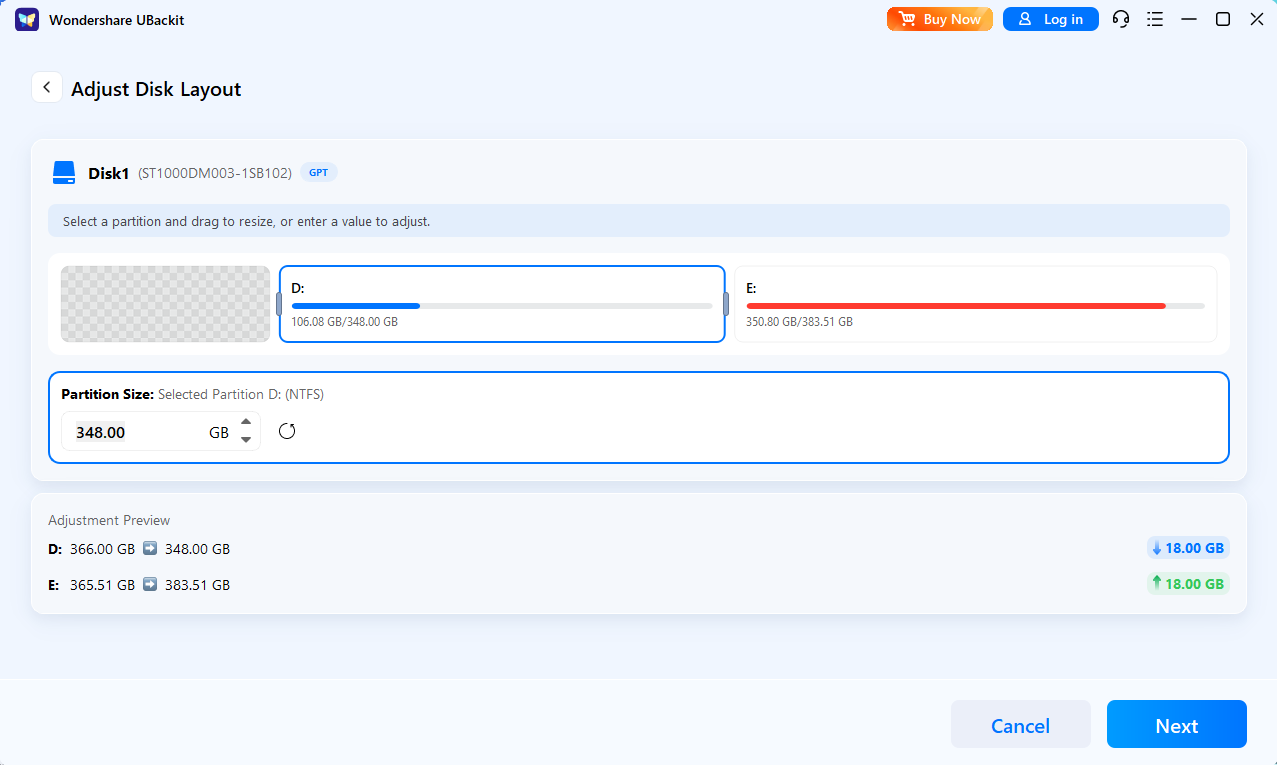
Step 2Adjust the Disk Layout
Use the intuitive visual interface to drag the edges of your partitions. Alternatively, enter specific GB/MB values to precisely reallocate unallocated space from one volume to another.
Step 3Initiate the Process
Review and confirm the partition layout. Once confirmed, click Next to execute the operation.
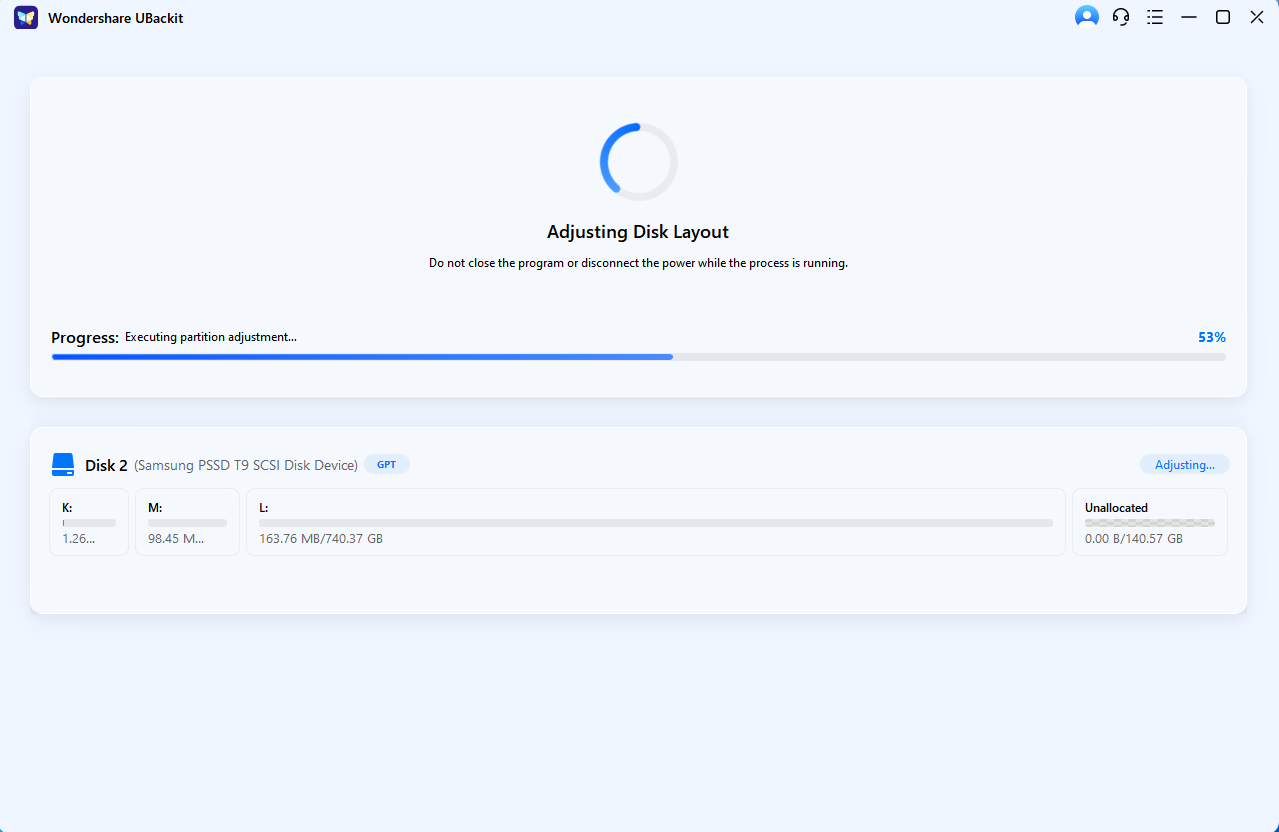
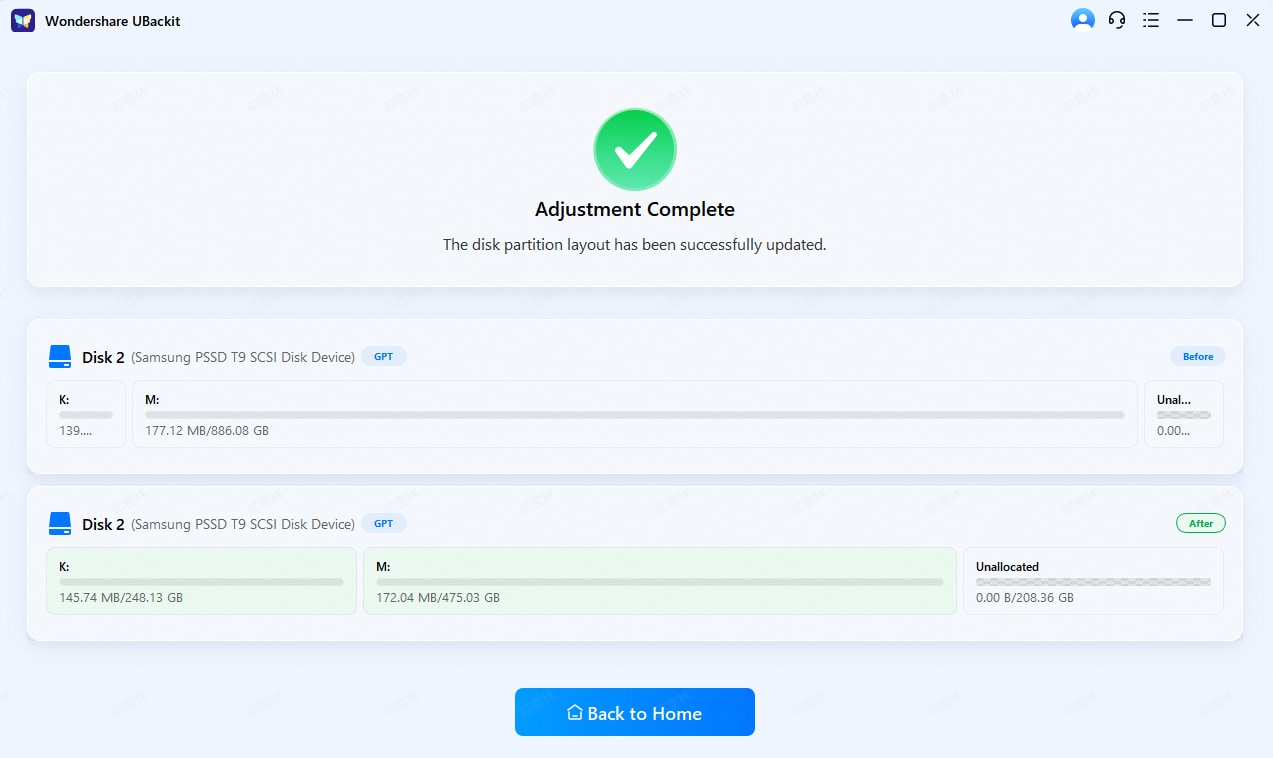
Step 4Complete Management
Wait for the process to finish and view the updated disk layout. UBackit will safely move data blocks to accommodate the new boundaries. Once the progress bar reaches 100%, your disk will reflect the updated capacity instantly.
Seamless System Migration
How to Migrate Your OS:
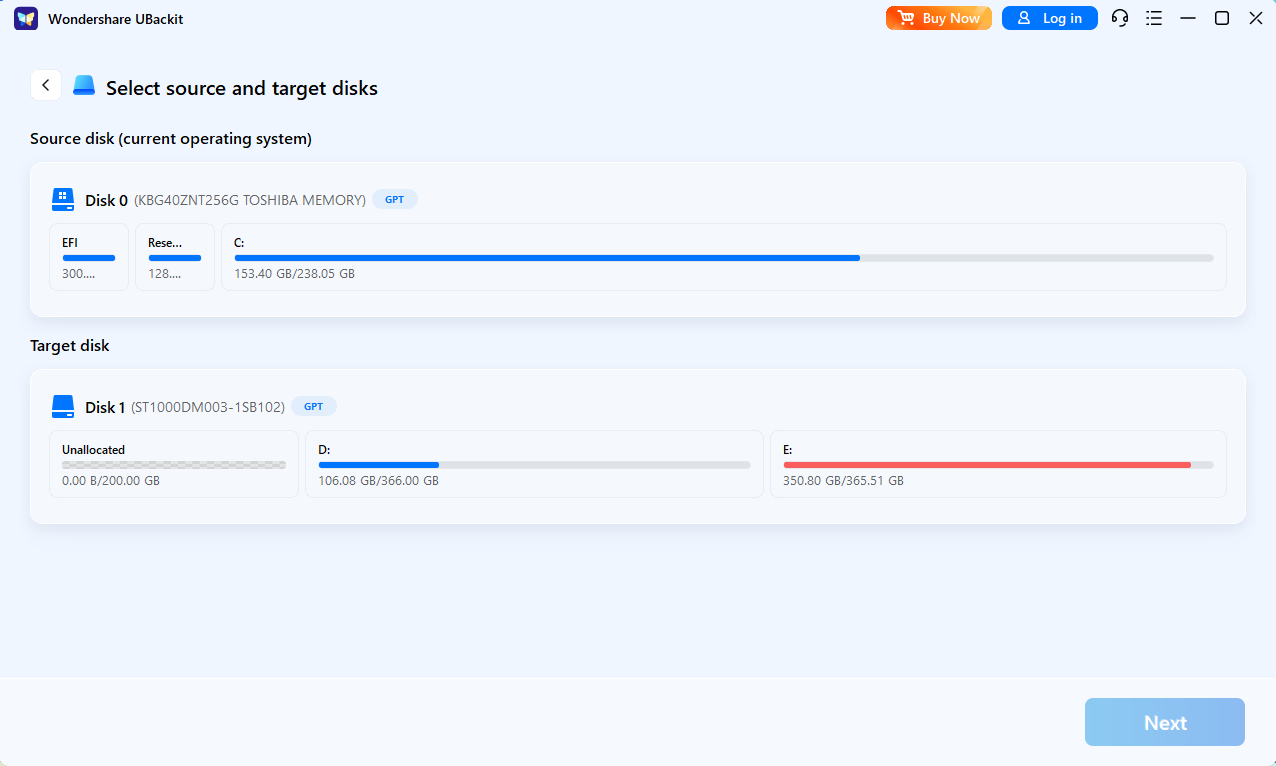
Step 1 Source & Destination Pairing
The software automatically detects your current operating system partition. Simply select your new target disk from the list of available drives for migration.
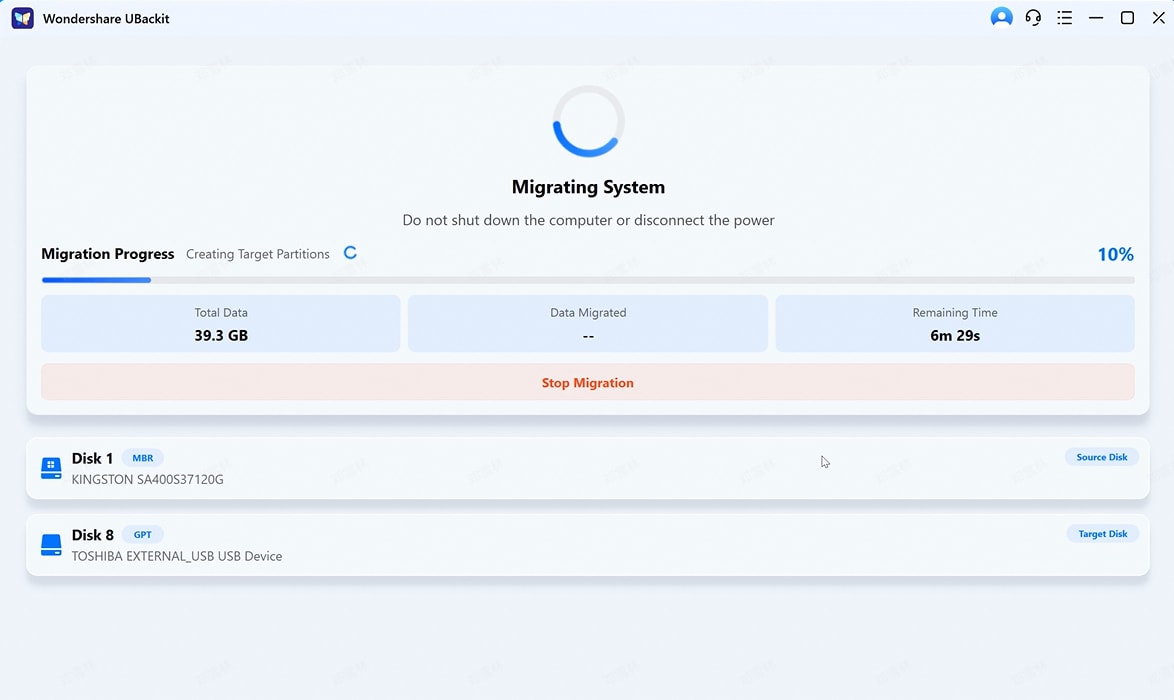
Step 2 Initiate Migration
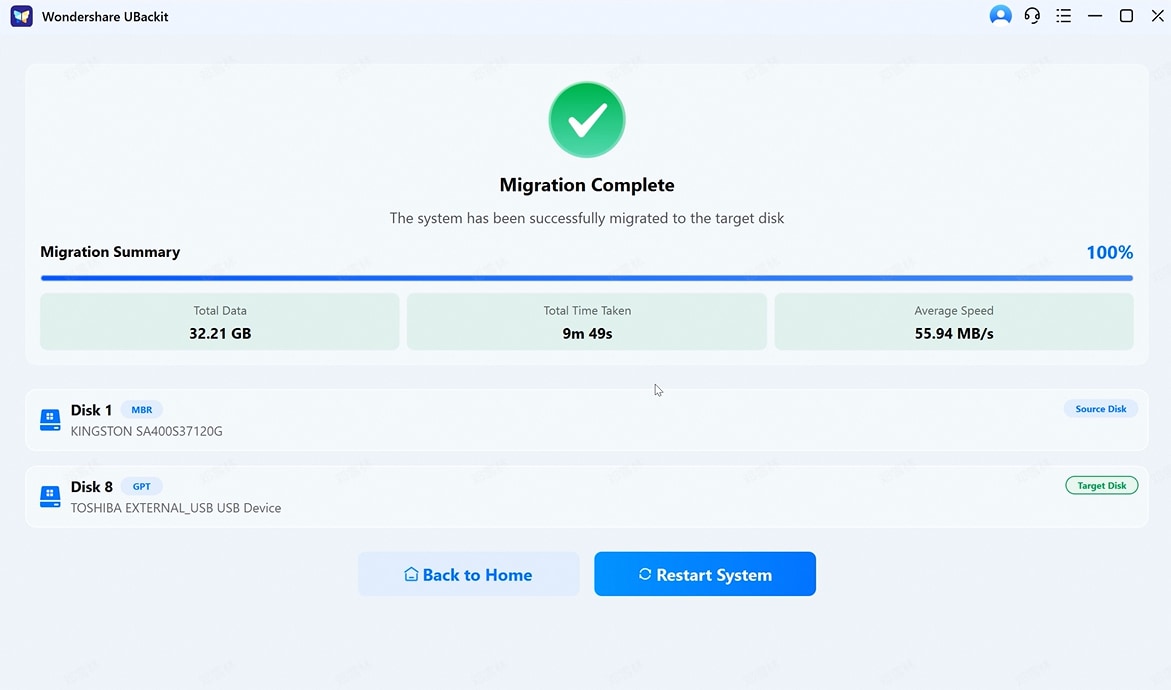
Click Start Migration. UBackit creates a bit-for-bit replica of your system environment. Execute the migration process and your source system will be transfered to the target disk safely and completely.
Step 3 Boot & Run
After the process completes, shut down your computer and set the target disk as the primary boot device in your BIOS/UEFI settings.
Lossless Partition Conversion (MBR to GPT)
Modernize your disk structure for UEFI and Large-Capacity Drives.
To utilize disks larger than 2TB or to upgrade to Windows 11, converting from MBR (Master Boot Record) to GPT (GUID Partition Table) is essential. UBackit handles this complex conversion without formatting your drive.
How to Convert MBR to GPT:
Step 1 Select Target Disk
Choose the disk currently using the MBR partition style. UBackit will perform a quick health check to ensure the disk is ready for conversion.
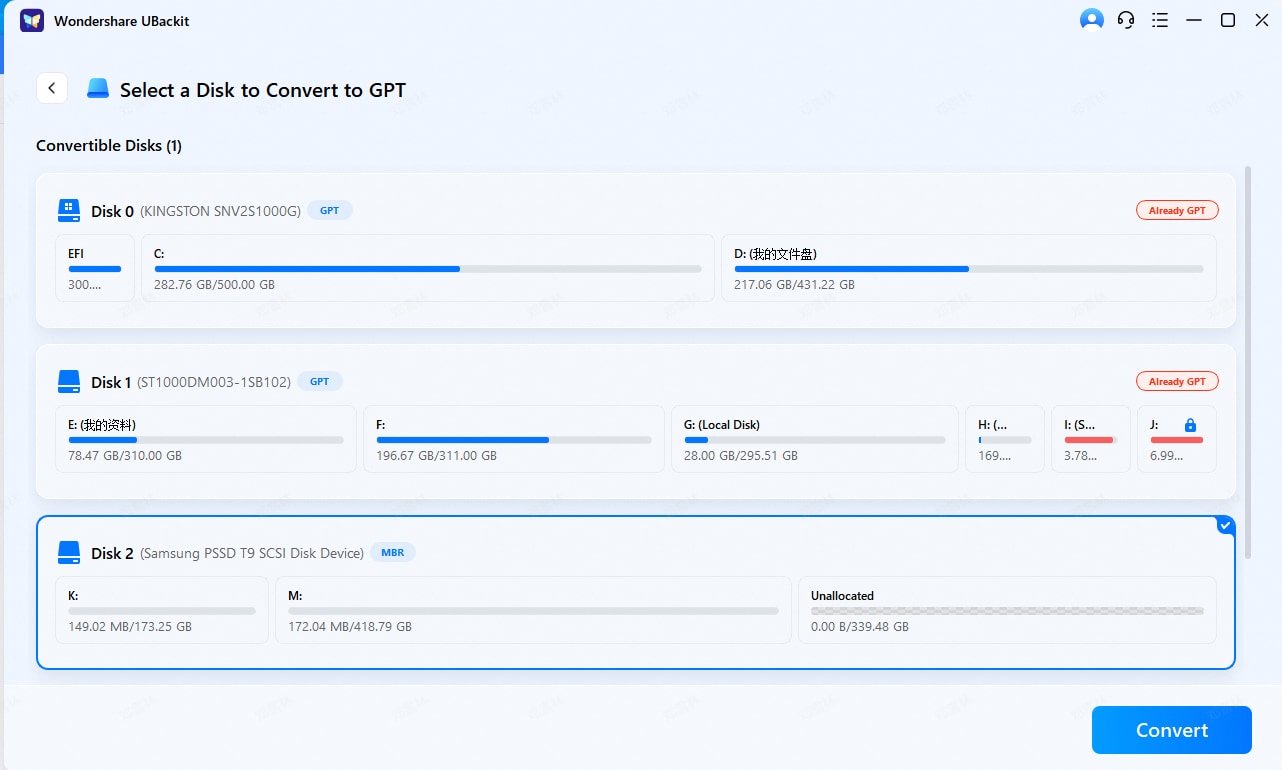
Step 2 Safe Conversion
Click Convert. Unlike standard Windows tools that require you to delete all partitions, UBackit transforms the partition table while keeping your existing data intact.
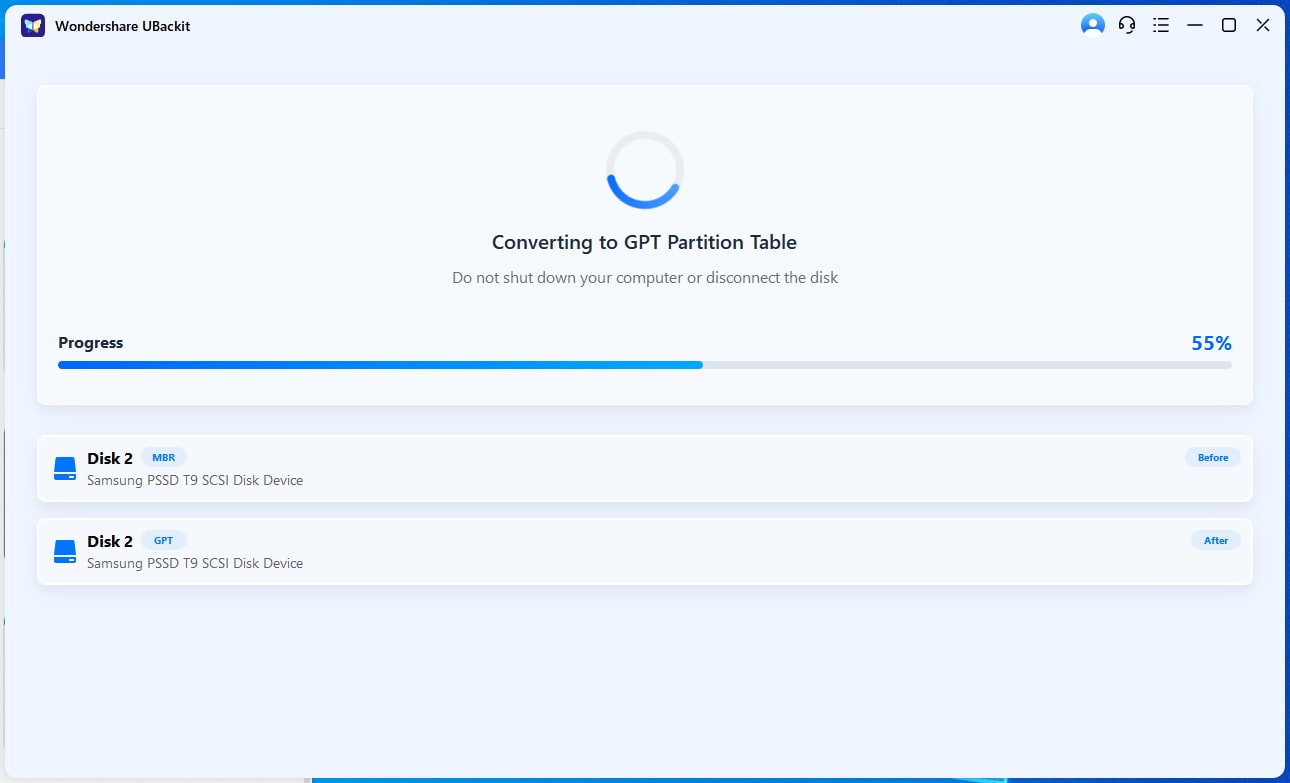
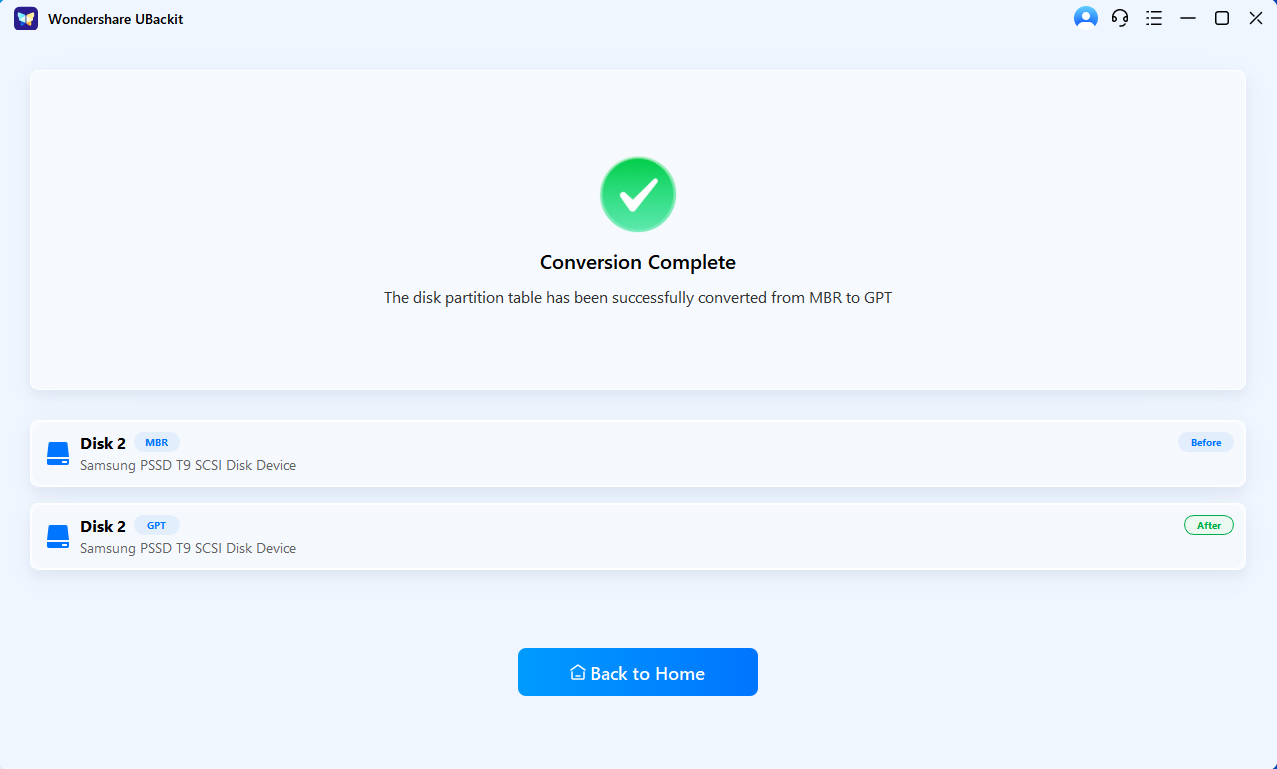
Step 3 Verification
Once the conversion is finished, your disk is now compatible with UEFI boot mode and can support more than four primary partitions and massive storage volumes.