How to Sync Dropbox Files to Computer?
Dropbox is a trending cloud storage platform. With this tool, anyone can sync any selected folders and then access them through any computer. Before the update, you could only access the files in Dropbox that were synced. But now you can access Dropbox files without syncing. If you are using a Mac or Windows computer you can back up your Downloaded files, Documents folders, and much more to Dropbox. If you edit a file on one computer, it will automatically sync with another computer you are logged in. There are many unique ways you can use this feature for easy access to computer files.

Part 1. How to Sync Files from Dropbox onto Computer?
Now we will discuss how to sync Dropbox files on the computer. With Dropbox, you have to be certain that all the files will be available when you need them. You just need to sync files with one computer and you can access them through any phone, computer, and tablet device. It's alright if you are not yet familiar with the inner working of Dropbox. Follow the given steps and learn how to sync Dropbox files on pc:
- First install the Dropbox app on your computer and any other device you want to access your files from.

- Sign in with the same account on all devices and computers.
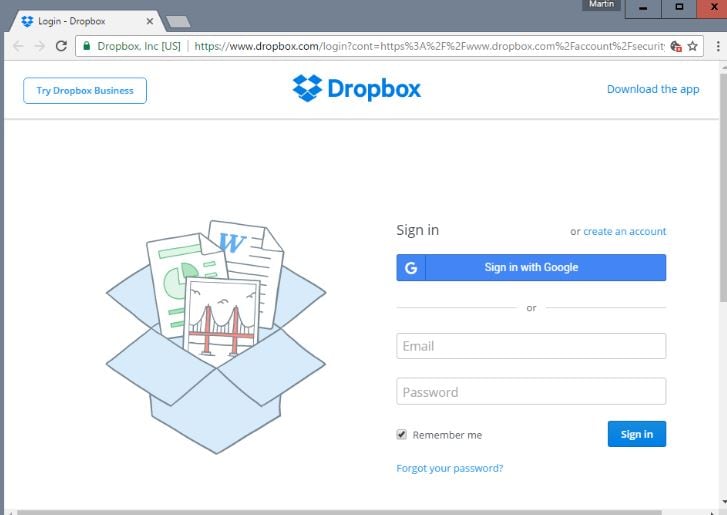
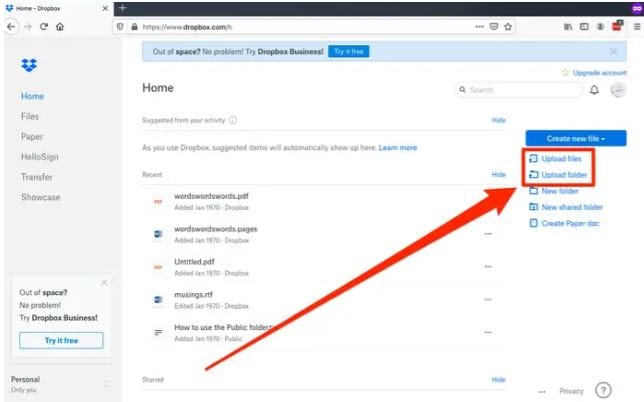
- Now go to Dropbox and add files to the folder. Once the file is uploaded to the Dropbox folder, you can access it from all the connected computers.
- Your devices are recognized by your Dropbox account and you just need to sign in once. No matter where you are you can easily access those files.
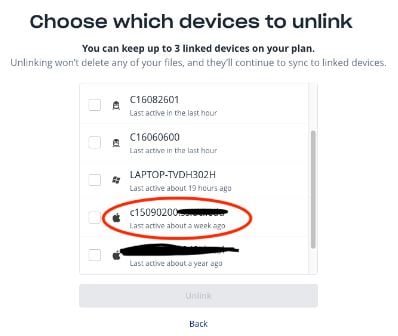
Here you can select and unlink any device you don’t recognize.
Part 2. How to Sync Dropbox to File Explorer?
We know how useful the Dropbox app is to remotely store folders and files. You can also get a mirror folder of your Dropbox files on a hard drive location and access it from the File Explorer.
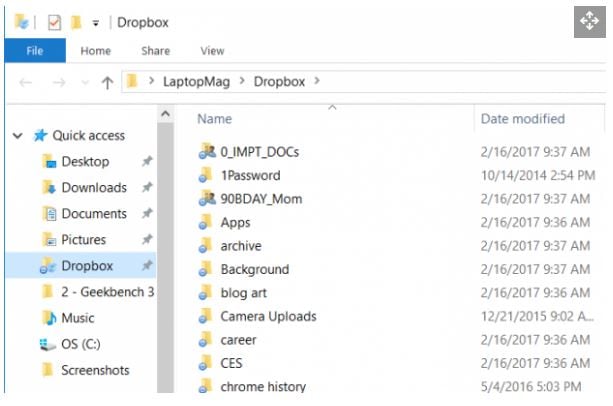
If you want to know how to sync Dropbox to file explorer then you can follow the given steps:
- Go to Dropbox.com and download the app.

- Open the downloaded app installer.

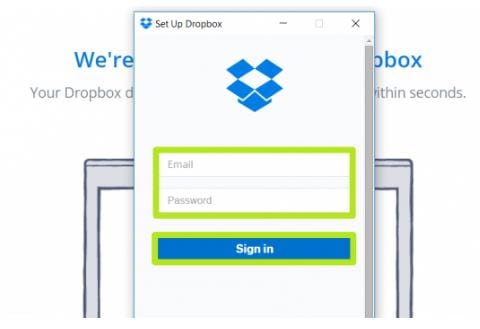
- Type in your account email address and password details and Sign in.
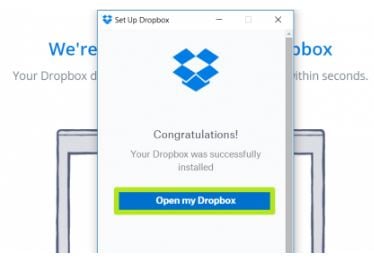
- Click on the Open my Dropbox option.
- Click on Get Started.
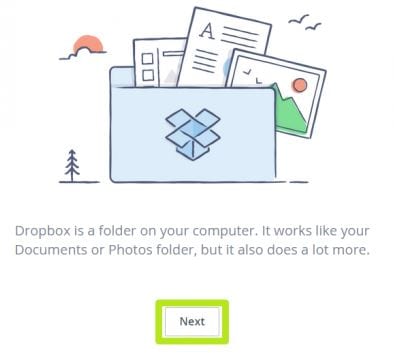
- Click next on the next three coming prompts.
- Click on Finish. Dropbox will now be displayed on the left side-rail of File Explorer.

- If you want to add Dropbox to Quick Access, right-click Dropbox from the left side rail.
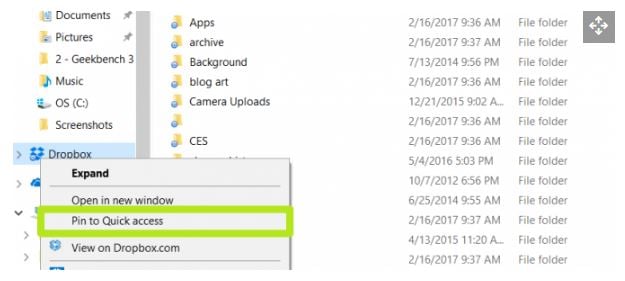
- Select and Pin Dropbox to Quick access.
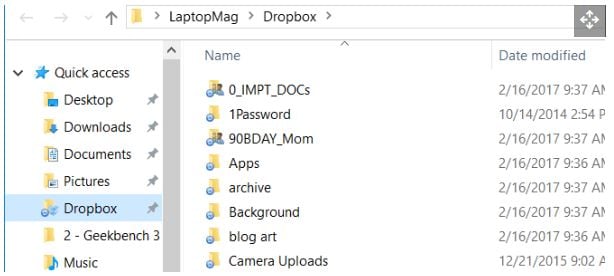
You've placed Dropbox in Windows 10's File Explorer
Part 3. How to Automatically Sync Dropbox Files?
How to automatically sync Dropbox files in Windows 10? For people who are using Windows 10 and want to know how to sync files from Dropbox to computer then you can follow the easy steps given below:
- First you need to install the Dropbox app from their official site.
- Next Click on the Dropbox icon from the system tray bar.
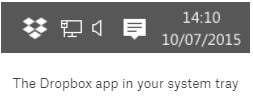
- Click on the gear icon and select Preferences from the drop menu.
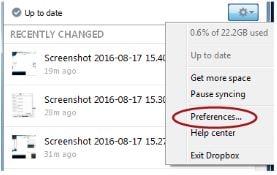
- Click on Sync Option.
- Click on Selective Sync. Here select the system you are using.
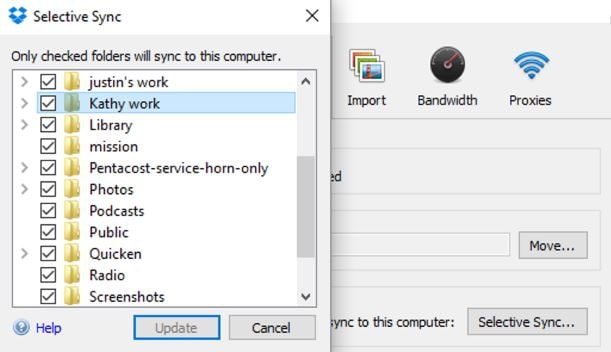
- A list window of all folders will be shown in your Dropbox folder:
- The folders checked will be automatically synced to your computer.
- You can uncheck any unnecessary folders and they won't auto-sync.
- The unchecked folders will be deleted from your disk drive, but still, be available on dropbox.com.
If you are also searching for an answer to how do I sync my Dropbox files to my computer? Then you can follow the above given steps.
Automatic File Backup Software for Windows 10: Wondershare UBackit
Windows provides a default automatic File Backup tool that is a little complicated for some users. People are more likely to use a tool that is simple and reliable. Wondershare UBackit is the best solution for their needs. Let's give you a brief overview about its features:
- Automatic File backups Feature
An automatic backup option is integrated into UBackit, you can select any preferred time frame such as daily, weekly, monthly, or a customized date of your choice.
- Incremental backup Support
UBackit doesn't create a new backup file copy, it maintains different versions of your system files with the assistance of incremental backup. This method saves about 80% of local hard drive storage.
- Customized filters For File Search and Storage
Users have their own choice to select the folders and local disk drive they want to back up. If you need to search for a specific type of file, a search box is there. You just need to enter the keywords.
- Several File Formats Supported
File formats are very important that's why UBackit provides all the main data types for photos, videos, compressed files, emails, and documents.
Viruses are getting common these days, that's why UBackit provides virus detection features to assure that your files are safe. A preview of user data is available and an advanced storage management feature is added.
We have given you the details about its working. Let's now discuss its working in a few simple and easy steps:
Step 1: Install UBackit
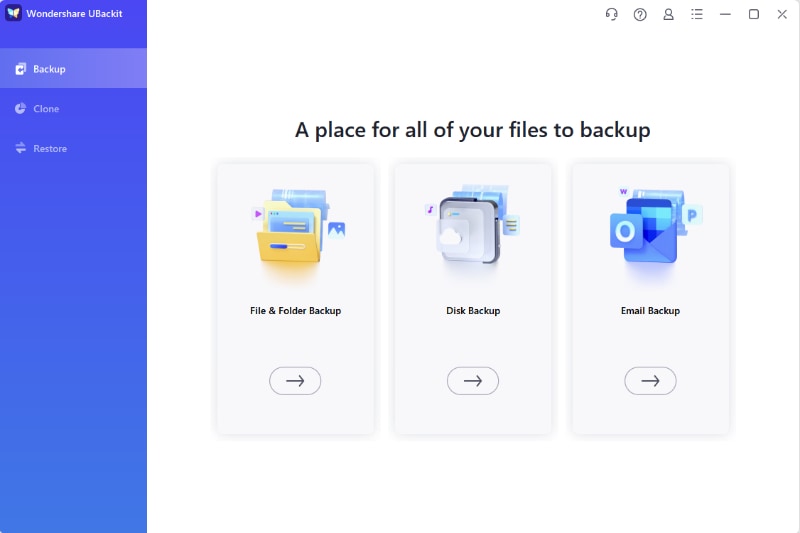
Launch and select the Backup tool option after installation, Locate and click on the “Backup & Restore” option from the sidebar and then choose to create a new backup.
Step 2: Choose files/folders to back up
Once you have selected create a new backup option, now select a file source. Here, you can select any of the storage drives of your computer or any specific partition or local disk, folders, or files to back up.
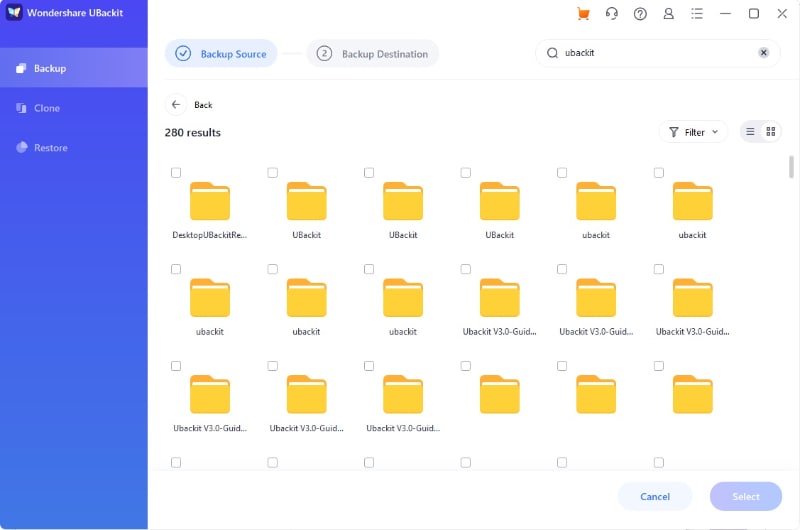
For a specific file and folder to backup, you can use the search box feature and enter the keywords.

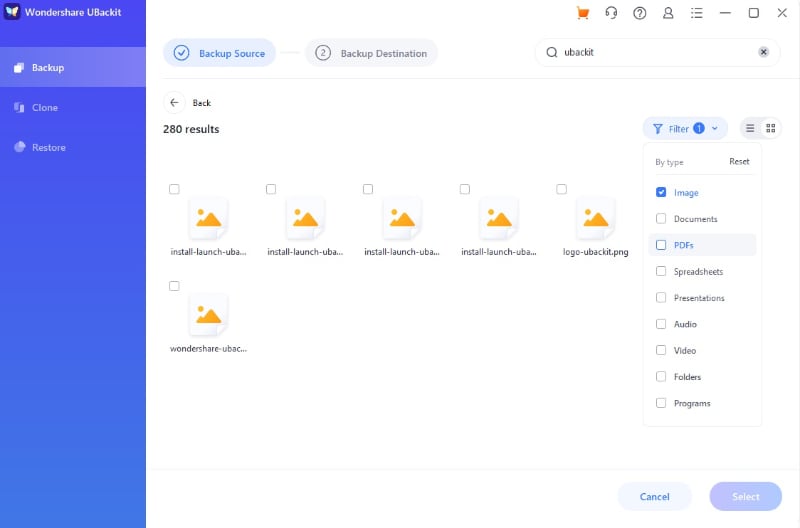
Not just it, UBackit also offers many filters to select the file type and add it to the backup process.
Step 3: Select A Storage Drive
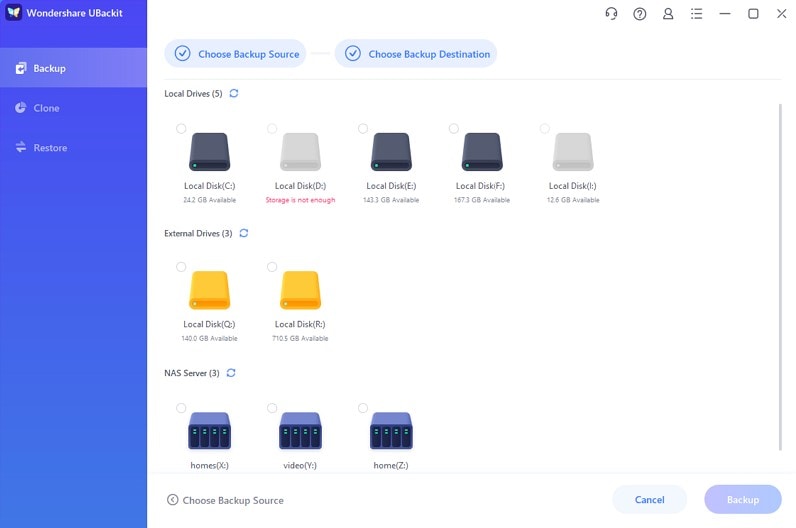
Now select a storage location where the Windows backup files will be saved. UBackit offers several storage options to select from an external source like SD cards, portable hard drives, pen drives and etc.
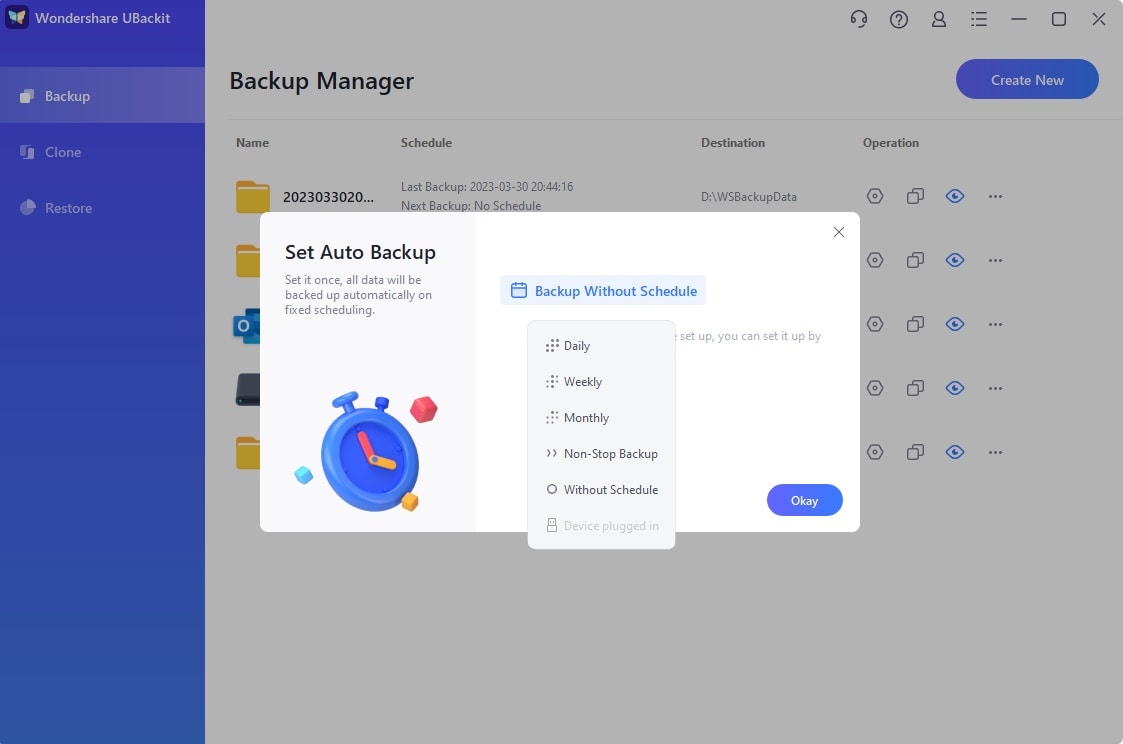
Step 4: Scheduled Automatic Backups
Users can set UBackit to the “Set Auto Backup” option located on the top. You can make a scheduled backup of desired time frames.
Step 5: Sit Back and Wait For the Progress Notification
That's all of the processes. Click Start Backup Process and back upstarts.
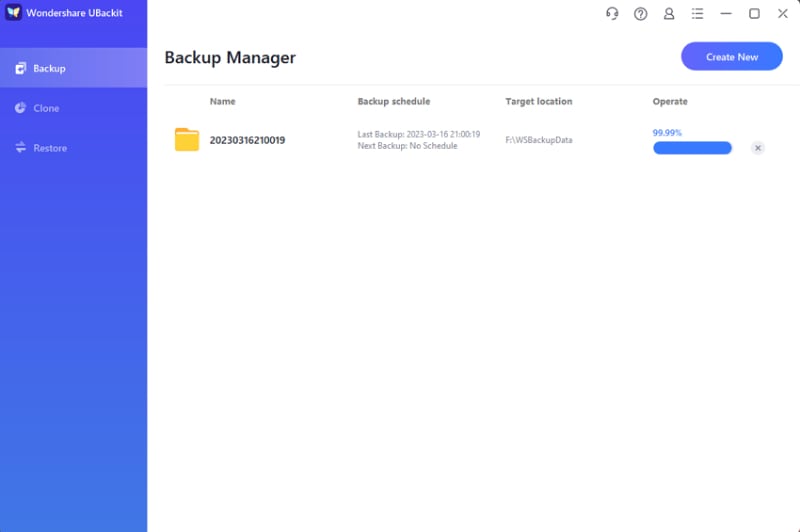
Wondershare provides a notification feature for the process's progress. You will be notified once it's finished and you can start managing your data.
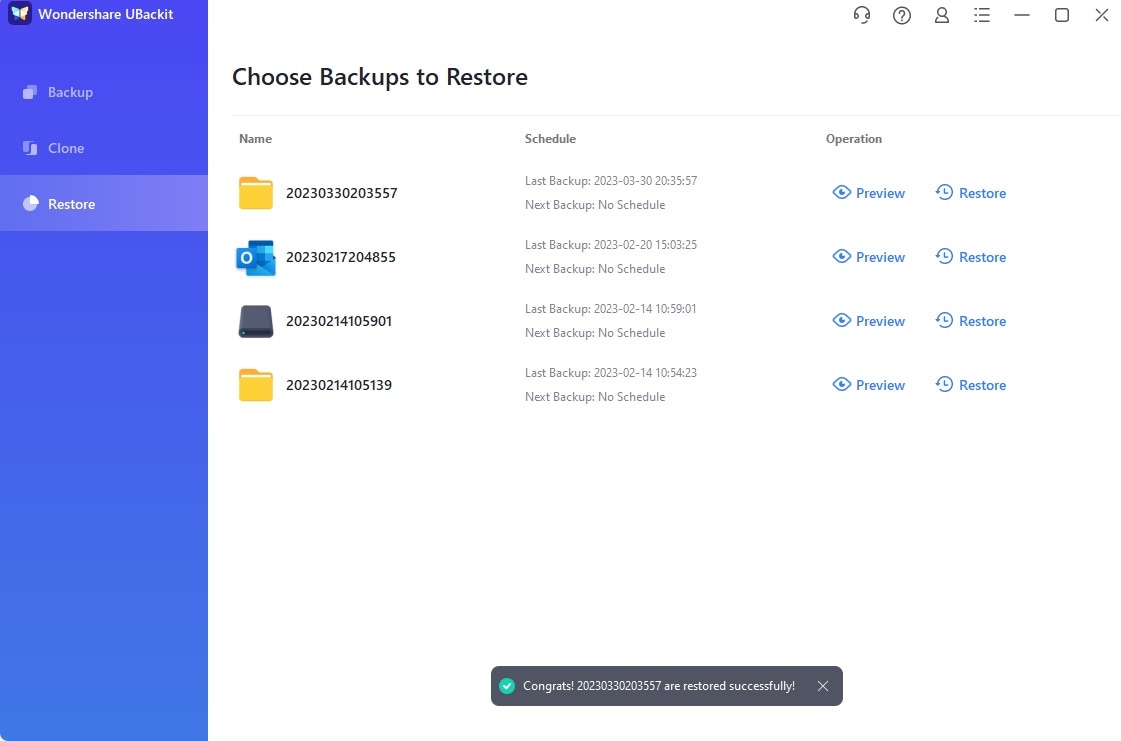
There is an option of backup history to preview the last restored files and their location on a hard drive.
Bottom Line
Dropbox is a handy tool to store all your personal and important data in one place. If you want to get access to your data with the Dropbox cloud storage then you can sign with them now. You will have access to files and folders at your fingertips. Dropbox automatically syncs if any changes are made to selected files and folders. We have also given you details about UBackit which is a data backup tool. It will make your life easier and prevent any loss of data.
Data Backup Services
- Computer Backup
- Hard Drive Backup
- Mac Backup
- Cloud Backup


Amy Dennis
staff Editor