How to Clone GPT Disk in Windows 10
Technology is constantly being updated and disks technology is no exception. After many years in which MBR partitions boomed, today GPT partitions are the format that has been developed, and soon this will be the future of all disks. Disk cloning is a process that has been in place for several years and GPT disks are fully compatible to be cloned. In this post, you will understand how this process works and I will show you how to do it using professional software that is very easy to use.
Part 1: Learn to Clone GPT Disk in Windows 10
Q: I have a GPT Disk and I want to clone it. Which is the best way to do it?
One of the most important tasks that PC and laptop users perform is to back up their information. This results in something practically mandatory so that, in case of any loss or problem with your hardware, your data is not affected and can be recovered if it has been deleted or lost from the original storage source.
Cloning your disk is an option to make backups, it is also a very effective way to keep your data as it is so that you can install your Windows 10 operating system on another disk with all the information you had at the time of making cloning. This means that, if you need to install a new disk, you will no longer have to transfer your information manually, this process will save you many hours, in addition to ensuring that none of your data will be lost or deleted.
Part 2: Learn about GPT Disk
GPT (GUID Partition Table) disks are those that have an innovative partition format that has replaced MBR (Master Boot Record) which dates from 1983. A GPT disk has many advantages, some of them are:
Efficient distribution of data backups: Data backup on GPT disks is distributed across all partitions, contrary to MBRs, which store this information in one place. This makes the recovery of information on GPT disks much more possible since if one partition gets corrupted it can use the data of another to restore itself.
Large storage unit capacity: MBR disks only allow up to 32 bits for each sector of the storage unit, limiting the maximum size of these to 2 TB. GPT disks, by contrast, allow a maximum of 64 bits per sector, this represents more than 9 ZB (Zettabytes) per sector, this is around a billion Terabytes.
Increased number of partitions: While MBR disks only allow four partitions, GPT has a much higher limit, in the case of Windows, it is 128 partitions per disk.
As you could see, the GPT format turns out to be more convenient than the MBR, so if you have a computer with updated hardware, you should have this partition system.
Part 3: Why Clone GPT Disk in Windows 10?
Cloning your GPT disk in Windows 10 will give you many advantages, the main one is that you are going to make a copy of your operating system along with all your updated data. If you want to change your disk either because it shows signs that it may stop working soon or space is not enough, in the new one you will be able to install Windows 10 along with your information at the time of cloning your old disk.
Also, there are other great advantages that you can obtain by performing this process such as:
- To get better performance and shorter boot time: when you install the cloned operating system, it will run without the temporary files and other junk elements that interfere with the performance of your disk; this is a double advantage since if you can install Windows 10 with your files and all your information, additionally it will work faster and boot time will be even less.
- To make a backup: if you want to make a backup, this can be a good option. Your files will be kept intact in the process of cloning the disk and this can be saved in an image file, so you can take it with you in memory or another disk. Although this is not the most common alternative to make backups, remember that if you are close to using another disk or the one you currently have tends to fail, having your operating system saved with your documents and programs is something very valuable.
- To keep safe in case of accidents: disks are devices that work with electrical energy, which does not leave them exempt from faults and errors. They may experience electric shocks, external hard drives may stop working due to weak drops or knocks, or they may overheat and cause problems. Whatever the cause of cloning the disk is going to make sure that your information is intact and that if you need to change your disk you can install Windows 10 with your files and programs as they were.
So, as you may have realized cloning your GPT disk is not only to reinstall Windows 10 in a practical way and with all your information, it is going to allow you to back up your files and programs so that, in case of an accident or problem with your disk, it will not You worry about migrating your data manually, in addition to avoiding anxiety about losing your information.
Part 4: How to Clone GPT Disk in Windows 10?
To clone your GPT disk in Windows 10 you must use specific software, in this case, the best alternative is Wondershare UBackit. This application will help you carry out this task easily and practically.
- Back up your files, folders, partition, hard disk in three simple steps.
- Set an automatic backup schedule to free you from data loss worries.
- Filter your documents, photos, audios, videos and etc to make the backup process quicker and easier.
- Search for the desired files using keywords in 1 second.
- Monitor the storage, protect the backup environment, and notify backup schedule intelligently.
To clone your GPT disk, you do not need to have previous knowledge or be a computer expert, all you have to do is follow these simple steps:
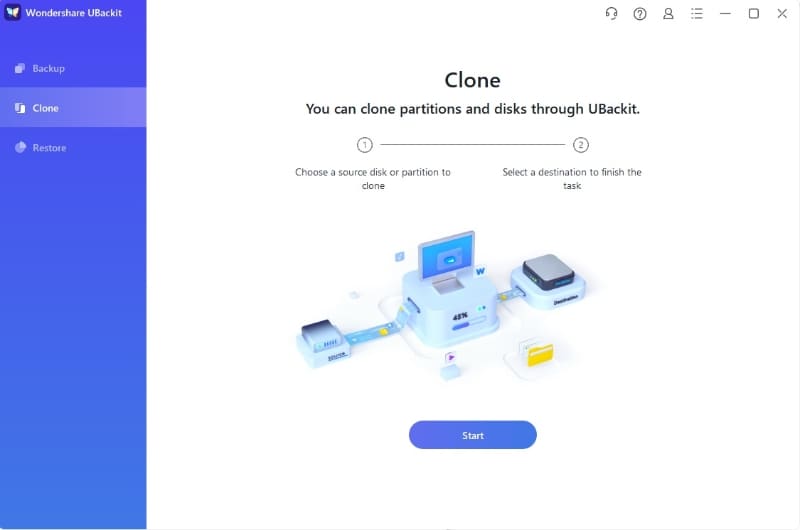
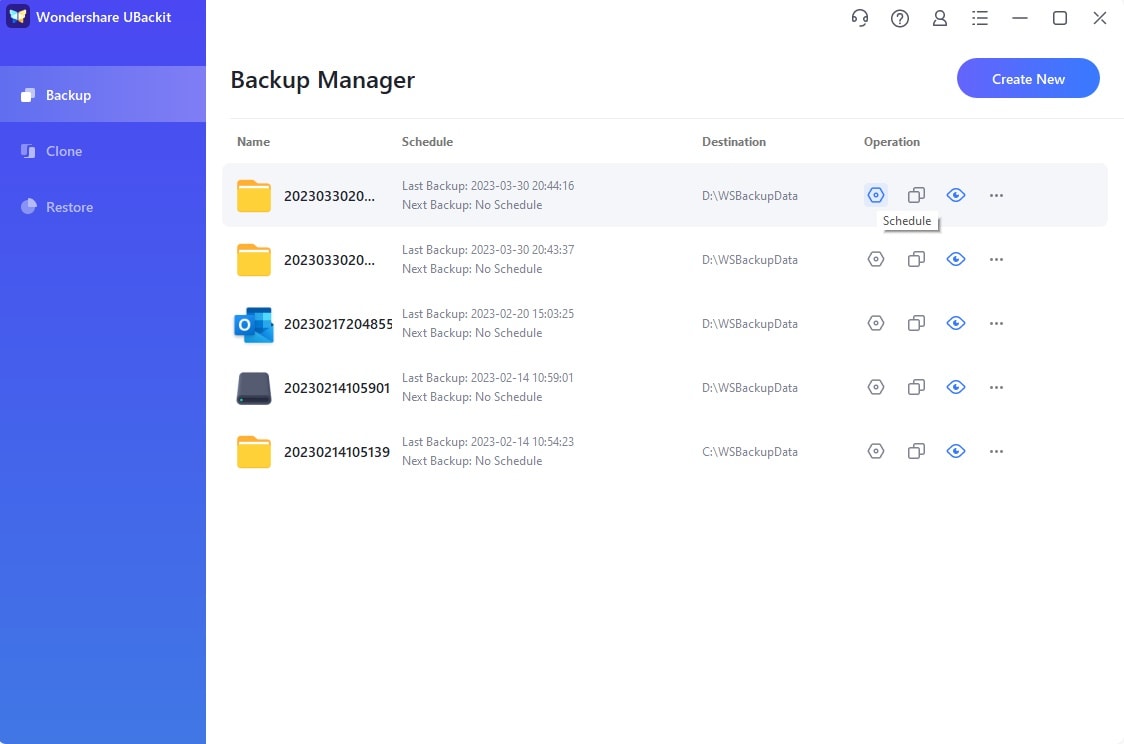
Step 1 Launch And Install Wondershare UBackit
Launch UBackit and click Clone from the sidebar.
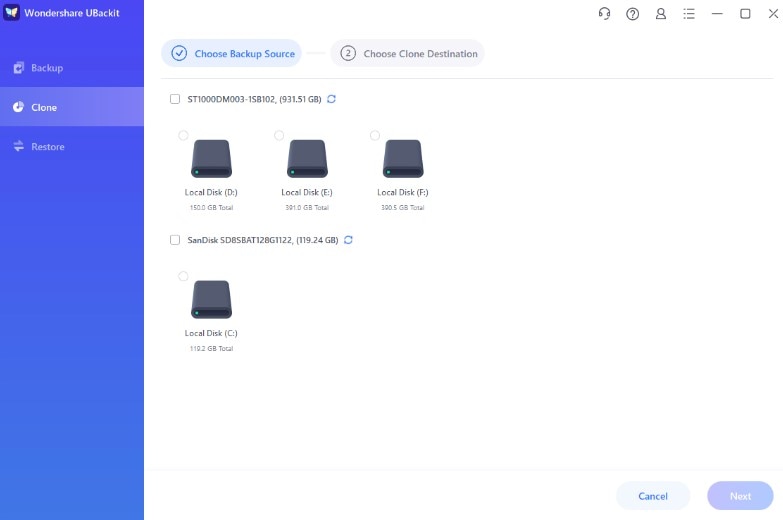
Step 2 Select A GPT Disk to Clone
From the list of the available drives, just choose the GPT drive to clone and click on the Next button.
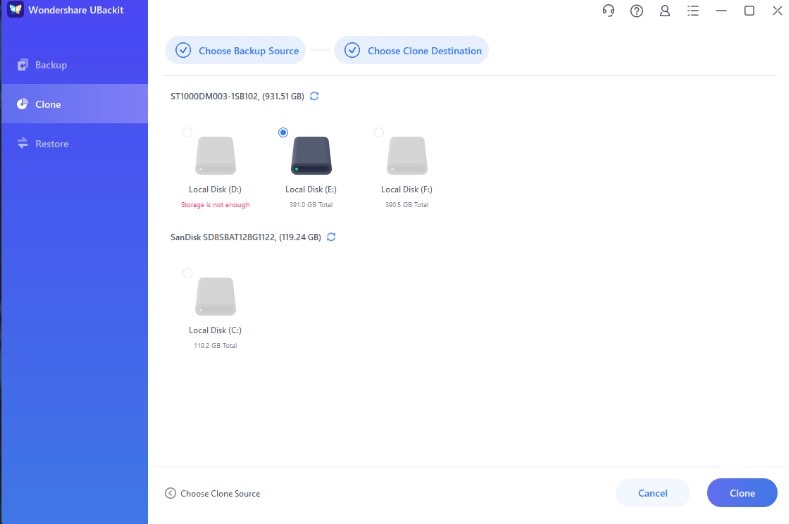
Step 3 Select Clone Destination
It is advised that you choose a brand new hard drive to store the source disk's data and settings. Or you can backup the destination disk in advance. That's because all the data stored on the destination disk will be wiped out when the disk cloning process gets started. Also, ensure that the storage space is big enough to load the whole disk.
Step 4 Complete the Cloning Process
After clicking on the Clone button, you can just sit back, and wait for a while. The application will display the progress of the disk clone process on the screen.
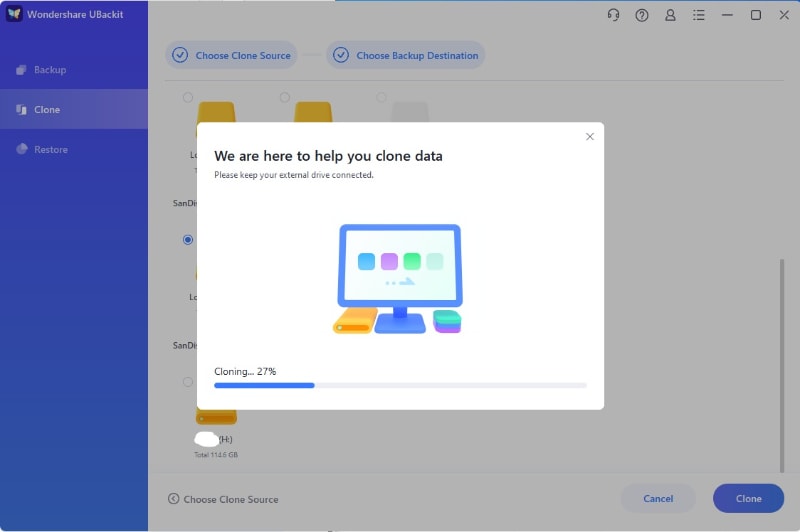
In the end, UBackit will inform you once the cloning process is completed.
If it's the Backup feature you're using, you can choose to "Set Auto Backup" to release you from backup worries when the backup process is finished. Just click on the Settings icon, you can backup your hard disk daily, weekly, monthly or even non-stop.
Conclusion
As you could see, GPT disks can store a massive amount of information, which can be very important for the user. Losing such files cannot be an option and reinstalling Windows 10 when necessary can be very tedious if you have to migrate files and reinstall applications. Fortunately, disk cloning is a process that will save a lot of time and keep your stored information safe and thanks to Wondershare UBackit, this task will be ready with a few simple clicks.
Data Backup Services
- Computer Backup
- Hard Drive Backup
- Mac Backup
- Cloud Backup


Amy Dennis
staff Editor