How to Backup Data with USB Image Tool
This article focuses on a step by step guide to using the USB image tool and UBackit Data Backup for data backup. At the end of the article, we will understand what a USB image tool is, how the tool works, and how to properly back up data using this wonderful tool.
What is the USB Image Tool?
USB image tool is a very important tool that creates and clones images of MP3 and USB flash drives that are connected as USB drives. It makes it possible to easily create a backup image for your USB drive. With this tool, it's easy to backup your whole USB drive and then burn to a disc or save to a hard drive.
This tool can be used either in the volume mode or the device mode. For the volume mode, you can process and copy the entire volume on the USB drive. On the other hand, the device mode duplicates the entire USB device. A USB image tool will come in handy when you need to backup your flash drive as quickly as possible to be able to retrieve such data in the nearest future. Sometimes we can have very important information we don't want to lose on our USB flash drives. With the USB tool, we can back up all data on our flash drives to safeguard important files we will need in the event of any failure or crashes.
How does USB Image Tool Work
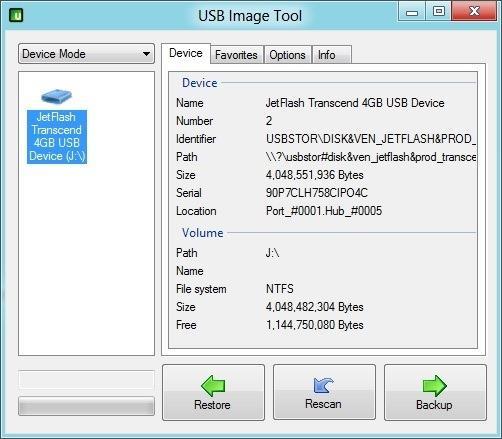
It's very simple to make use of the USB image tool when backing up your data from a flash drive. This tool is very fast and can backup more than 4GIG files in less than 3 minutes. The first thing you need to do is plug in the USB drive and your computer should be able to detect it through the USB image tool.
The next thing to do is hit the backup bottom and select where you want to save it. Usually, all backup files from the image tool are saved in the .img file format. The image tool will start the backup process and let you know when it's done. After the backup, you can select the "restore: button and the tool will do exactly what you want. It's that simple. The working process of the USB image tool is not complicated. Anyone can use the tool to backup files whenever they want.
How to Backup Data with USB Image Tool
Step 1. USB Image Tool Download
If you don't have the USB image tool in your PC, there is no way you can use it for any backup. So, the first step is to download and install the tool. It's simple to use and supports both x64 and x86 versions of all types of windows (including Windows 8, Windows 7, Vista, and XP).
Step 2. Connect the USB drive to your PC and run it as an administrator.
On the drop-down menu of the device mode (located at the top right corner) select the backup button. After that, select the location where you want to save the backup image. To begin the backup process, click the Save button and your backup will begin instantly. This process doesn't take much time. For a 2gig USB flash drive, a backup should be complete within a minute.
How to Backup Data with Wondershare UBackit
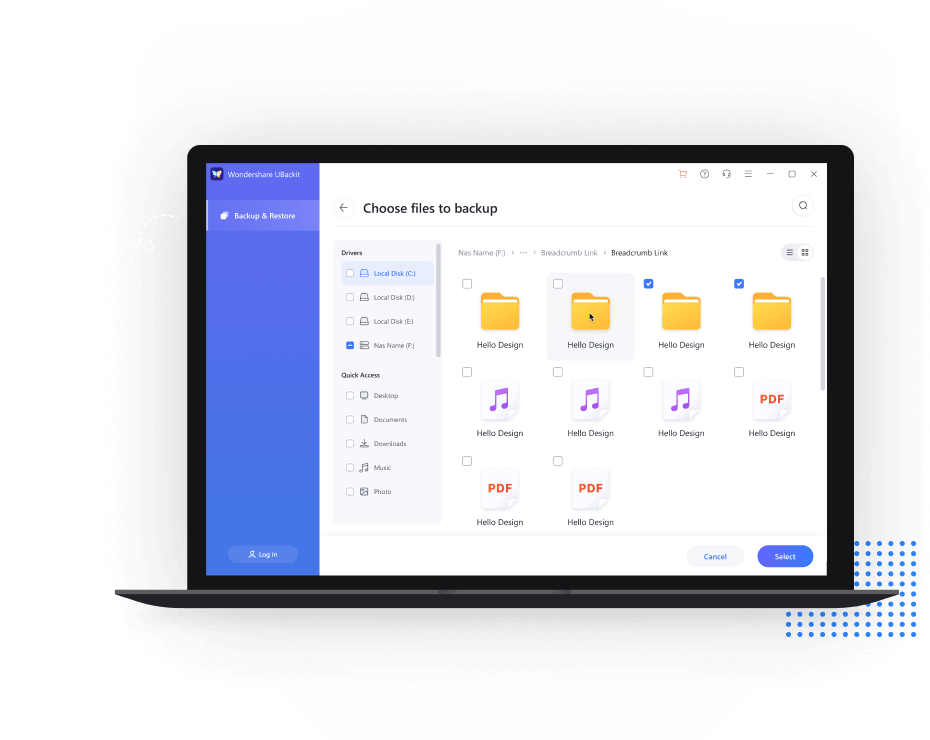
Another recommended tool can work as USB Image Tool is UBackit Data Backup. It is a potent but user-friendly data backup utility for those who eager to backup data in any file formats, including images, videos, audios, documents, emails, and many more. It can work with a variety of storage devices, such as USB flash drive, memory card, computer system, internal or external hard drives, and so forth.
- Allows you to take automatic, full, incremental, and differential backups of disk, partition, and files.
- Supports disk restore, dissimilar hardware restore, partition restore, and selective file restore.
- Can schedule file backup for real-time, daily, weekly, and monthly data backup to internal hard disks and external hard drives.
- Supports Windows 11, Windows 10, Windows 8.1/8, Windows 7, Vista, and XP (all editions, 32/64-bit)
To backup data from USB flash drive, download and install Wondershare UBackit. Then follow the guide below.
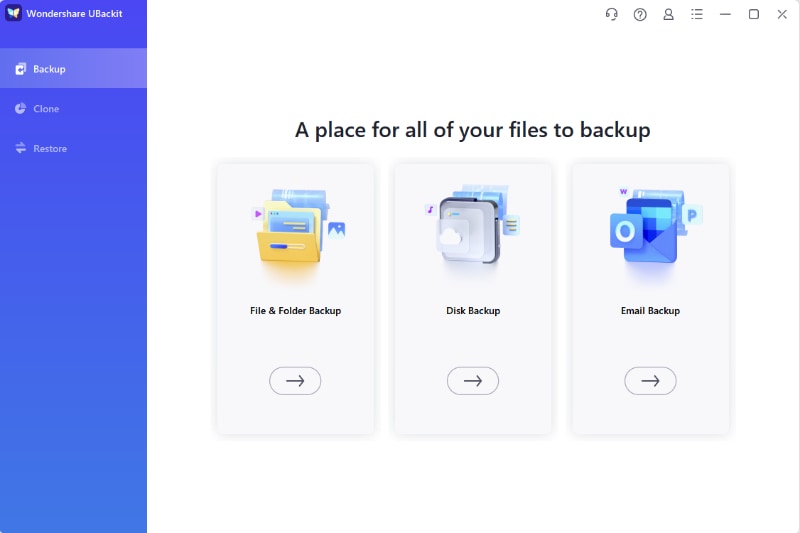
Step 1 Select the "Create New" tab. Before starting the data backup, your USB flash drive should be connected to a computer and can be recognized by it. Next, launch the data backup software and select "Create New" to continue.
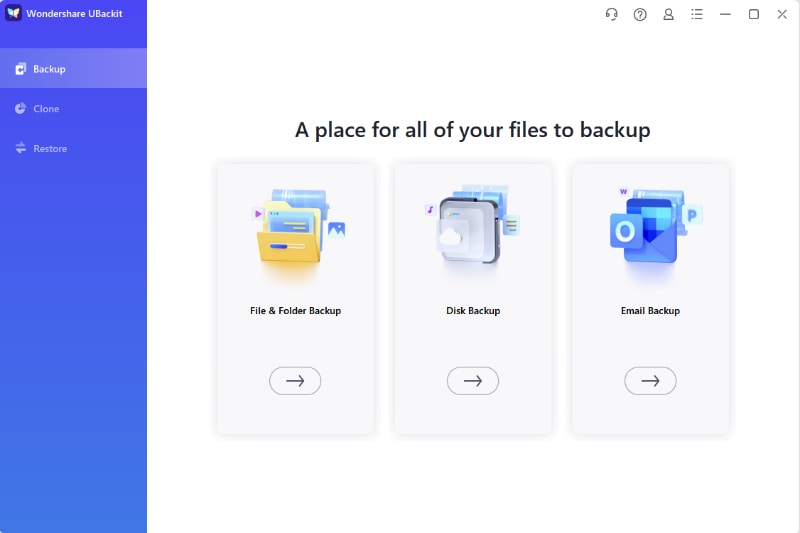
Step 2 Choose the backup options. Both "File Backup" and "Disk Backup" are viable for you. If you would like to backup the whole USB drive, opt for "Disk Backup". To back up only specific files on the flash drive, turn to "File Backup". And their next steps are similar. Take "Disk Backup".
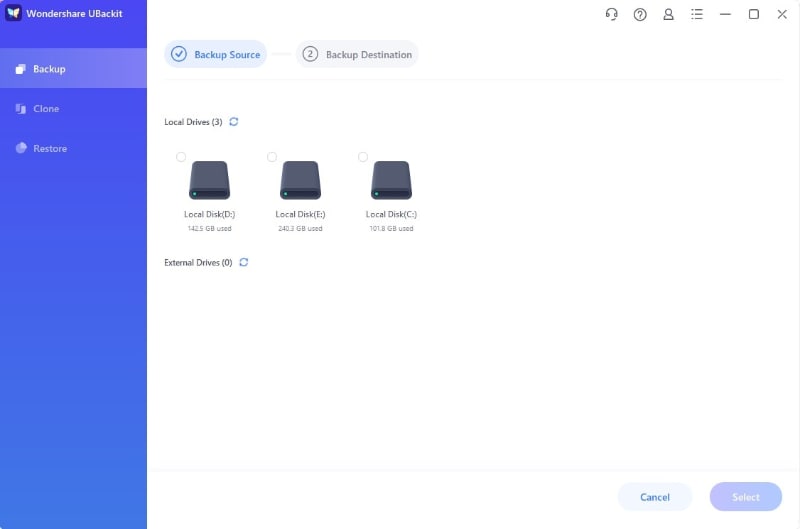
Step 3 Choose the disks. Select the USB flash drive for backup and hit on "Select" to continue.
Step 4 Choose the backup destination. Select one drive to save the backup. Then click Select to start the backup process.
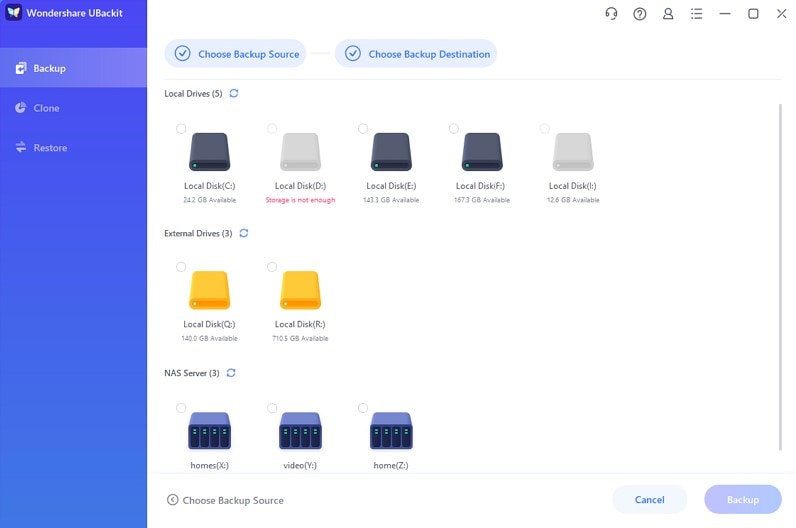
Step 5 Complete data backup. Once the backup completes, you can click the Schedule option to set daily, weekly, or monthly automatic backup. If it's file backup, you even can set it as real-time auto backup.
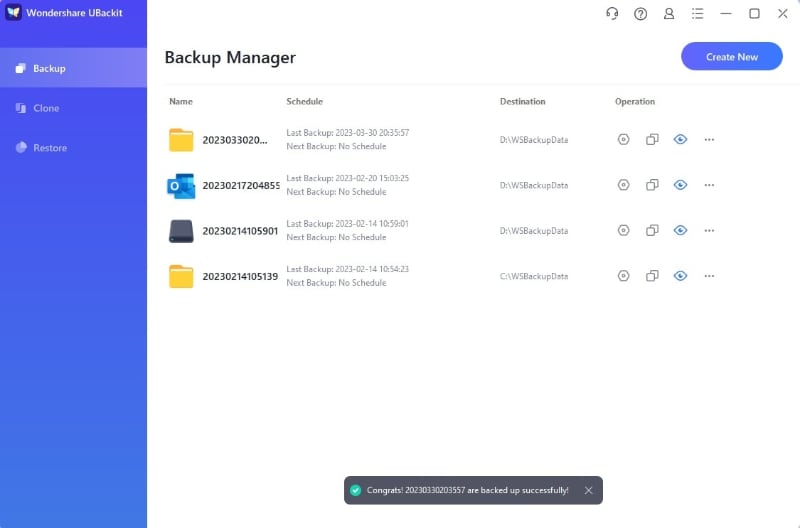
Restoring the Backup to USB:
It's also easy to restore the backup data on your USB. Just connect your USB flash drive to the PC and launch the device. All the backup files will be listed on the main screen of the program.
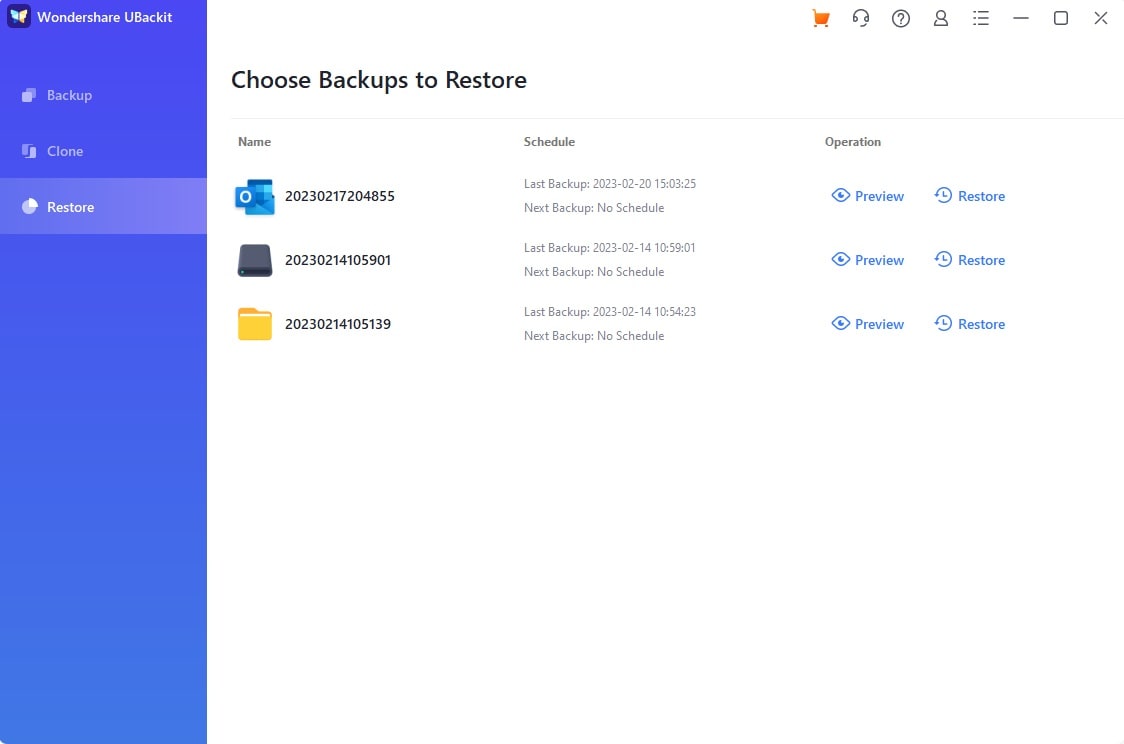
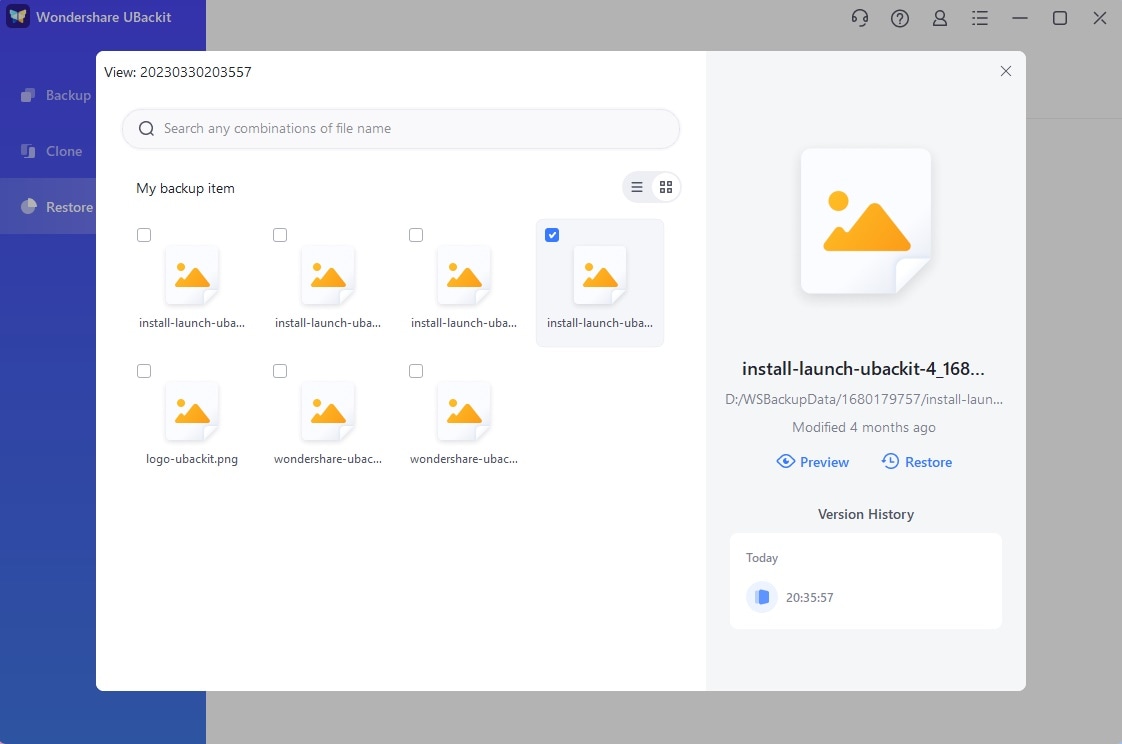
You will see a three-dot icon on the top right corner of the backup folder (see the above screenshot). Click on the icon and select Restore. Then, confirm the restore destination, and click Okay to begin the process. Or if you want to restore the specific files in the backup folder, click the View option at the bottom of the backup folder. Then select the file you want to restore. That's just it. This does not take much time and is pretty straightforward.
Sometimes you may need to preserve some files in your flash drive and don't want to lose them due to crashes or other problems. The simple preventive way is backing those files up with a USB image tool. This tool is an easy program that can help you back up your files in a USB flash drive in minutes. It's easy to use to back up files.
The USB image tool is only useful when backing up files that are not yet lost. So, what then happens when your files are already lost and you need to recover them? Data recovery software can be used to get your files back from your USB device in case they are lost. One notable program that's fast and efficient is the Wondashare Data Recovery software. It's very effective and can be used to recover data from all storage areas of the computer, from your flash drive, and other external storage devices.
- Recover lost or deleted files, photos, audio, music, emails from any storage device effectively, safely and completely.
- Supports data recovery from recycle bin, hard drive, memory card, flash drive, digital camera, and camcorders.
- Supports to recover data for sudden deletion, formatting, hard drive corruption, virus attack, system crash under different situations.
Data Backup Services
- Computer Backup
- Hard Drive Backup
- Mac Backup
- Cloud Backup




Amy Dennis
staff Editor