Fix Windows 10/11 Won't Boot After Update
To fix a Windows 10/11 computer that fails to boot after an automatic update, force restart the system three consecutive times to trigger the Automatic Repair mode where you can remove the problematic patch or reset the operating system.
● If the automated repair scan fails to resolve the boot loop, navigate through Advanced options to manually uninstall the latest quality or feature update, a procedure that strictly requires an account with administrator privileges.
● When update removal is ineffective, use the Reset this PC troubleshooting tool to execute a Cloud download or Local reinstall of Windows, which provides specific options to either retain or permanently erase your personal files.
● For drives that remain completely inaccessible, you must physically disconnect the SSD or HDD, connect it to a secondary functioning computer, and use data recovery software like Wondershare Recoverit to extract your files before attempting a fresh installation.
Ask AI for a summary
Windows 10/11 is designed in a way that it automatically downloads and installs the updates as Microsoft releases them for the masses.
Unlike previous versions of Windows that allowed users to enable or disable automatic updates at their will, this operating system doesn’t come with any such button or switch. Because of this, the users are compelled to keep their instance of the OS updated, irrespective of the glitches or inconsistencies that the new patches may have. As a result, the common issue that many users face after the updates are installed is, Windows fails to boot at all.

Considering this, the following sections discuss the problem in detail and explain how to get rid of it. One of the sections also teaches you how to recover lost data from an unbootable hard drive, in case none of the given solutions work.
Part 1: An Overview
Every time a Windows update is installed, it automatically detects the device drivers and other system files and updates them as well. In this process, because some files that are important to start Windows normally are overwritten by the unsupported/incompatible ones, the boot process is jeopardized.
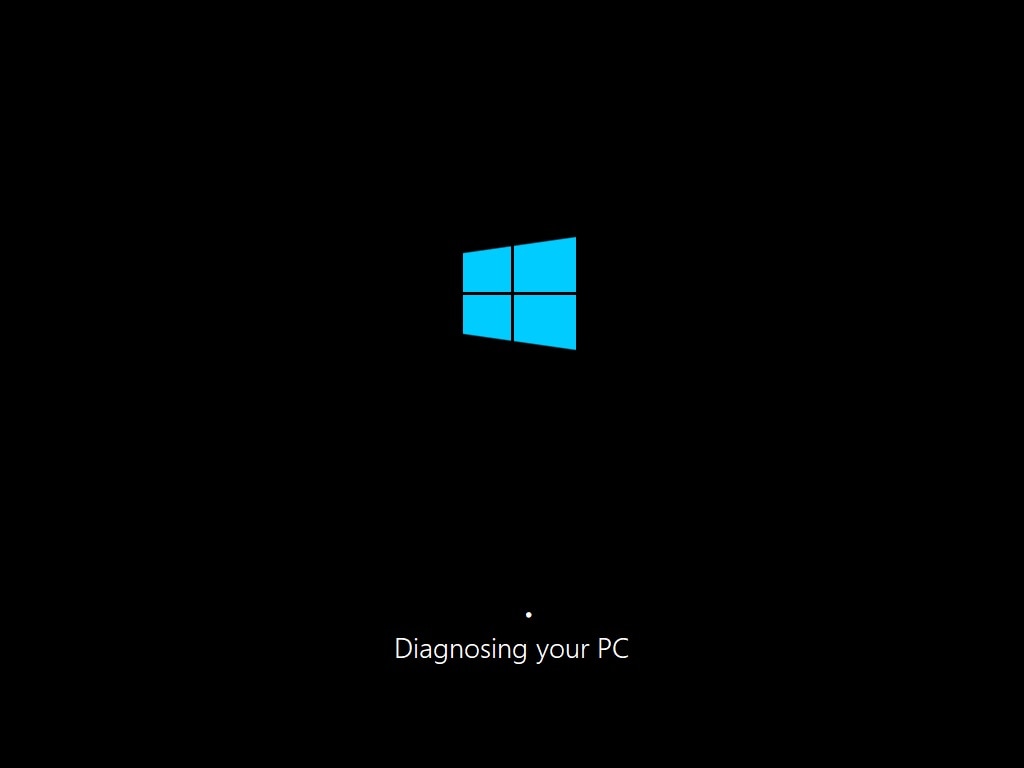
The easiest and the most straightforward remedy in such a situation is to press and hold down the ‘Power’ button until the PC restarts. As you see the Windows logo, press and hold down the ‘Power’ button again. Repeat this process one more time, and you will notice that Windows enters the automatic repair mode where it checks the system and other important files and fixes their inconsistencies, thus allowing the operating system to boot normally.
In some cases, it is also seen that the operating system does boot successfully but keeps crashing quite frequently. The users see a Blue Screen of Death (BSOD) when this happens. To learn how to resolve this or the issue where Windows fails to boot at all, you can jump to the next section.
Part 2: The Solution to Fix Windows 10 Won’t Boot After Update
Apart from the quick remedy explained in the previous section, there are two other ways to fix the problem. Both the solutions are explained below:
Solution 1: Uninstall the Updates
Step 1: Get to the Advanced Troubleshooting Mode
Start the computer, and when you see the Windows logo, long-press the Power button and restart the PC. Repeat this process until Windows enters the automatic repair mode. When automatic repair fails and the next screen appears, click Advanced options. On the Choose an option screen, click Troubleshoot, and then click Advanced options on the Troubleshoot screen.
Step 2: Uninstall the Updates
On the Advanced options window, click Uninstall Updates, and click Uninstall latest quality update or Uninstall latest feature update from the Uninstall Updates window. On the next screen, click to select the account that you want to use for uninstallation, enter the password when prompted, and click Continue. Note: Make sure that the account that you select has administrator privileges.
On the next window, click Uninstall update to begin the update removal process.


Step 3: Reboot Windows 10
Once the uninstallation is complete, click Done. Back on the Choose an option screen, click Continue to reboot Windows 10 normally.


Solution 2: Reset the PC (If Solution 1 Doesn’t Work)
Step 1: Get to the Troubleshoot Window
Use the method explained earlier to get to the Choose an option window, and then click Troubleshoot to go to the Troubleshoot screen.
Step 2: Define Reset Preferences
Click Reset this PC. On the next window, either click Keep My Files or Remove Everything to reset Windows 10 without deleting your personal files and data, or erase all your files during the process respectively.


Step 3: Choose the Source of Installation
When the next window comes up, either click Cloud download or Local reinstall to download and install the fresh files from the Cloud or to use the local files for Windows reinstallation. From this point onward, you can follow the on-screen instructions to reinstall Windows 10 while keeping or erasing your personal files according to the option that you selected earlier.
After the reinstallation is complete, you can safely reboot your computer to a fresh copy of Windows 10.


Part 3: Tips to Avoid the Issue
Even though one or the other solution given above would help you get rid of Windows 10’s booting problem, it would be wise to be proactive and take precautionary measures to avoid the issue from arising in the first place. A couple of tips that may help in this context are given below:
- Keep the Device Drivers Updated
Windows 10 has the default configuration of automatically updating the device drivers as soon as they are released by their corresponding vendors. It is advisable NOT to disable this feature. In case the drivers are not automatically updated, you can do so manually by right-clicking the ‘Start’ button, going to ‘Device Manager’, expanding the device’s category, right-clicking the device in question, and then clicking ‘Update driver’.
- Regularly Update the BIOS
It is imperative to keep checking for any available BIOS updates from the motherboard’s manufacturer’s official website regularly. If an update is available, make sure to install it as soon as possible.
- Use Genuine Operating System and Applications
Always use a genuine and legit copy of Windows 10 obtained from a trusted source, preferably from Microsoft’s official website. In addition, make sure to use the licensed copies of the applications you need in order to avoid any inconsistencies in the system files or the device drivers.
- Use a Strong Antivirus Program (If Required)
Although Windows Defender, a built-in security tool to protect the operating system, itself is quite sufficient to keep all the malicious files away and remove those that are already present in your PC, if your data is highly sensitive in nature and you want to have an antivirus program installed, make sure to use a strong one.
Additional Tip – Recover Lost Data from Unbootable Windows with Recoverit
When talking about Recoverit, the application is developed by one of the leading IT giants, Wondershare. Wondershare Recoverit is available for both Windows and Mac operating systems, and is quite efficient in recovering files from a corrupt or erased hard drive.
In case none of the above solutions works and Windows 10 fails to boot normally, you can follow the instructions given below to recover lost data from the unbootable disk using Recoverit:
Step 1: Connect the Problematic Drive to a Different PC
Depending on the type of computer you are using, a laptop or desktop, use the correct method to disconnect the SSD/HDD from it, and then connect the drive (as internal storage or via USB) to a different computer running Windows 10. Wait while the operating system detects the new disk. Note: For this illustration, it is assumed that you have connected the unbootable hard drive or SSD via USB.
Step 2: Scan the Drive with Wondershare Recoverit
Download, install, and then launch Wondershare Recoverit. On the main interface, select the radio button representing the erroneous volume/drive that you connected, click Start from the bottom-right corner, and wait while Recoverit scans and finds the lost files that could be recovered. Note: In this illustration, the problematic disk is present under the External Devices section as it is connected via USB. If you have connected the disk as an internal drive, you can find it under the Hard Disk Drives section.

Step 3: Recover the Lost Files
From the middle pane of the next window, check the boxes representing the files that you want to recover. Alternatively, you can also check the box at the top of the column to select all the files. Next, click Recover from the bottom-right corner, select a volume (other than the problematic one) on the next screen to recover the files to, and click Recover. After the files are recovered, on the completion box, click Open the file path to go to the drive/folder where the lost files are recovered.


The Bottom Line
Usually, Windows 10 starts normally after installing the updates. However, if there are some inconsistencies with the device drivers or the system files, the boot process may get interrupted. When this happens, the solutions given above could help get the operating system back up and running.
Nevertheless, it is always a good idea to keep all the device drivers and the operating system itself updated, and ensure that the latest version of system BIOS is installed as well in order to eliminate the chances of generating such an issue in the first place.
People Also Ask
There are a few other questions related to the booting problem that people generally ask. Some of those queries are answered below:
- Q) Do I have to replace the hard disk if the issue arises frequently?
- A) The chances of your hard disk being faulty are minimal unless you have the habit of turning off the computer without shutting down Windows properly. If you rule out this possibility, you can go for a fresh installation of the operating system in case Windows fails to boot even after trying the solutions given above.
- Q) Can I recover all the deleted files?
- A) Honestly, no application is foolproof, and the chances of recovering all the lost files aren’t much. However, it is strongly recommended to STOP using the drive as soon as you notice that your data might be missing. After this, you can run Wondershare Recoverit to see which files could be recovered.
- Q) What can I do to avoid losing my data in the first place?
- A) The best way to achieve this is, always back up your data, and save the files on a different storage media, preferably a separate hard drive. For more protection, you can also have multiple backups of the data, and have it stored at varied geographical locations from where it can be accessed easily in case something goes wrong with the original records.
Computer Data Recovery
- Windows PE
- System problems
- PC Errors


 ChatGPT
 Perplexity
 Gemini
 Claude
 Grok
Grok


Theo Lucia
chief Editor