How to Install and Configure Work Folder in Windows
Dear All,
I am having an issue while configuring the work folder on Windows Server 2012 R2. After installing the Work Folder role when I am trying to configure Work Folder it gives me an error message that "WS Management cannot process the request" and the Windows sync share service is stopped. I strived several times but the service is not starting. Kindly guide how can I resolve this issue.
The other query is that I am unable to access my profile folder that creates in the work folder even the administrator also not able to access the folder. Kindly also guide how to allow administrators to access all user's work folders. Thanks
Having personalized work folders on a network would entertain the users to save personal data in the form of files. You can easily save them on your device working in a network. It is the administrator of the network that can install and configure the work folders i.e. windows work folders (in case the operating system is windows) to give a better working experience. As you are connected to a loop of the network, so you can access your data from anywhere. In this article, you would get all relevant solutions to install and configure the windows work folders.
Working in a network and having personal space to store the files is referred to as bring-your-own-device (BYOD). Having separate work folders for every user allows them to save their data and as it is all on a network, so you can access your data easily. The administrator or the organizations control data flow and store all files in centrally managed servers with end to end encryption and password facilities. These windows work folders are compatible with Folder Redirection, Offline Files, and home folders. All the work folder files are saved on a server termed as sync share. Some of the applications of work folders include:
- You have single-point access to your data either from the device on the network or personal devices.
- You can access the data offline. As all the data is available in the centralized servers.
- File classification and file quota are techniques that are employed to deal with user data.
This article will explain the possible techniques with which you can install and configure work folders windows 10 or work folders server 2012. Here are the topics that would be discussed in detail.
Part 1: Overview of Work Folder in Server
Facilitating the users with a high-end feature of work folders, windows 10 allows us to save the data on personal devices (personal computers and mobile devices). These work folders are meant to save the data files and they would be automatically synchronized with the organizational data centers. As mentioned above, when on the server, all the data files are monitored and saved on a central server known as sync share. This feature is compatible with Server 2012 R2/2016/2019 and in an operating system like Windows7/8/10, iOS, Android. Work folders only save files with the NTFS file system with a maximum size of 10 GB.
Part 2: How to Install Work Folder in Server?
Let’s get started with the practicality. For installing and configuring work folders server 2012, you first need an SSL certificate and you have to create the DNS records. Here are the steps for installing and configuring the work folders server 2012. You can refer to these steps if you are using server 2016 0r 2019.
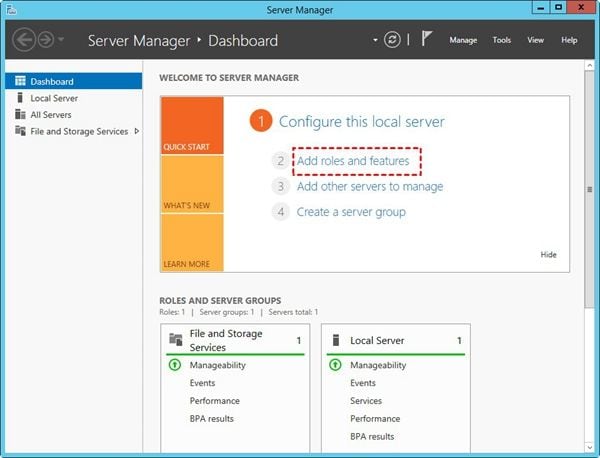
Step 1: In the windows main menu, type server manager in the search box to launch the utility.
Step 2: In the server manager window, select the option of add roles and features to continue.
Step 3: Now go for selecting the type of installation. In this case, select Role-based or feature-based installation and click next to proceed.

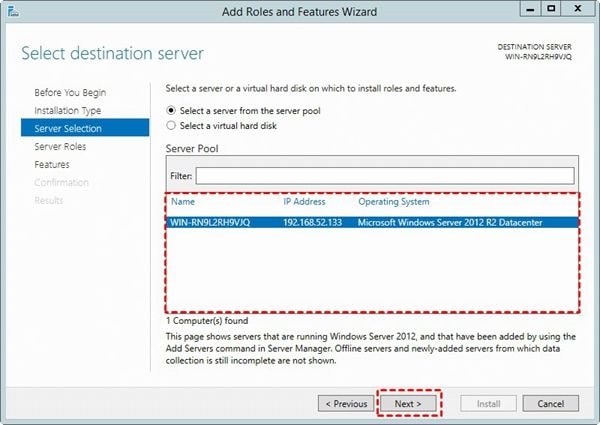
Step 4: Now select the targeted server and click next to continue.
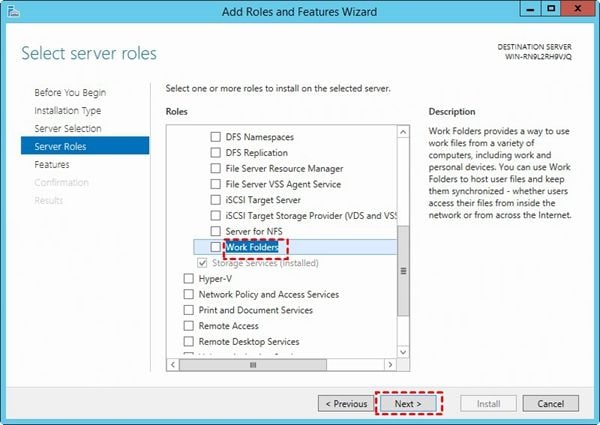
Step 5: Nextly, expand File and Storage Services, File, and iSCSI Services. Here select the work folder and click ok in the dialogue box for installing IIS (Internet Information Services) Hostable Web Core. Click next to continue.
Step 6: Follow the steps to finish the process.
This is how you can install the work folders windows 10 on server i.e. work folders server 2012.
Part 3: How to Create Multiple Sync Shares?
For creating the multiple sync shares to deal with the work folders in a server, you need to check three essential points mentioned as follows:
1. To create security groups:
You have to create the security groups. These security groups assist the server in maintaining end to end encryption for the user data and facilitate them with password facility. In order to create the security groups, run the command prompt and type the following command:
$GroupName = "Work Folders Administrators"
$DC = "DC1.contoso.com"
$ADGroupPath = "CN=Users,DC=contoso,DC=com"
$Members="CN=MayaBender,CN=Users,DC=contoso,DC=com","CN=IrwinHume,CN=Users,DC=contoso,DC=com"
New-ADGroup -GroupCategory:"Security" -GroupScope:"Global" -Name:$GroupName -Path:$ADGroupPath -SamAccountName:$GroupName -Server:$DC
Set-ADGroup -Add:@{'Member'=$Members} -Identity:$GroupName -Server:$DC
2. To delegate user attribute control to Work Folders administrators:
Next point is to delegate user attribute control to the work folders administrator. This particular point helps to run multiple servers. Here is the command for this action. Run the CMD command prompt and type the following:
$GroupName = "Contoso\Work Folders Administrators"
$ADGroupPath = "CN=Users,dc=contoso,dc=com"
DsAcls $ADGroupPath /I:S /G ""$GroupName":RPWP;msDS-SyncServerUrl;user"
3. To specify a folder to store all the users’ files on the server computer:
Once you are done with creating the multiple servers, the next step is to specify a particular folder in which all of the user’s data can be saved on the server computer. This central server is known as sync share. In case, if you want to create multiple sync shares, then repeat the following steps. As for now, this step wide procedure is only depicting the creation of a single sync share.
Step 1: Start the process with creating a new volume with free space and it should be supporting NTFS file system format.
Step 2: Launch the Server Manager and in the menu, select the option of file and storage services.
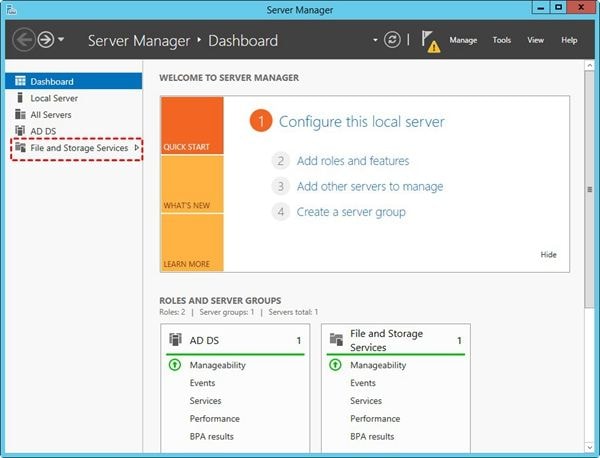
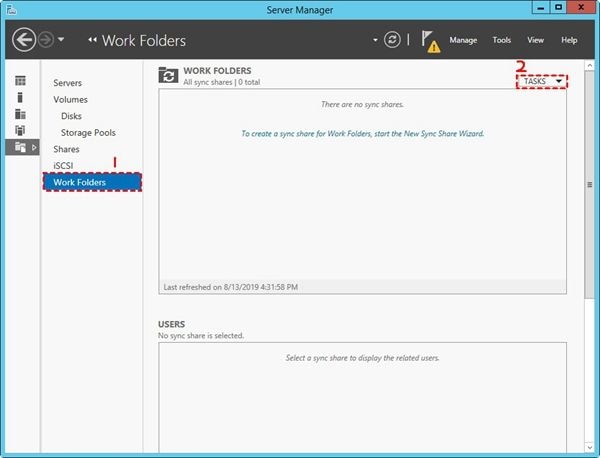
Step 3: In the file and storage services menu, select the work folders followed by selecting tasks and new sync shares. A new wizard will appear.
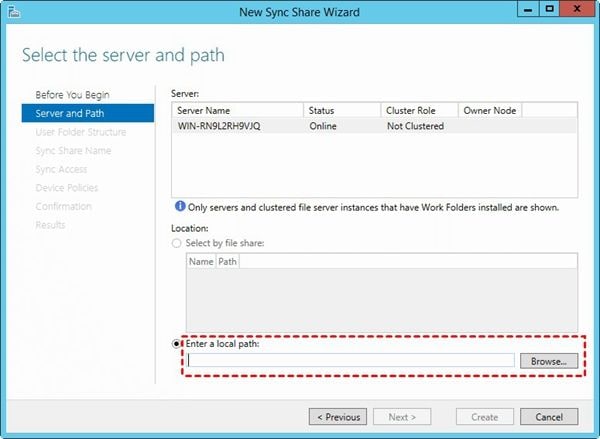
Step 4: Now select the server (sync share) and the path via which you want to store the files. Click next to continue.
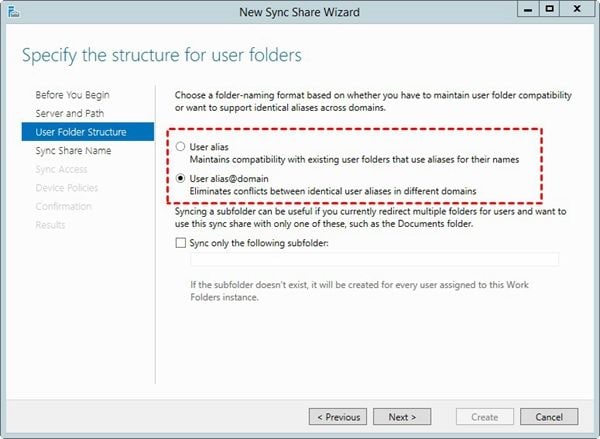
Step 5: In the next wizard, choose the folder structure from User alias or User alias@domain. Click next to proceed.
Step 6: Add a description for the newly created sync share and click next to continue.
Step 7: In the next window, grant access to the security group you created before this. Click next to continue.
Step 8: On the Device policies page, check Encrypt Work Folders or Automatically lock screen. Enter the password and click next to proceed. Preview the settings and start the synchronization procedure.
Part 4: How to Sync Files and Folders with AOMEI Backupper?
In case of installing and configuring windows 10 work folders in a server i.e. work folders, server 2012 seems difficult to you with the above-mentioned procedures, then a third-party solution is always at your service. In this reference, the AOMEI backupper server is going to help you as an alternative. With this software, you can sync files and folders easily. For this, all you need to do is to create a shared folder on a device and sync files from other devices to these particular folders. You can access the files with their respective IP address.
As AOMEI backupper is still a backup software, it also helps to perform file sync. Here are the steps:
Step 1: On an administrator device, create the shared folder and download the software once downloaded, install it appropriately on another device.
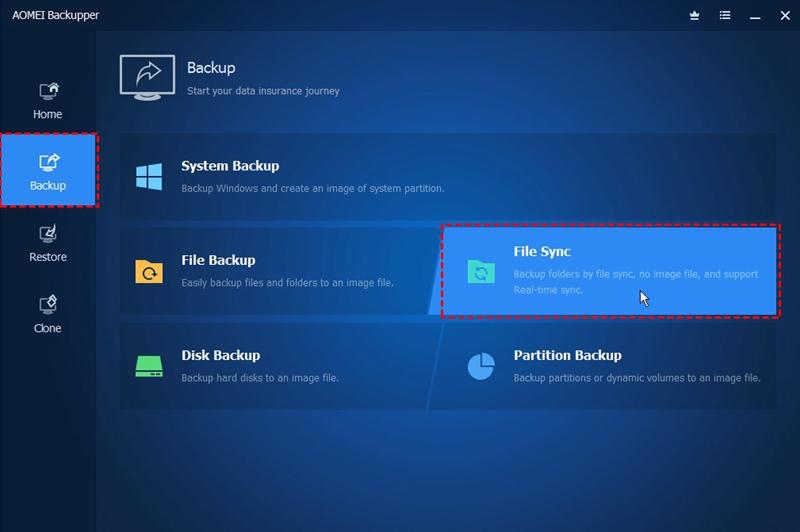
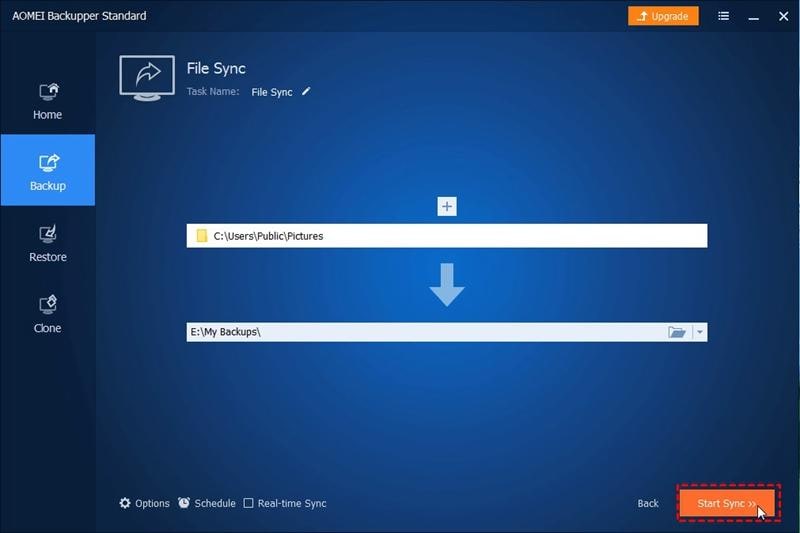
Step 2: Now launch the software and in the main menu, select the option of backup followed by selecting file sync.
Step 3: In the file sync menu, select add a folder to add the targeted folder for sync function.

Step 4: Here you have to select the destination location. In this case, select the network location.
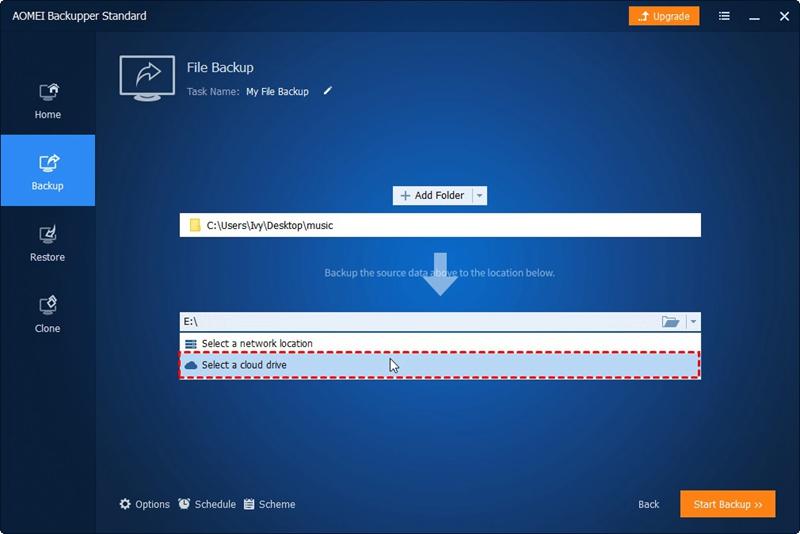
Step 5: Add all the required credentials i.e. Display Name, Network Path, Username, Password, and click ok to continue.
Step 6: Configure the schedule settings if you want to schedule the file sync function. Else you can go for a real-time sync. Click ok to proceed.
Step 7: Once all settings are configured, click start sync to continue.
Working in a network and creating work folders is a top-notch feature introduced by windows 10. These work folders can store the files on personal computers and devices that are further monitored by the central server and all the user data is saved on a centralized server termed as sync share. These work folders server 2012 can be easily installed and configured if you already have the SSL certificate and DNS records. In this article, you would get to know about how to create multiple sync shares. A third party application software is also recommended. AOMEI backupper server can be used to undergo file sync easily.
Data Backup Services
- Computer Backup
- Hard Drive Backup
- Mac Backup
- Cloud Backup


Amy Dennis
staff Editor