
Oct 23, 2026 • Filed to: Take Data Backup • Proven solutions
Have you just bought your first Mac and switching from Windows to MacOs? If yes, then you might be wondering how to migrate files to ne compiter.
Buying a new Mac Book can be exciting and joyful for you. Now, you can enjoy the latest features of Mac Book and can experience a totally new operating system. In addition, it offers advance graphics, exciting features, high speed, and much more to users.
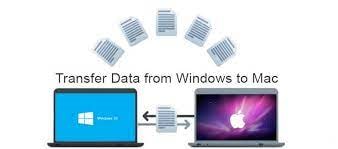
But, if initially you were using Windows and now you have Mac Book, this may bring few challenges for you. For example, now, you have to move your files from PC to Mac. And, in this case, USB cable might not be a good option to transfer files from PC to Mac.
Here in the article, you will find the best solution to migrate files from PC to Mac
Part 1. Before Moving Files from Windows to Mac
Before you plan to migrate files to the new computer, here are few things that you need to focus on:
- Make sure your Windows on the old system is up to date. Note that the Migration Assistant to transfer data from PC to Mac works with Windows 7 and later.
- Remember the name and password of your administrator account on your PC.
- The network for connection like home Wi-Fi should be the same for your Mac and PC. Or, use an Ethernet cable to connect the ports of your Mac and PC so that it can create a direct network connection.
- Most importantly, if you are using Microsoft OneDrive on your PC, then uninstall it before starting with the file migration process.
Another thing that you need to do is to check the disk (chkdsk) utility on your PC, and this will ensure that your Windows hard drive has no issue:
- Go to the start button, right-click on it and tap Run.
- Type "cmd" and press Enter. With this, you will see a Command Prompt.
- Now, type chkdsk and press Enter.
- Now, on the report, type chkdsk drive: /F, where the drive is the letter that represents the startup disk of Windows.
- After this, press Enter.
- Again at the prompt, type Y, and then restart your PC.
- Repeat this process until the check disk utility reports no issues.
| Feature | PC Requirement | Mac Requirement |
| Operating System | Windows 7, 10, or 11 (Home/Pro) | macOS 10.14 (Mojave) to macOS 15+ |
| Physical Connection | Ethernet or USB-C (Thunderbolt) | USB-C, Thunderbolt 3/4, or MagSafe |
| Migration Assistant | v3.0.0.0+ (for Windows 10/11) | Native (Utilities Folder) |
| Network Protocol | SMB 2/3 Enabled | File Sharing (APFS/HFS+ Support) |
Part 2. 3 Solutions to Migrate PC to Mac
In this section, we have discussed 3 effective ways to migrate PC to Mac. Take a look!
Method 1. With Migration Assistant
Migration Assistant is a utility that is available in the utility folder of every Mac.
To use it for migration, first, connect your Mac to your PC either through Ethernet or my local Wi-Fi network. After this, follow the below steps:
On your new Mac:
- Look for the Finder window and launch it.
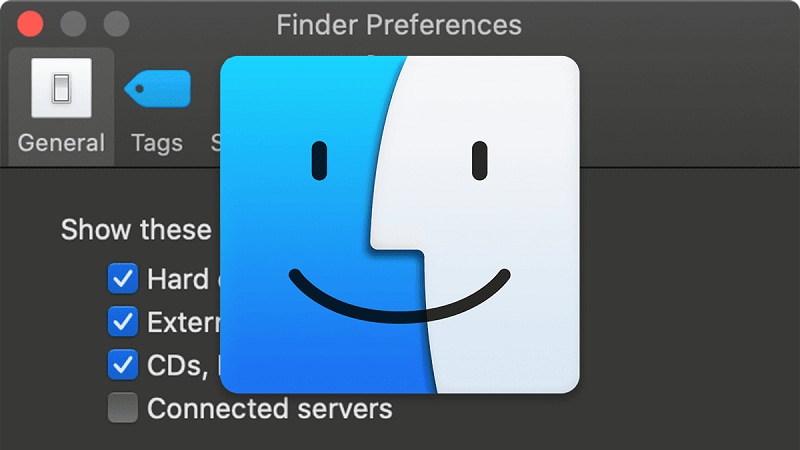
- In the sidebar, click on applications
- Now, double-click on the utility folder.
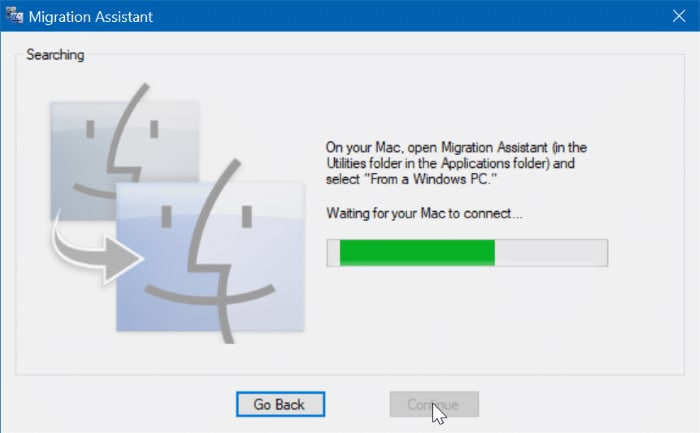
- Tap on the Migration Assistant and click on continue.
- Click From a PC. When prompted to choose how you want to transfer you're the files.
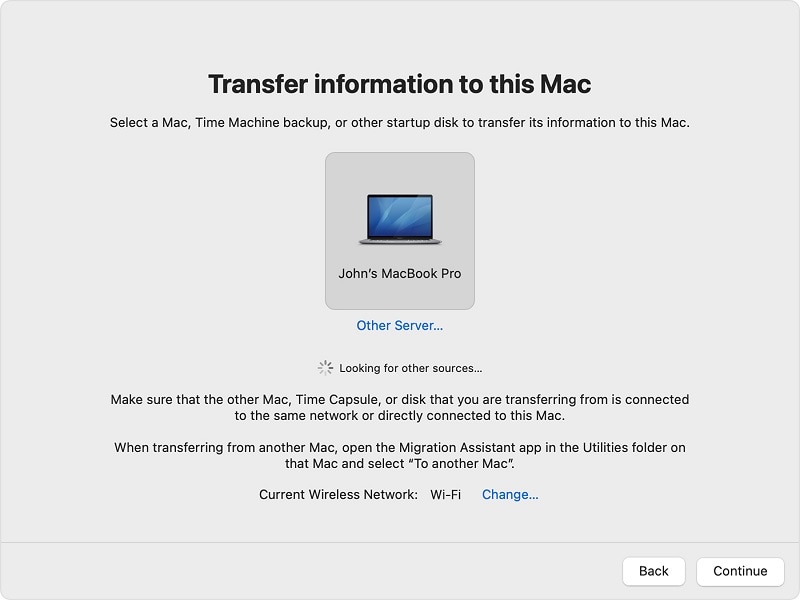
- The last click continues.
On your PC:
- Download and install Migration Assistant on PC.
- After this, launch Migration Assistant on your system.
- Confirm that the code on your PC and Mac is the same.
- After this, choose files and folders that you want to migrate from PC to Mac.
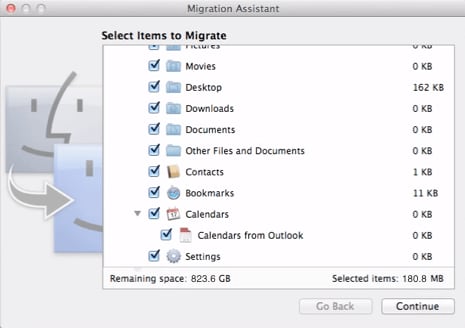
- In last, click continue.
This is how you are able to transfer PC to Mac. Migration Assistant provides an absolutely free way of migrating files from PC to Mac.
Method 2. Without Migration Assistant - Use File Sharing
Are you wondering how to move the files from PC to Mac without any use of the migration assistant?
If yes, then here are the steps to migrate PC to Mac without using Migration Assistant:
Set Up File Sharing on Windows
Turn on the Network Discovery on Windows. For this, fire up your Windows PC and follow these steps:
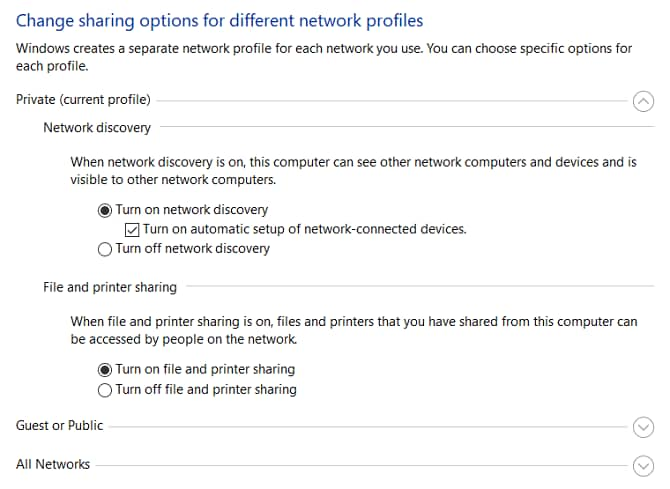
- Go to the Settings app > Network & internet.
- On the left sidebar, click on the "Status."
- Under Change network settings, choose the Sharing options.
- Depending upon your current connection, expand either the Private Network or Public Network menu.
- Turn on the network discovery.
- Mark tick on the checkbox next to File and printer sharing.
- Click on the "Save" changes.
To share folders, right-click on the name of the folder, then go to Properties > Sharing > Network File and Folder Sharing > Share.
Access Windows Files on Mac
Once you're done with the sharing options, it's time to migrate files from PC to Mac. For this, follow these steps:
- Go to the Finder app.
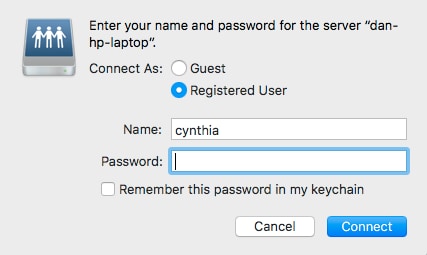
- In the menu bar, select Go > Connect to Server. After this, Type smb://[IP address] and press Enter.
- On the prompted page, enter your Windows username and password.
- Now, click on Connect.
With this, all your shared content or files will be visible on the system. To transfer files from PC to Mac, use drag and drop method.
| Migration Method | Success Rate | Best For... |
| Migration Assistant | High (95%) | Moving System Settings, User Accounts, and Apps. |
| Manual File Sharing (SMB) | Medium (80%) | Selective transfer of specific large video/photo folders. |
| External Disk (UBackit) | Highest (99%) | Users with unstable Wi-Fi or massive data (1TB+). |
Method 3. With Wondershare UBackit
In the case that the methods mentioned above don't work, you can use the third-party tool - Wondershare UBackit to backup files to the external drive, then transfer them to Mac to achieve PC to Mac Migration. It is a backup software that also can backup files from one computer to another. The software is compatible with Windows 10/8/8.1/7. You can check for the file backup guide. Not only this, but the program is also free to use for the first 30 day. It is fully available to help you tranfer PC to Mac.

- Back up your files, folders, partition, hard disk in three simple steps.
- Set an automatic backup schedule to free you from data loss worries.
- Filter your documents, photos, audios, videos and etc to make the backup process quicker and easier.
- Search for the desired files using keywords in 1 second.
- Monitor the storage, protect the backup environment, and notify backup schedule intelligently.
How to Transfer PC to Mac with UBackit Data Backup?
Step 1. Launch Wondershare UBackit
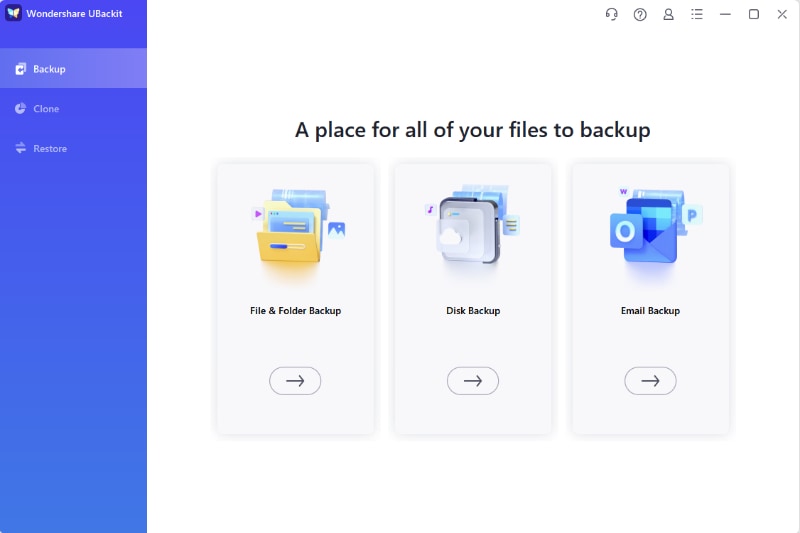
You need to download and install the program at first, then launch it on your computer. Click Create New from the main interface followed by File Backup.
Step 2. Select File to Backup
Select the files you want to transfer from PC to the Mac. Then click Select to continue.
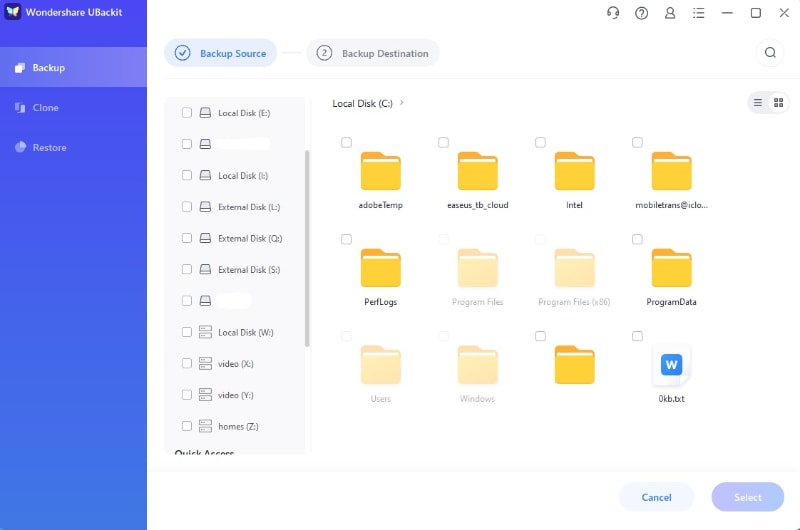
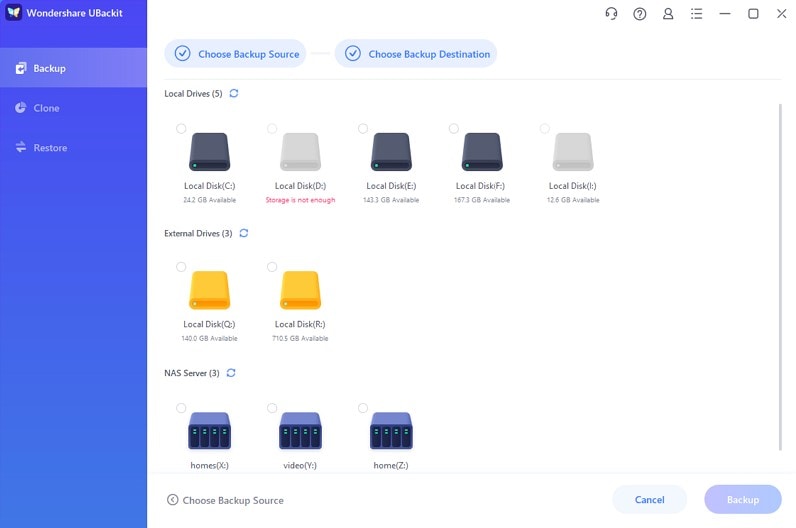
Step 3. Select Backup Destination
Here you need to prepare an external disk to save the backup folders. Connect it with your computer to let UBackit recognize it. Then select the disk as the backup destination where the backup folders will be saved. After that, click Select to get the process started.
Step 4. Complete Backup
The backup process will take a few seconds or minutes to complete. If you receive the notification saying that the backup is complete, you can unplug the external disk safely, then connect it with your Mac computer to transfer PC to Mac.
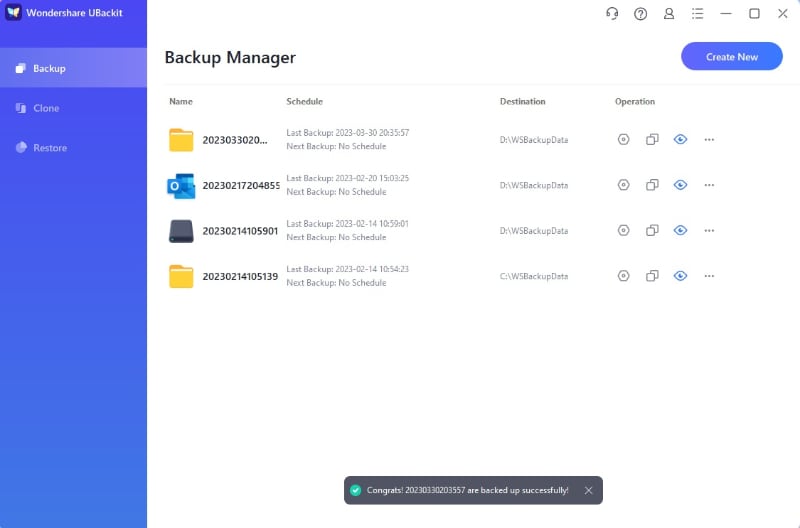
That's how UBackit works on transferring PC to Mac, hope you could complete the process successfully.
Part 3. After Transferring Files from Windows to Mac
When the migration of files from PC to Mac completes, close the Windows Migration Assistant on your PC.
After this, log in to a new account on your Mac. The first time when you log in to a user account, you're asked to set a password. In this case, you can either use the same password that you used on your PC or can create a new one.
Final Words
If you're a long-time Windows user and now switching to macOS, you may find it difficult to migrate files to a new computer. But, with the help of the above methods, you can easily transfer PC to Mac.
In this article, we have discussed everything that you need to know about file migration from PC to Mac. We hope that now you know how to migrate files to a new computer.
So, move all your important folders and documents from PC to the new Mac with ease!
PC to Mac Migration FAQ
-
Will my Windows Apps work on Mac?
No. Windows .exe files won't run natively. You will need to download the macOS version of your software or use Parallels Desktop to run Windows apps on Mac. -
Why does Migration Assistant get stuck at 99%?
This is usually due to a large "System" or "Library" folder sync. Wait up to 2 hours. If it fails, restart both and try Wondershare UBackit for a reliable hardware-based move. -
Do I need a special cable to connect PC to Mac?
A standard Ethernet cable or a USB-C to USB-C cable works. For 2026 Macs, a Thunderbolt 4 cable provides the fastest 40Gbps transfer speed.
Data Backup
-
- The 9 Best NAS Backup Software
- Top 5 Windows Driver Backup Software
- Resolve S.M.A.R.T. Status BAD Backup and Replace Error
- Make Google Photos Backup Run Faster
- Migrate Windows 10 from HDD to SSD
- Fix Google Photos Trapped in Preparing Backup
- Fix Google Photos Backup Stuck on Uploading
- Backup Files in Safe Mode
- Full, Differential and Incremental Backup
- Fix Unspecified Error When Copying a File or Folder
- Fix Unspecified Error When Copying a File or Folder
- Backup Chrome History and Bookmarks
- Backup Chrome History and Bookmarks
- Backup Files Before Reformatting


Recoverit Editorial Team
chief Editor