3 Solutions to Transfer Files from PC to SD Card
SD Cards are removable storage devices that were created at the beginning of this century. Its size was an immediate "boom" in the computer industry, and they have become more sophisticated, increasing their data transfer speed and storage capacity, which can go up to 128 Terabytes. Users use these cards to store information, but they are essential in devices such as mobiles and digital cameras, which have specific slots for SD Cards to store information directly without intermediaries. But you can also transfer files from PC to SD Card and here you will know how to do it.
Part 1: Transfer Files from PC to SD Card Review
Q: A few weeks ago I bought a digital camera and I would like to transfer some images that I have saved in my computer to the SD memory of this camera but I don't know how to do it. Is there an easy way to send data from my computer to the SD card?
There are different types of SD cards but they all share the characteristic of being non-volatile flash memory, which is why they can achieve high speeds of writing and reading while at the same time, they are extremely reliable since they lack moving parts inside and they will not lose information if they are disconnected from the power supply, also, thanks to the constant technological evolution of the data storage industry, the internal architecture of these memories has managed to considerably increase the storage capacity and bandwidth of these devices.
As you might imagine, SD cards are a storage medium that has become very popular because they are extremely easy to transport and can store a large amount of data.
There are several methods to transfer files from a PC to an SD card, however, before choosing a method, it is important to determine which one best suits your needs, as this can save you enormous amounts of time in the future.
Part 2: Why You Need to Transfer Files from PC to SD Card?
If you transfer your information to your SD Card, you will enjoy several benefits. Two important advantages that you will have are the following:
- To use files anywhere without taking the computer with you: SD Cards are removable storage devices with very small sizes. You are going to be able to store many Gigabytes of information (even up to Terabytes) in a small plastic rectangle, so taking your files with you will be very easy and practical. Also, there are USB adapters to read these devices and they are very easy to get, so you will be able to connect your SD card to any computer.
So we can make a comparison; removable storage devices did not exist in the past and until not many years ago we used floppy disks, which were comfortable to carry, but their storage capacity was reduced, even for the times in which it was used, it was common to use several of them so that it was enough to back up the desired information. Now things have changed and a card with a few inches in size can store large amounts of data.
- To release space on your computer: If your PC has a disk with not enough space, having an SD Card will take you out of a lot of trouble. As mentioned repeatedly, you can buy an SD Card of up to 128 Terabytes, so if you need to release space on your computer, this option is a great help.
As you can see, having an SD Card at hand is a very practical and versatile auxiliary, in addition to this, they become increasingly better quality and their technology makes them work faster and have more than enough storage capacity for an average user. However, you should keep in mind that, like any electronic device, they have a useful lifetime; make sure you always carry it in a place where it is prevented from moving and where the connection pins are not touched by any surface.
Read More: All About TF Card
Part 3: 3 Methods to Transfer Files from PC to SD Card
There are two simple methods you can use to transfer files from your PC to an SD card. Below I will show you how to use them.
Method 1. Transfer Files from PC to SD Card by Cut/Copy and Paste
The Windows user interface makes it easy to move and copy files. There are several ways to use this function, but the most popular one is to use Windows key binding; however, Windows has made this function much easier to use. Below I will show you how to use this function in various ways.
By key bindings
Select the file you want to transfer by making a single left click on it. Now press the Ctrl and C keys at the same time. (If you have problems, you can first press the Ctrl key without releasing it and then the C key)
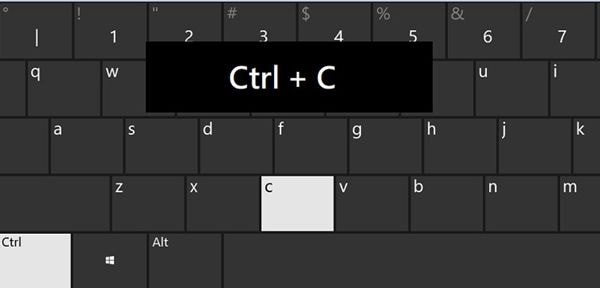
Once you have pressed this key combination you will have copied the file to the clipboard, however, nothing will happen until you designate the destination where you want to replicate the file.
You can choose to "cut" instead of "copy" by pressing Ctrl + X instead of Ctrl + C, however, the "cut" function will remove the file from the source location when you have designated the destination location. This can be useful if you prefer to save space on your computer once you have the information backed up on the SD card.
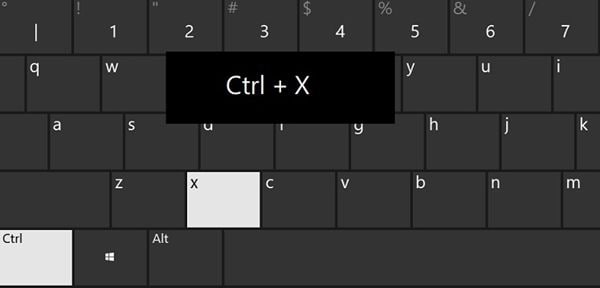
Now, to finish you must designate a destination location. Use Windows Explorer to navigate to the folder or device where you want to transfer the file that you previously copied or cut. Once there press the keys "Ctrl + V"
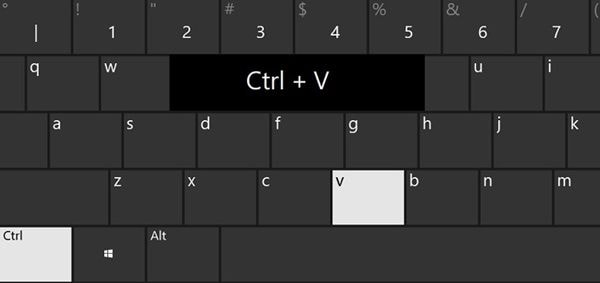
Once you have pressed the Ctrl + V keys, your computer will take care of the data transfer or replication process. (Remember that if you chose the Cut function, the file will be removed from the source location, but you will have an identical copy in the destination location)
Copy and paste menu
If you find it difficult to carry out this process through key bindings, don't worry, the Windows user interface allows you to do the same procedure but in a more interactive way.
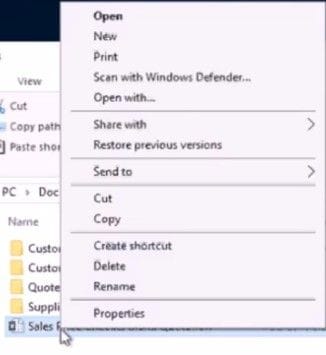
Another way to use the functions: "Cut", "Copy" and "Paste" is by right-clicking on the file or files you want to transfer. This will open a menu where you can select between "Cut" and "Paste". Once you have chosen one of the two functions, go to the location where you want to transfer the files and right-click again to reopen the menu. Now all you have to do is select "Paste."
Drag and drop
There is another function that may seem interesting and fun, it is "Drag and drop" This function is configured by default so that you can freely move the files or folders on your computer but if you use this function to move files or folders to an external device, it will create a copy on the external device and keep the original version on your PC.
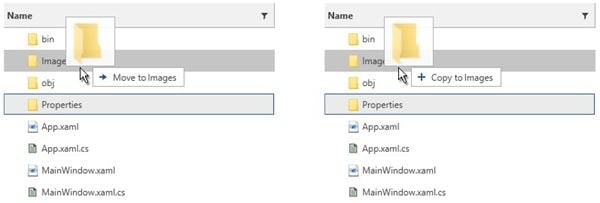
To use this function, just click and hold on the file or folder you want to move and while holding the click, move your cursor to the location where you want to send the file and release the mouse click.
Method 2. Transfer Files from PC to SD Card Using CMD
Using CMD to transfer data is a foolproof and very easy method to use. Next, I will explain how to use it.
Step 1: Open Command prompt
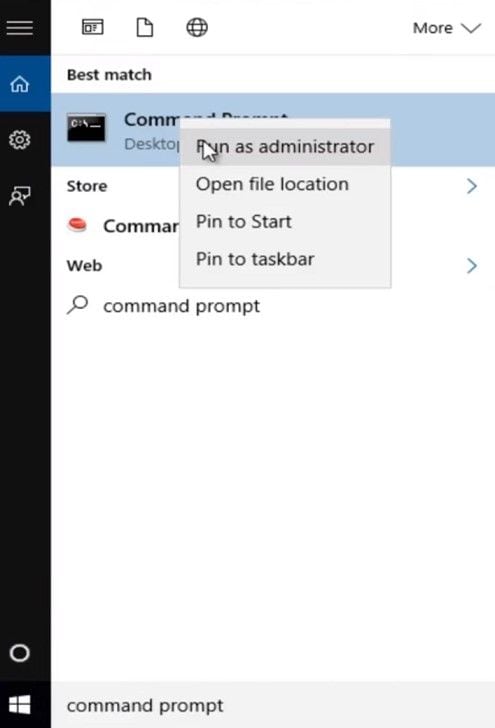
Go to the start menu and type "Command prompt", right-click on its shortcut, and click on "Run as administrator"
Step 2: Track the source path of the file to be copied

Use Windows Explorer to go to the location of the files you want to copy. Once there, pay attention to the bar that is highlighted in the image. There you can see the source path of the file (In this case C: \ Pictures).
Step 3: Enter the source path
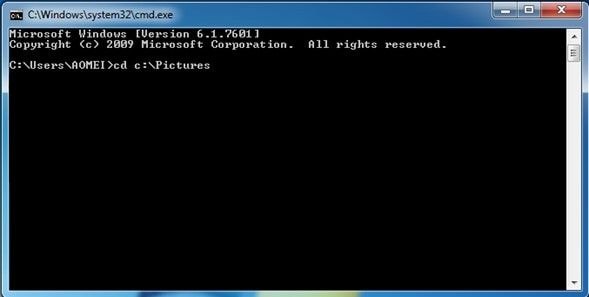
Using the path, you got from step 2, type "cd c:\Pictures" and press "Enter".
("c:\Pictures" indicates the location of the files to be transferred)
Note: If there are spaces in the file's name, you need to put quotation marks around them. For example, a file named "tulips in spring.jpg" would be tulips" "in" "spring.jpg in Command Prompt.
Step 4: Enter the file name and the target location
Type "copy tulips.jpg f:" and press "Enter". "tulips.jpg" indicates the file name with file extension and "f:" is the drive letter of the SD card. Once you've finished, just type "exit" and press enter.
Method 3. Transfer Files from PC to SD Card with UBackit Data Backup
As you may have noticed, transferring files is not a difficult task at all, however there are situations where you need to automate this process to avoid losing information. Wondershare UBackit is a professional data backup software that you can use to automate the data transfer processes and in this way, you will save a lot of time and effort.
Below I will show you how to use it.
Step 1: Go to File Backup
Once you've downloaded and installed the software, go to "File Backup", you can find this option into the "Create New" section.
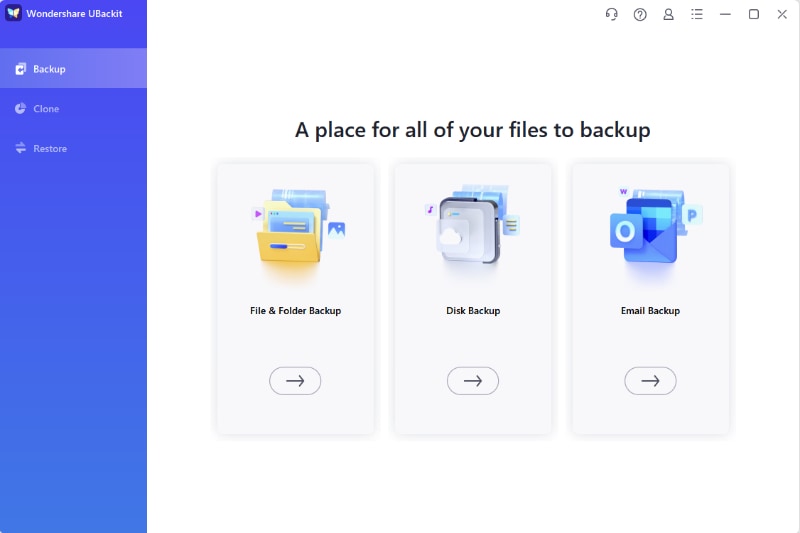
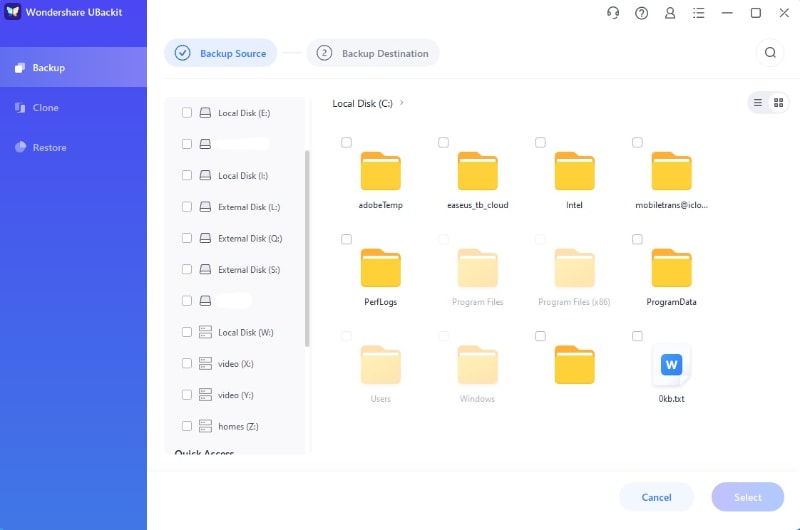
Step 2: Add a source folder
Before going further, I recommend creating a new folder or designate an existing one in your PC to store all the information you want to transfer to the SD card, by this way you'll always have the information to be transferred organized. Choose the folder you want to transfer from PC to SD card and click Select to continue.
Step 3: Choose a target location
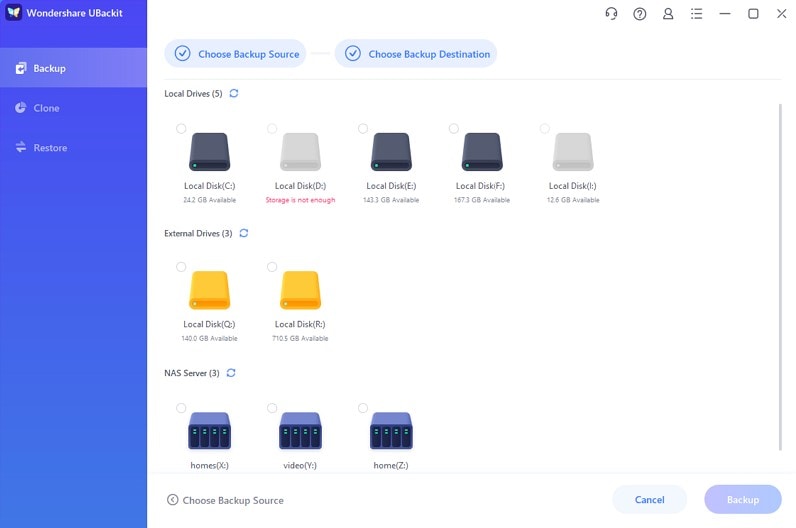
Please ensure that the SD card has connected to your computer. In this case, choose the SD card drive as the backup location. And click Select to start the backup process.
Step 4: Schedule the Backup
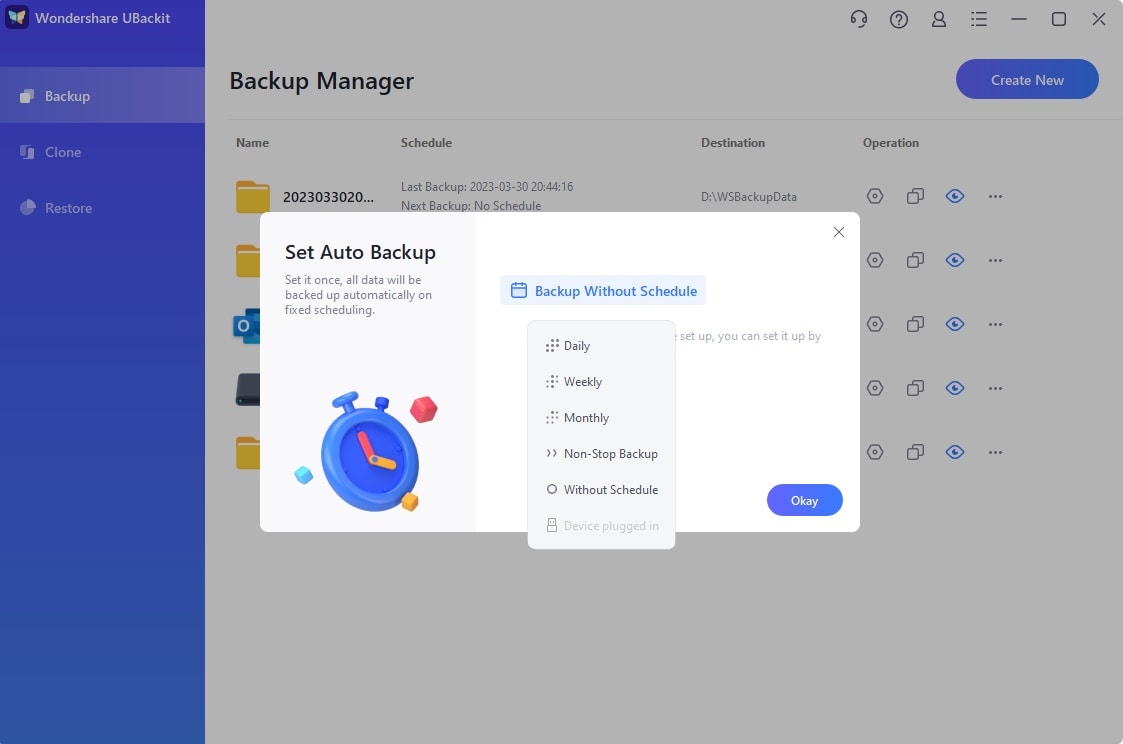
Once the backup process completes, you can find three options at the bottom of the backup folder. Click Schedule to set daily, weekly, monthly, or non-stop automatic backup. And UBackit will start to transfer the files from PC to SD card automatically if it gets connected to the PC again next time.
Conclusion
Transferring files from PC to SD card is not difficult, several methods allow this process to be carried out without problems, however, if you consider that it is a process that you will have to carry out constantly in the future, you can rely on professional software such as UBackit data backup. This tool was designed to optimize and automate all kinds of data transfer and backup processes. It will be enough to do a couple of clicks and the software will take care of the rest, saving you a lot of time and effort.
Data Backup Services
- Computer Backup
- Hard Drive Backup
- Mac Backup
- Cloud Backup


 ChatGPT
 Perplexity
 Google AI Mode
 Grok
Grok


Amy Dennis
staff Editor