
Jun 03, 2026 • Filed to: Windows Computer Solutions • Proven solutions
Windows 11 is the most current operating system released by Microsoft. If you've recently upgraded or installed Windows 11 on your computer, you might encounter some problems. And even if you're using Windows 10, the crashes on startup issue may happen too. Sometimes when you start up your computer, your screen will just freeze, or you might experience your system to crash upon startup. In this article, we’ll provide you with solutions on how you can fix this.
Part 1. Overview of Windows 11/10 Crash on Startup
This error occurs for many different reasons. If we’re talking about the basic reasons, one cause for this is a bad power supply. In this case, you may want to check if everything is plugged in correctly and securely. Overheating is another issue that may cause this problem. If we go deep into the cause, we may want to look into the hard disk and the motherboard. There may be problems with them that are causing the crash.
| Crash Symptom | Likely Cause | Recommended Fix |
| Infinite Loading Circle | System File Corruption | Method 8: SFC Scan |
| Freezes after Desktop appears | Fast Startup Conflict | Method 2: Disable Fast Startup |
| Random Blue Screen (BSOD) | Faulty RAM or Driver | Method 6: RAM Check |
| PC turns off instantly | Overheating / Power | Method 1: Cleaning Dust |
Check BIOS Compatibility: TPM 2.0 and Secure Boot
For Windows 11 users, a crash on startup can often be traced to BIOS settings. If TPM 2.0 or Secure Boot is disabled or malfunctioning, the Windows kernel may fail to initialize properly, leading to a loop or freeze. Ensure your BIOS is updated to the latest version and that these security features are active. If you recently updated your BIOS and now face crashes, try resetting the BIOS to "Load Optimized Defaults."
Part 2. How to Fix Windows 11/10 Crash on Startup?
If you think you’ve already figured out the cause for the system crash, it’s now time to fix it. Here are sure ways to fix when Windows 11/10 Crashes on Startup.
Method 1. Cleaning Dust
The first thing to do is to clean the dust.
- Hold down the Windows key and press X (Release the Windows Key), then hit Shut down or sign out and choose Shut down.
- Unplug the power cord. If you look at the top back of your system, you'll see a black cord dangling from the socket to your computer. The cable would be attached somewhere near a fan. Take it out.
- Remove the keyboard, mouse, webcam, and all other accessories from your PC by unplugging their cables. Cables may be connected to the PC's front or back.
- Using a screwdriver, remove the side panel's outermost screws. If you can't locate any screws, look for a latch or unlock button on your PC's side panel. Remove the side panel.
- Position your computer horizontally if it isn't already. Remove the dust inside your computer and ensure that all of the fans are clean and no dust on their wings. Don't forget about the power supply fan on the back of your casing. You can blow out the dust with the help of a blower.
- After cleaning, remove the side panel, add all of the devices, and plug in your PC.
- Now restart your computer to see if it fails. If that doesn't, it means the problem was caused by overheating and dust.
Method 2. Stop Fast Startup
The fast startup option helps start your PC faster after shutdown. This may be the reason why your system crashes each time you turn it on.
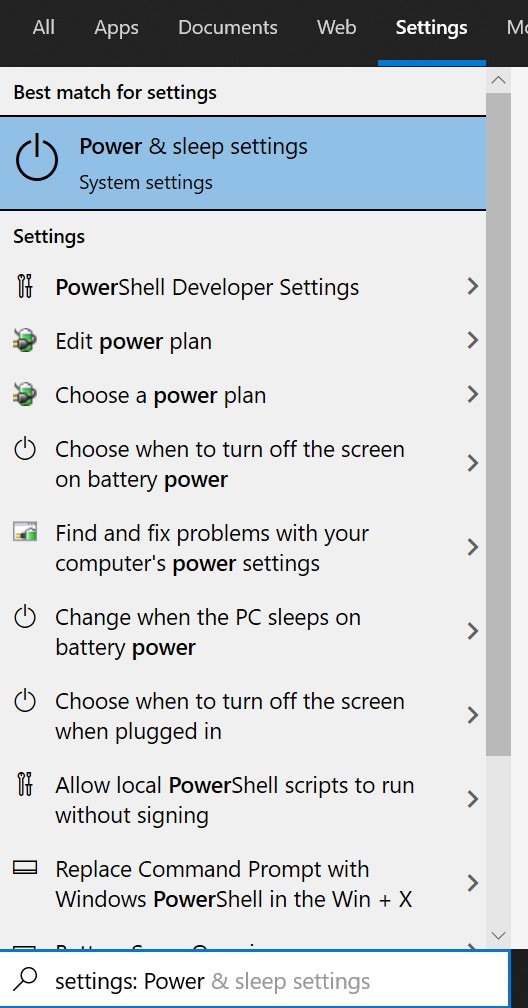
- In the Search bar, type in Power. The best match that will appear is Power & sleep settings; click on it.
- A settings window will open. Related settings, select Additional power settings.

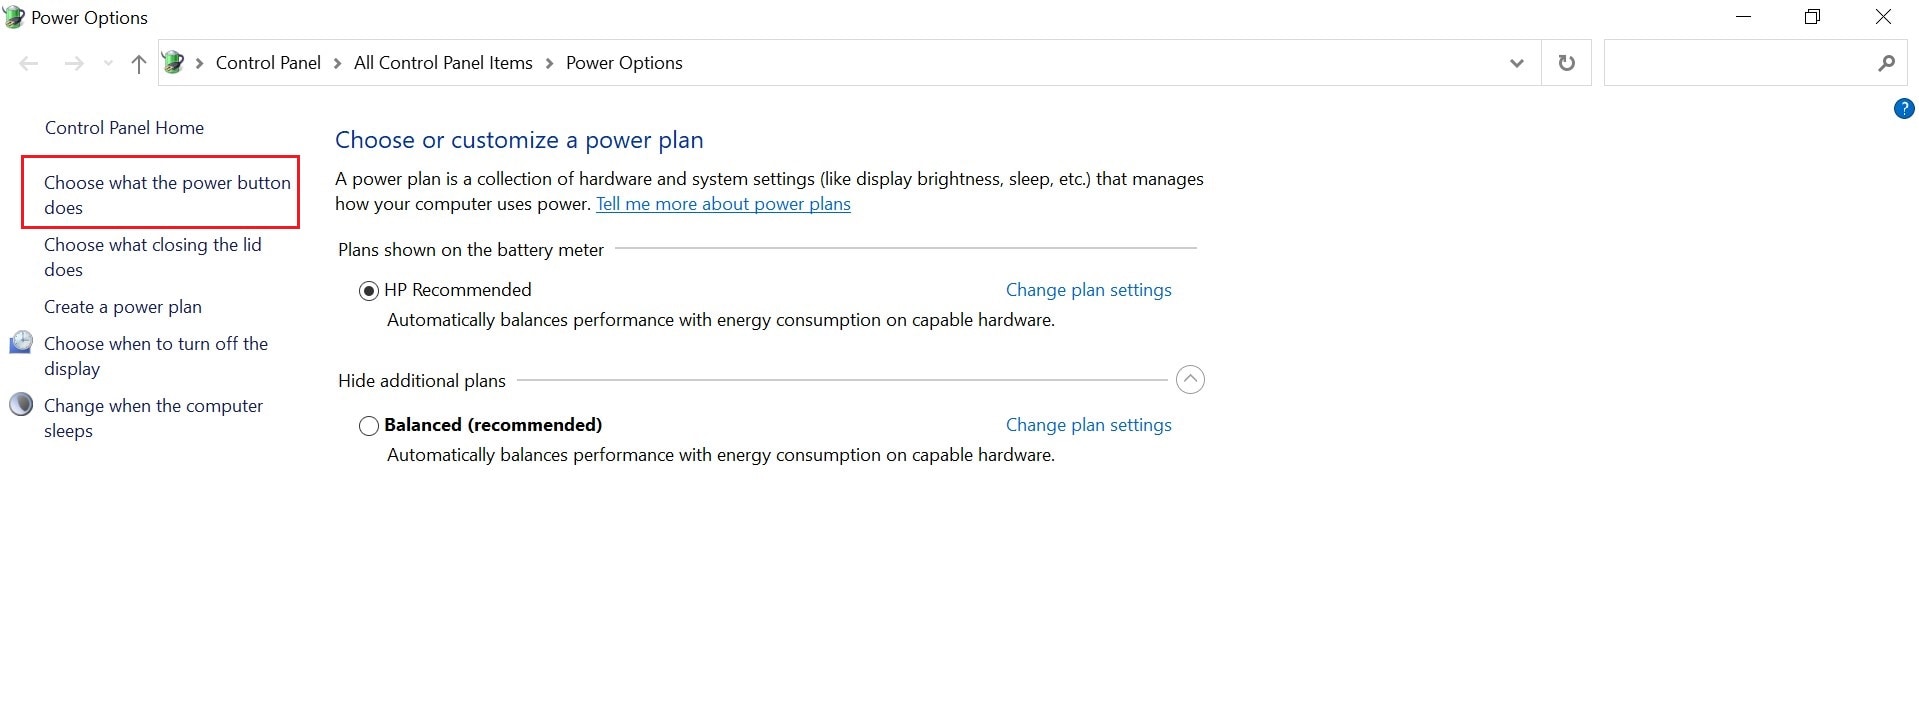
- On the left-side menu, select Choose what the power button does.
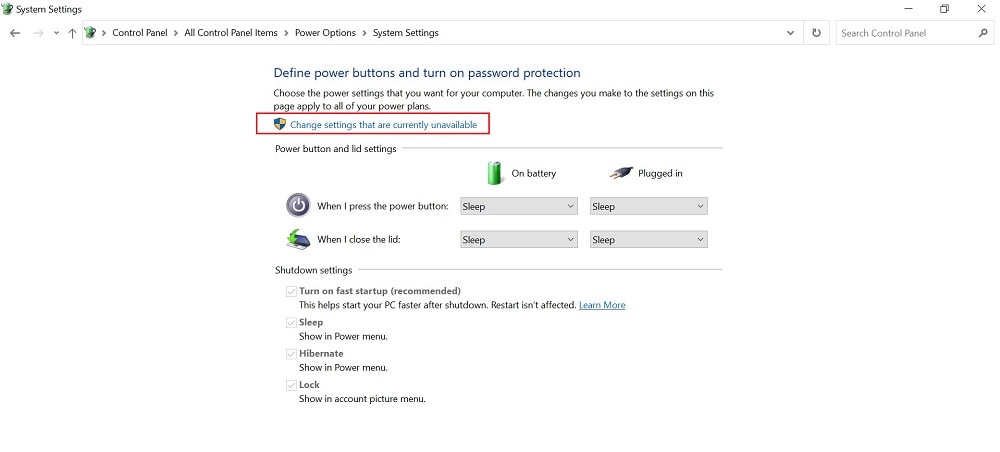
- Under Define power buttons and turn on password protection, click on Change settings that are currently unavailable.
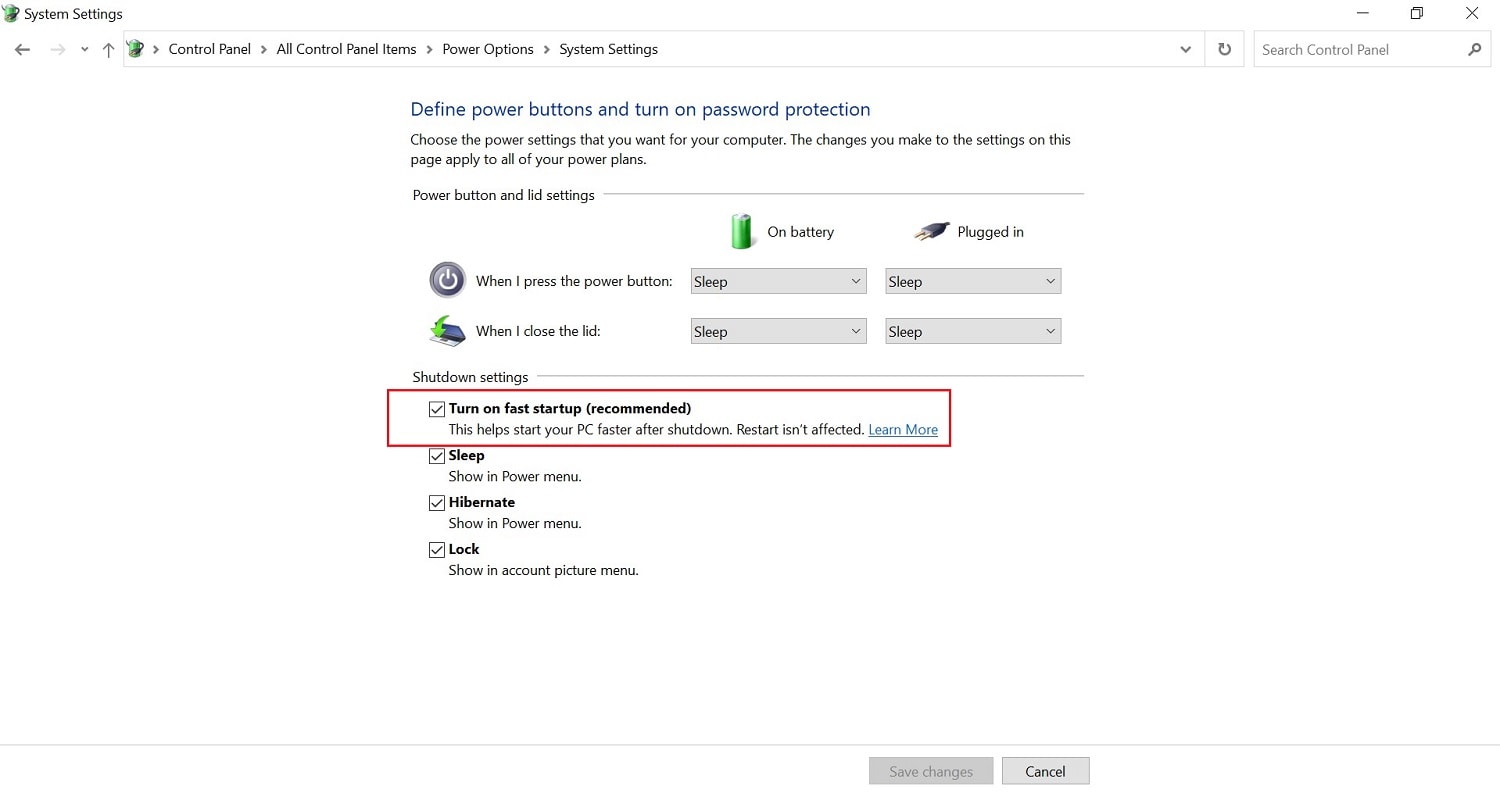
- Unmark the box beside Turn on fast startup (recommended). This can be found under Shutdown settings.
- Click on the Save changes button at the bottom of the window.
- Perform a restart of your PC.
Method 3. Manually Update The PC’s Device Drivers
Sometimes, errors like this are caused by an outdated driver. For this, you will need to update them by following these steps:
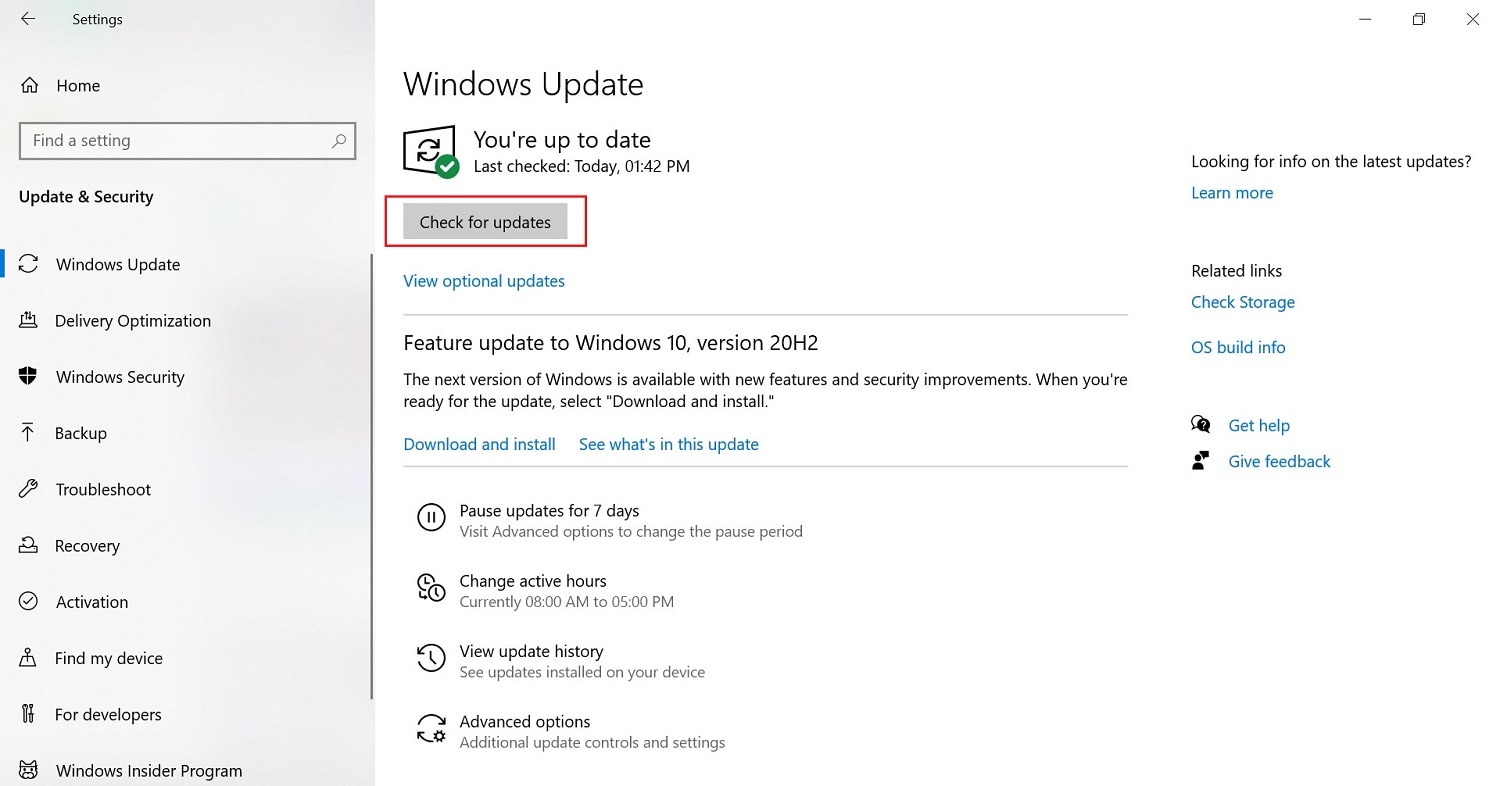
- In the Start Menu or Search bar, type in Settings.
- Go to Update & Security and locate Windows Update.
- Select the Check for updates which will be found under Update status.
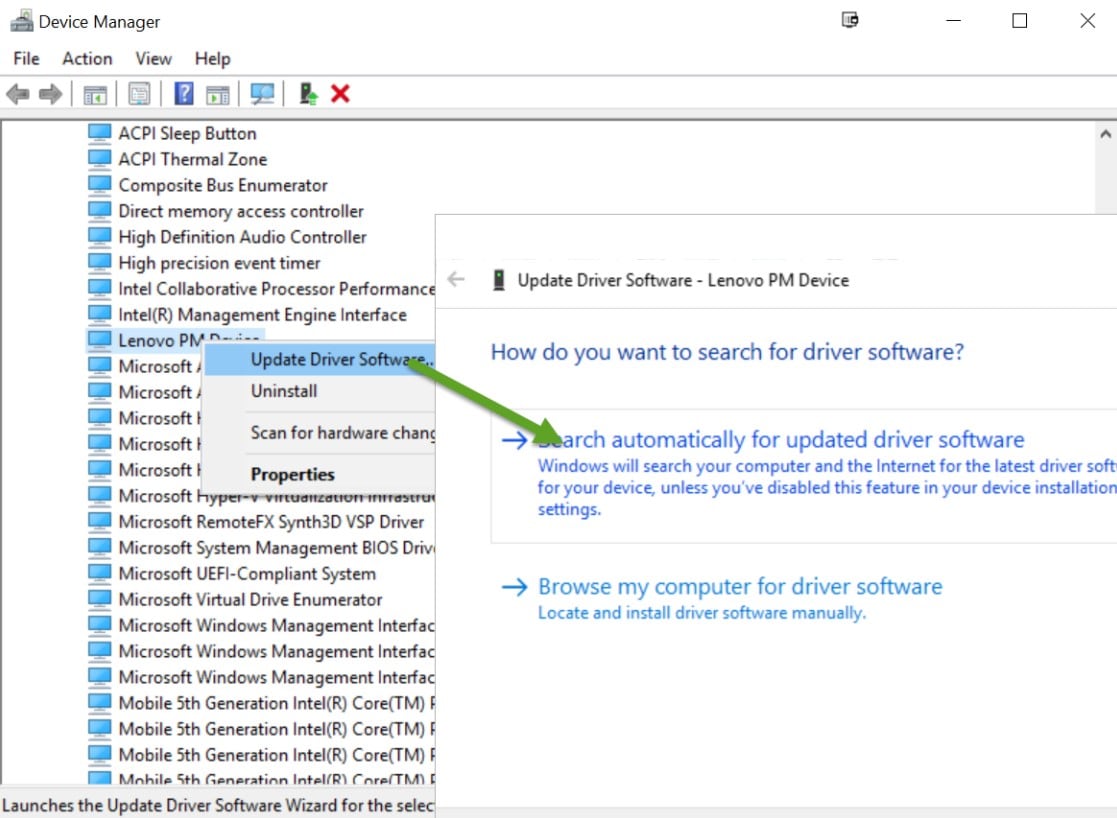
You can also do this by using the Device Manager. Follow the steps below.
- Type in Device Manager in the Settings. Look for the device driver you want to update.
- Right-click on the device and click on Update Driver in the drop-down menu.
- A window asking How do you want to search for drivers? Will pop up. Select Search automatically for updated driver software.
- Now your driver is updated.
Method 4. Unplug Devices from the USB port
Sometimes, devices plugged into the USB port might interfere with your computer. This includes gadgets like monitors, mouse, keyboards, earphones, microphones, USB flash drives, and external hard drives. Try unplugging them and see if the error still exists by restarting your PC.
Method 5. Stop AppXSvc
AppX Deployment Service or AppXSVC is a process built-in to Windows computers. It is involved in many processes in your PC, like installations and updates. By stopping this, we can hopefully fix the Windows 11/10 crash on startup. Follow the instructions below:
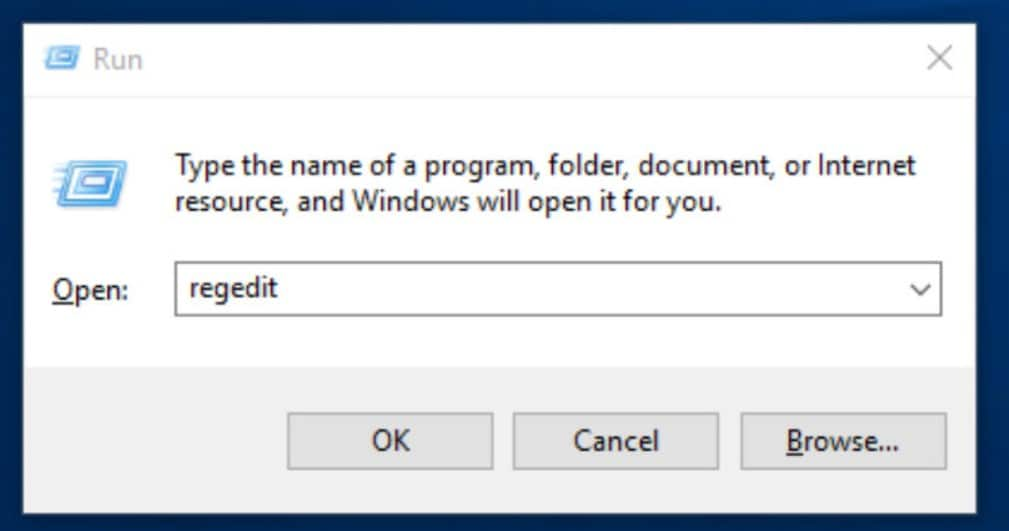
- Press Windows + R on your keyboard. This will launch Run. You can also type in Run in the Search bar.
- Type in regedit in the Run box and hit OK.
- Go to the HKEY_LOCAL_MACHINE folder. Then go to SYSTEM. Under SYSTEM, go to ControlSet001, then go to Services.
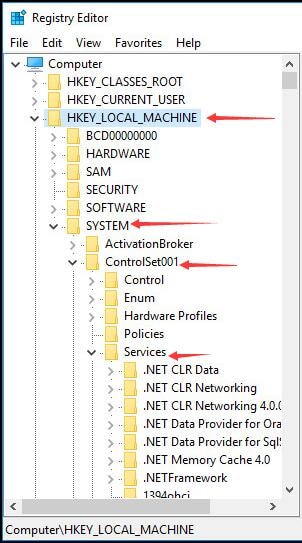
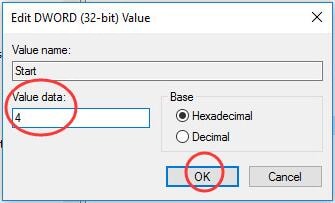
- Locate the AppXSvc folder. Open it and look for the Start icon. Make a double-click on the icon.
![]()
- You will be asked to fill in the value data. Type in 4. Select the OK.
- Restart your PC to check if the error is still there.
Method 6. RAM Checks
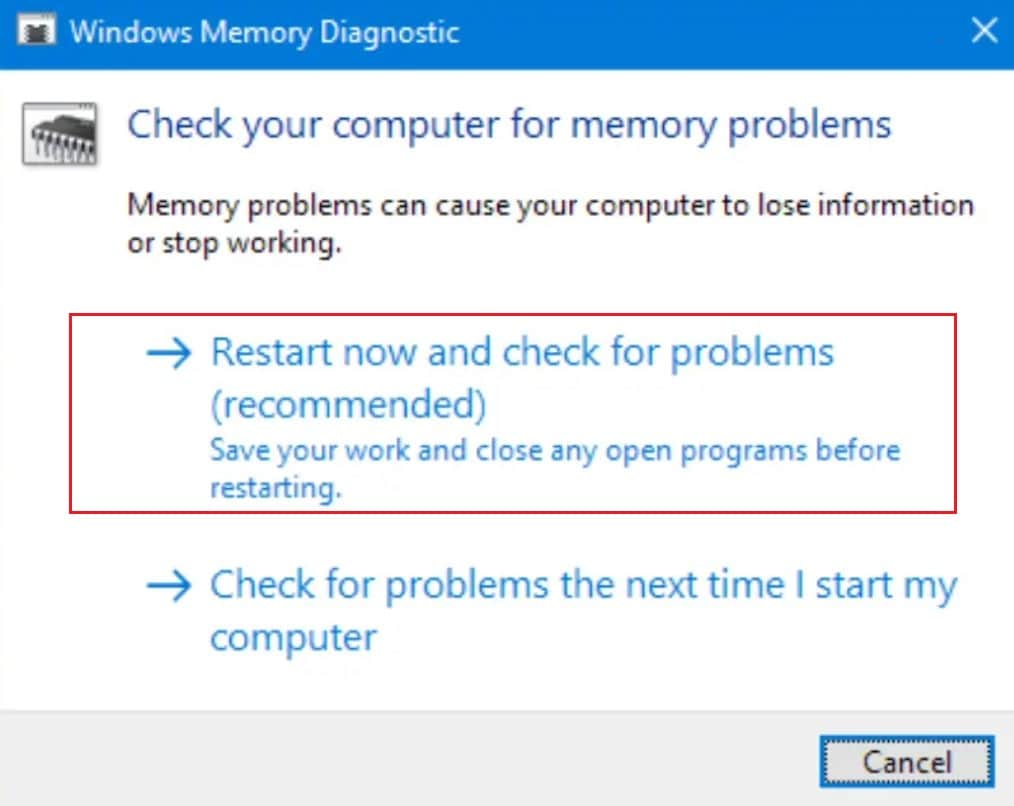
You can use Windows' memory diagnostic tool to search for memory issues. To do so, follow the steps below:
- Hold down the Windows key and type R. (Release Windows Key)
- Type mdsched.exe into the search box and hit enter.
- Select Restart now to check for issues (recommended).
Your computer will restart and search for memory errors. Once the diagnostic tool has completed its testing, the computer will restart, and the results will be shown. If it doesn't, or if you want to double-check the data, take the steps below.
- Hold down the Windows key and type R. (Release Windows Key)
- Enter eventvwr.msc into the search box.
- Double-click Windows Logs.
- Right-click System and then click Find.
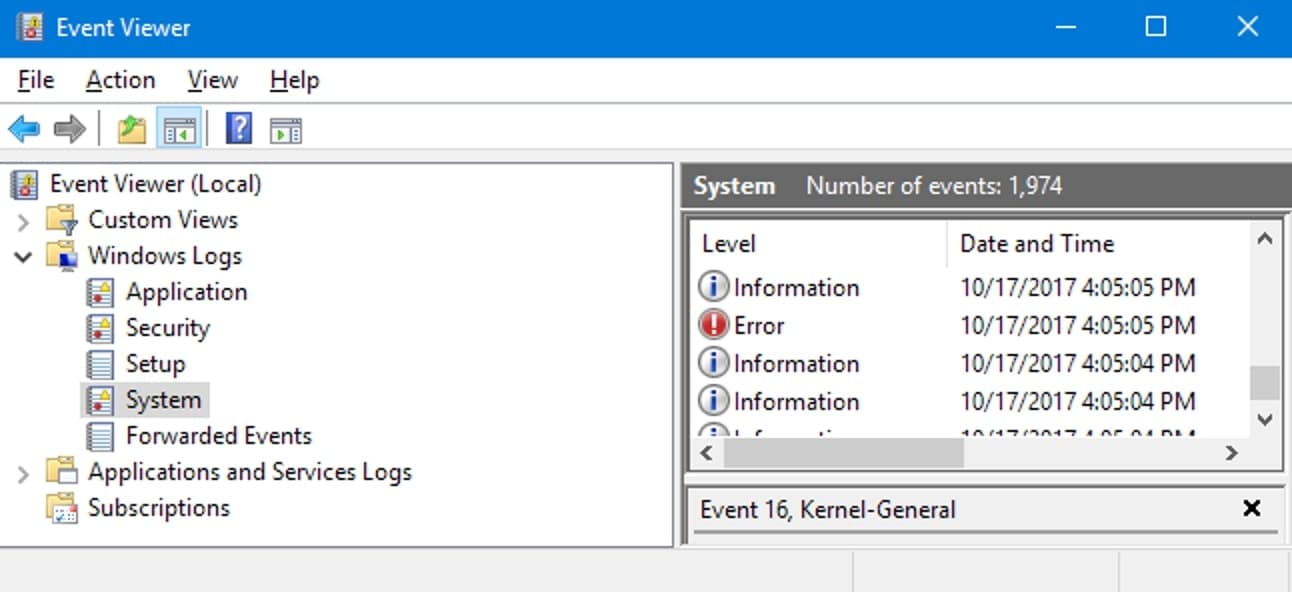
- Enter MemoryDiagnostics-Result into the search box.
- Select the result with source MemoryDiagnostics-Results.
If it finds memory errors, consider replacing the computer's RAM. Your RAM can be incompatible (especially if you recently upgraded) or defective.
Method 7. Check Virus and Malware
If your system is infected with a virus or malware, it will crash your system every now and then. Therefore, it’s important to perform a full scan through the computer. The sad news is that Windows defender alone might not be sufficient, therefore you should try a 3rd-party application such as Norton. If any issue has been detected, follow onscreen instructions provided by the anti-virus program to fix the issue and reboot your system.
Method 8. Perform System File Checker
System File Checker or SFC is an in-built Windows utility to scan and repair the damaged system files. If there are damaged files on your system, your computer will be crashing. Therefore, you should perform SFC to resolve the issue.
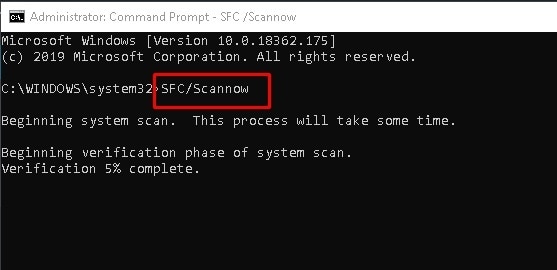
- Enter cmd in the search bar. Right-tap on the Command Prompt to choose Run as administrator.
- Type: sfc/scannow and hit Enter.
- Your system will verify the system files and fix any problems.
Once done, you can exit the command prompt and reboot your system.
| Action | Command / Registry Path |
| System Repair | sfc /scannow |
| Disk Error Fix | chkdsk c: /f /r |
| AppXSvc Path | HKEY_LOCAL_MACHINE\SYSTEM\ControlSet001\Services\AppXSvc |
Method 9. Windows 10 Recovery
If all else fails, you can always resort to Windows 10 Recovery options. This will revert your PC to a previous state at a certain point in time. This may be a solution to this error. You can do this by following the instructions below:
- Go to the Control Panel in the Start menu or by typing it in the search bar.
- Under Recovery, click on Open System Restore. This will undo recent system changes but leave files such as documents, pictures, and music unchanged.
- Select Next to proceed when the System Restore window pops up.
- System Restore window will show you a list to what point you can restore your PC settings. Select from the list and click on Next.
- Select the Finish button to start the process.
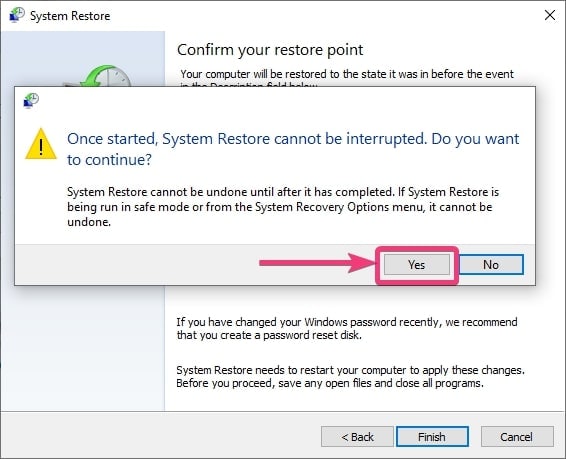
- A prompt saying Once started, System Restore cannot be interrupted. Do you want to continue? Select Yes to proceed.
Bonus Tip: How to Recover Data Lost Due to Windows Crash on Startup
Hopefully you've solved the Windows 11/10 crashes on startup issue. If you find out that your data is missing, don't worry, here we will show you how to get the lost data back in 3 steps.
| Data Loss Scenario | Recovery Priority | Recoverit Feature to Use |
| Crash during Update | High | Hard Drive Scan |
| System Restore wiped files | Critical | Deep Scan |
| Blue Screen loop | High | Recover from Crashed Computer |

Recoverit Data Recovery - The Best Data Recovery Software
- Recover all of your data from USB Drive empty due to various reasons like Malware attack, corruption, accidental deletes, damage, etc.
- Recover data from all kinds of storage drives like USB Drive, SD card, SSDs, HDDs, Floppy Disks, Pen Drive, etc.
- Preview files before recovering.
- Even Pause and Resume the scanning process.
 Security Verified. 3,591,664 people have downloaded it.
Step 1. Download and Install
First, download Wondershare Recoverit from the official website and install it to your computer.

Step 2. Scan the Drive
Launch Recoverit and go to Hard Drives and Locations. Click on the drive where you lost the data, then Recoverit will start scanning the drive. It will take a while, you just need to wait patiently.

Step 3. Preview and Save
Once the scanning process completes, double-click the file to preview the result. Then, select the files and click Recover to save them locally.

Conclusion
When your PC crashes, it may be very inconvenient, especially if you're working on something school or work-related. The much harder thing is that you can't even look up on the internet for solutions using your computer because you can't even get it to start. Hopefully, with the use of any of the solutions above, you fix your PC's Windows 11/10 crashes on startup.
People Also Ask
-
Will disabling Fast Startup make my PC slow?
It will slightly increase the time it takes to boot from a completely shut-down state, but it will not affect the performance of your Windows 11/10 system once it is running. In fact, it often prevents driver conflicts and system crashes. -
How do I fix a crash if I can't even reach the desktop?
If Windows fails to boot three times, it will automatically enter Automatic Repair mode. From there, go to Troubleshoot > Advanced Options > Command Prompt to run thesfc /scannowcommand manually. -
What is the difference between SFC and DISM?
SFC checks your local files for corruption. DISM (Deployment Image Servicing and Management) connects to Windows Update to download fresh copies of system files if the local ones are beyond repair. If SFC fails, always run DISM.
Partition Recovery
- Partition Management
- Partition hard drive
- Partition manager
- USB flash drive to NTFS
- remove GPT partition
- Partition SD card on Android
- Recover GPT partitions
- Delete partition in Windows
- Solve Partition Problems
- Partition Tips


David Darlington
staff Editor