Tips for Olympus Camera Repair and Troubleshooting
Quick Answer: How to Fix Common Olympus Camera IssuesMost Olympus camera problems—such as refusing to power on or shutter lag—are caused by battery seating, firmware glitches, or "Sleep Mode" settings.
Power Issues: Ensure the battery door is fully locked; Olympus cameras have a safety toggle that prevents powering on if the door is slightly ajar.
Shutter Issues: If the shutter won't fire, check the Flash Charging icon; the shutter is locked until the flash is ready.
Data Loss: If videos are corrupted or missing,
use Wondershare Recoverit with its
SD Card Recovery mode to stitch together fragmented 4K video files common to Olympus SD cards.
Q: How Can I Repair Olympus Camera?
"I am at a loss here! I just shot some videos with my Olympus camera but I am having trouble turning on my camera to access the videos. How do I repair the camera please?"
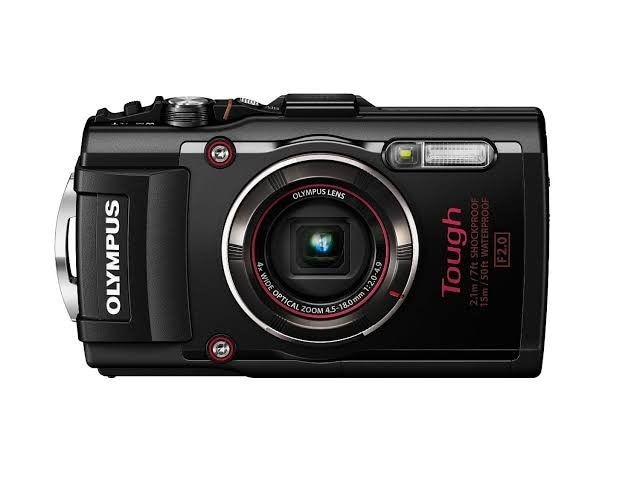
Olympus camera is quite an attractive choice of camera for shooting photos and videos. As new models come up, enthusiasts seek for to upgrade their shooting and production game. However, this camera is prone to certain natural and man-made issues. On a positive note, there are solutions to these problems.
This is the aim of this article: to expose you to the measures you can take to repair your Olympus camera without having to stress over looking for expert help. The tips concentrate on troubleshooting the common problems confronting the Olympus camera. You will discover that they will come in handy in your situation and possible future occurrences. Also, you will be shown how to use the different functions of Recoverit to recover missing data and repair corrupt videos from the Olympus camera.
Part 1: Introduction to the Latest Olympus Camera
In October 2019, Olympus announced the launch of its newest camera called the Olympus OM-D E-M5 Mark III. This is the latest addition to the Olympus Micro Four Thirds digital camera list. This camera has been reviewed to be a specifically compact mirrorless camera.
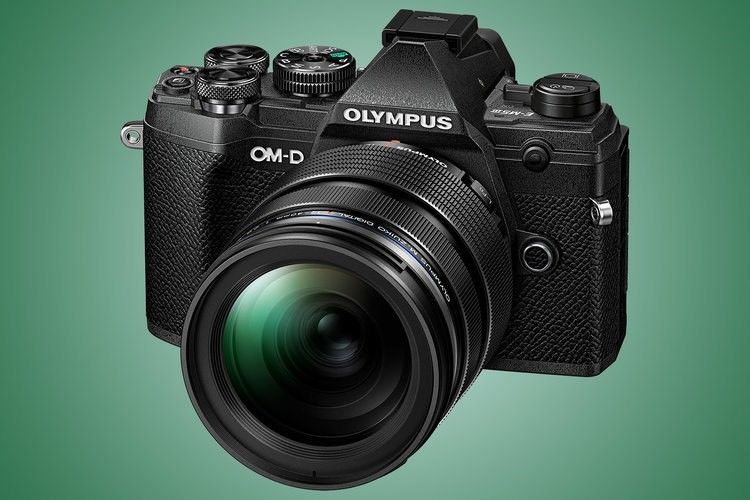
It has many in-built features that boost its functionalities. These features are discussed below:
- The Olympus OM-D E-M5 Mark III camera is ideal for both enthusiasts and professionals to carry on trips where there is minimal space. The reason is that this camera is light in weight. Coupled with its compact design, this camera weighs only 366g for the body alone.
- This camera is constructed in a weather-sealed structure to enable it to support the shooting of photos and videos in virtually all types of conditions.
- Again, this Olympus camera contains a 20.4-megapixel Live MOS sensor and its electronic viewfinder is 2.36 million dots.
- It has technology for dust reduction and within it is 5-axis image stabilization.
- It is capable of greater accuracy and faster response than previous models because it has an additional proprietary TruPicVII image processing. Also, its autofocus system is made up of 121 all cross-type AF points.
- This digital camera can handle 4K video capture at a speed of 30 frames per second.
- There is Bluetooth on this camera that you can connect to a tablet, your system, or smartphone for easy transfer and sharing of data.
- This Olympus camera's AF can be manually adjusted to focus on particular points and distance ranges.
Part 2: Tips for Olympus Camera Repair and Troubleshooting
As you use your Olympus camera, you may encounter different types of problems and errors. Some errors will be revealed in error messages to tell you what exactly is the issue and clues will be given to you to repair or fix the error. However, some situations may appear confusing as the problem is not shown in an error message. This leaves you to try and figure out the solution on your own and without clues.
As tricky as this may seem, you stand a better chance at repairing your Olympus camera if you follow the tips that will be provided in this section.
| Symptom |
Primary Cause |
Immediate Fix |
| Won't Power On |
Battery Door or Drained Cell |
Ensure latch is in "Lock" position; clean contact pins. |
| Sudden Shutdown |
Loose Battery/Firmware |
Update to latest firmware; check battery door toggle. |
| Shutter Won't Click |
Sleep Mode or Flash Charging |
Press Zoom lever to wake; wait for Flash icon to stop. |
| Missing Internal Photos |
Memory Card Priority |
Remove SD card to view internal storage photos. |
| Vertical LCD Lines |
Sensor Saturation |
Avoid direct sunlight/bright lights; usually not in photos. |
| Card Error |
File System Conflict |
Format card in-camera (Backup data first!). |
The Camera Refuses to Turn On: This is the first problem to be looked at. Your camera may refuse to oblige when you try to put it on because of these major factors: a battery that is incorrectly inserted into the camera, a stuck power button, and a battery that is drained.
- Remember to charge your camera battery to full capacity whenever you want to use it. This will prevent the camera from refusing to power on when you need it to.
- Check for what may be the cause of your power button getting stuck. If there is grime or any damage around the power button, try and fix it before putting the camera on again.
- For a battery that wasn't inserted properly, remove it from the camera and put it properly this time.
The Camera Goes Off Without Warning: If your camera suddenly goes off at intervals, it could be as a result of low battery power.
- Also, it could be that while shooting, your hands mistakenly bumped the power button. If this is the case, be careful with the placement of your hands when you are using your camera.
- Another thing to look out for is the battery compartment's door or covering. Your battery compartment door may not be properly closed; the locking toggle switch may be failing in its function or it may not be completely placed in the "lock position". All of these are possible reasons why your camera goes off without warning. What you need to do borders on paying more attention to locking your battery compartment so it keeps the battery in place within its compartment.
- If there is the latest available firmware on the Olympus website, ensure you download it. Your Olympus camera firmware needs to be constantly updated to avoid glitches such as this.
The Photos from Internal Memory Do Not Appear on LCD: You cannot view photos that were shot in internal memory once you load a memory card in the camera. Your photos can only be viewed and accessed once you remove the memory card from the camera.
Problems Relating to Memory Card: This challenge of a memory card not working in your Olympus camera can be a matter of incompatibility. At this point, you may have to format the memory card in the camera. This will ensure that both the card and your Olympus camera are compatible to be used together. Note that once you format your memory card, all the data contained in it will be erased. It may be a smart option to back up your data elsewhere first.
Photos are Not Saved Even after the Shutter is Pressed: This issue applies to Olympus cameras that have the in-built "sleep" mode. It is when this mode is enabled that the shutter is rendered unavailable.
- You can troubleshoot this problem by doing any of these: turn the mode dial, move the zoom lever, or press the power button to bring the "sleep" mode to an end.
- If the flash is getting recharged, it will render the shutter button unavailable. You will know the flash is recharging when the flash icon keeps flashing. The moment it stops flashing, it means it has stopped recharging. Now you can try using the shutter again.
There are Unwanted Vertical Lines on the LCD: If the subject of your camera is very bright, there is every likelihood that your LCD will have vertical lines appear on it. The solution is straightforward and simple: try to avoid aiming your camera directly at the subject. Note that although you see vertical lines on your LCD, they will ordinarily not appear in the photo itself.
Pro Tip for 2026: The "OM System" Rebrand & Firmware
In recent years, Olympus transitioned to the OM System brand. If you are using newer models like the OM-1 or OM-5, ensure you use the OM Workspace software for firmware updates. Modern 2026-era batteries (like the BLX-1) feature integrated chips; using third-party batteries may cause the "Sudden Shutdown" issue mentioned above due to strict voltage communication requirements.
Part 3: How to Recover and Repair Olympus Camera Video
This part will show you how to recover missing videos from your Olympus camera. It will also show you the steps to take in repairing videos which have been corrupted on your Olympus camera. The solutions will introduce the specific functions of Recoverit that are associated with each problem and how to use them.
Recover with Recoverit Data Recovery Tool: Recoverit Data Recovery is a professional software which is used to restore all lost or formatted data from your digital camera, external and internal storage drives, recycle bin/trash, crashed computers, and formatted SD cards. Use this tool to recover your lost videos quite easily, safely, and effectively. You can be assured that Recoverit will get back all your valuable documents, videos, photos, emails, and so on.
Hence, use the following steps to recover Olympus Camera data files:
Step 1: Select a Location.
The location you should choose should be the Olympus camera location

Step 2: Scan the Location
Once the Olympus camera location has been selected, Recoverit will scan it to find your lost files. Wait as the scanning process gets completed and your files will be recovered by the software.

Step 3: Preview and Recover Videos
Preview all the files that have been found by Recoverit before you decide on where to save it. Complete the process by clicking "Recover"

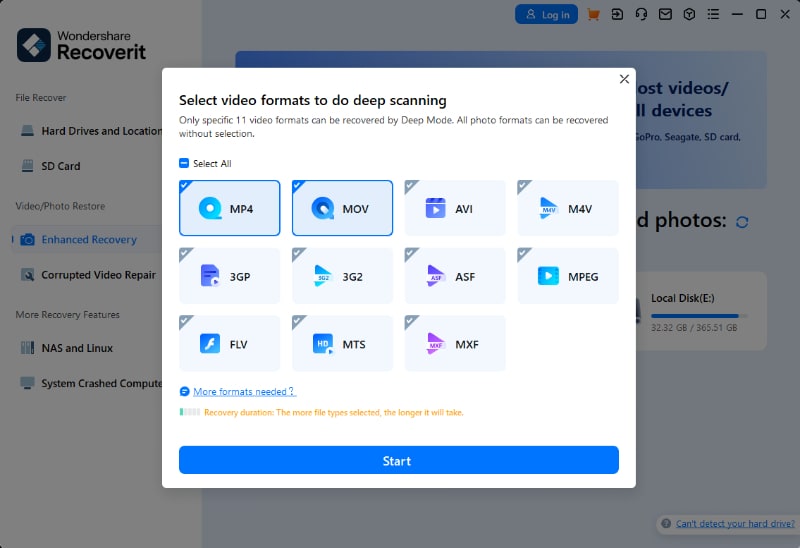
Advance Video Recovery: Recoverit Advanced has introduced a new feature that allows you to go further in recovering fragments of your videos. This new feature is called "Advance Video Recovery". This advanced function takes your video recovery to another level as you get to scan, gather, and match your video fragments. It is so versatile that it supports video recovery from different sources like Digital cameras, DSLR, SD card, your PC, Dashcams, Action Cameras, Drones, among others. With this tool, you can be sure that up to 95% of your videos will be recovered in one piece and they will not be damaged.
All you need to do now is give it a try by clicking on the "Advance Video Recovery" button on your software's interface and you are good to go:
Repair Corrupted Video with Recoverit: There is a need to repair your video files if they get corrupted and what better tool to do this with than with the expert Recoverit Video Repair software? This tool enables you to repair damaged or corrupted videos across all devices. Also, it ensures that you do not lose your video files after the repair process. It supports video repairs in MOV, FLV, AVI, MKV, and 3GP video formats, among many others. Interestingly, you can simultaneously repair all these video formats with Recover Video Repair.
The video file sizes you can repair with this tool have no limit whatsoever. Also, after you have repaired and recovered your corrupt video files, Recoverit Video Repair lets you preview them to ensure everything is intact. The two repair modes supported by Video Repair are the Advance and Quick Modes.
The Quick mode works simply by repairing errors found in your video files. The Advance mode repairs your corrupted video files by using the data and technology analyzed from a sample video which is normally shot from the same device as the corrupt video under repair.
To make use of Recoverit, follow the steps provided below:
Step 1: Add your corrupted videos
Launch the application on your computer. To repair your corrupted video files, you can add them by clicking the Add button or "Add video and start repairing" area.

Step 2: Repair your videos
As soon as you have added all the corrupted videos, click on the Repair option to start the video repair process.
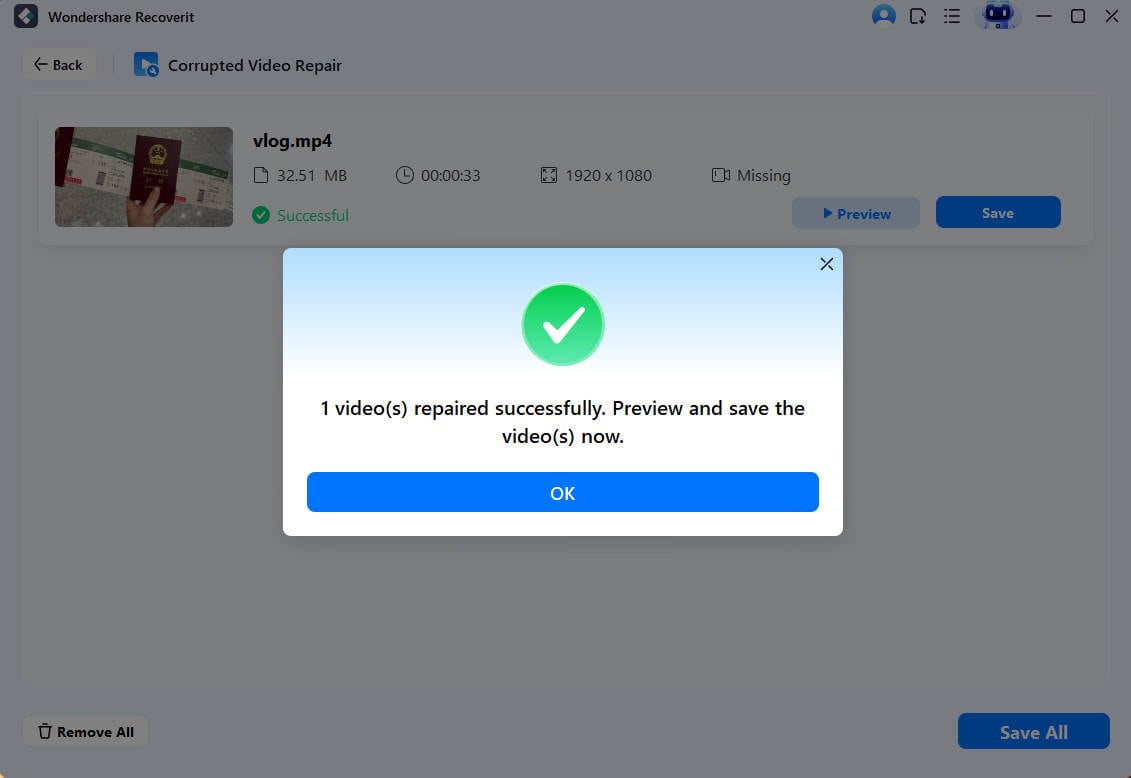
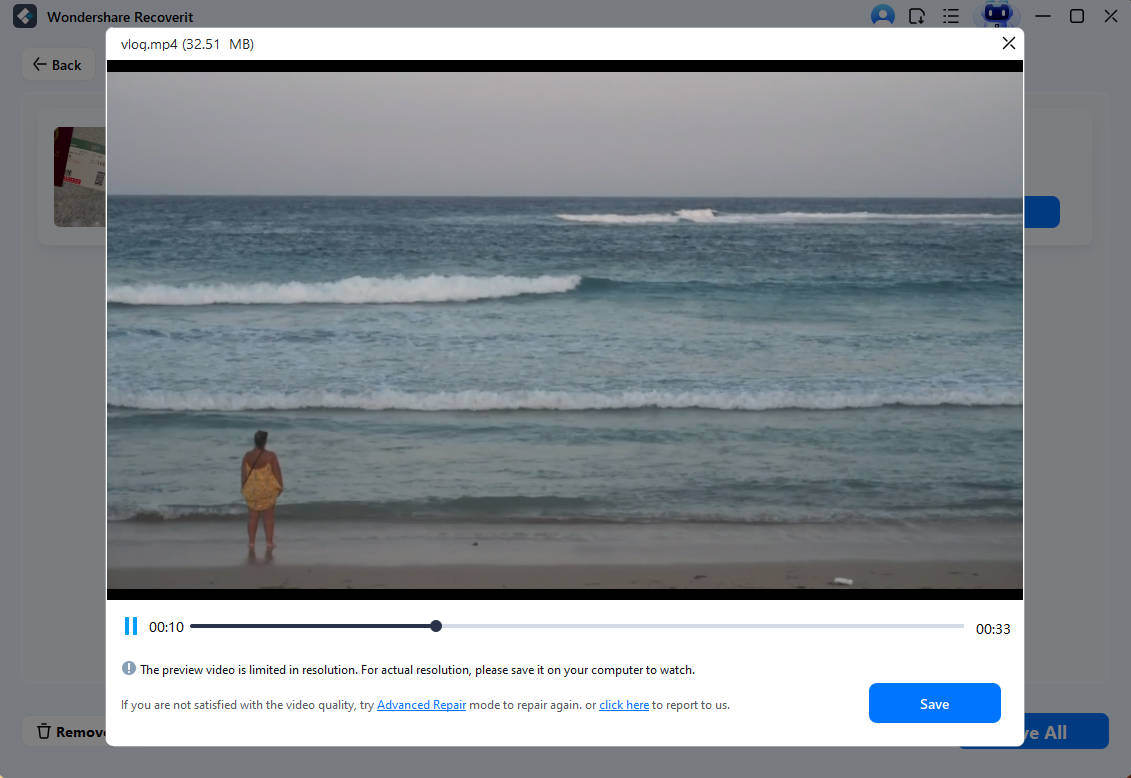
Step 3: Preview the videos
It will take some time to repair and once it has finished the repair process, a reminder showing info of successful fix will pop up on the screen. Press OK to close the operation.
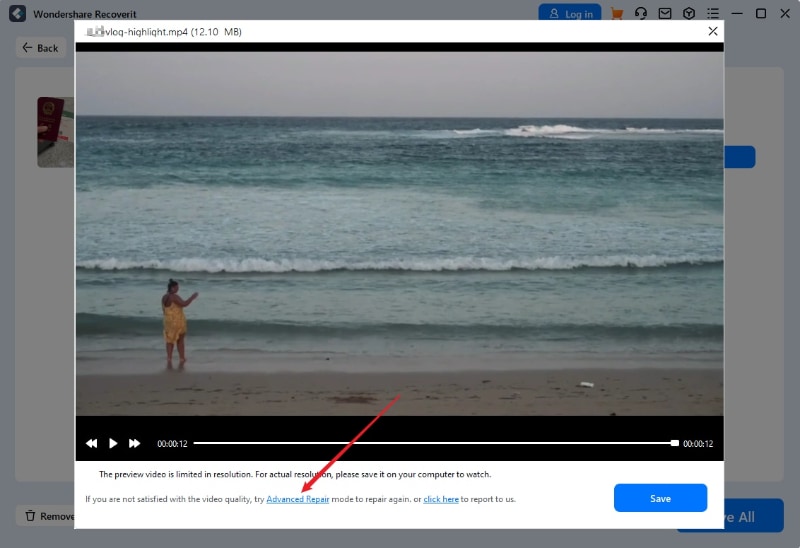
Step 4: Advance mode for severely corrupted video (optional)
If the videos are severely corrupted and not repaired successfully, please go to the advanced repair mode. Just click the Advanced Repair button.
Then add a sample video and repair it now.
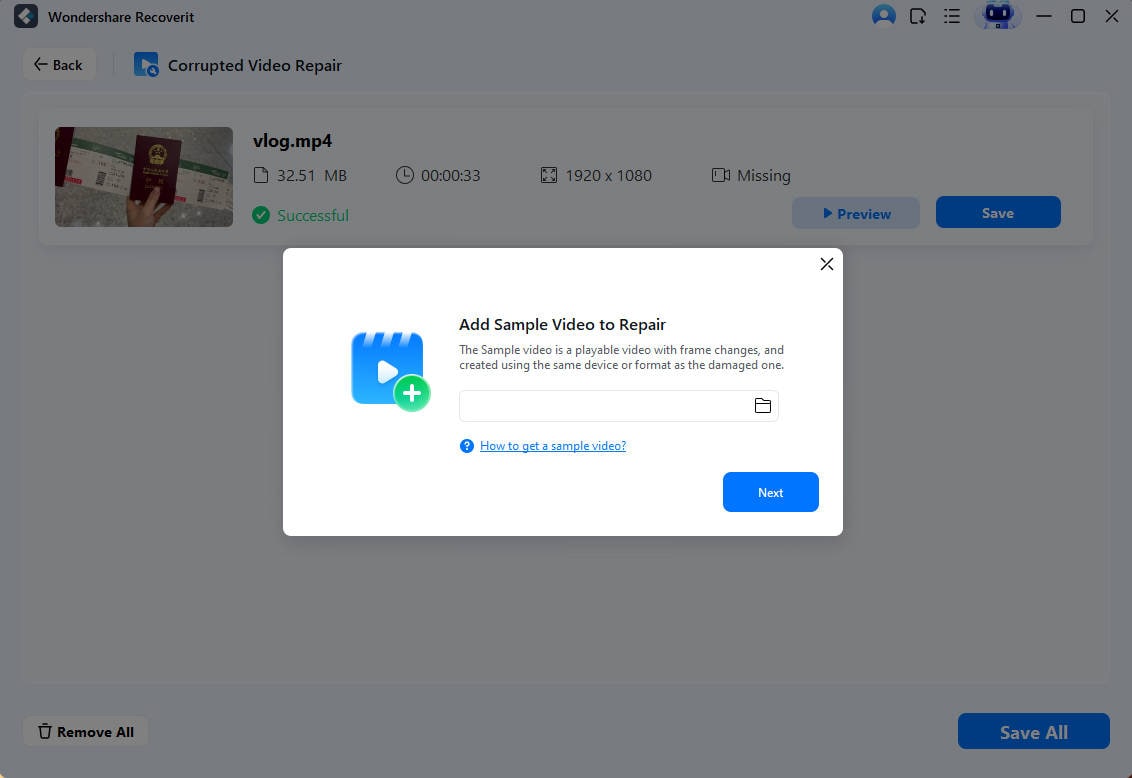
Step 5: Save repaired video
The advance repair will perform the repairing process and prompt a success message when the process is completely done. Now, you can play these videos and you will not see any error on the screen.

Summary: Maintaining Your Olympus Camera
- Battery Latch: Always double-check the lock position; it is the #1 cause of "dead" cameras.
- Firmware: Keep your TruPic processor running smoothly by updating firmware annually.
- SD Card Health: Format cards inside the camera rather than on a PC to ensure file system compatibility.
- Emergency Rescue: If your 4K footage appears choppy or won't open, use Wondershare Recoverit to repair the file structure without losing quality.
Closing Words
This article has been able to introduce to you're the Olympus camera and its latest model. The article has also given you tips to use for repairing and troubleshooting your Olympus camera. Finally, when it comes to data recovery and file repair, you can be sure to trust Recoverit to perform to handle these issues using its various unique functions.
Solve Media File Problems
- Recover & Repair Photos
- Recover & Repair Videos
- Recover & Repair Audio
- Recover & Repair Cameras


Eleanor Reed
staff Editor