Hard Drive Recovery
- Recovers deleted or lost files from hard drive effectively, safely and completely.
- Supports data recovery from 500+ data loss scenarios, including computer crash, partition loss, accidental human error, etc.
- Supports 1000+ file formats recovery with a high success rate and without any quality loss.

How to Write a Disk Image to USB?

Jun 15, 2026 • Filed to: Take Data Backup • Proven solutions
 TL;DR:
Writing an ISO disk image to a bootable USB requires using the native Windows To Go feature for certified drives or third-party imaging tools for standard flash drives.
● The Windows To Go method is exclusively available on Windows 10 Education/Enterprise/Pro or Windows 8/8.1 Enterprise and strictly mandates the use of a certified USB flash drive.
● Win32 Disk Imager offers a free alternative that bypasses the certified USB requirement, allowing users running the program as an Administrator to write raw .img or .iso files directly to standard drives.
● Wondershare UBackit provides an additional method to create a Windows To Go USB on uncertified flash drives and includes a Disk Clone utility for backing up complete hard drives to external storage.
Ask AI for a summary
 ChatGPT
 Perplexity
 Gemini
 Claude
 Grok
Grok
“I want to save my data in USB, but do not know how to write a disk image to USB”.
Earlier, people install windows on your system through CD- or DVD-ROM or floppy disc. But with advancements in technology, these optical data carriers are no more in use.
Nowadays, when you purchase any system or laptop, you can find an operating system already installed in them. Or, you can download it online with a digital license and install it yourself.
However, we do have an external installation medium that is a bootable USB drive. Compared to the optical data carriers, it is quicker and compact, making it suitable for setting up your system.
You can quickly write the disk image to USB with the help of different software available online. So, look for the right one.
Part 1: Why Do you Want to Boot USB Flash Drive?
An individual may want to boot a USB flash drive due to the following reasons:
· Troubleshooting: Suppose you load diagnostic and repair tools in a USB flash drive. It can help you to save the data when any problem occurs to the computer.
Boot from a USB flash drive when you want to troubleshoot if your system is not correctly working. You can check the working of the hard drive, RAM, or any other component and repair them properly.
· Testing a New Computer: Suppose you are analyzing the system to examine if it will fulfill your requirements or not. You can take the help of a bootable USB flash drive containing different diagnostic applications.
· Boot from other Computers: If you have to do any work but can not access your system, you have an alternate. You can use a bootable USB drive on any other computer.
Instead of copying your files on another system, you can access the specific data with a bootable USB flash drive. It also helps to save your privacy.
Part 2: How to Burn Disk Image to USB
If you copy files from the ISO disk image to your USB drive directly, it is incorrect. It is different from copying photos, music, or videos to a flash drive. You can not boot the system with copied files.
If you burn data onto a USB drive, then only you can read it. Therefore, you need to adopt some methods to burn data to make a bootable USB flash drive. Below are some ways to do so:
Copy Disk Image to USB via Windows Native Tool
Windows has a “Windows To Go ” feature that helps you burn ISO files to the USB drive. You can use this free tool if you are running an operating system like Windows 10 Education/Enterprise/Pro or Windows 8/8.1 Enterprise.
It will surely help you to burn ISO disk images to a USB flash drive. Follow the steps below:
Step 1: Go to Microsoft's official website and download Windows ISO files. Connect a certified USB flash drive to your system.
Step 2: Find the control panel on your system and click on it. Search the “Windows To Go” feature there. Tap on it to proceed.
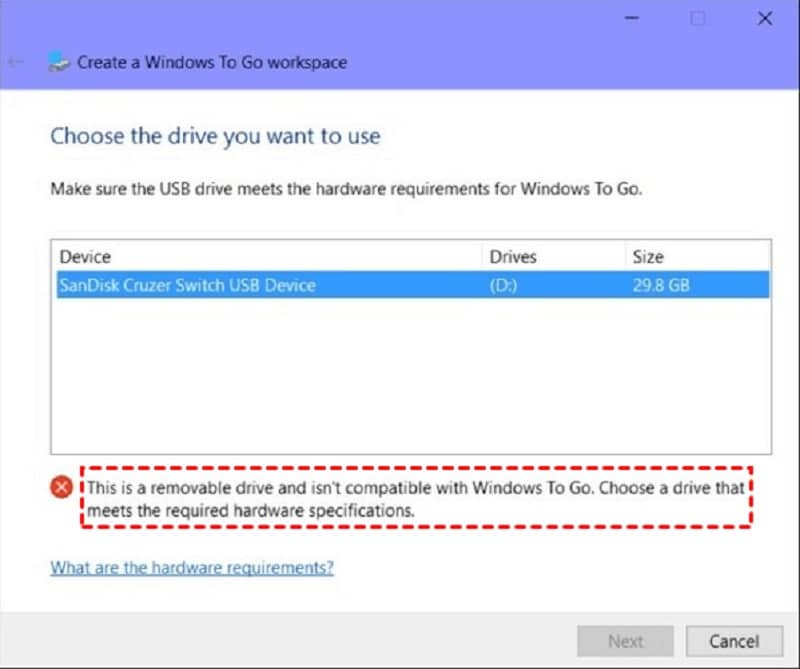
Step 3: It will search for all the inserted USB drives automatically. Select the USB drive you want to burn ISO files and then click on “Next”. If it is a qualified USB, then only you can proceed.
Step 4: To find a windows installation ISO file, click on “Add search location.” Select the mounted ISO file.

Step 5. Now, set a BitLocker password for encrypting the Windows To Go workplace.
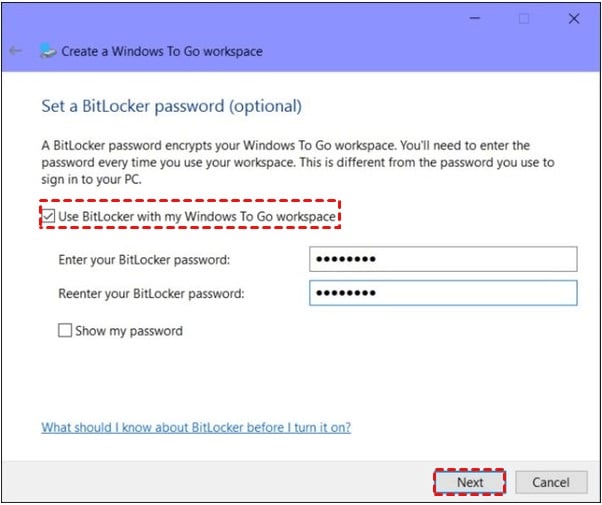
It will start burning the Windows ISO image files to your selected USB drive.
Burn ISO to USB with Third-Party Tool
If you do not have any certified USB flash drive, you can use a third-party tool like Win32 Disk Imager to burn a disk image to a USB drive. Win32 Disk Imager is free third-party software used for disk imaging and cloning.
It can help you to write the raw disk images to the USB drive from Windows. This tool can also help you to create a backup disk image of a USB flash drive. Then, use the backup image to recover the original USB drive.
The following are the features of this tool:
- Verify Image
- Additional checksums
- Read Only Allocated Partitions
- Save last opened folder
- Additional language translations
Writing an Image IMG or ISO File to a USB Drive
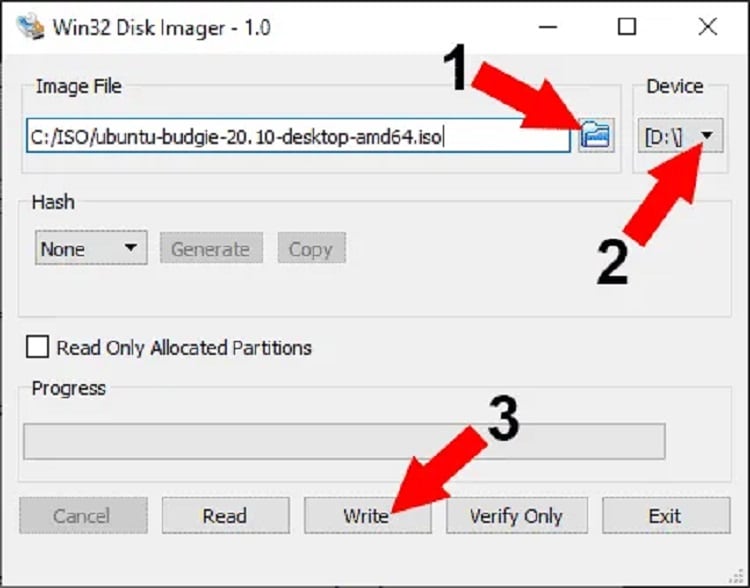
Step1: Download Win32 Imager, install, and run it as an Administrator.
Step 2: Tap on the folder icon, browse it and select the .img or .iso file.
Step 3: Choose your USB drive from the dropdown device.
Step 4: Click the “Write” button. It will write an image to your USB drive.
Part 3: Wondershare UBackit- USB Disk Image Tool
Wondershare UBackit is a fantastic USB disk image tool. In addition, it has an advanced Disk Clone feature that helps you maintain a second copy of the disk.
With the help of the Clone feature, you will be able to back up all the stored files/folders on the disk quickly. For example, suppose you are facing a corrupted hard drive, or you are changing the system.
Then, use the Wondershare UBackit disk clone feature. It will solve all your problems. To proceed to clone, you can follow the steps below:
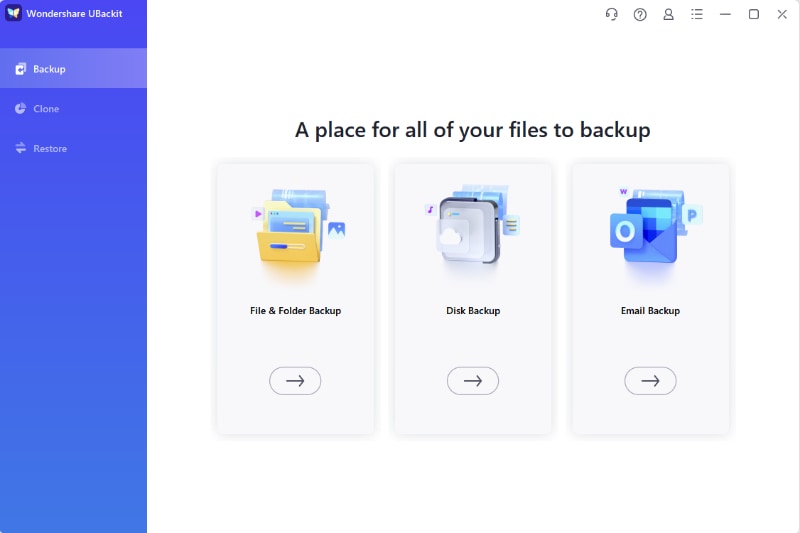
Step 1: Start Wondershare UBackit and go on the “Backup & Restore” feature, and tap on it. Next, find the “Create New” button and click on it.
Next, you can see the “Disk Backup” option. Select it.
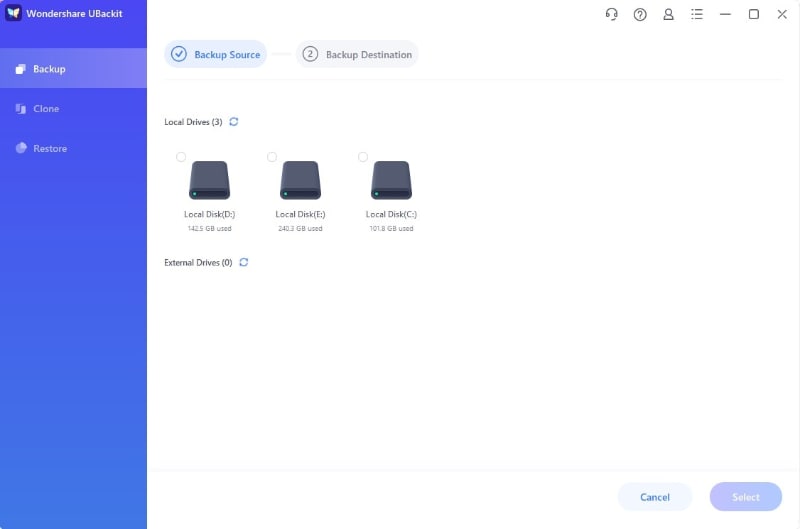
Step 2: You will see the list of available drives. Choose the drive you want to back up and tap on the “Select” button.
Step 3: Now, choose a preferred location to save the disk backup(such as an external source or another drive).
You will see the list of all available drives or external storage there. Do not forget to check that enough storage space for the new drive is there or not.
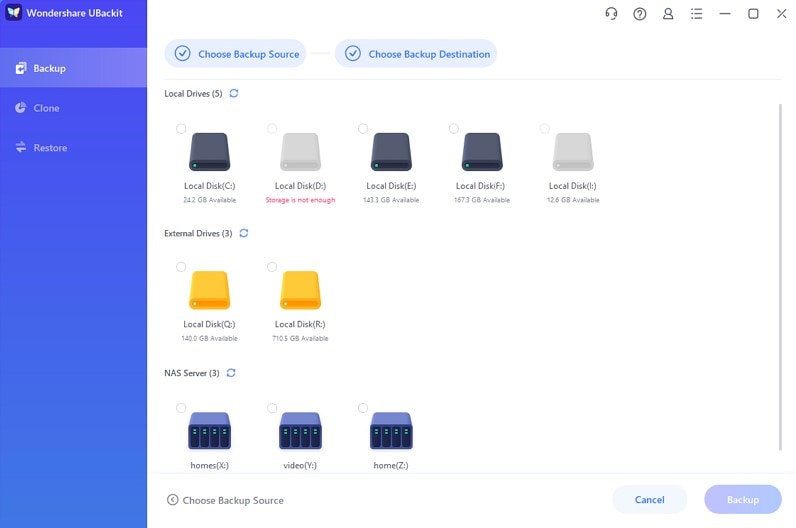
Step 4: Tap on the “Backup” button and wait for a while. Then the application will show on the screen the progress of the disk backup process.
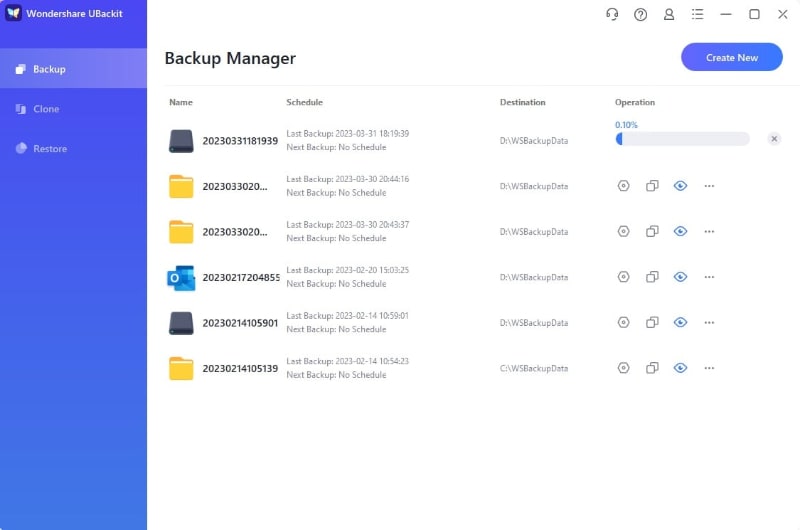
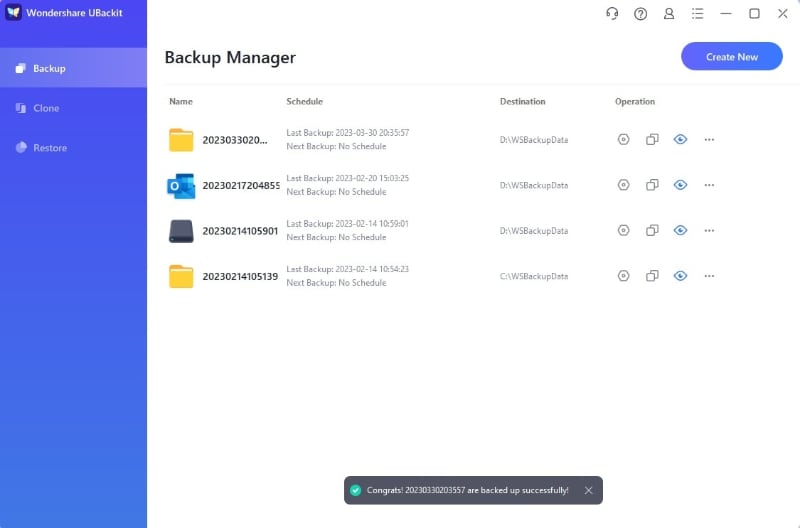
Step 5: Finally, UBackit will show a message displaying the completion of the Disk Backup process. Now, you can view, manage, and restore the backup from your UBackit dashboard.
Final Words
With the suggestions above, you can convert disk image files to bootable USB, whatever Windows edition you use. However, if you seriously feel burning the Windows ISO files is challenging, use a third-party tool Wondershare UBackit.
It will create the Windows To Go USB on your current system. It can quickly burn the ISO files to flash drives, making it easy to carry and use. It has a straightforward interface.
You only need to choose the ISO file you desire to burn and select the target USB drive. There are no other complicated settings; with just a single click, you can proceed.
Data Backup Services
- Computer Backup
- Windows 10 Backup
- Windows 8 Backup
- Best File Sync Software
- Driver Backup
- SD Card Backup
- Best Incremental Backup
- Onedrive Automatic Backup
- Hard Drive Backup
- Mac Backup
- Cloud Backup


Amy Dennis
staff Editor