How to Take a NAS Disaster Recovery
Hi, I'm thinking of buying a 2 or 4 bay QNAP NAS since everyone seems to speak very highly of them. I have a few paranoid questions to help with my piece of mind. I am a novice to RAID and have only a little working knowledge of Linux. My primary concern is the swift recovery of the data if the NAS (not the drives) fails without being forced to rush out and buy another identical NAS.
I've sometimes heard that it is safer to use software rather than hardware RAID since in the event the whole system fails it is simpler to just read the disks in another machine or to use a live-cd (rather than have to buy the same RAID card again - this would be my fear with something like Drobo). I am wondering how this relates to a QNAP NAS.
- If a QNAP NAS failed and I took out the disks, am I likely to be able to mount/recover the data easily using, say, an Ubuntu live CD? Or is there anything proprietary/unusual about the file system? If this is possible, can you point me towards any guides on how this would be done?
- From a disaster recovery point of view, is it easier to recover when using RAID 1, than say, RAID 5? For example, if a 2 disk QNAP RAID 1 NAS failed, and at least one of the disks was intact, would I be able to simply mount that drive using another Linux box and just copy the files, or is it more complex than that?
- If the answer to (2) is yes (RAID 1 recovery is easiest), do the QNAP 4-drive NAS support having two pairs in RAID 1?
Just as any other reason for system crash/system failure, the data loss due to any disaster requires a solution for data backup and disaster recovery. It would help to retrieve all the valuable data with standard techniques for managed backup and disaster recovery. Be it from any source i.e. in this case, cloud backup and disaster recovery, you can perform the backup disaster recovery procedures on the cloud storage to get back all the data including files, folders, documents, file systems, media, disk clones, and the system backup images. This article will provide you with practical solutions for performing the cloud backup disaster recovery.
Before heading towards any practical solutions for data backup and disaster recovery, let’s have a look at the targeted case for this article i.e. cloud backup and disaster recovery. NAS stands for network-attached storage. It is a file storage system comprising of more than one storage media shared among the multiple devices on a penal of the network. To access this shared storage space, you have to use a local area network (LAN) via an Ethernet connection. The kind of data dealt with by NAS is audio, video, websites, text files, and Microsoft Office documents. As NAS carries multiple storage devices, so these are divided into three main categories.
- Enterprise NAS, as the name implies is for high-end enterprises or businesses that carry a massive data flow. It provides rapid access along with NAS clustering potentials.
- Midmarket NAS is for small business that carries a data flow up to terabytes. This cannot undergo the process of data clustering.
- Desktop NAS is either for the entrepreneurs or home users.
This article would be explaining the solutions for cloud backup and disaster recovery or simply the backup and disaster recovery when your device faces a system crash due to any potential disaster. It carries two of the third-party backup software solutions acting as the backup and disaster recovery services. Here are the topics that would be discussed in detail.
Part 1: Why You Need to Perform a NAS Disaster Recovery?
As NAS is a shared storage space, holding up all the data for multiple devices, so in case of any system failure due to physical disasters, to avoid the data loss, one can perform a backup process to secure all the data from this shared space. It can act as a source disk to create a backup. But why you need to perform a NAS backup and disaster recovery, here are some of the potential reasons.
- NAS devices don’t have an equivalent to Recycle Bin. Once you delete a file/folder from NAS, it would be permanently deleted. So to avoid the accidental deletion of important files/folders, you need to create a backup for the data stored on NAS.
- Unexpected data loss may occur to NAS users without warnings. Being a shared data point, any error on one device can lead to data loss from NAS, before even letting you know about the reason. It would end up in permanent data loss.
Part 2: How to Recover data from NAS?
As mentioned earlier, for backup and disaster recovery services, you need third party backup solutions. Uncovering the first one, it is the Recoverit data recovery. The software would help you to undergo the backup and disaster recovery process to retrieve more than 1000 available file formats. By using the software, you can retrieve the lost data from hard drive, Desktop, Recycle Bin, external devices, and even from a crashed computer. The software solution helps to restore all the data by undergoing scanning into modes i.e. deep scan or all-around scan.
Here is how you can use the software for data backup and disaster recovery.
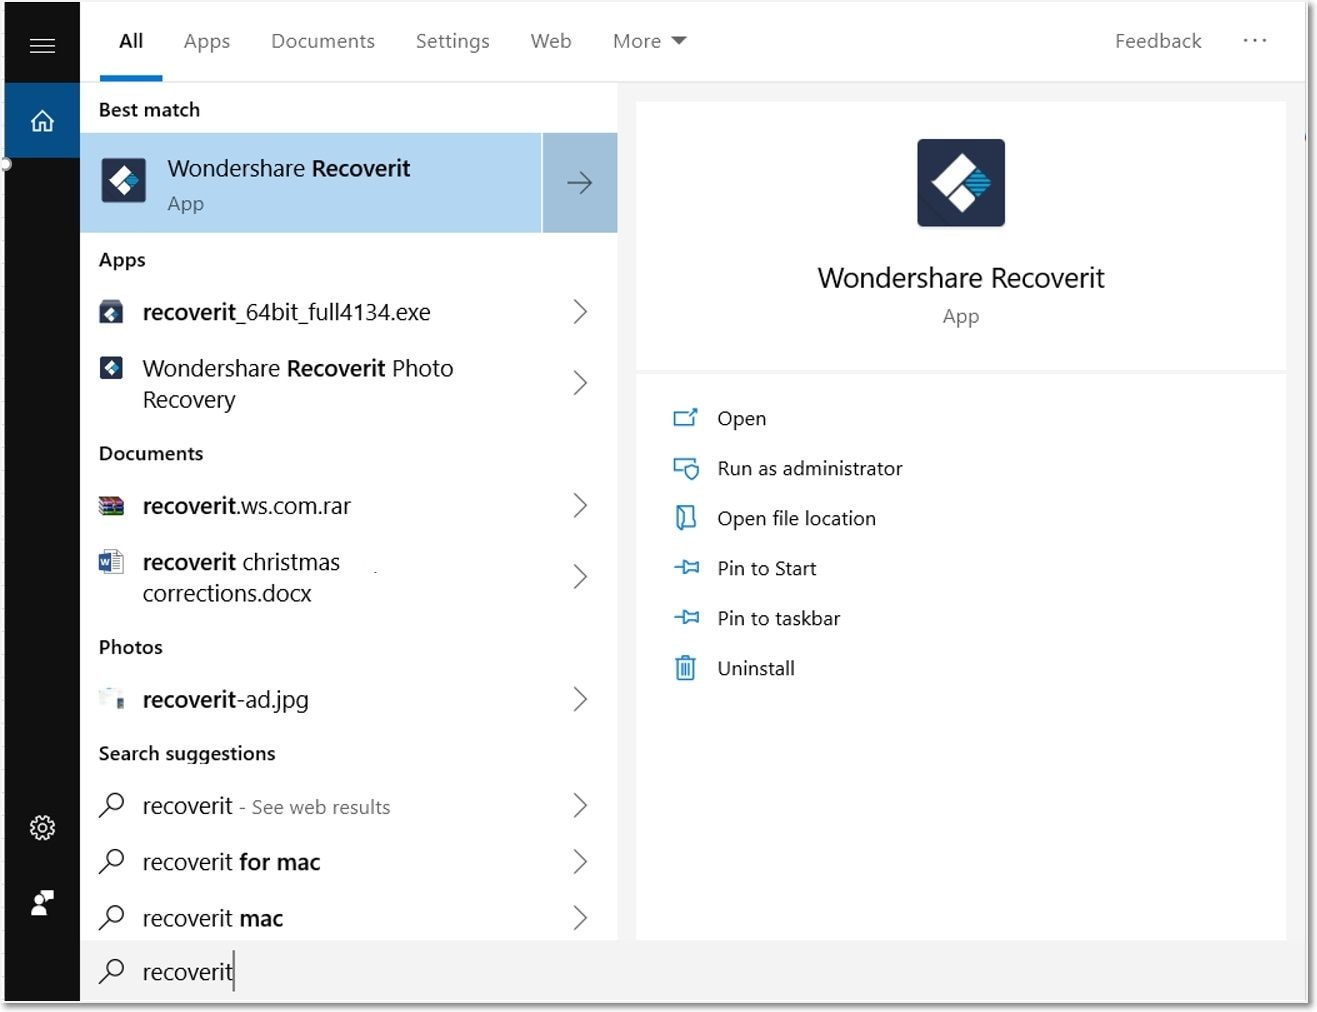
Step 1: Start the process with downloading and then installing the software on your device. In this case, you would be downloading and installing the software on the device acting as an administrator.
Step 2: Launch the software on your device. You can also search for the software in the search bar if it is not present on the desktop.
Step 3: Now in the main interface of the software, you have to select a particular location from where you lost data. Select the option of external drive for pinpointing the NAS in options. Click start to continue.

Step 4: The software will undergo the process of scanning. In an all-round scan mode, the software will recover all the files lost from the device. Once the scanning is complete, all the files would be previewed on the screen.

Step 5: Preview all the files one by one and select the ones that you want to recover. Recoverit data recovery supports to preview all types of files, such as images, videos, audios, Outlook emails, documents, and many more. Click recovery to continue.


On completion of the recovery process, you have to select a location for saving the recovered data. Avoid saving it on the location, from where was previously lost.
Video tutorial: NAS Data Recovery
Part 3: How to Backup Your NAS Devices?
Another backup and disaster recovery solution is third-party backup software that helps to recover all a\the lost data. AOMEI backupper standard is a high-end backup software that would create a backup for your data i.e. system image or disk image in no time.
Here is the stepwise procedure for using the software for backup and disaster recovery.
Step 1: From initiating the backup and disaster recovery process, first download and then install the software on your device.
Step 2: Launch the software and in the main menu, select the option of backup followed by selecting the file backup.
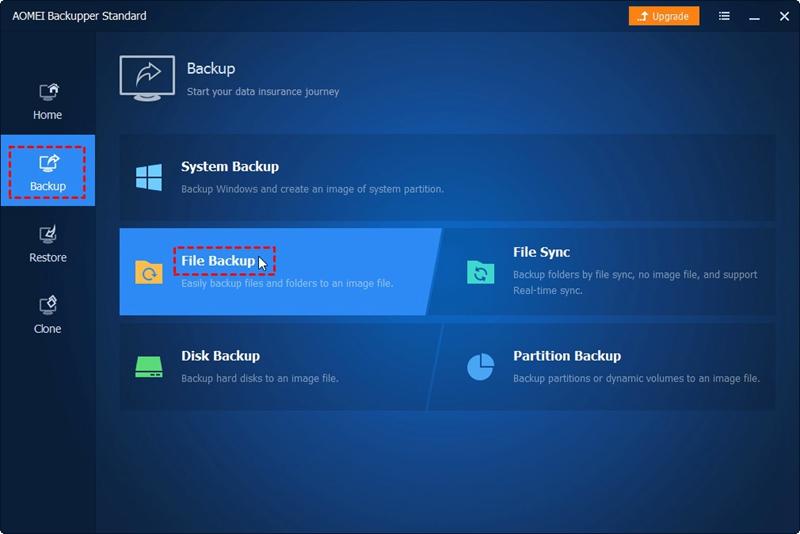
Step 3: In the menu of file backup, select the particular file or you can add the folder.
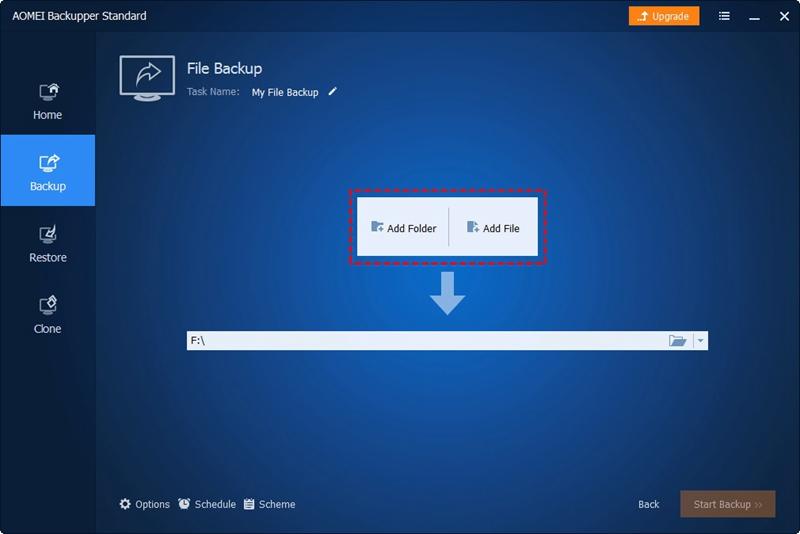
Step 4: In the pop-up window, select share/NAS followed by selecting add network location. Type the IP address in the box and click ok to continue.
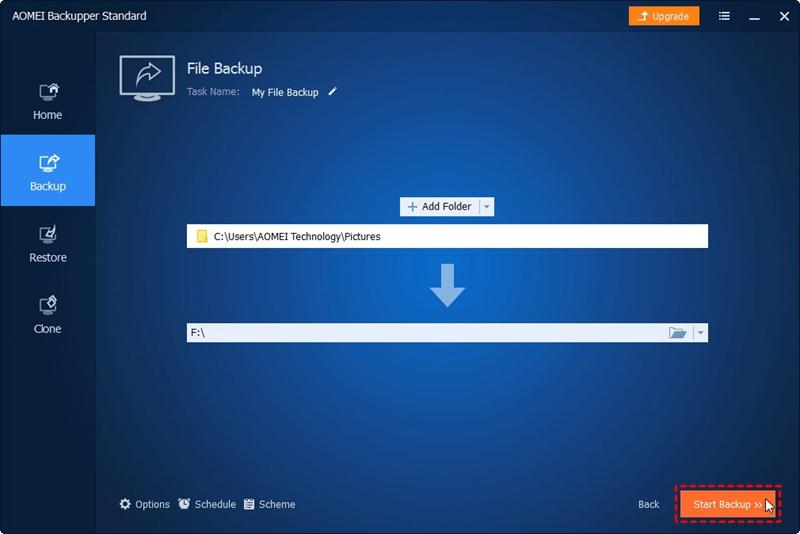
Step 5: Now select the destination path i.e. the drive for saving the backed up/retrieved data. Click start backup o continue.
Once the process is complete, the NAS data is backed up and saved to avoid the data loss. For creating regular backups for your NAS storage, you can sue the scheduled backup option of the software.
Part 4: Simple Tips to Prevent Data Disaster
Apart from all the handy third-party software solutions for managed backup and disaster recovery, here mentioned are some of the useful tips to prevent the data disaster crisis.
- When you use public Wi-Fi, everything is public knowledge. This could make your data prone to virus or malware attacks that lead to system crashes and ultimately the data loss.
- Connection Points are found in laptops and are not safe. For storing data on shared storage space like NAS, you have to create secure connection points.
- It’s not always nice to share. Though, NAS act as a good medium to share data among multiple devices, yet any fault or failure on one device could lead to data loss easily.
- Storing data does not always mean it is safely stored. You need to create particular security checks along with regular backups to avoid any potential data loss.
Hence, using NAS (network-attached storage) for storing data on a shared point is not a secure way. As you are using the LAN via Ethernet connection to access data via multiple devices, any virus or malware attack or any other physical disaster can lead to permanent data loss. To avoid this situation, you need backup and disaster recovery services. This article explained all the viable reasons for creating a backup for NAS. Two of the third-party backup and recovery software solutions are discussed in the article. Number one is the Recoverit data recovery for recovering all the lost data in three steps i.e. locate, scan, and recover. The second is the AOMEI backupper standard for creating a backup for NAS to avoid data loss.
Data Backup Services
- Computer Backup
- Hard Drive Backup
- Mac Backup
- Cloud Backup


Amy Dennis
staff Editor