How to Use Windows 7 Backup and Restore Feature?
Creating backups of your data is one of the best ways of ensuring its safety. It provides you the chance to get back your data if you lose it for some reason and can’t recover it back. Windows has a backup feature included in it which enables you to create backups of your data on a regular basis and then use it for restoring the data back if you end up losing the data on your PC. This backup and restore feature is quite simple to use and is very effective in getting back the latest versions of your lost files.
Windows 7 Backup and Restore Feature
Although every version of Windows has the backup and restore feature included in it, it hasn’t been very effective. The Windows 7 backup and restore utility is the exception, though. It provides greater control to you over what gets backed up and the process for setting the backup is very simple as well. You can choose to create the backup on an external drive or a network location. Moreover, restoring the backup isn’t too difficult when using Windows 7 backup and restore utility. You can easily accomplish this task by following the prompts that are provided to you and get back the files that you have lost.
How to Set up the Backup and Restore?
If you haven’t used the Windows 7 backup and restore feature, you will have to set it up first. You will have to follow these steps in order to complete this task.
Step 1: Choose the local drive that you want to back up and right-click on it. Select the Properties option and then click the button labeled "Back up Now" available under the Tools tab.

Step 2: Tress the link labeled "Set up backup" in the window that appears.

Step 3: Choose a drive or network location where the backup is to be stored. Windows will recommend a drive for you but you can make this decision on your own. Do keep in mind that you will need a password for storing the backup to a network location.

Step 4: After deciding the backup storage location, the next step is to choose which files and directories need to be backed up. You can either let Windows decide this for you or make the choice yourself.

Step 5: Choose the folder and files that are to be backed up. Make sure that you check the box labeled "Include a system image of local drive".

Step 6: Before moving forward, review the settings and make sure that everything is right and all the items you need to be backed up are included in your backup.

Step 7: Another decision you need to make for setting up the Windows 7 backup and restore feature is with regards to the times and days when the backup is to take place.

Step 8: Now, save the settings and start the backup and continue to monitor its progress.

Step 9: To see what is going on and which files are being backed up, press the button labeled View Details.

Step 10: It will take a few minutes for the backup to complete after which you will be able to see one image folder and two backup files.

Step 11: For file restoration or management of the backup size, all you need to do is to double-click on your backup file.

How to Restore Windows 7 Files from Backup?
The following steps will help you to restore files that you backed up using the utility for backup and restore Windows 7.
Step 1: To restore any file from backup, click the Restore my files button in the window labeled Backup and Restore.

Step 2: Search or browse for the latest version of the backup for the file that you want to get restored.

Step 3: After selecting the file, you will need to decide whether you want the file restored to its original location or to a different location of your choice.

Step 4: It might take some time for you to restore the file depending on its size and the location from where it is being restored.

How to Manage Windows Backup Size?
When using this utility to back up and restore Windows, you can free up some space taken by the backups by managing its size. The following steps can help you in accomplishing this task.
Step 1: Go to the Backup and Restore window and click the link labeled "Manage space".

Step 2: Windows will provide you the details of the location where the backup is saved and give you insights about the space taken up by the backup.

Step 3: To check out the various backups that have been created, click on the button labeled View backups. In the list that appears, select the oldest one and delete it to free up some space on your drive.

Step 4: The older system images can be deleted as well for freeing up space too. You have to decide whether you let Windows take this responsibility itself or only keep the latest version of the system image and delete the rest.

Backup & Restore with Wondershare UBackit
Considering the advantages that it offers, creating a backup of data using the Windows 7 backup and restore utility is perhaps the most important task that computer users need to undertake.
However, most users don’t pay much attention to it and end up losing all their precious data if a virus infects their computer and corrupts all of their files. Therefore, you might need a data backup and system restore software program to create automatic backups of Windows 7 computers in case of file corruption and data loss. Wondershare UBackit may be a nice option for you to do both backup and restoration jobs. And here are some of its features provided for you to have a good understanding of it.
- backup files, photos, videos, audios, and programs in three simple steps.
- Set automatic backup to free up backup worries.
- Smart backup management and customized filter and search.
Here are the steps to backup and restore on Windows 7
Step 1 Launch Wondershare UBackit

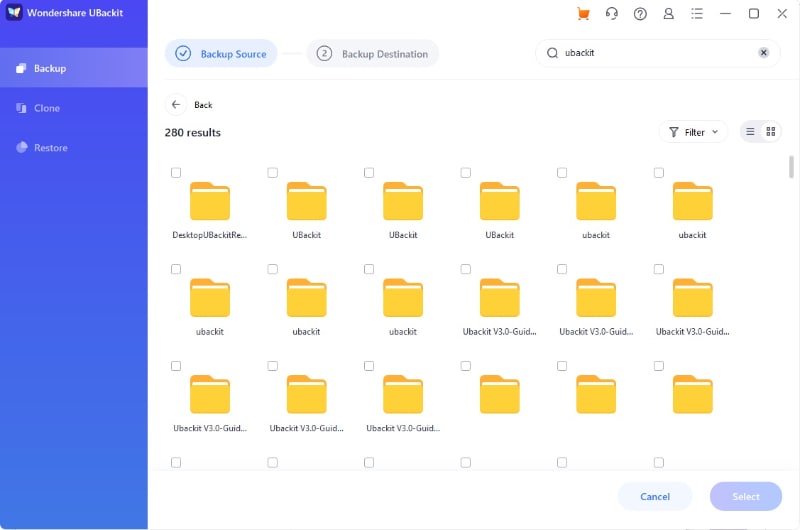
Step 2 Select Files/Folders from Hard Drive
Step 3 Choose Backup Destination

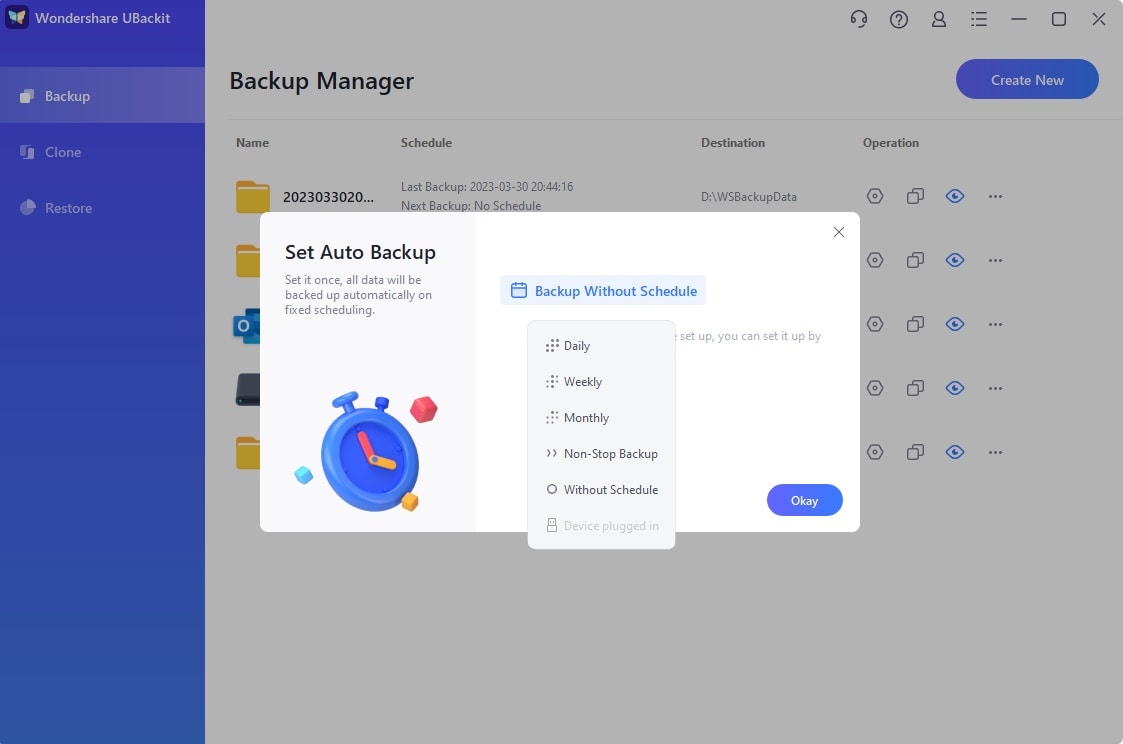
Step 4 Set Automatic Backup
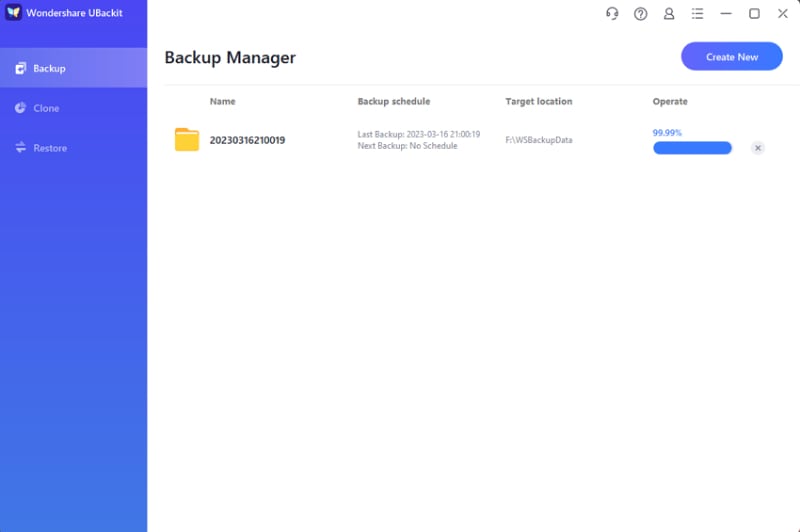
Step 5 Evoke The Backup Process
Restore Files on Windows
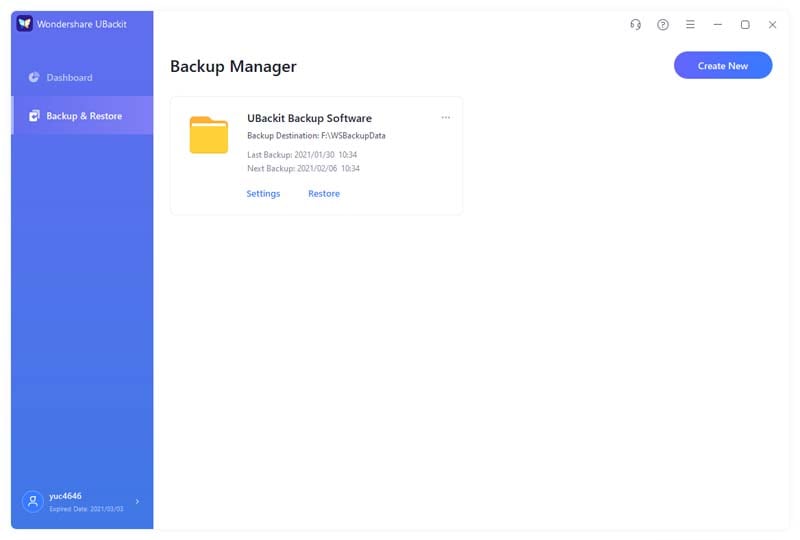
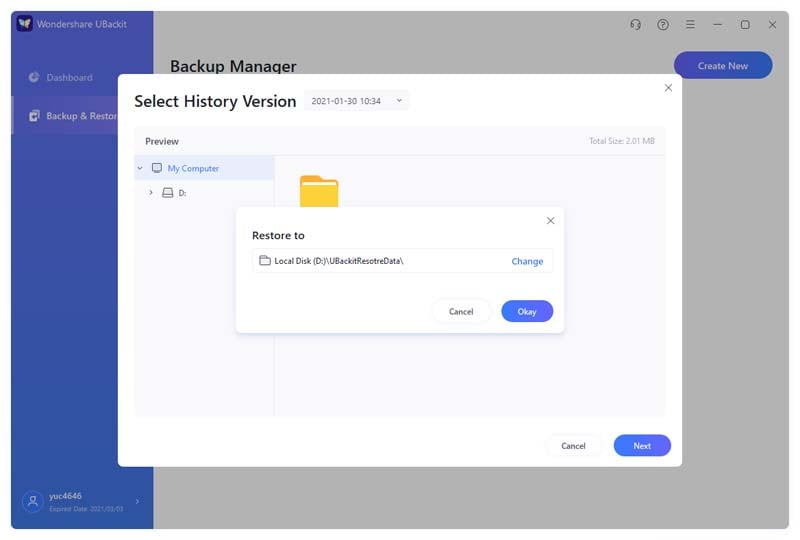
Step 1 Choose the Restore Option
Firstly, go to the “Backup & Restore” feature to view the saved sticky note backups. From the list of the available backups here, just select any preferred option and click on the “Restore” button.
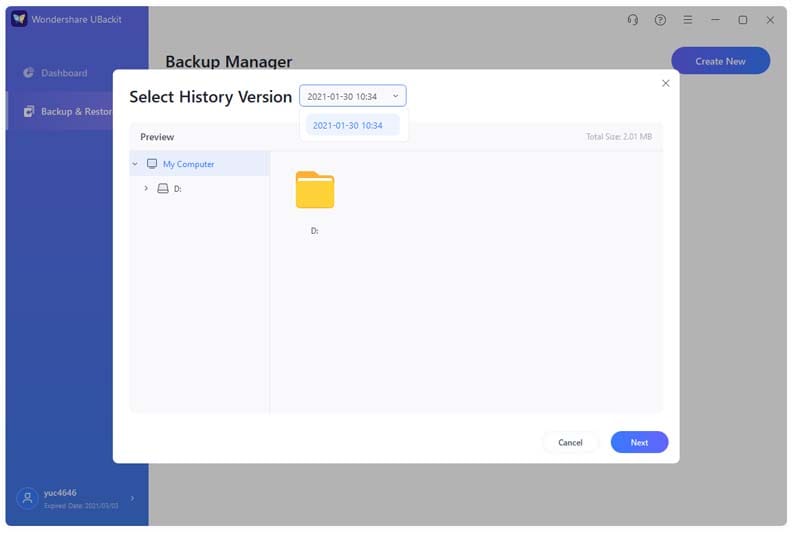
Step 2 Select any History Version
Now, UBackit would automatically load the content of the selected backup on its interface. You can go to the History Version option from the top and select any version from the saved sticky notes from Windows 10.
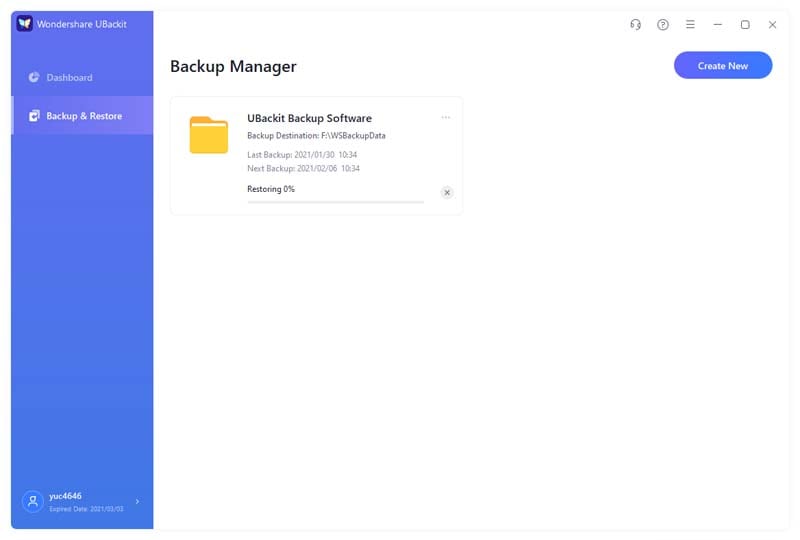
Step 3 Start the Restoring Process
You can now wait for a while as the application would start extracting the saved data from the backup. If you want, you can check the progress of the restoring process on UBackit as well.
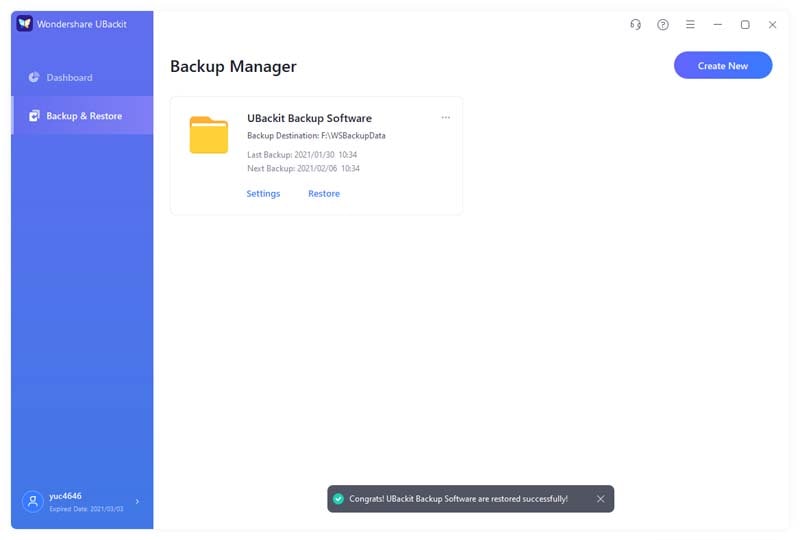
Step 4 Complete the Restoring Process
That’s it! Once the restoring process is completed, UBackit would let you know. You can now access your data by visiting the destination location easily.
Data Backup Services
- Computer Backup
- Hard Drive Backup
- Mac Backup
- Cloud Backup


Amy Dennis
staff Editor