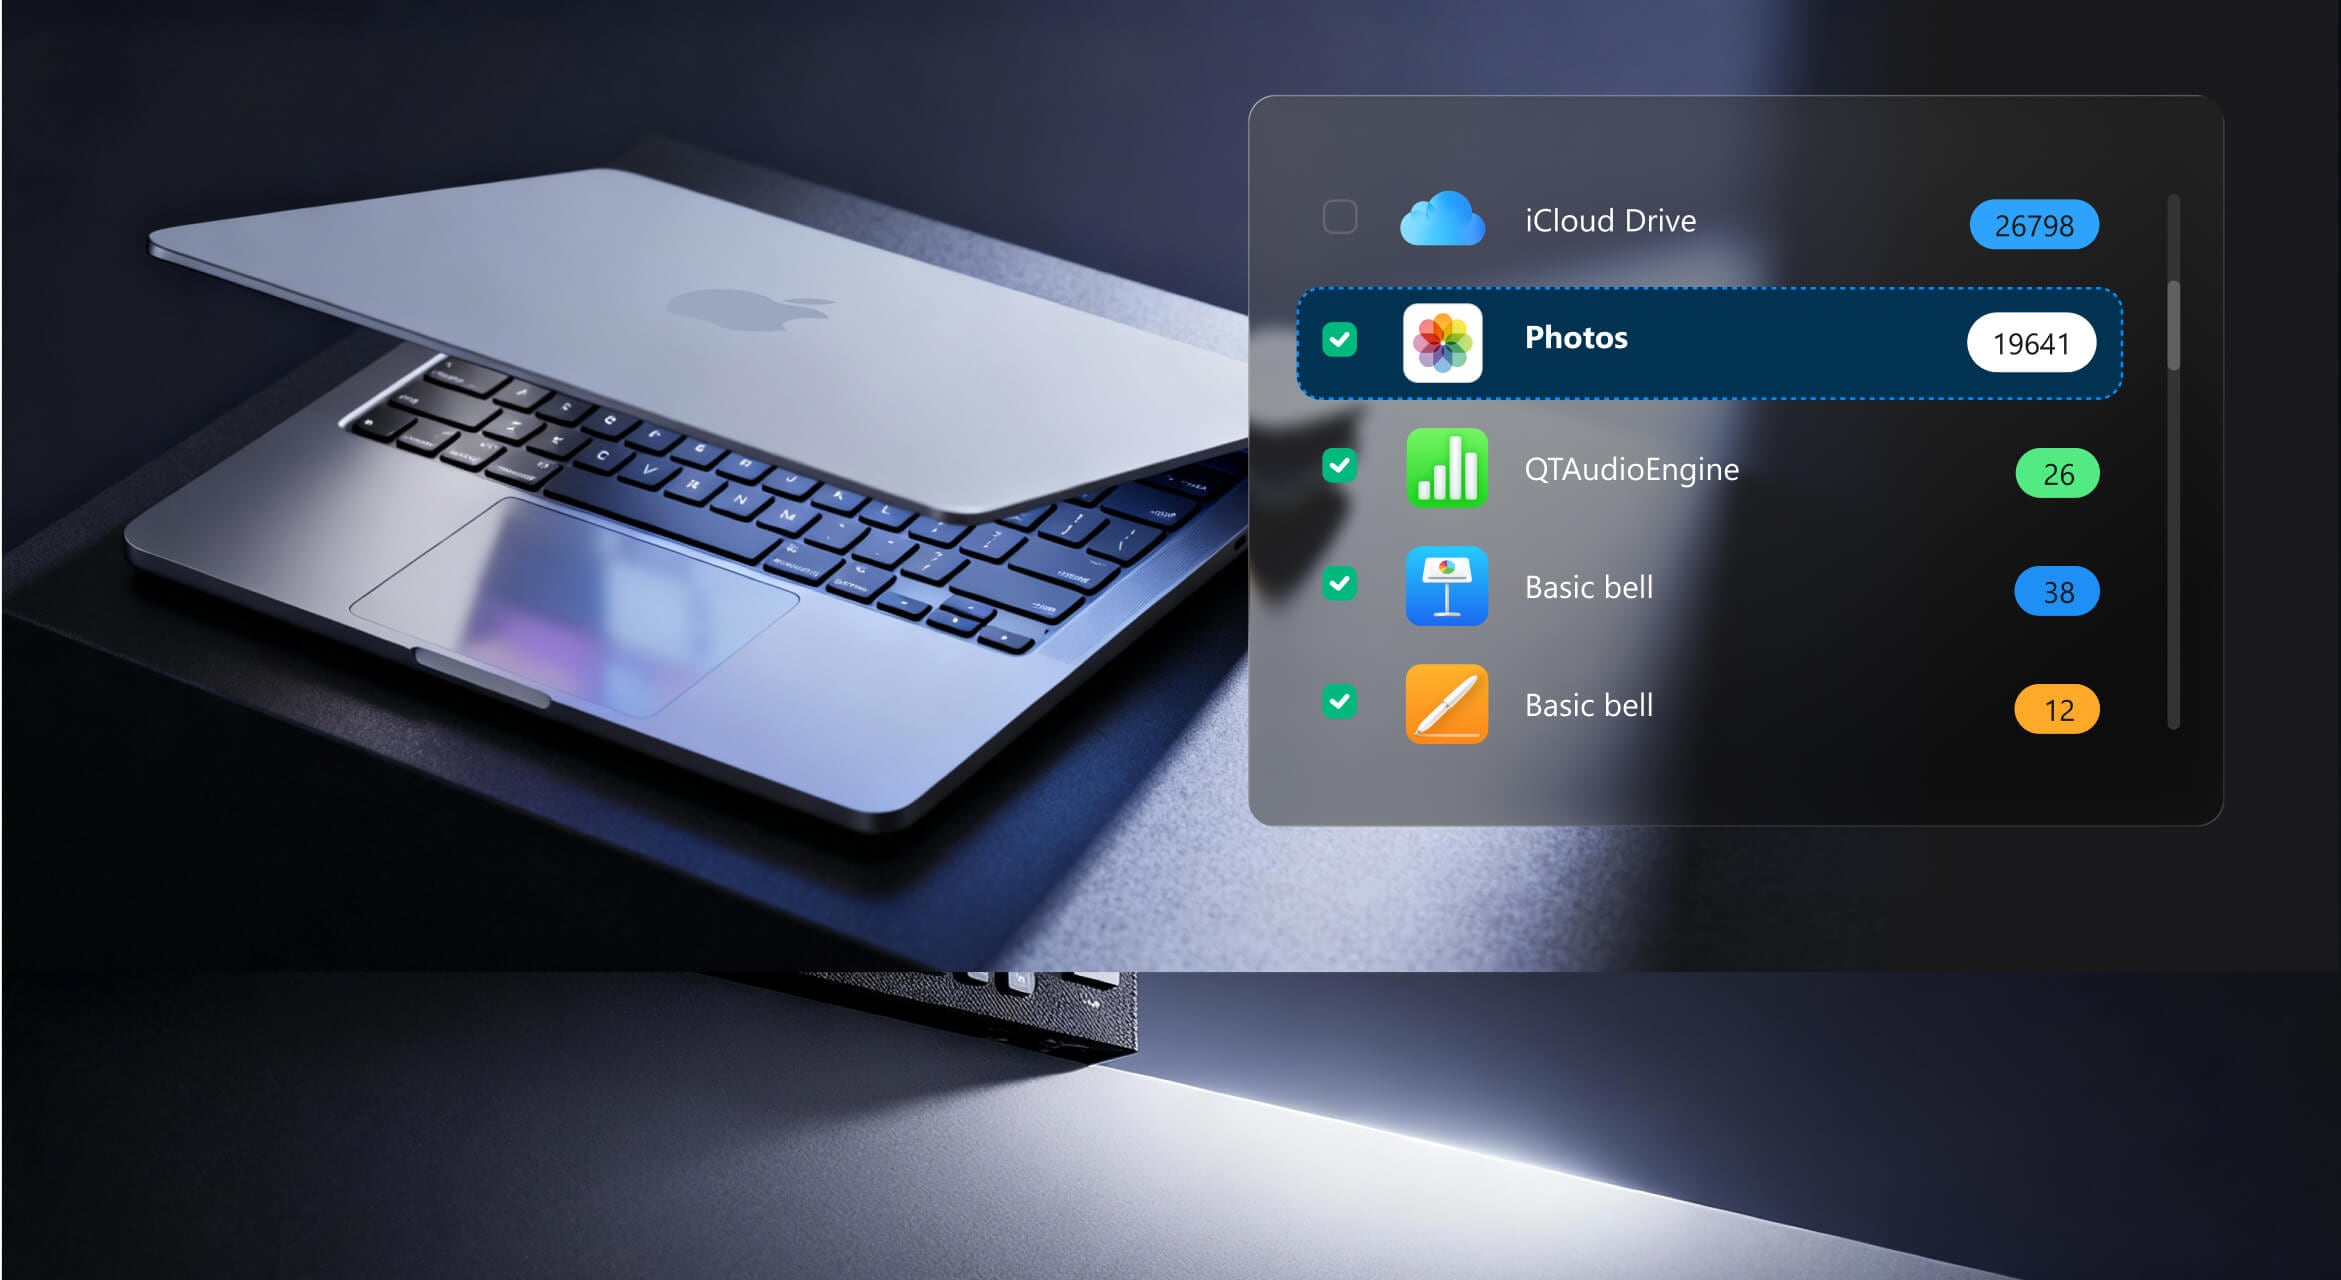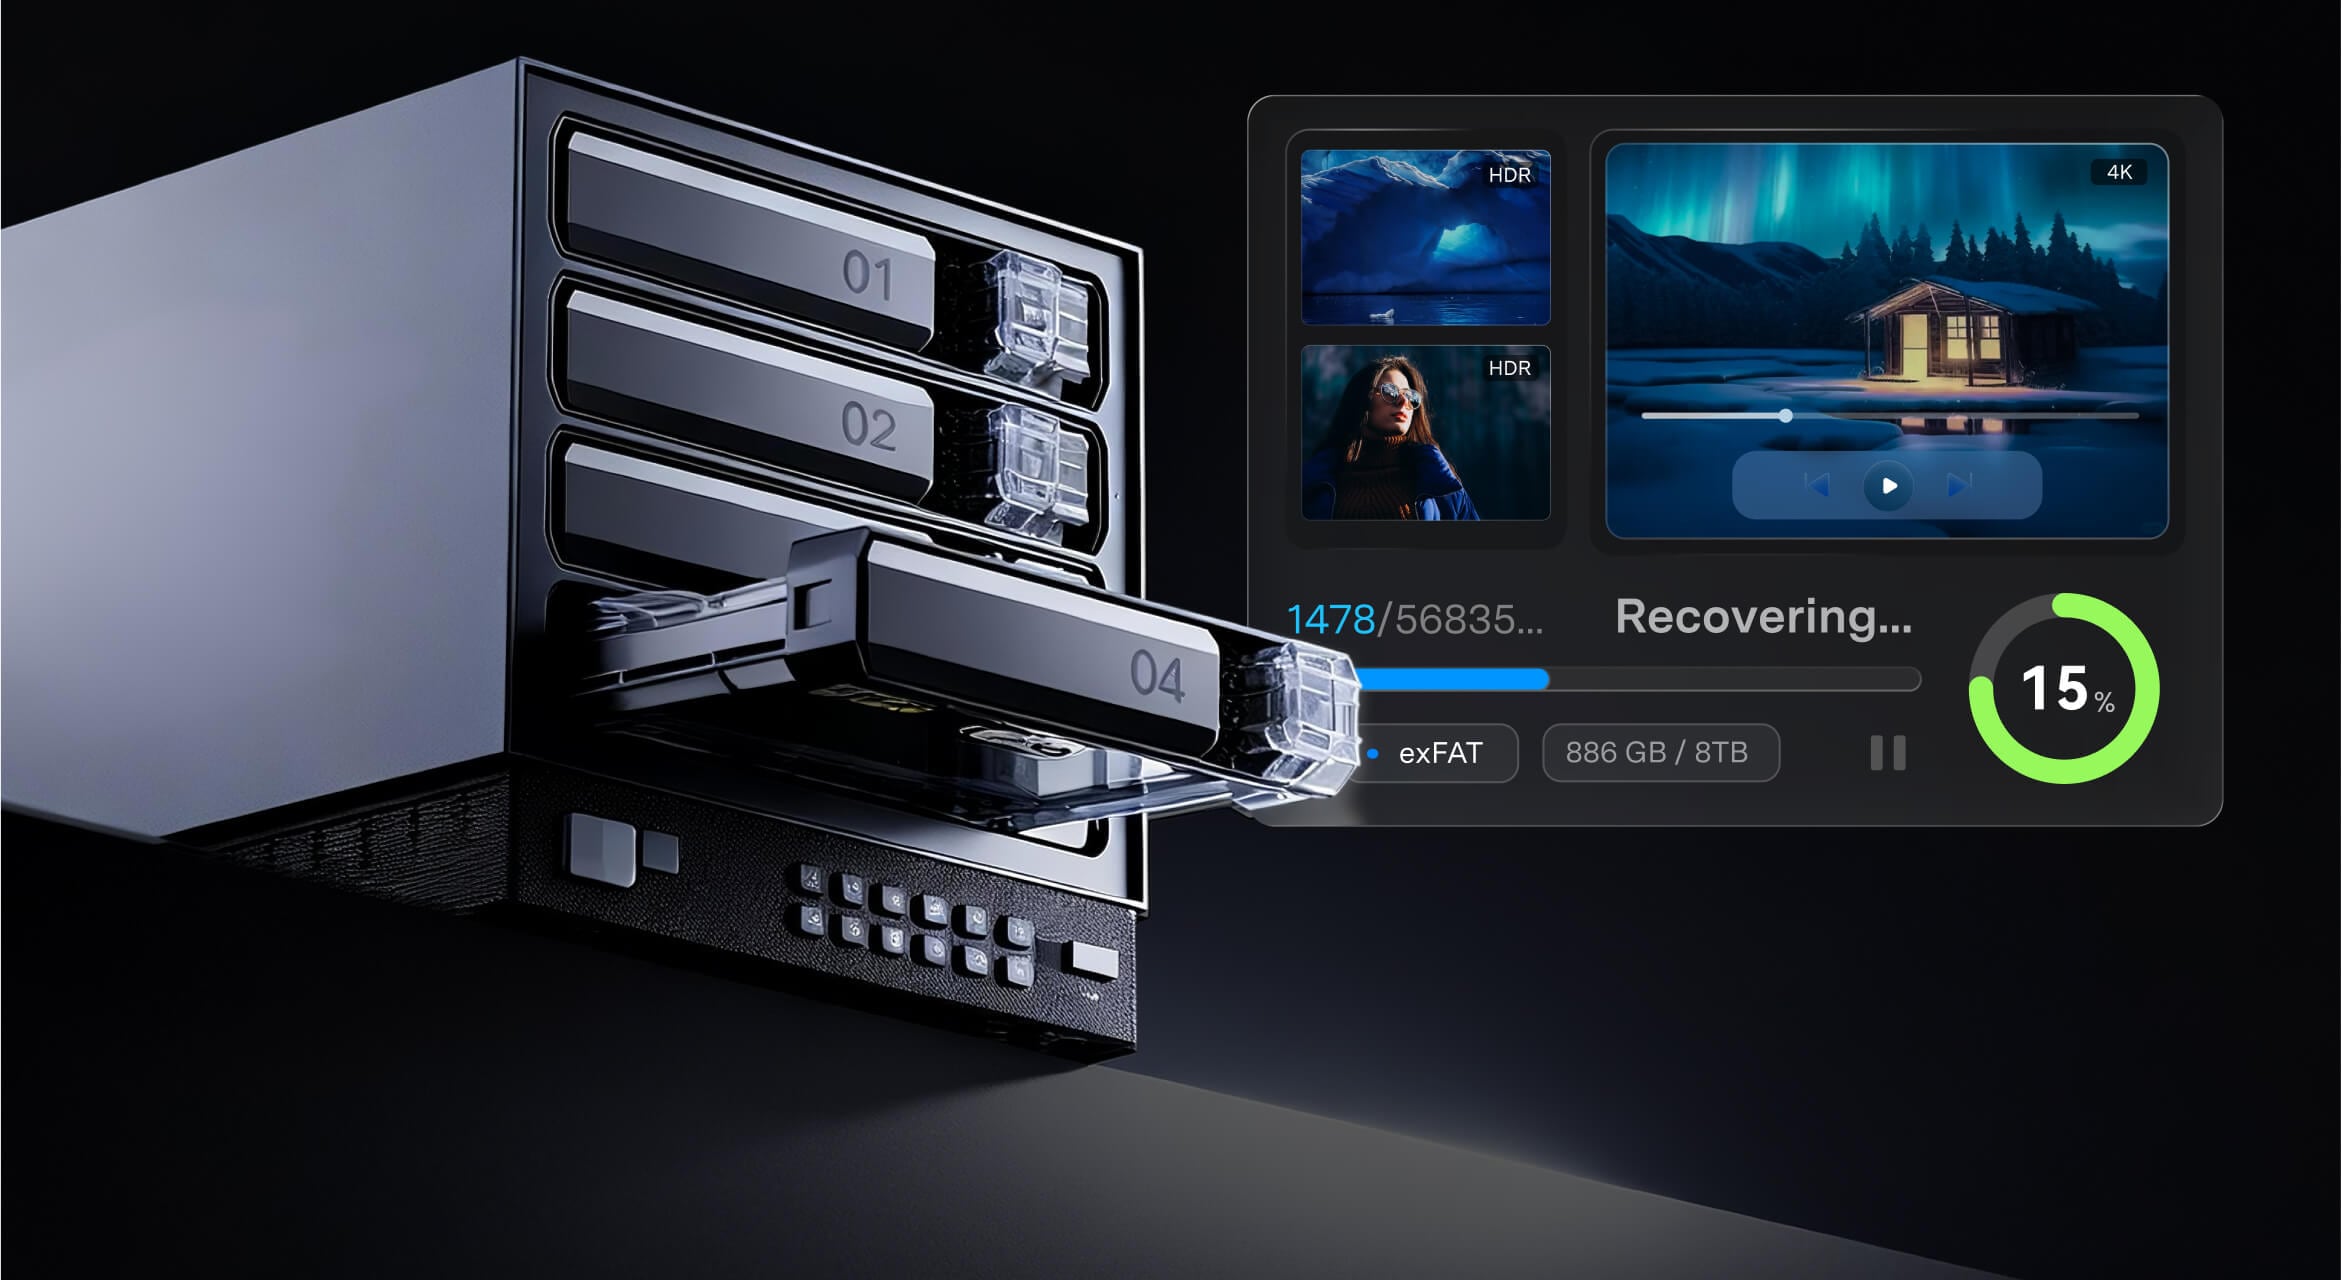



AII-in-One Mac Data Recovery
Whatever the cause of your lost data, Recoverit provides reliable and industry-leading recovery for your Mac.
macOS 26 Ready! Best Recovery Software for Mac
Recoverit V14 an invaluable do-it-yourself data recovery OS X tool. the industry's first data recovery software to support
macOS 26, offering
advanced recovery solutions for the latest macOS version. Also supported Intel, Apple T2, M1, M2, M3 and M4 chips Apple drives


Mac Data Recovery With AI
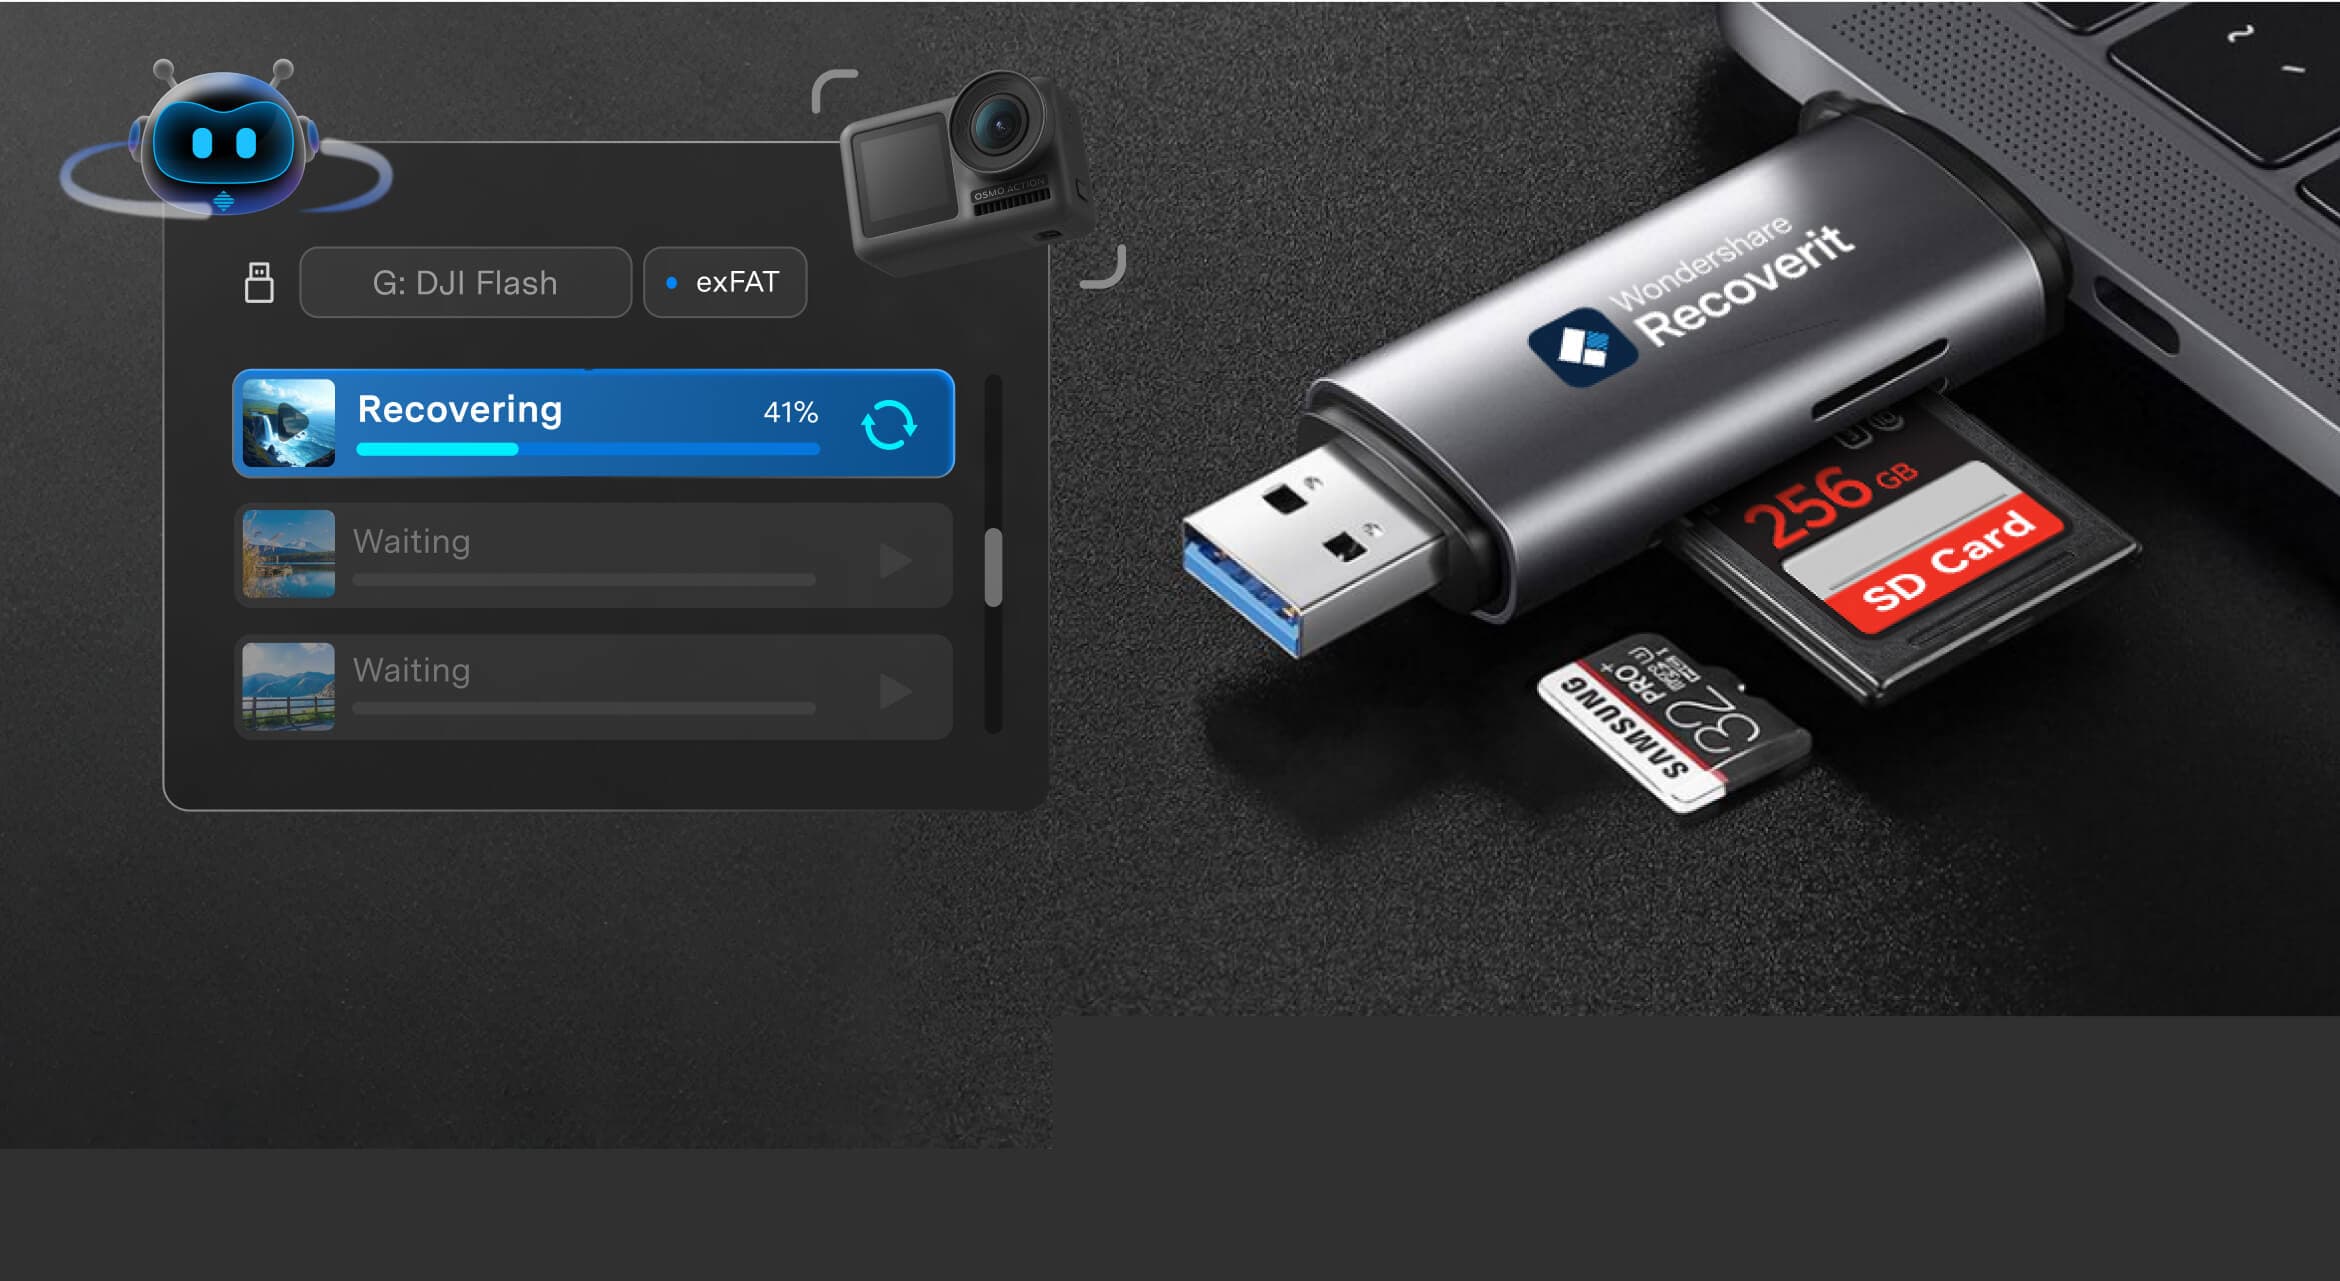
- AI Smart Device Recognition: AI auto-detects 1 million devices instantly.
- AI Custom Recovery Solutions: Experience personalized AI recovery plans tailored to your specific data loss scenario.
- AI Process Enhancement: AI auto-optimize features deliver faster AI recovery processes, reducing traditional recovery times by up to 70%.
- AI + S.M.A.R.T. Monitoring: Stay ahead of potential issues with continuous AI health check capabilities and smart disk monitor functionality.
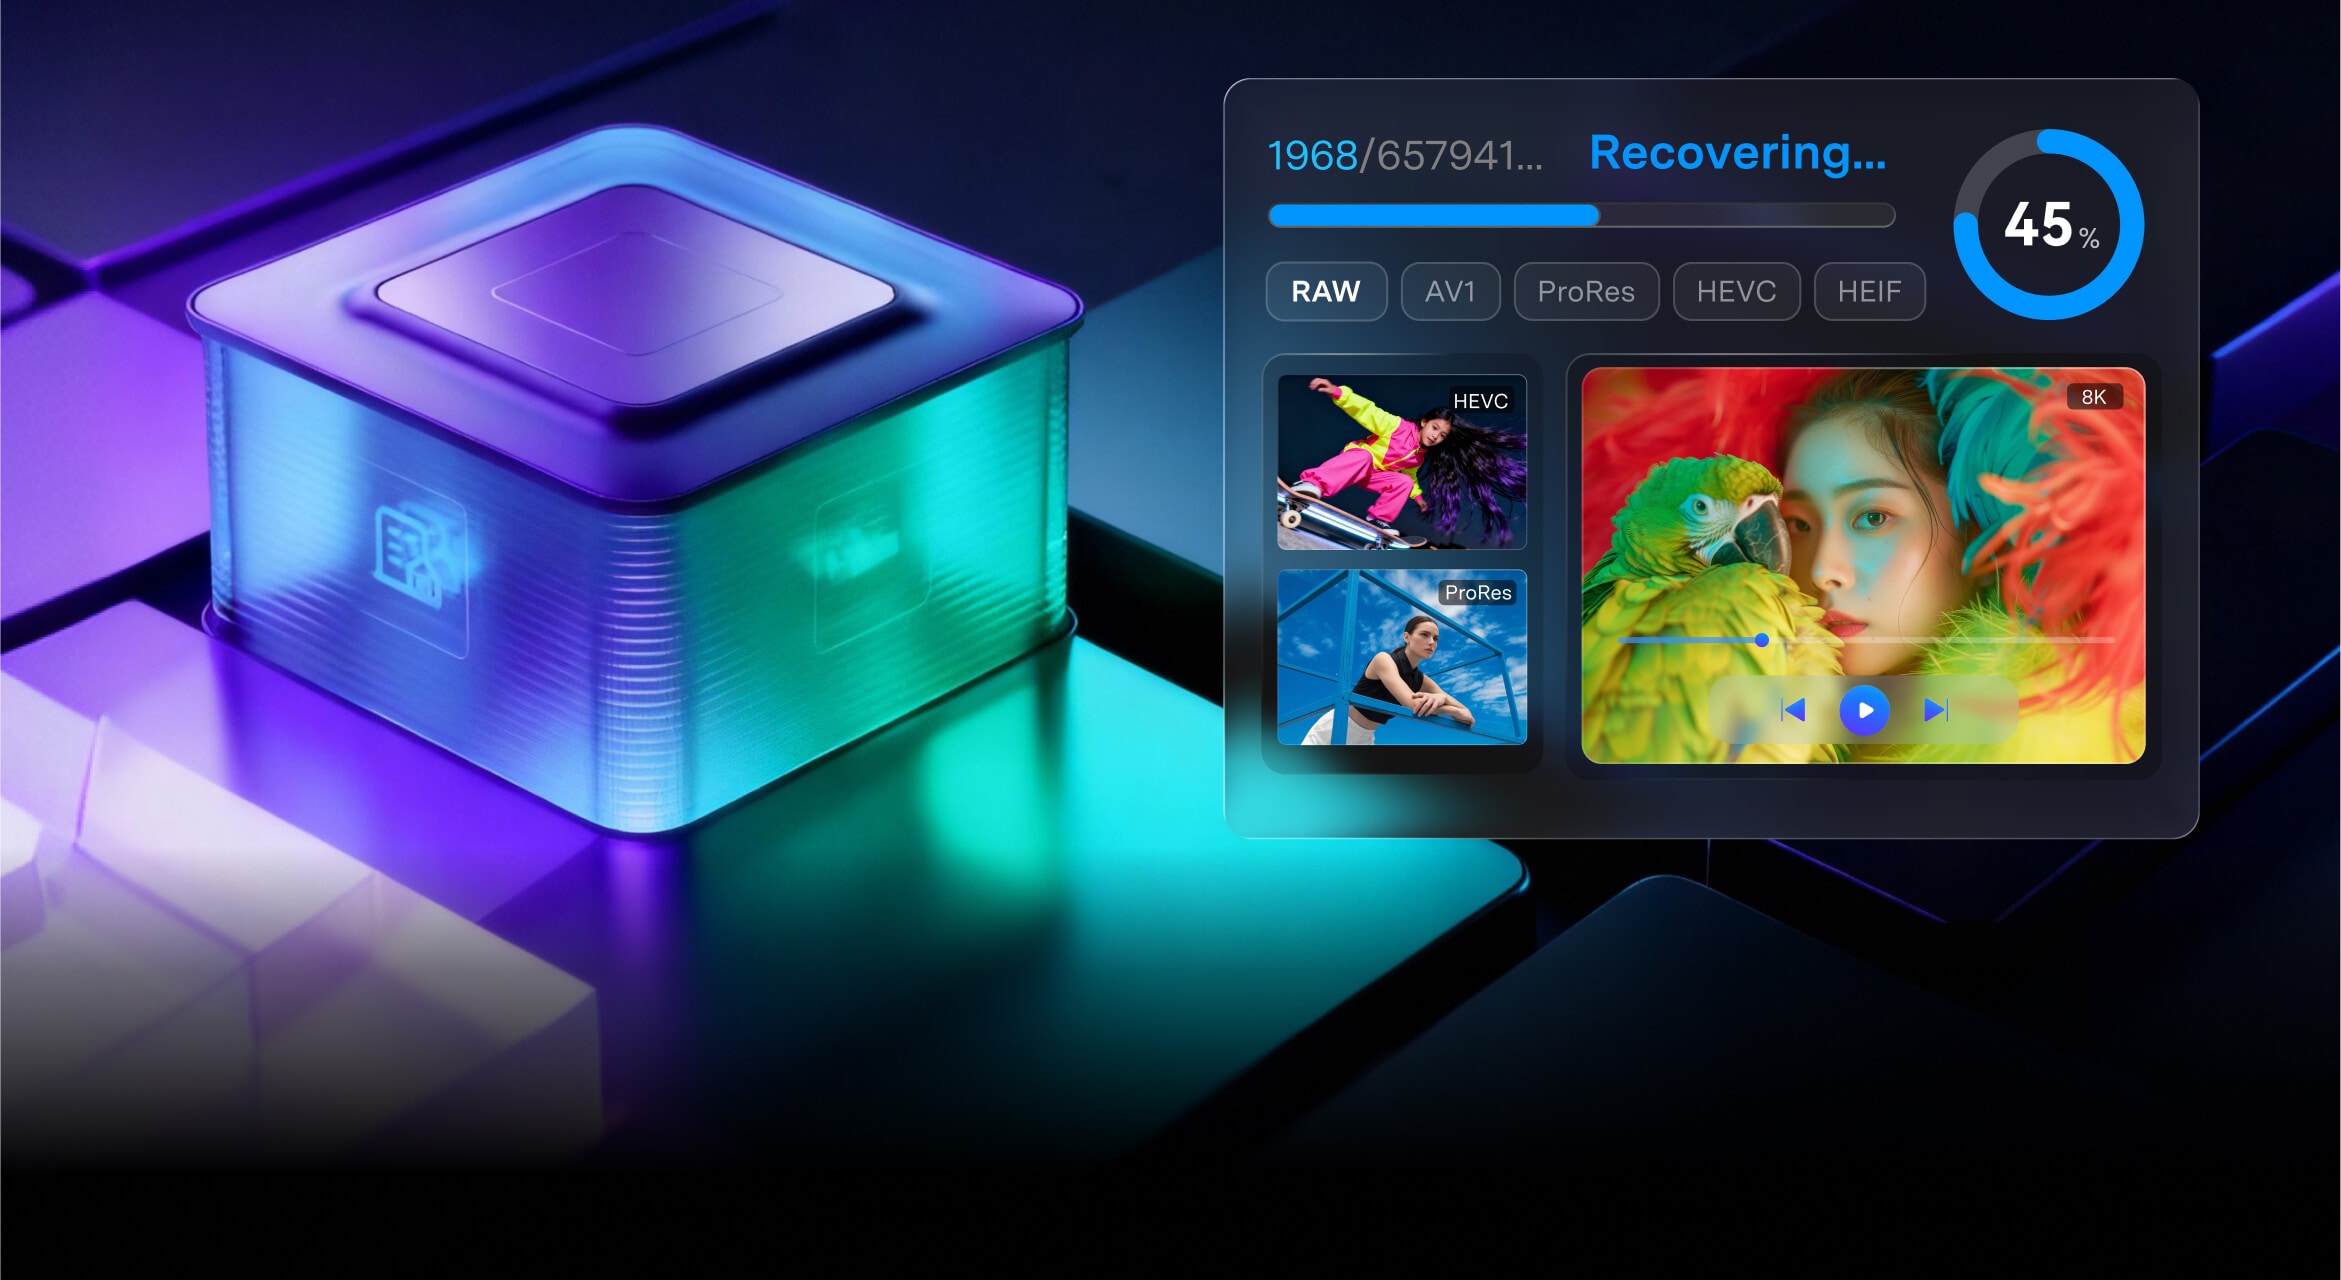
Supports 99% of Video and Image Encoding Formats


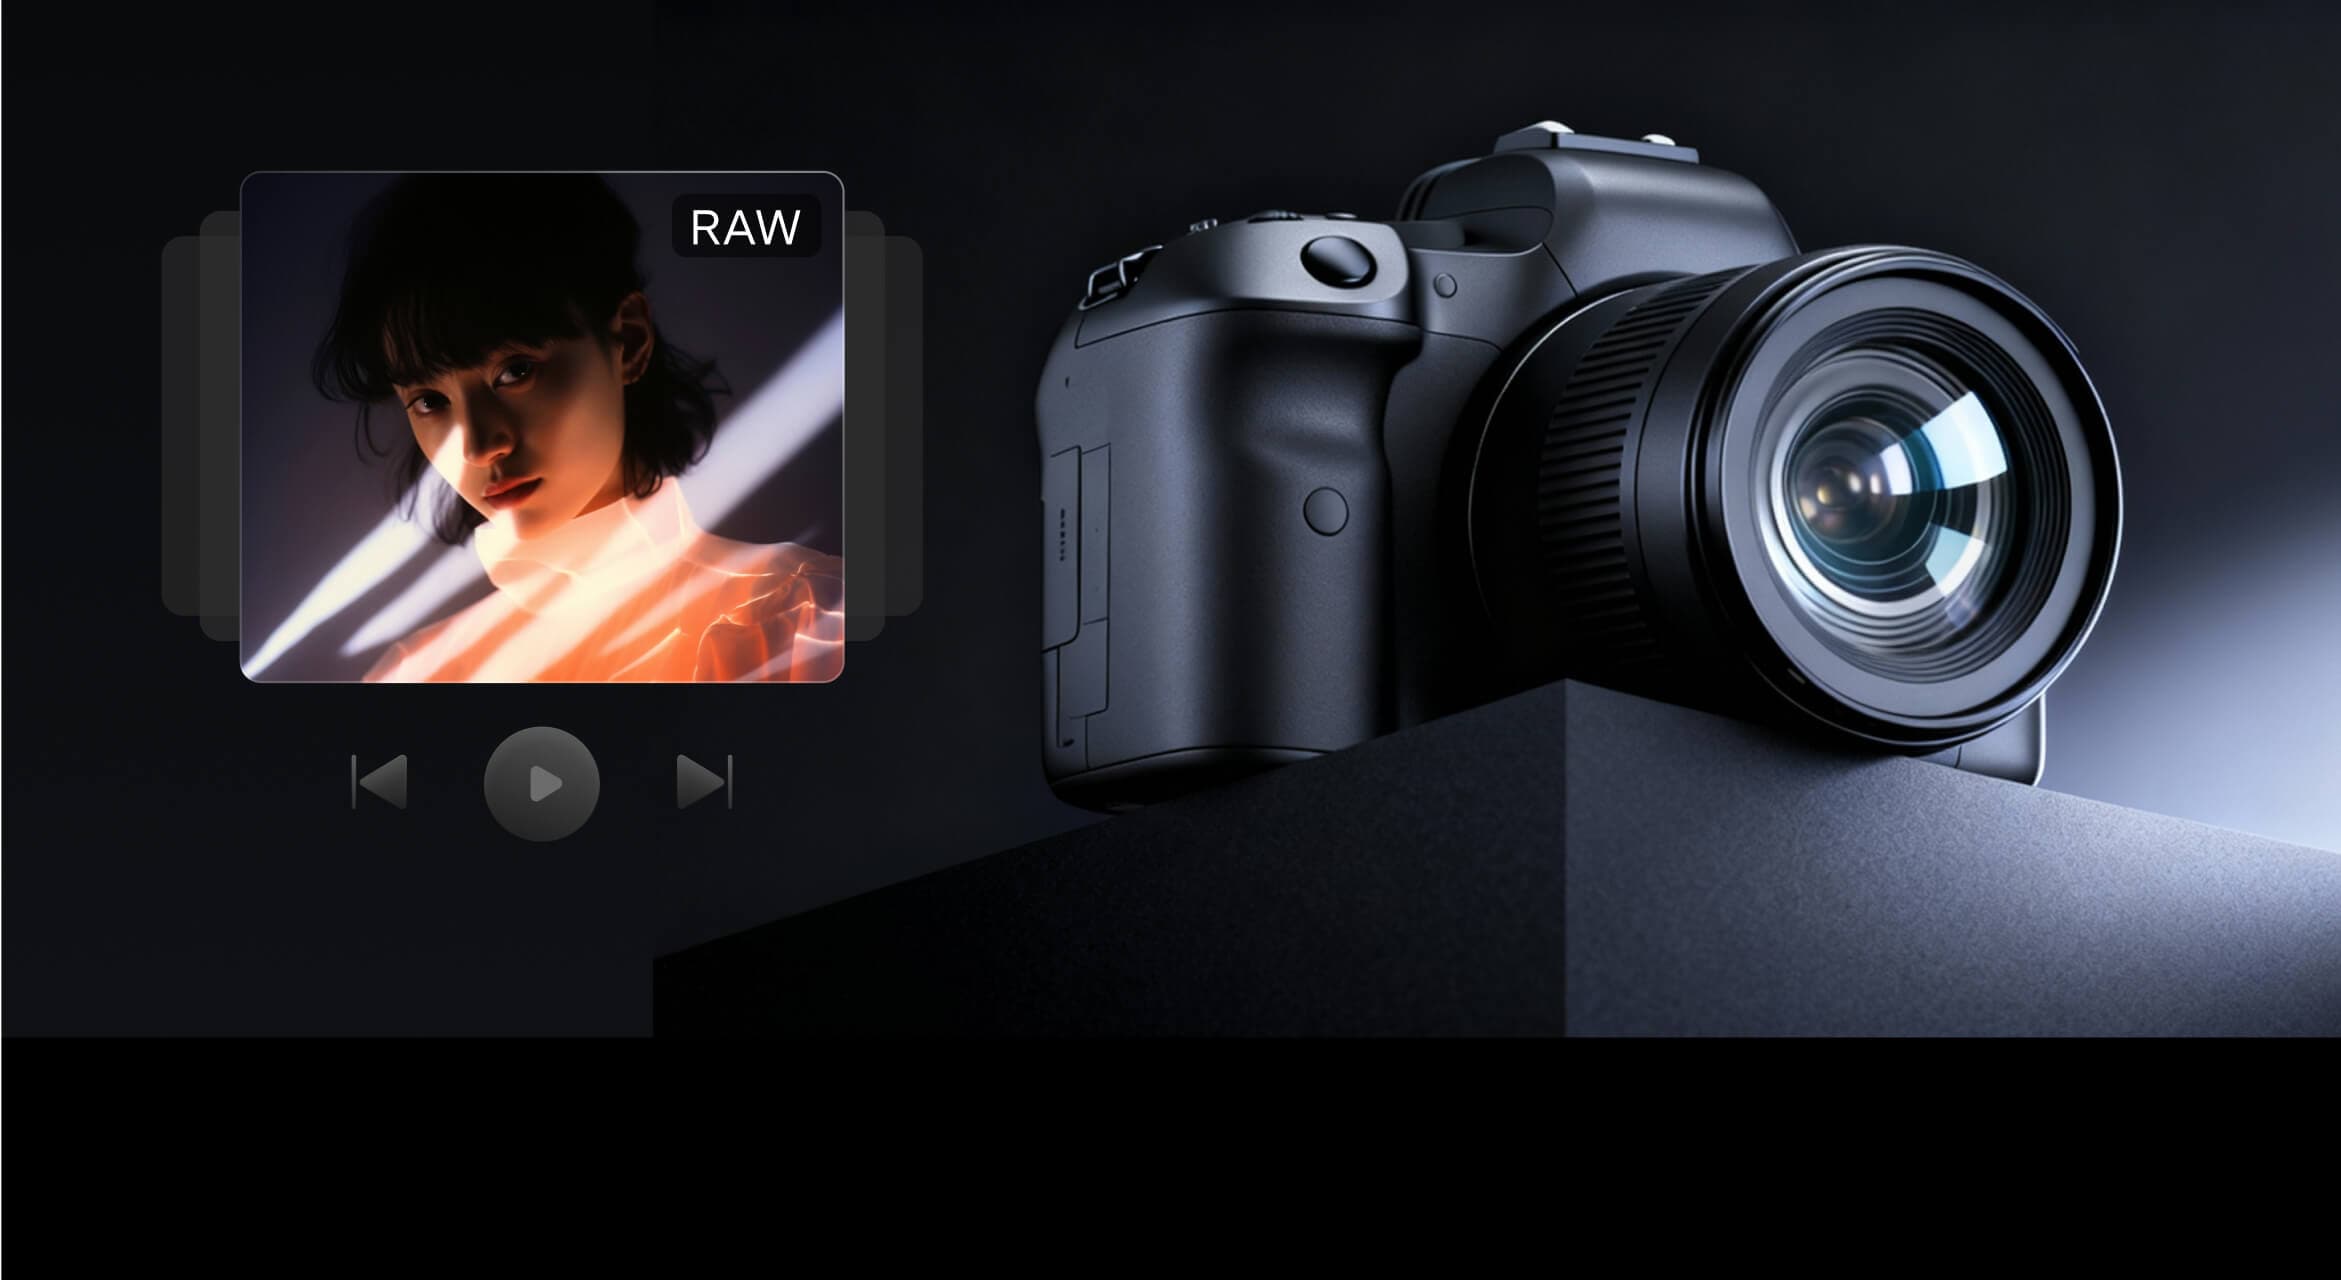
Compatible with 99% of Video/Image Software Project Files
- Exclusive support for Final Cut Pro, Logic Pro, and Premiere Pro project files.
- Data recovery with 99.5% success rate for professional creative projects.
- Covers 99% of project file formats used by leading editing software.
3 Steps to Get Back Your Lost Mac Files - Quick, Simple, and Secure
Recoverit is dedicated to simpler, easier, safer, and more straightforward technology for Mac computer/laptop data recovery.


Technical Specifications

Computer Operating Systems
macOS 26 (Tahoe), macOS 15 (Sequoia), macOS 14 (Sonoma), macOS 13 (Ventura), macOS 12 (Monterey), macOS 11 (Big Sur), macOS 10.15 (Catalina)

Compatible Storage Devices
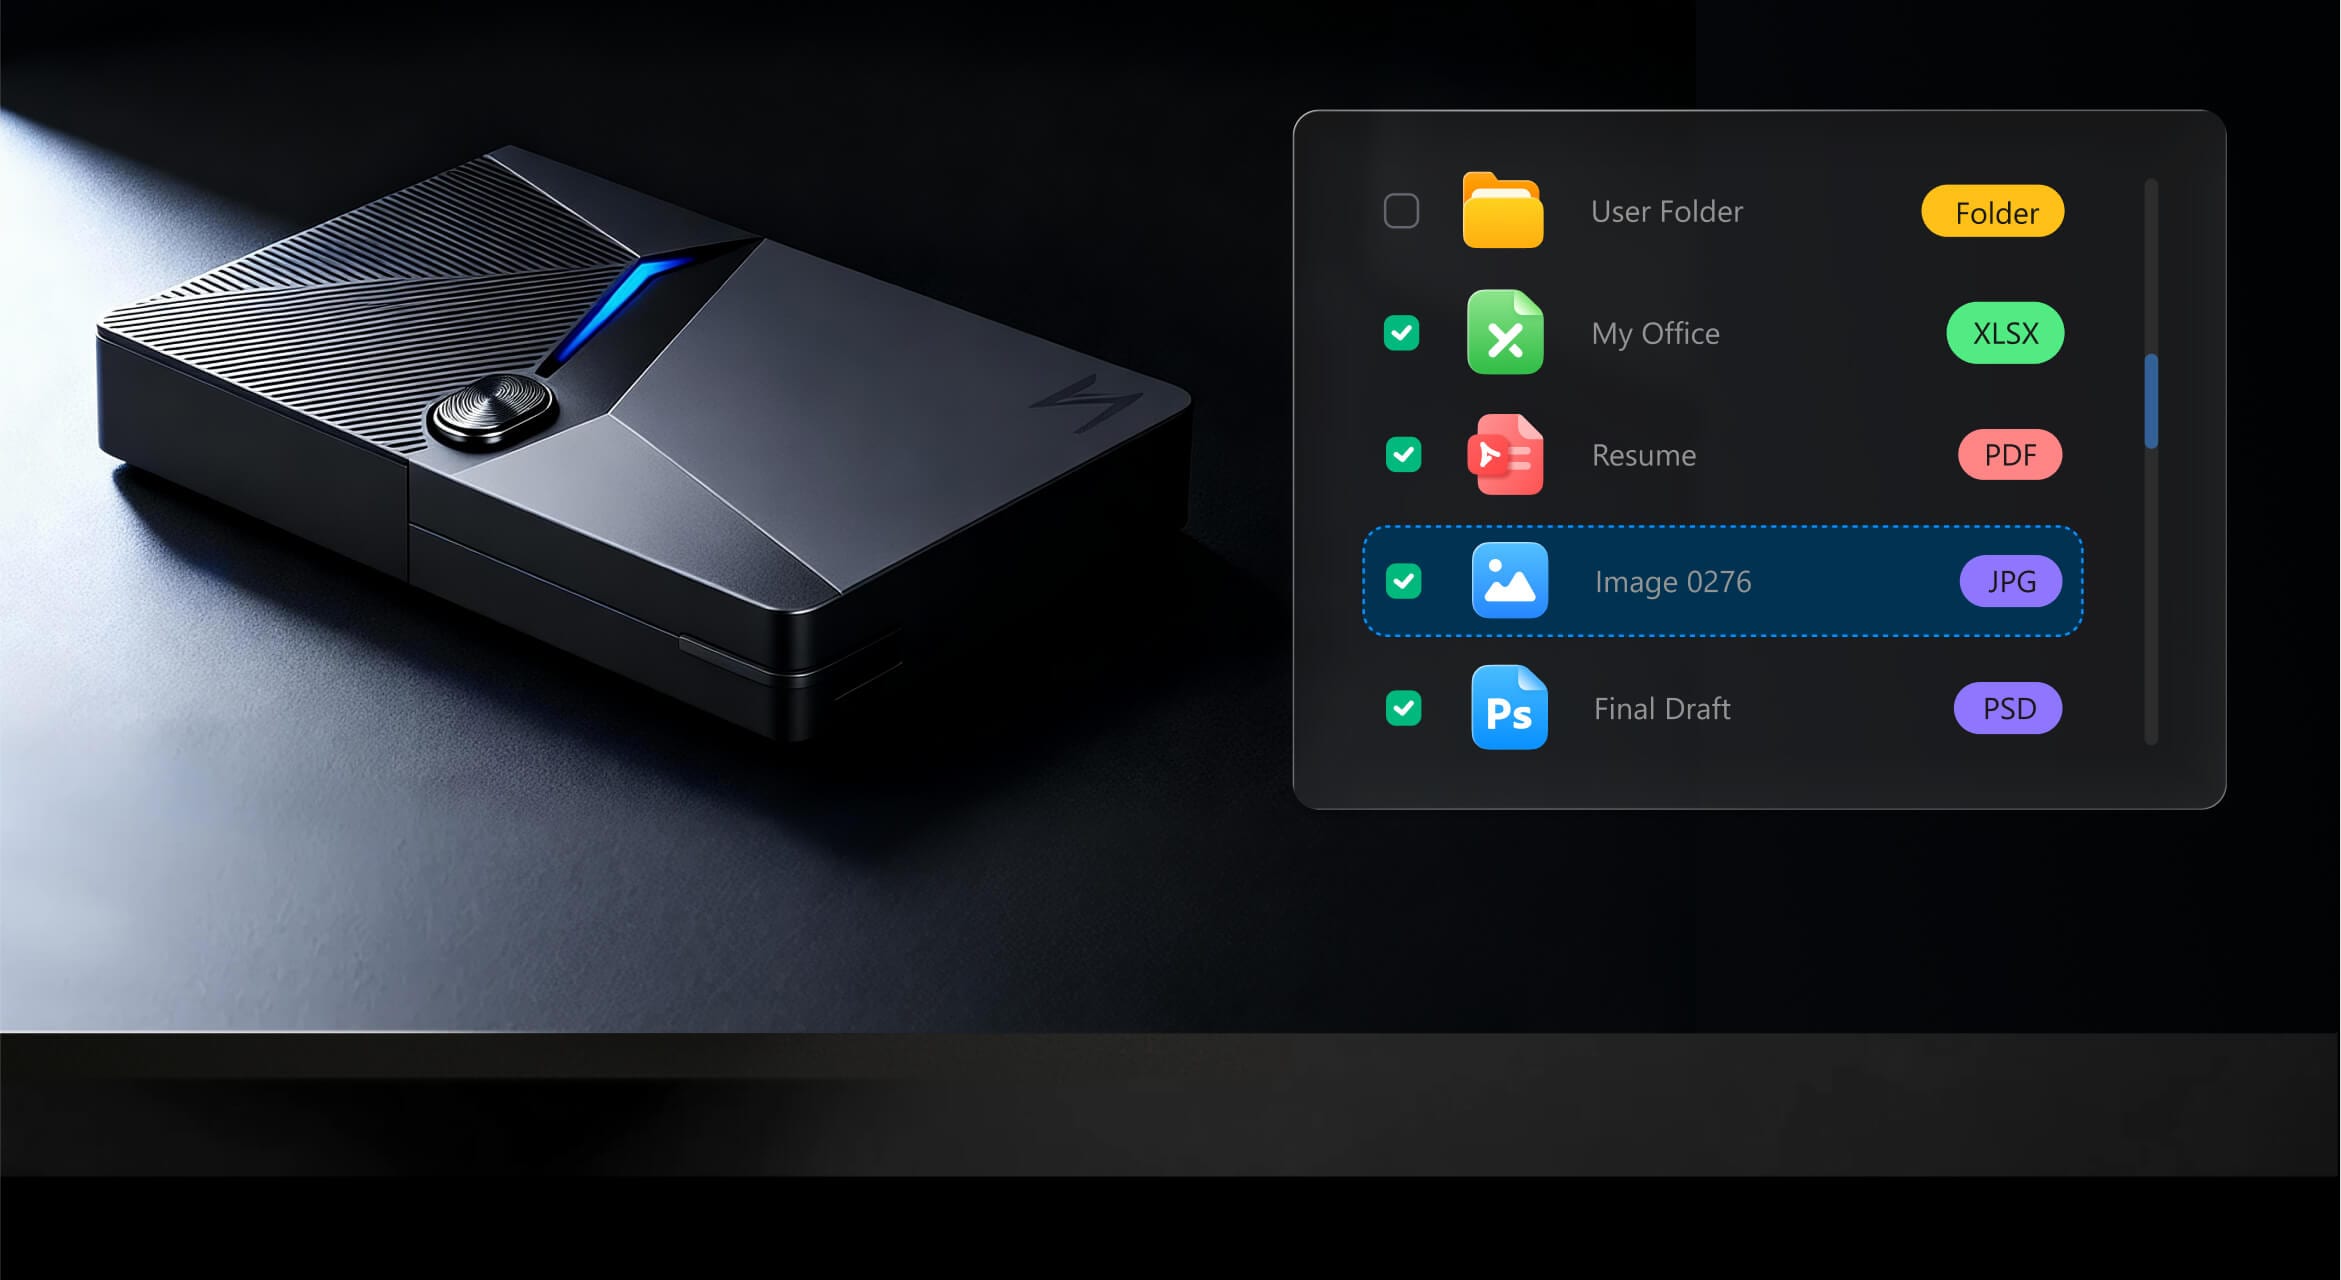
iMac, Macbook, HDD, SSD, External Hard Drive, USB Flash Drive, Memory Card, SD Card, CF Card, Camera and Other Storage Device. Mac computer Chip (M1-M4/T2)

Recoverable File Systems
ExFAT, FAT16, FAT32, NTFS, ReFS, Raid, RAW Disk, JFS, APFS, HFS, HFS+, and ext4 under the Linux OS
Trusted By Over 100 Million Users & Leading Brands

"Saved by Recoverit I am a pro photographer and I had taken photos of some friends I haven't seen in years and somehow lost the files on my card. in a frantic to find a way to recover them I found wondershare and well the rest is history and I am super glad that all of the photos are back and great to see those smiles again. Thanks."

"One day, my external hard drive, holding nearly twenty years of my writing, suddenly went unrecognized by my computer. Panicked, I searched for a solution and found Recoverit. Despite my doubts, it recovered my files when Windows couldn't. Thanks to Recoverit, my work was saved, and I'm grateful to keep sharing my stories."

"One evening, my computer stopped recognizing my local files due to a sync error that deleted all my calculus assignments and notes. Panicked, I searched for help and found Recoverit. It scanned my drive and recovered every lost file. Thanks to Recoverit, my hard work was saved just in time for midterms—truly a lifesaver."

"At 10 PM one night, my 2TB Digital Hard Drive Ultra started clicking and froze during a file transfer. Inside were crucial files for a $200M merger audit, and the drive wouldn't mount on my Windows 11 PC. After failed fixes, I found Recoverit online. Its 2.5-hour scan recovered 98% of my files, including corrupted Excel sheets. I restored everything just in time, saving the audit—and my sanity."

"I documented my first 50km mountain bike race with an action camera. Mid-race, a rough jump caused the recording to abruptly stop. After the race, the footage appeared as a blank file. Using Recoverit video recovery software, I targeted the camera's cache, which found and stitched all the video fragments."

"Saved by Recoverit I am a pro photographer and I had taken photos of some friends I haven't seen in years and somehow lost the files on my card. in a frantic to find a way to recover them I found wondershare and well the rest is history and I am super glad that all of the photos are back and great to see those smiles again. Thanks."

"One day, my external hard drive, holding nearly twenty years of my writing, suddenly went unrecognized by my computer. Panicked, I searched for a solution and found Recoverit. Despite my doubts, it recovered my files when Windows couldn't. Thanks to Recoverit, my work was saved, and I'm grateful to keep sharing my stories."

"One evening, my computer stopped recognizing my local files due to a sync error that deleted all my calculus assignments and notes. Panicked, I searched for help and found Recoverit. It scanned my drive and recovered every lost file. Thanks to Recoverit, my hard work was saved just in time for midterms—truly a lifesaver."

"At 10 PM one night, my 2TB Digital Hard Drive Ultra started clicking and froze during a file transfer. Inside were crucial files for a $200M merger audit, and the drive wouldn't mount on my Windows 11 PC. After failed fixes, I found Recoverit online. Its 2.5-hour scan recovered 98% of my files, including corrupted Excel sheets. I restored everything just in time, saving the audit—and my sanity."

"I documented my first 50km mountain bike race with an action camera. Mid-race, a rough jump caused the recording to abruptly stop. After the race, the footage appeared as a blank file. Using Recoverit video recovery software, I targeted the camera's cache, which found and stitched all the video fragments.""
See What Our Users Ask Frequently
How to recover deleted files from a Mac hard drive?
- Download and install Recoverit on a different disk than the one you will recover.
- Launch the app and select the drive.
- Click Start Scan to begin scanning the drive for files.
- Review the list of recoverable files.
- Select the files you want and click Recover to restore them.
What is the best hard disk recovery software for Mac?
How to recover files from an external hard drive on a Mac?
- Download, install, and launch Recoverit.
- Connect the external drive to your computer.
- Select the external drive from the disk list.
- Click the Start Scan button to look for files.
- Preview the files that can be restored and make your selections.
- Click Recover again to retrieve the selected files.


