

 TL;DR:
Self-encrypting drives (SEDs) use hardware-based encryption for instant data protection and are primarily unlocked via BIOS/UEFI passwords, manufacturer management utilities, or OS-level tools like Microsoft BitLocker.
● Repeated incorrect password attempts or forgotten credentials can permanently block access, requiring a stored 48-digit recovery key or an enterprise administrator password to bypass the lockout.
● Hardware encryption prevents direct extraction, meaning data recovery tools like Recoverit can only scan for deleted or formatted files after the drive has been successfully authenticated and unlocked.
● Resetting the BIOS, removing the motherboard battery, or applying firmware updates can disable stored authentication and unexpectedly lock the drive.
Ask AI for a summary
 ChatGPT
 Perplexity
 Gemini
 Claude
 Grok
Grok
Data security is a serious concern for both individuals and businesses. Every day, people store personal photos, office files, financial records, and private documents on hard drives and solid-state drives. If a device is stolen or lost, the stored information can be exposed. This risk has increased as remote work and portable devices have become common.
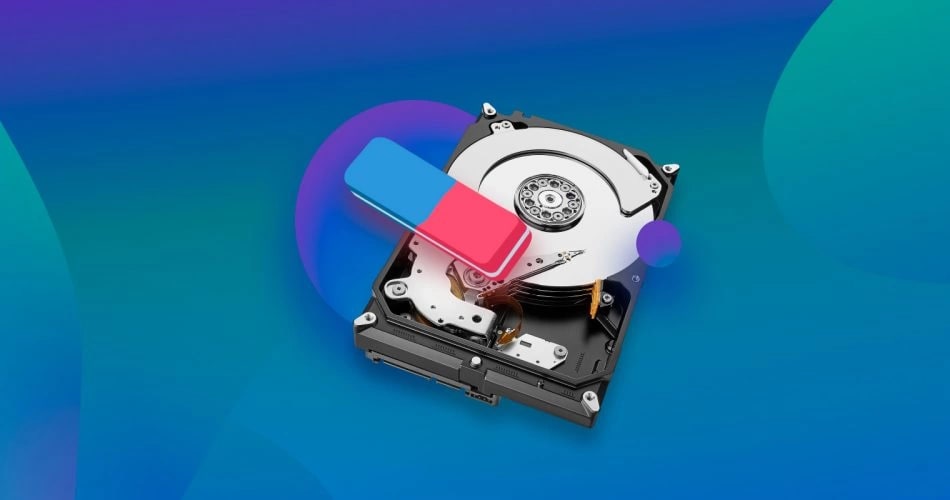
To solve this issue, many manufacturers introduced encrypted storage devices. One popular option is the self-encrypting drive. These drives protect data automatically without requiring separate encryption software. Still, users often search for how to unlock self-encrypting drives when they face login issues or forget credentials.
This guide explains the complete process in clear language. It also covers the pros and cons of self-encrypting drives, and explains what a self-encrypting drive (SED) is. It also shows how to recover lost data from a SED hard drive safely.
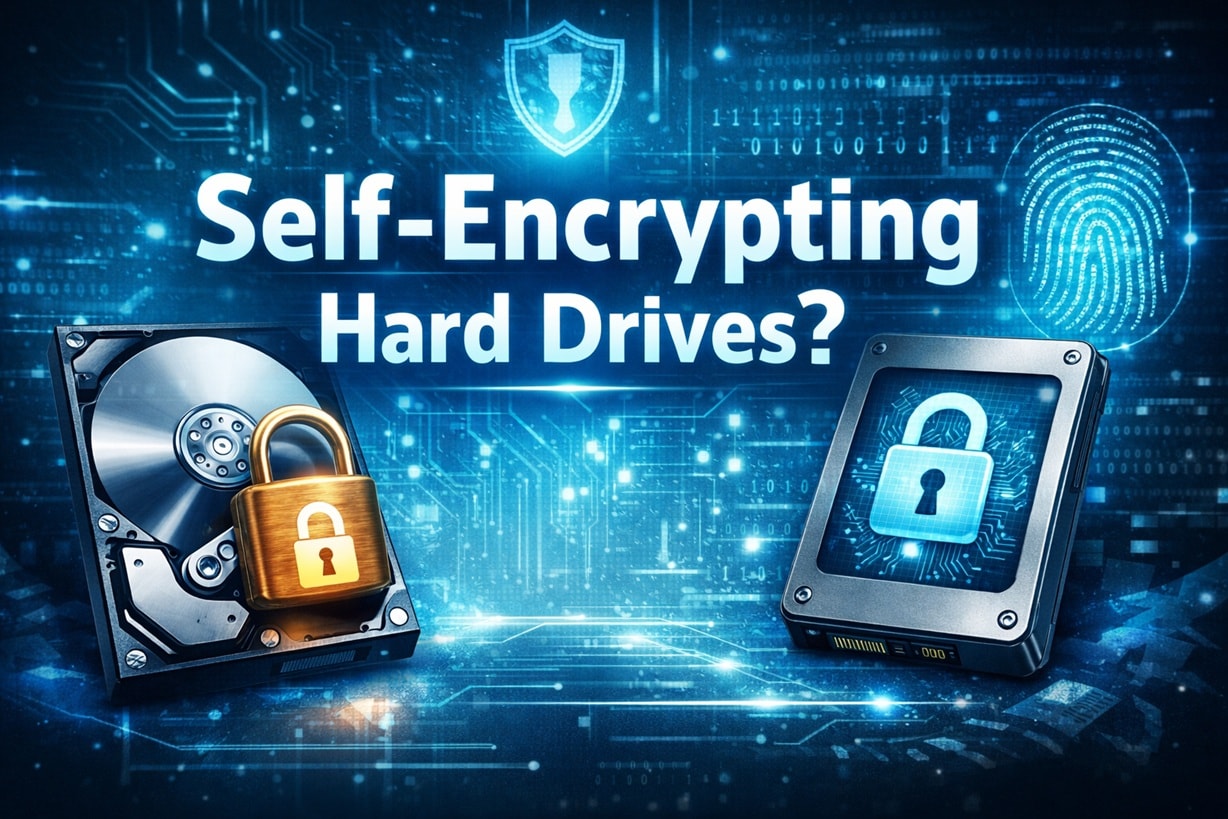
Table of Contents
Part 1: What Is a Self-Encrypting Drive (SED)?
Many users begin by asking what is a self-encrypting drive (SED). It is a storage device that automatically encrypts every piece of data written to it. The encryption process happens inside the hardware. The user does not need to manually enable file encryption.
Inside the drive, there is a dedicated encryption processor. This processor secures data as soon as it is saved. When the correct password or authentication key is provided, the drive decrypts data instantly and displays it normally. Because everything is handled internally, performance remains stable.
Key Features
- Full disk encryption is enabled by default
- Hardware-based encryption engine
- No noticeable speed reduction
- Secure authentication system
- Support for enterprise management tools
- Instant data protection when powered off
- Compliance with business security standards
Understanding what is a self-encrypting drive (SED) helps users avoid confusion when managing security settings or troubleshooting access problems.
Part 2: Pros and Cons of Self-Encrypting Drives

Before using an encrypted drive, it is wise to understand the pros and cons of self-encrypting drives. These devices provide advanced protection, but they also require careful management.
Part 3: How to Easily Unlock Self-Encrypting Drives
Many users search for how to easily unlock self-encrypting drives when they see a locked screen during startup. The unlocking method depends on how the encryption was configured. Some drives rely on BIOS settings. Others depend on software tools.
The following methods explain common solutions in detail.
Method 1: Unlocking with BIOS or UEFI Password Setup
Some systems link SED authentication to BIOS or UEFI firmware. When the computer starts, a password prompt appears before the operating system loads. This password controls access to the encrypted drive.
If the correct password is entered, the drive unlocks immediately. The operating system then loads normally. If the password is incorrect, the system will deny access. Too many failed attempts may temporarily lock the drive.
It is important to remember that BIOS-based locking works independently of the operating system. Even if the drive is removed and connected to another system, it will remain encrypted.
Steps:
- Restart the computer and press the required key, such as F2, F10, Esc, or Delete, to open BIOS or UEFI settings.
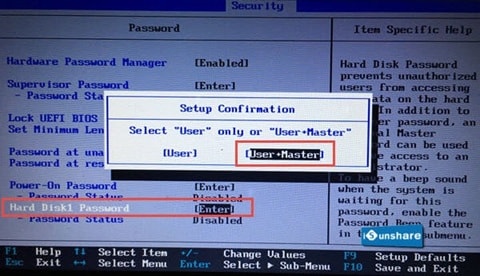
- Locate the storage or security section and enter the correct drive password when prompted. Save changes and restart.
This method is often the first answer to How to unlock self-encrypting drives in personal systems.
Method 2: Using Manufacturer-Provided Utilities or Management Software
Many enterprise-grade drives include dedicated management utilities. These tools allow administrators to configure encryption, reset authentication, or apply recovery keys.
The software may be available on the manufacturer’s official website. In business systems, IT departments often store recovery credentials in secure databases. If you are using a company device, contact your administrator first.
These utilities often provide a graphical interface. Users can enter a recovery key or administrative password to regain access.
Steps:
- Download and install the official drive management software recommended by the manufacturer.
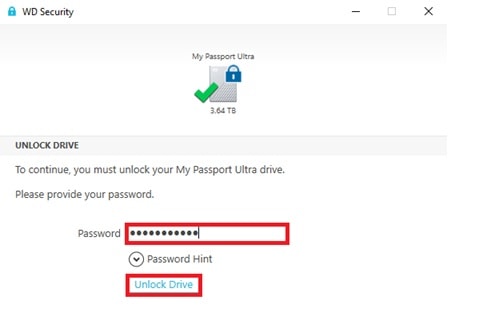
- Launch the program and enter the stored recovery key or administrative credentials to unlock the drive.
This approach explains another path for users wondering how to easily unlock self-encrypting drives safely.
Method 3: Unlocking via OS-Level Tools (BitLocker with SED Support)
Some modern operating systems manage hardware encryption directly. Microsoft BitLocker is one example. When enabled on supported drives, it can control the authentication process.
If BitLocker is tied to a Microsoft account or enterprise account, a recovery key may be stored online. When access fails, the system prompts for this recovery key.
This method is widely used in business laptops. It simplifies centralized management and adds an extra recovery option.
Steps:
- Open the Control Panel and select BitLocker Drive Encryption from system settings.
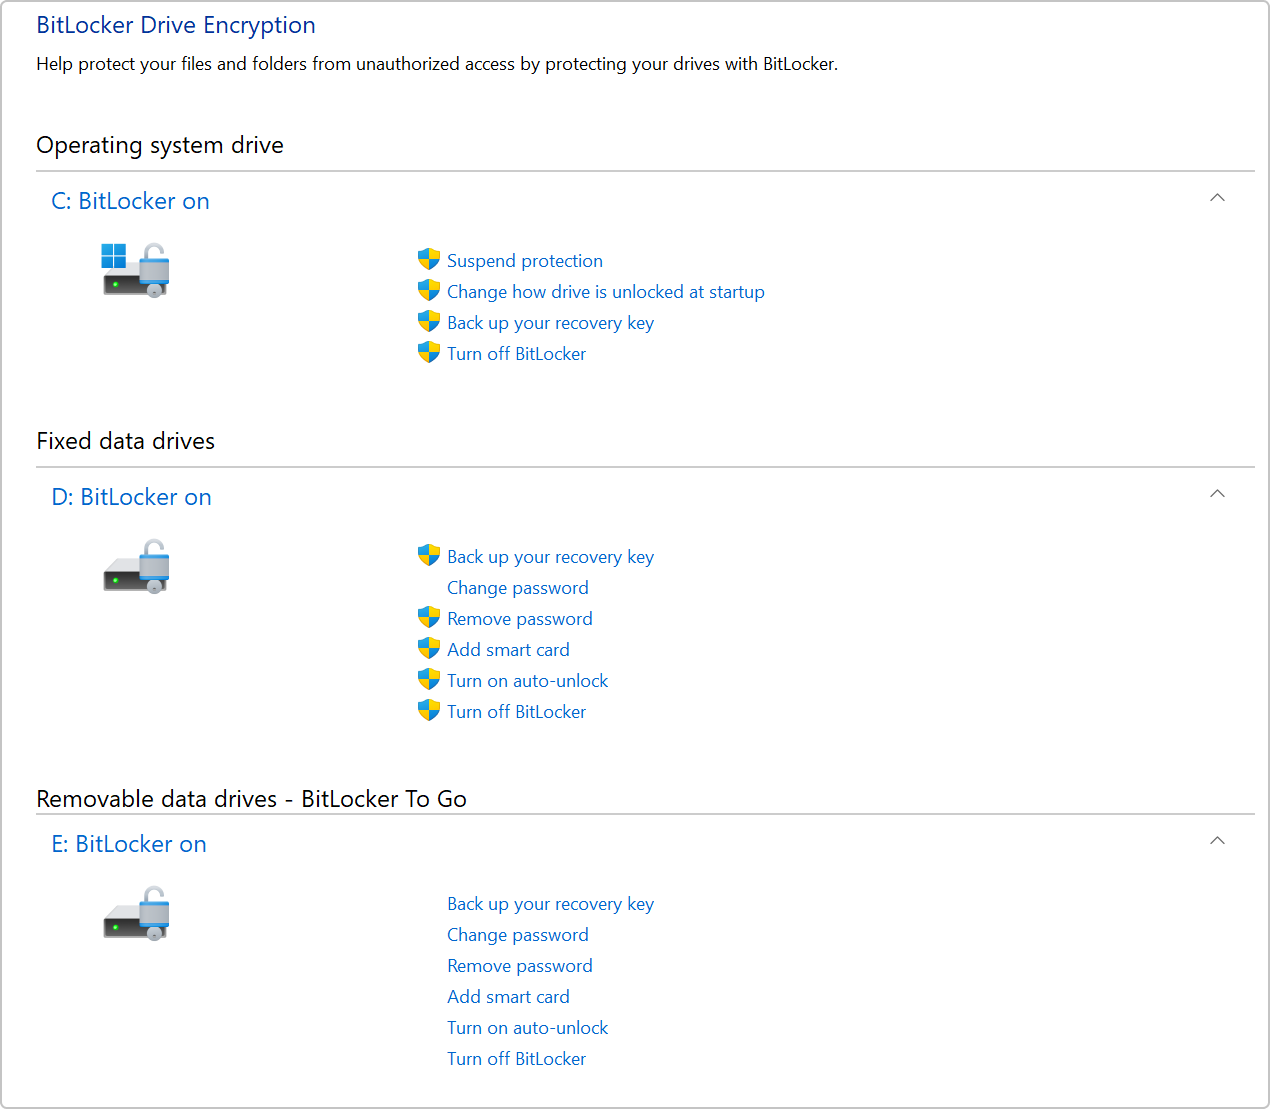
- Enter the 48-digit recovery key when prompted to unlock the encrypted drive.
These three methods together provide a complete understanding of how to unlock self-encrypting drives in common situations.
Part 4: Common Issues When Unlocking SEDs
Unlocking encrypted drives can sometimes be challenging. One common issue is forgotten passwords. Without a stored recovery key, access can become complicated.
- Forgotten password or missing recovery key, which can completely block access to the drive
- BIOS or UEFI reset after battery removal or firmware update, causing the drive to relock
- Too many incorrect password attempts, leading to a temporary lock or security freeze
- Corrupted firmware that prevents proper authentication during startup
- Incompatibility between the drive and certain motherboard models
- BitLocker or OS-level recovery key not backed up, making unlocking difficult
- Drive moved to a different computer without proper authentication setup
- Misunderstanding encryption status, where users attempt recovery before unlocking
- Hardware failure in the drive controller or encryption chip
- Accidental secure erase command, which permanently removes encryption keys and data
Part 5: How to Recover Lost Data from SED Hard Drive Using Recoverit
Even after unlocking a drive, users may still face data loss. Important files may be deleted by mistake during cleanup. In some cases, the drive is formatted while trying to fix access errors. System crashes and sudden power failures can also damage file structures. When this happens, many users begin searching for how to recover lost data from SED hard drive solutions that are both reliable and safe.
Recoverit is professional data recovery software designed to handle such situations. It works with hard drives, SSDs, USB flash drives, and memory cards. After the encrypted drive is properly unlocked and accessible, Recoverit can scan the storage device for deleted, formatted, or missing files. The process is simple and does not require advanced technical skills.
The software performs a deep scan that checks every sector of the drive. It carefully analyzes remaining data fragments and attempts to rebuild lost file structures. Users can preview recoverable files before saving them, which helps confirm file quality. This feature reduces the risk of restoring unwanted or damaged files and improves overall recovery success.
Why Use Recoverit
- Easy interface for beginners
- Deep scan technology
- Support for many file formats
- Preview before recovery
- Works with formatted drives
- Safe and read-only process
Recovery Steps
Step 1: Install Recoverit on your PC. Launch the program. Select the unlocked SED from the device list and start scanning.

Step 2: Preview the found files, choose the required data.

Step 3: Click Recover. Save it to another secure storage location.

These steps explain how to recover lost data from SED hard drive after authentication is completed.
Part 6: Smart Precautions Before Unlocking Self-Encrypting Drives
Important Guidelines Before You Begin
Before attempting any unlocking process, preparation is essential. Encrypted drives are secure by design. Mistakes during unlocking attempts may complicate access further. The following tips help ensure safe handling.
- Always store passwords in a secure password manager. Avoid writing them on paper or saving them in plain text files. A trusted password manager keeps credentials encrypted and easy to access when needed.
- Keep recovery keys in multiple safe locations. Store one copy offline and another in a secure cloud account if possible. This reduces the risk of permanent lockout.
- Avoid repeated incorrect password attempts. Many self-encrypting drives limit the number of tries. Too many failures may temporarily or permanently lock the drive.
- Do not reset BIOS without understanding the consequences. Changing firmware settings can disable stored authentication and trigger drive lock. Review system documentation first.
- Maintain regular data backups. Even secure drives can fail or become inaccessible. A separate backup ensures your files remain safe.
- Update firmware carefully and follow official guides. Incorrect updates may cause compatibility issues or unexpected locking behavior. Always use verified sources.
- Consult IT support for enterprise devices. Company systems often use centralized encryption policies. Administrators may already have recovery tools available.
- Verify encryption status before performing system repairs. Confirm whether the drive is locked or unlocked before reinstalling the operating system or modifying partitions.
These precautions reduce stress when learning how to unlock self-encrypting drives.
Conclusion
Self-encrypting drives provide strong hardware-based data protection. They automatically secure every file written to them. For businesses and professionals, they offer reliable compliance and performance benefits. However, proper password management is critical.
Understanding what a self-encrypting drive (SED) is, knowing the pros and cons of self-encrypting drives, and learning how to easily unlock self-encrypting drives can prevent serious problems. If data loss occurs after unlocking, knowing how to recover lost data from an SED hard drive using professional tools ensures better recovery results.
FAQs
-
1. Can I unlock an SED without a password?
In most situations, you cannot unlock a self-encrypting drive without the correct password or recovery key. These drives are built to prevent unauthorized access. If you do not have the proper credentials, the data remains encrypted and unreadable. In enterprise setups, an administrator may help if recovery keys were stored earlier. Without any backup authentication, professional support may be the only option. -
2. Are self-encrypting drives safe for business use?
Yes, self-encrypting drives are considered very secure for business environments. They provide automatic hardware encryption and help organizations meet data protection standards. Performance remains stable because encryption is handled by the drive itself. However, businesses must manage passwords and recovery keys carefully to avoid lockouts or data access problems. -
3. Can deleted data be recovered from an unlocked SED?
Yes, deleted data can often be recovered after the drive has been properly unlocked. Once authentication is completed, the operating system can read the drive normally. At that point, professional data recovery software can scan for deleted or formatted files. It is important to stop using the drive immediately to avoid overwriting the lost data.


