Are you looking for the best ways to format your HDD/ disk/ hard drive? We’ve got a detailed review of the quick steps to format hard drive using CMD. Our team has gone through all these steps to prepare an easy-to-understand guide for making it easy for beginners to use them. You’ll be able to format the drive using DiskPart by the end of the article.
In this article
Part 1. How To Format Hard Drive Using CMD?
First things first, it is necessary to keep a backup of the drive, as all previous data is lost after formatting. The process of format a hard drive using command prompt is easy and effective for most Windows users.
The following two methods can be used to format Hard Drive Using CMD:
Method 1. Format the Disk in Command Prompt (CMD)
It is possible to format the disk in command prompt independently with quick steps only. All you need to do is ensure to keep a backup of the disk data and start the formatting process. The quick steps for the same are:
Step 1. Opening the command prompt
- Right-click on the Windows icon and select “Run as administrator.”
- Type “diskpart" in the command line and press “Enter.”

Step 2. Typing commands in CMD
- Type diskpart and press “Enter.”

- Type “list disk” and press “Enter.”
- It will show all the disk drives including the external drives connected to the system.

- Type “select disk + disk number”
- Selecting number 2 tells DiskPart to locate and lock disk 2. It cleans and format disk with the continuing steps.

- Type “clean” to start cleanup of files and folders of the selected hard disk.

- Type “create partition primary” and press “Enter.”

- Type “format fs=ntfs” after DiskPart successfully created the specific partition.
- It commands the DiskPart to format the disk to specific file system like exFAT, NTFS, etc.

- The last step is to assign the drive letter to the newly created partition by typing “assign.”

2. Format Disk Using DiskPart
The DiskPart command-line disk partitioning utility offers dedicated management of different computer drives like partitions, disks, virtual hard disks, volumes, etc. It works on Windows seamlessly and hence offers much-needed help in the event of any issues on the Windows system without any external requirements. Using DiskPart to format disks is the best choice for professional Windows users. All you need to do is follow the steps mentioned below sincerely. These are:
Step 1. Opening the command prompt
- Right-click on the Windows icon and select “Run as administrator.”
- Type “diskpart" in the command line and press “Enter.”
- Type the following format command lines in DiskPart and hit “Enter” every time to quickly format the hard drive.
- List disk
- Select disk 2 (you can replace 2 with your disk number)
- List volume
- Select volume 10 (you can replace 10 with the volume number of the partition required to format)
- Format fs=ntfs quick (you can replace ntfs with FAT32 or other file systems as required like FAT32 or others.

Step 2. Typing exit
- Type “exit” and press “Enter.”
- Wait for the program to get closed and successful formatting of the disk.

You may also like: How to Format an SSD for Windows 10/11?
Part 2. How to Recover Files after CMD To Format Drive?
During the process of formatting a disk using CMD, you may accidentally delete the necessary data. You don’t need to worry, as it is possible to recover files after CMD formats the drive with dedicated Command Prompt format hard disk recovery software. All you need is Wondershare Recoverit, which helps you lose and recover data and deleted files quickly. It can recover more than 1,000 data types and formats. Wondershare Recoverit can successfully restore data from the crashed computer, external storage media, internal hard drive, recycle bin/trash, etc.
Let us go through the quick steps to use Wondershare Recoverit to recover files after formatting the disk using CMD:
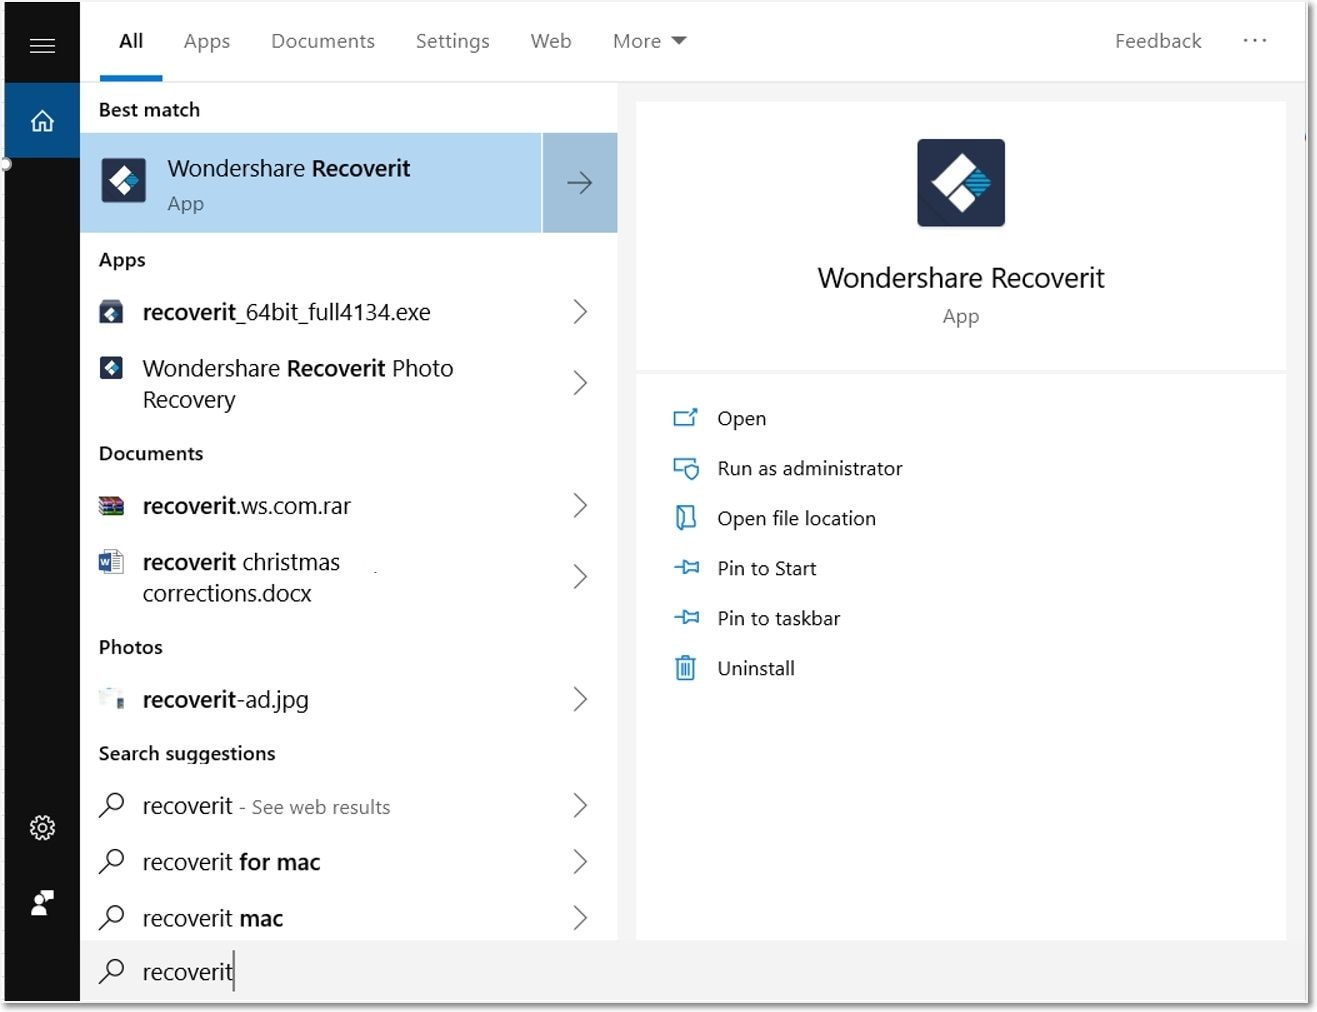
Step 1. Launch Recoverit in Windows
Start by downloading and launching Recoverit app on your Windows system.

Step 2. Select the location
- The next step is to select the drive which was formatted using CMD.
- Once done, click “Start” to move to the scanning process.

Step 3. Scanning the location
- Recoverit showcases the real-time scan results within a few minutes only based on the data volume.
- It is easy to pinpoint the files, search the files with keywords, and pause or stop scanning at this point.

Step 4. Previewing the files
- It is easy to preview the data file by clicking on the file and clicking the “Preview” button.
- It is easy to zoom in, zoom out, view a photo in full screen, rotate it, etc.

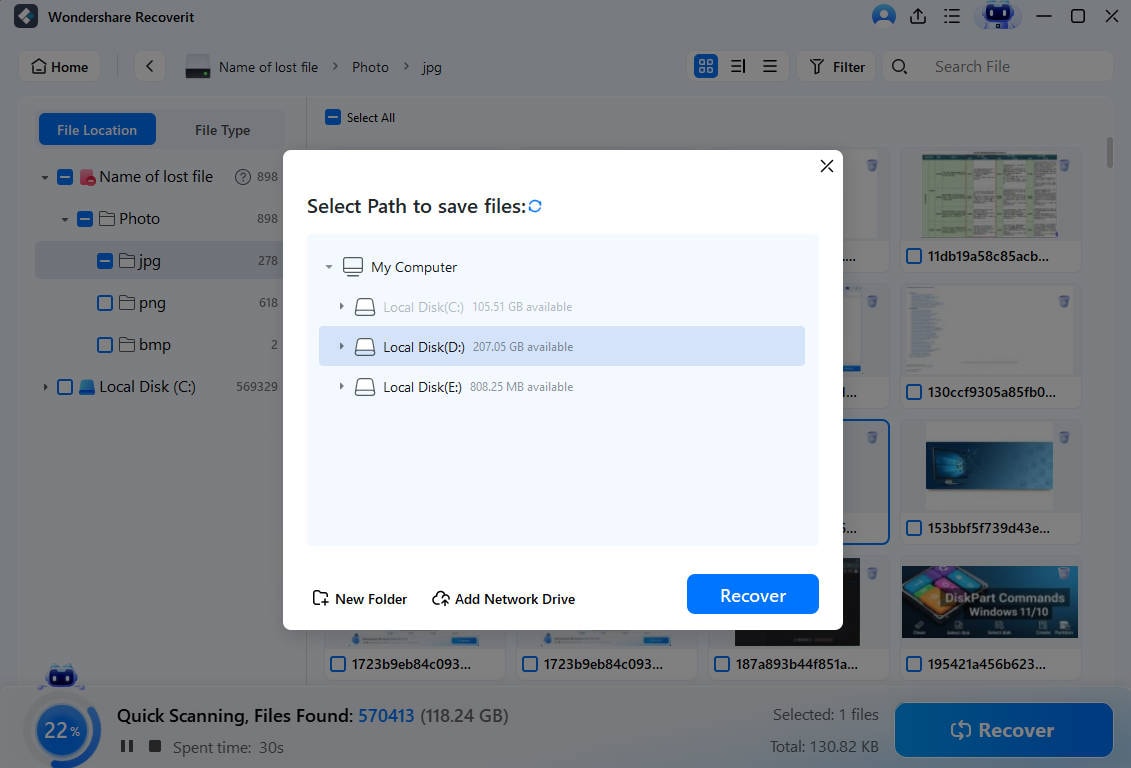
Step 5. Recovering the files
- It is easy to press the “Recover” button after having a preview of the selected file.
- You’ll be asked to select the file location for recovery, which shouldn’t be the same as where data was lost.

Part 3. What Happens if You Format Your Disk Using CMD?
No matter how difficult it may seem, but it is easy for beginners and professionals to format HDD/ disk/ hard drives using CMD. At the same time, formatting your disk using CMD results in making it new and ready for use. It erases the previous data on the disk, and hence backup is required. Thus, to eliminate data loss scenarios, it is recommended to take a backup of the disk before processing it for CMD format.
Conclusion
Hence, it is easy to format your HDD/ disk/ hard drive using CMD only. Beginners can go through the detailed steps to format the disk in the command prompt and using DiskPart. You don’t need to worry, as it is easy to recover the files after formatting the disk using CMD. Not to miss are the detailed operational steps for using Recoverit to recover files after CMD formats the drive. It is easy for the beginners and professionals to start using these steps and format hard drive using command prompt independently.
FAQ
After going through all about the format disk using CMD, you must have some questions in your mind. Let us go through the top questions related to the format disk using CMD mentioned below.
-
What is a formatting command?
The format command helps create a new root directory and file system for the disk. It deletes all data on the disk and checks for the bad sectors on it. -
How to format a USB flash drive using CMD?
The quick steps to format a USB flash drive using CMD are: 1. Connect the USB to the PC and press the “Windows + R” keys. 2. Type “cmd” in the search box, and press “Enter” to open Command Prompt. 3. Type the following command lines one by one and press “Enter” each time:
diskpart
list disk
select disk + X (replace X with the number of your USB drive)
list volume
select volume + N (replace N with the volume number of your USB flash drive)
format fs=ntfs quick (you can also replace NTFS with FAT32 or exFAT)
exit -
Is it possible to use Command Prompt to format the hard drive?
It is possible to use Command Prompt to format the hard drive. It is easy to format the raw external drive from Command Prompt in Windows or internal hard drive system partition from Command Prompt in BIOS. -
What is the command to format the drive in the NTFS file system?
It is easy to format the disk D: in the NTFS file system; the command is format D: /fs: NTFS. -
Is it possible to wipe a drive using Command Prompt?
Yes, it is possible to wipe a drive using Command Prompt by typing “clean” and pressing “Enter.”


 ChatGPT
 Perplexity
 Google AI Mode
 Grok
Grok


