Lack of CD Player? Learn How to Transfer CD to USB Memory Stick
"Since the last few days, I've been facing a strange problem with my CD disks. Whenever I insert my CD disks, the driver reads some of them but not all. After trying to play many CDs, approximately half of the CDs that I try are not working."
Isn't this one of the most commonly heard of issues that all of users have dealt with?
You must know that a CD disk is not portable and is prone to get easily damaged and lost while travelling if not taken care of. Moreover, laptops no longer feature a CD drive that makes it even more difficult to catch up on the list of favorite entertainment items. Such complications and difficulties call for an easy and prompt solution that soothes all your worries. Namely, it isn't practically possible to carry your CD player with you all the time so that you can enjoy your favourite music and watch your go-to movies whenever you feel like it.
Therefore, transferring data from CD to a compact and travel-friendly USB memory stick is the most convenient way of keeping your data secure and intact. Scroll down this article to know more about how to transfer CDs to USB memory sticks.
Content Navigation
Part 1: Are You Confused by These Scenarios?
If you own up a CD player there might have been several instances when you've landed up in some or the other problem with the electronic device not knowing what's exactly wrong with it. Here are the most commonly faced issues that might keep you confused regarding your CD player. Check if you are facing one of them.
1. CD player unable to read certain CDs:
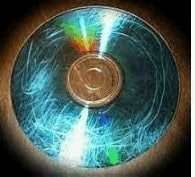
This issue arises when the CD head gets misaligned. You might hear a sound indicating rotation of CD and movement inside the player but it fails to read the disc. Sometimes an error message might be displayed as well. This issue arises when the CD player has not been cleaned for a while or your CD has gone rusty.
2. CD player is operational but features no display:
Issues of partial or no display may arise because of a few issues. Either an erratic power supply can cause the display panel to not function properly or a back light bulb located in the player could be burned out. A bad solder connection on the display panel could be another reason for no display.
3. CD drawer panel not opening up:
Sometimes a CD drawer panel can cause issues and jamp up making it difficult to open or close at times. This issue could be due to a worn out or flabby belt. Issues with the eject button and defective microcontroller could also jam the panel.
4. The CD player jams when ejecting CDs:
Bad belts, messed up or chipped gears, defective motor or sensor etc can cause it difficult to eject the CDs with ease. Issues with ejection could cause trouble and make it difficult to transfer from one CD to another.
5. CD damaged by player:
The lens of a CD player might sometimes hit your CD due to an electronic defect causing damage to CD. Messed cartridge changers and other bokeh parts of the device can also cause your CD to damage irrevocably.
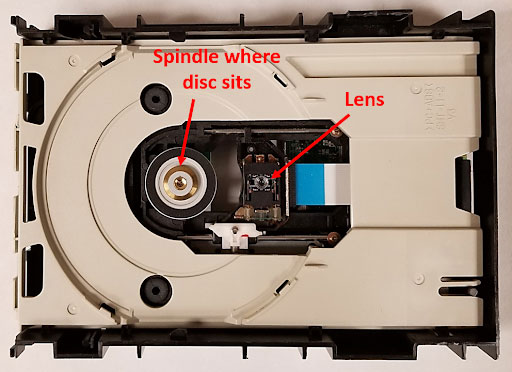
These disturbing scenarios happening on a frequent basis can irk you and cause disruption in your everyday routine.
Part 2: How to Transfer CD to USB Memory stick?
Transferring your CD data to a portable USB memory stick is an easy process and can be done on both Windows PC and Mac with minimal requirements.
1. Transfer CD on Windows PC
Follow these simple and easy steps to transfer your files and data from CD to USB on Windows PC.
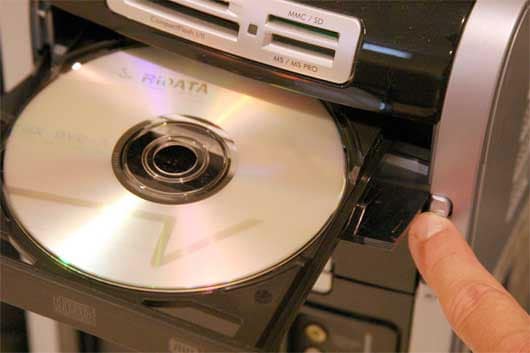
Step 1: Insert your CD in the disk drive slot. If your laptop features no drive slot, then make use of an external drive.
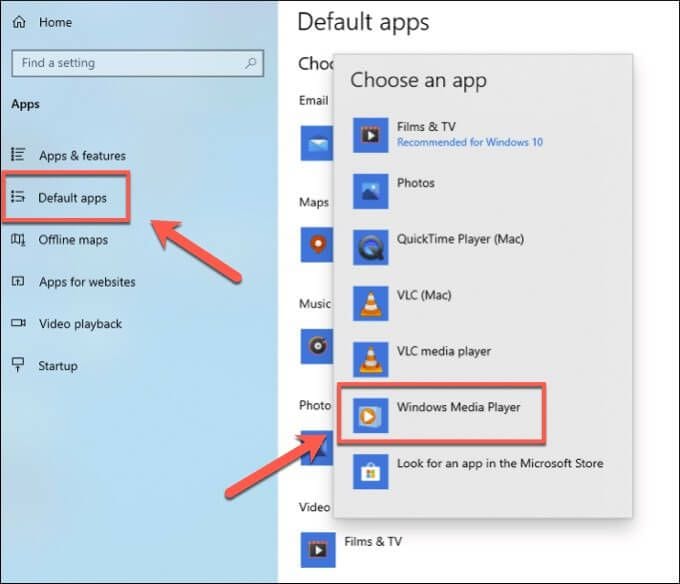
Step 2: Click on the start menu and search for the “Windows Media Player”. Tap on it.
Step 3: Tap on the Rip settings and select the more options visible at the top right corner.
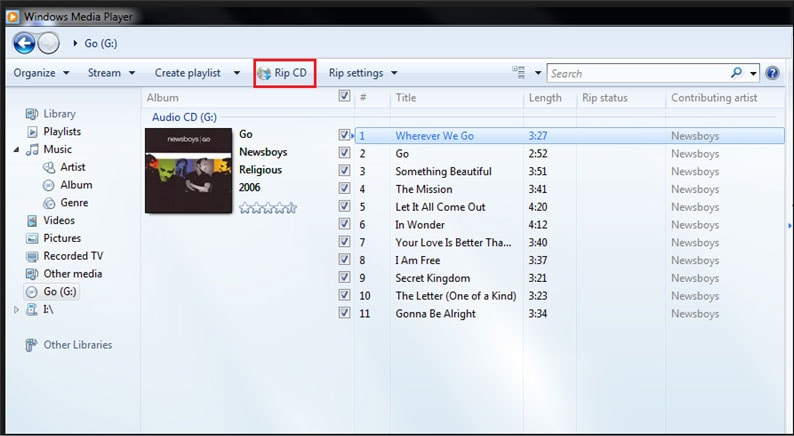
Step 4: Choose a folder to save the files to. Tap on the Change option in the "Rip Music" tab and select a location on your system.
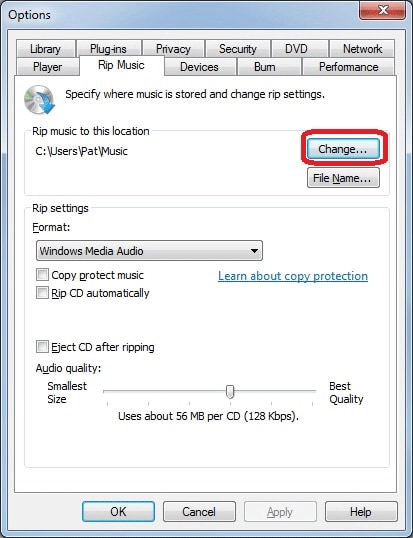
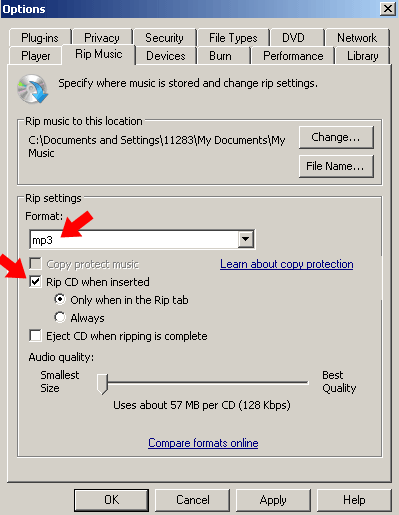
Step 5: Under the "Format" option in the "Rip Music" tab, select a format preferably MP3 from the drop-down menu.
Step 6: Click again on Rip CD visible at the top right corner for easy ripping of files to the destined folder.
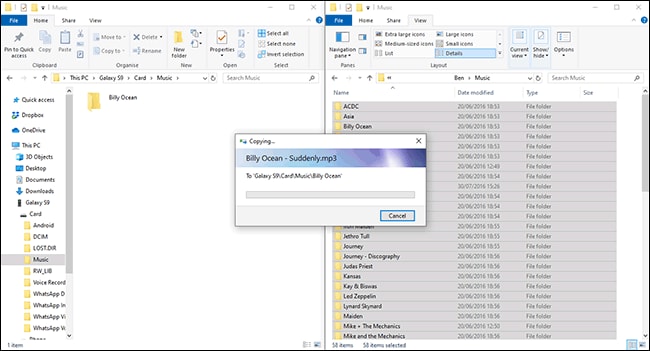
Step 7: Insert the USB stick and open the file explorer. Click on the folder you've moved your files to.
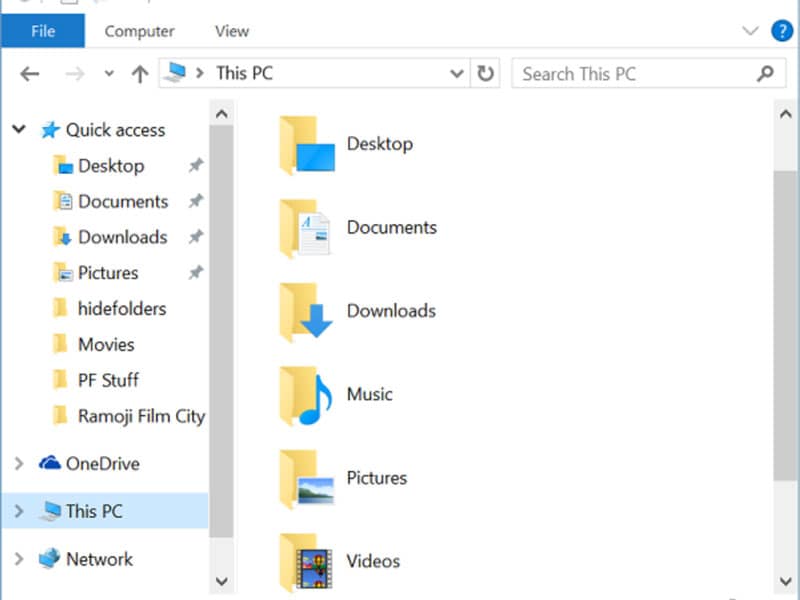
Step 8: Select all the files you wish to copy. Copy them and select the USB drive. Paste the files in the file.
2. Transfer CD on Mac PC
Here's the list of steps to be followed for easy transfer of CD data on Mac PC.
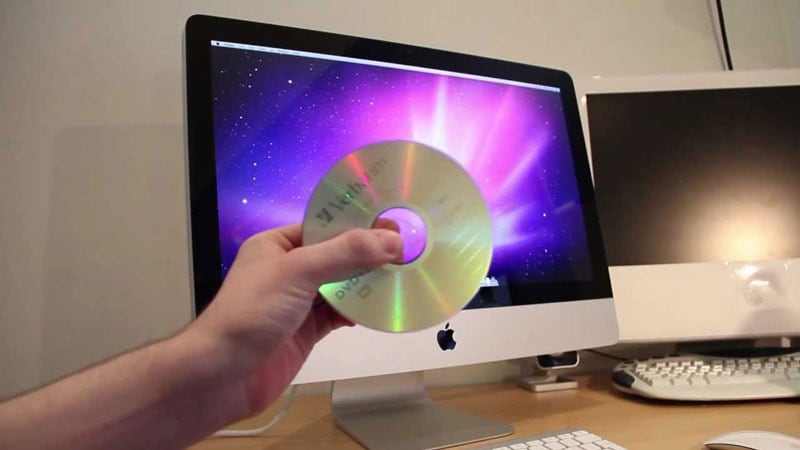
Step 1: Insert the CD into your system's disk drive slot.
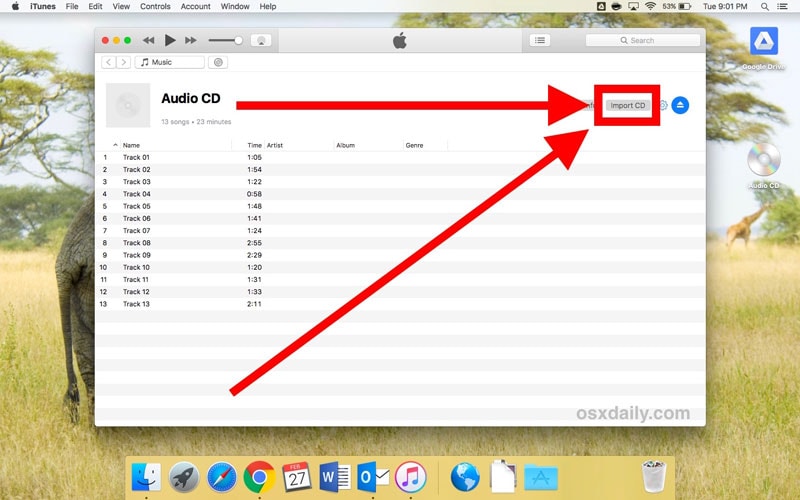
Step 2: Open iTunes and click on the import CD tab visible at the top of the screen.
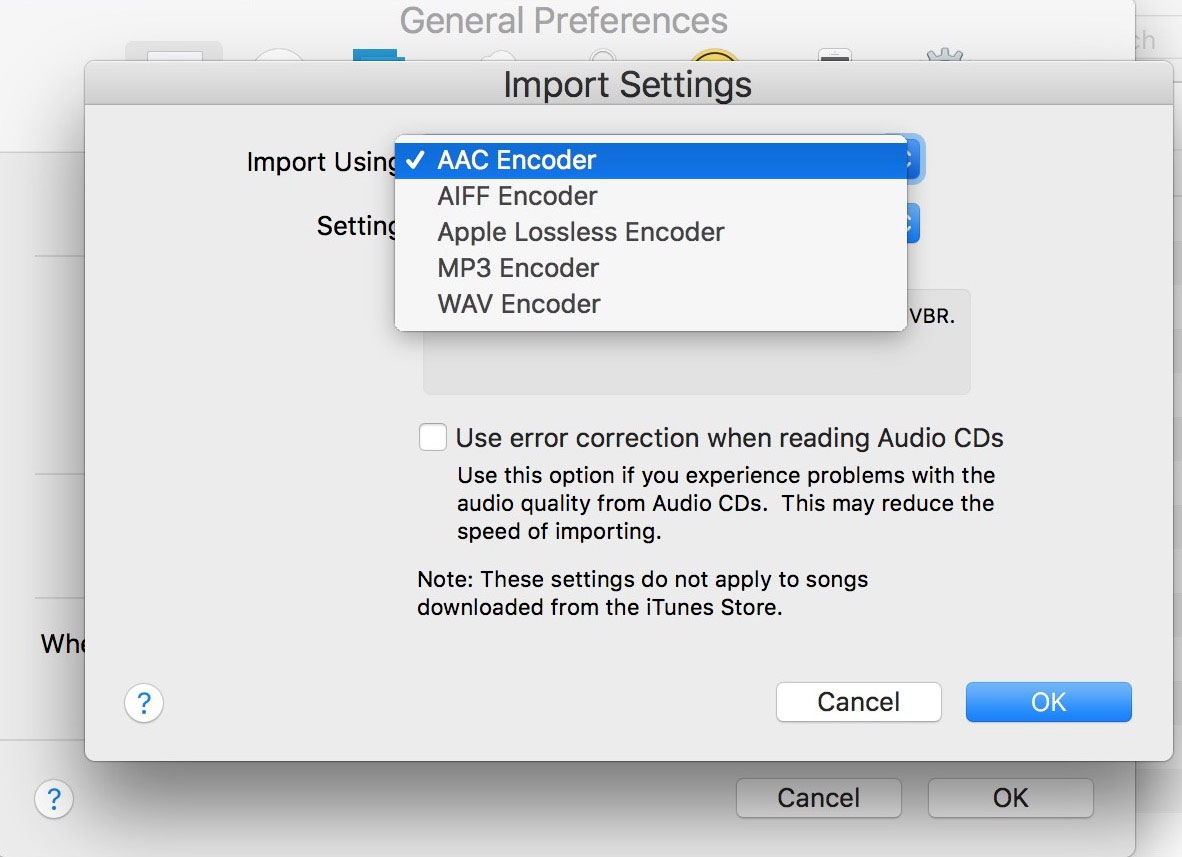
Step 3: Under the "Format" tab in the "Rip Music" menu, select the drop-down menu and choose a format preferably mp3.
Step 4: Click on the album visible in your iTunes library.
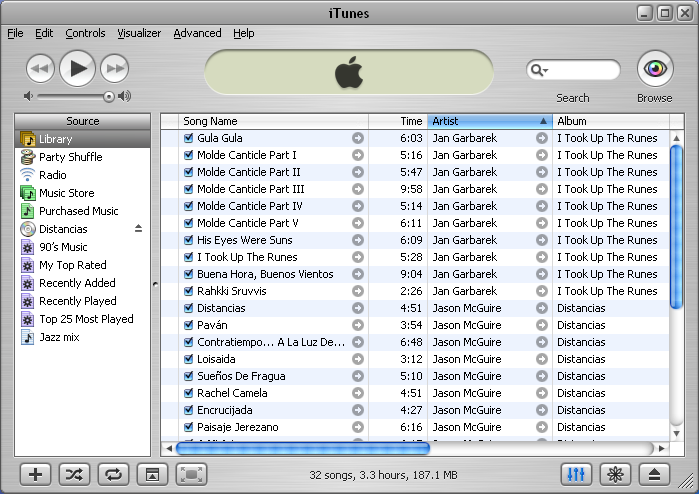
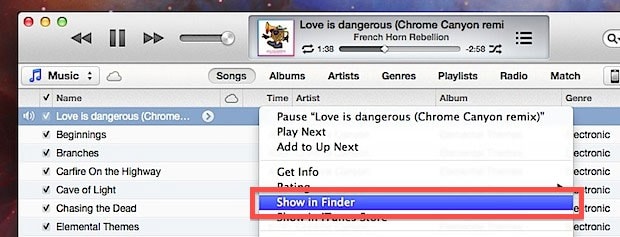
Step 5: Click on all the files and select show in finder option to open the album in finder.
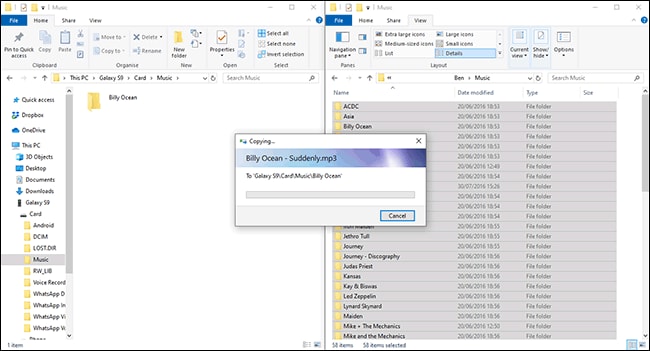
Step 6: Insert the USB stick and select all the files you wish to copy. Tap on the folder visible in the finder. Cut the required files and paste them into your USB C memory stick.
Extra Tips: What to Do When Data Loss Happens During Transfer Process?
Losing some important files in the process of cutting and pasting from one location to another is a frequently faced issue. Nonetheless, there's nothing more terrifying than losing some of your most treasured files during a transfer process. Recoverit from Wondershare is a smooth platform that ensures easy transition and helps the user to conveniently recover all the lost files.
The professional data recovery tool is a 100% authentic and safe program that works with all kinds of files and is compatible with a large variety of devices. The premium tool is super easy to use and can be easily relied on. Compared to the other alternative recovery software, this tool ensures enhanced flexibility and allows you to recover your data promptly by following three basic steps.
How to Recover Lost Files in USB Memory Stick Using Wondershare Recoverit
Here's a list of steps that can easily help you in recovering your lost data.
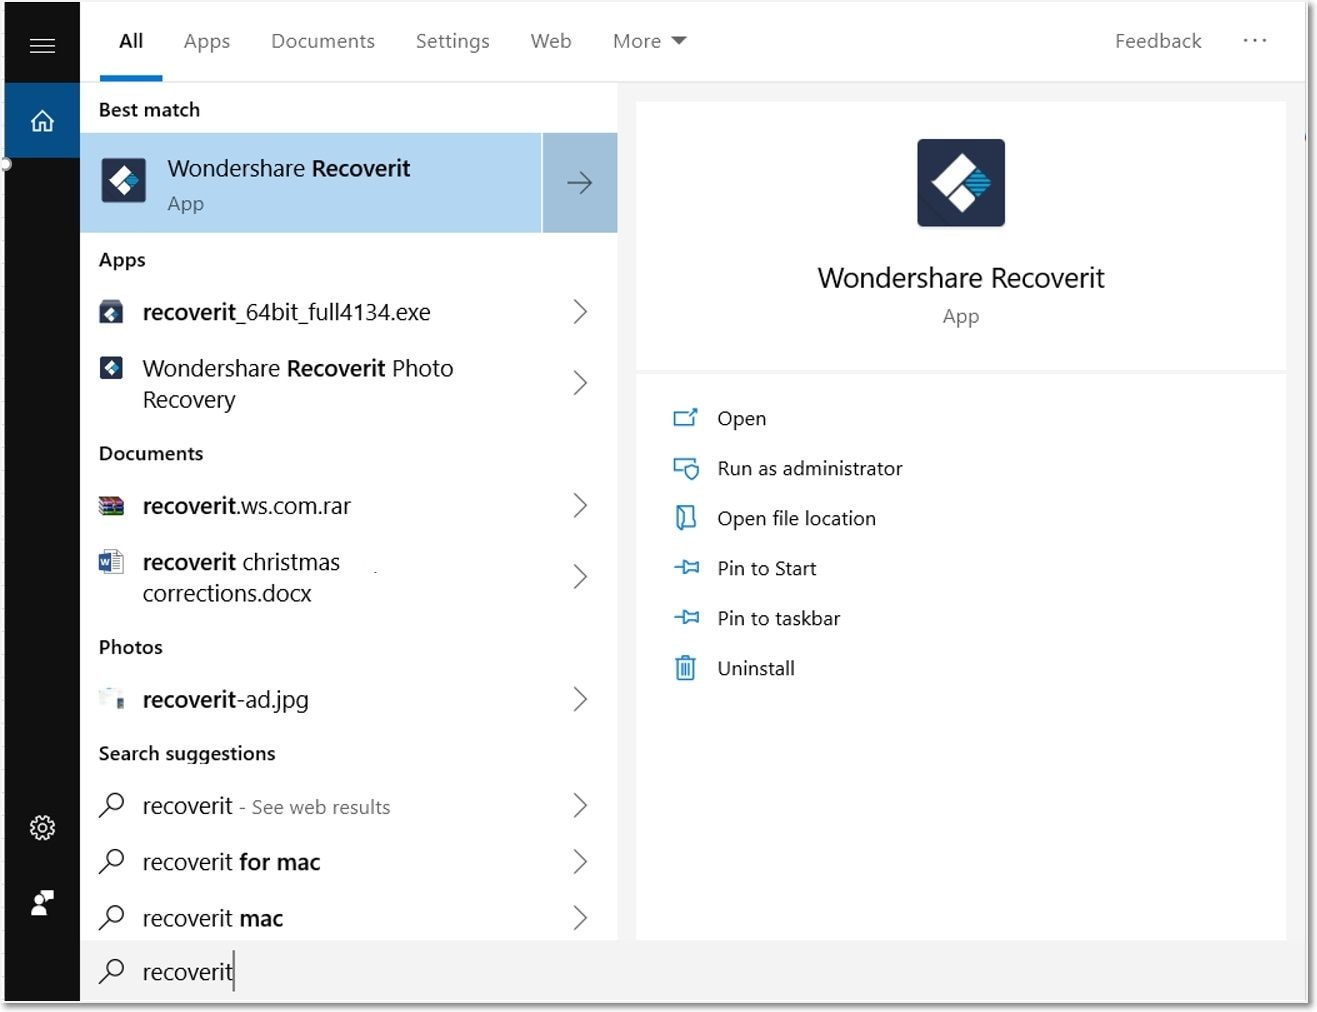
First, download and install the Wondershare Recoverit software on a respective PC system. The software is available for both Windows and Mac PC systems.
Step 1: Launch Recoverit files recovery software on your system.
Step 2: Select the location of the external device to proceed the recovery process.

Step 3: The program will start scanning your disk to search the lost files. This process can take a few minutes.
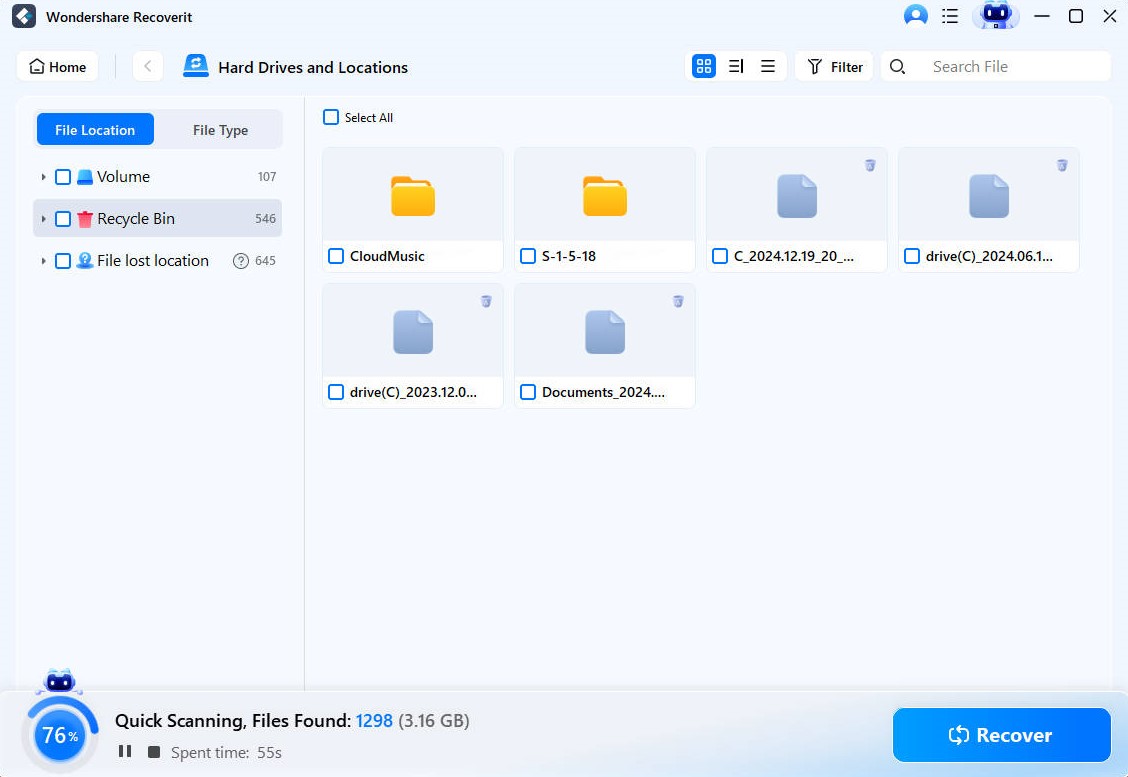
Step 4: You'll be able to preview all the recovered files including photos, videos, audios, etc.

This is how you can easily recover lost or deleted files from your computer's hard drive or external drives using the Recoverit tool.
Tips for preventing data loss
1. Backup your files: Relying solely on your USB drive to save all the data is not a smart move. Make sure that you backup all the crucial and significant files to a second flash drive for convenient backup.
2. Make use of UPS: Losing data due to power loss is quite common and something that needs to be addressed. Install UPS to protect your PC and your flash drive from sudden changes and transitions in electric current.
3. Secure storage: Place your USB device in a secure place. Because of its portability, we tend to keep it anywhere it fits which often leads to it getting damaged. Make sure to keep your mini USB memory stick in a safe place so that the risk of your device getting corrupted is minimized.
Conclusion:
In recent years, a portable and compact USB memory stick has surpassed the traditional CDs and DVDs as the preferred media for storage of your data and sharing of essential files. Hopefully, this article has eased your stress regarding the transfer of your essential files and data from old CDs to USB stick. To further simplify this transfer and to ensure that none of your treasured files are lost during transit, install Wondershare Recoverit. The easy-to-use software is compatible with a versatile set of devices and operates smoothly. Install the software today and browse your data hassle-free.
USB Topic
- Recover USB Drive
- Format USB Drive
- Fix/Repair USB Drive
- Know USB Drive



 ChatGPT
 Perplexity
 Google AI Mode
 Grok
Grok


Eleanor Reed
staff Editor