

 TL;DR:
Restoring a system image with Clonezilla requires booting from a prepared USB or CD, selecting the device-image mode to locate your backup on local or network storage, and authorizing the software to completely overwrite the designated target disk block by block.
● Clonezilla restricts restoring an image to a smaller target disk unless the actual used data space within the backup is explicitly smaller than the destination drive's total capacity.
● The restoration process irreversibly replaces all current data on the target drive and must not be interrupted, as a sudden stop will permanently corrupt the disk.
● If the applied system image is outdated, incomplete, or corrupted, missing files will not be restored natively and will require a secondary deep-scan utility like Recoverit to retrieve.
Ask AI for a summary
 ChatGPT
 Perplexity
 Gemini
 Claude
 Grok
Grok
A full system image is a safe copy of your disk. It keeps your files, system settings, and installed programs in one place. When the main disk fails or becomes unstable, a full image helps bring your system back.
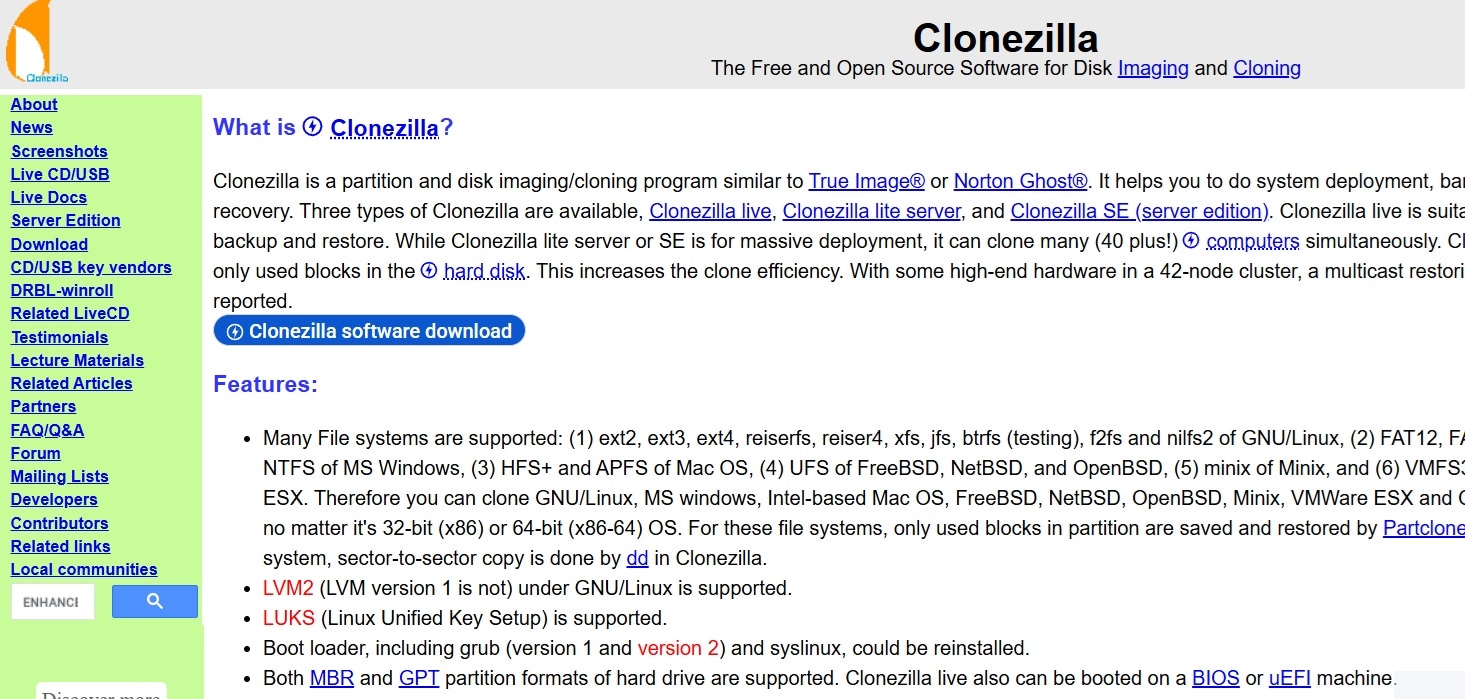
Many users pick Clonezilla for this job. It is free, fast, and reliable. It works well on old and new systems. It also works on many disk types. If your computer stops working or the system becomes damaged, you can bring everything back with a saved image. This is where Clonezilla restore image becomes useful in daily work.
Clonezilla recovery can save time when you cannot reinstall the system from scratch. It also helps when a virus, bad update, or disk error causes loss of system files. In such cases, you only need your saved image and a working storage device to start the recovery.
Try Recoverit to Recover & Repair Video/Photo/Docs etc.
![]() Security Verified. Over 7,302,189 people have downloaded it.
Security Verified. Over 7,302,189 people have downloaded it.
Table of Contents
-
- Step 1: Prepare a Clonezilla bootable USB or CD/DVD
- Step 2: Boot the computer from Clonezilla media
- Step 3: Select the device-image option to work with the saved image
- Step 4: Choose the location of the saved image
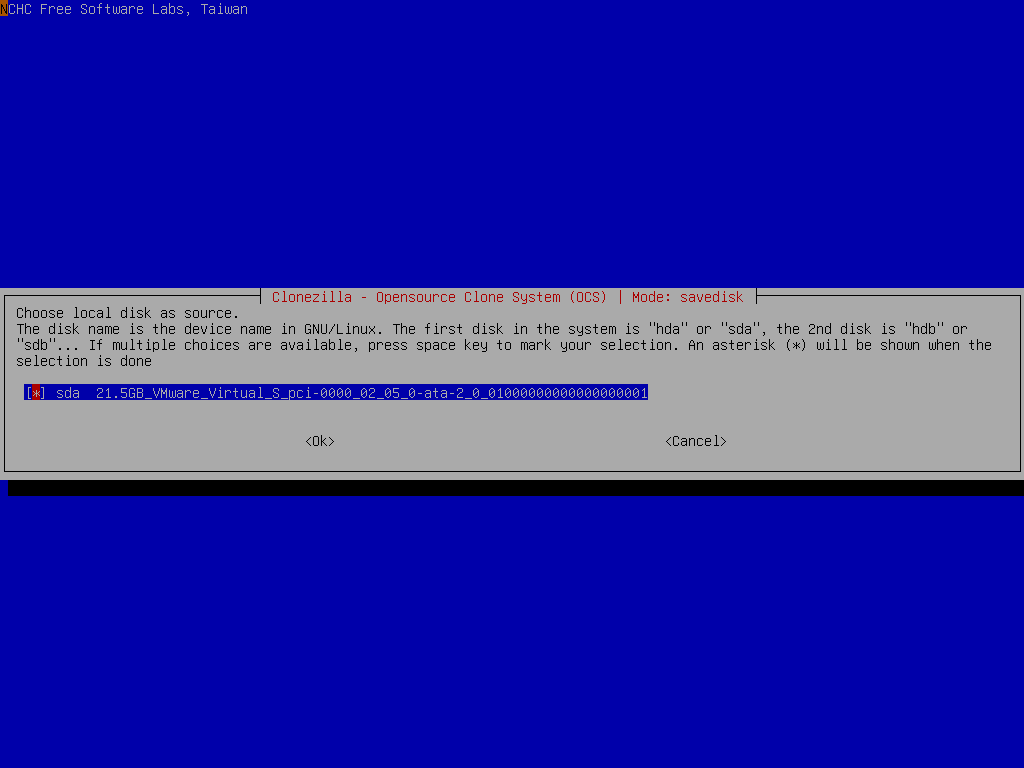
- Step 5: Select the restore disk option and choose the target disk
- Step 6: Confirm restoration and allow Clonezilla to overwrite the target disk
How to Use Clonezilla to Restore an Image to Disk?
Restoring a system image is simple when you follow each method in order. You must first load Clonezilla, locate your saved image, and select the right disk. This part explains how to use Clonezilla to restore an image to a disk in a clear and easy way.
Clonezilla works with many storage types. You can keep your image on a local drive, an external disk, or on a network share. Before you start, always check that the image is safe and complete.
Below are the full steps used for Clonezilla recovery. These steps also help in situations where you attempt Clonezilla restore image to a smaller disk or need a clean system repair.
Step 1: Download Clonezilla and Prepare a Clonezilla bootable USB or CD/DVD
You need a bootable Clonezilla device before the restoration can start. This device stores the Clonezilla program. It helps your computer start even when the system is broken. This is the first part of how to use Clonezilla to restore image to disk.
Steps
Step 1: Download Clonezilla from the official website and write it to a USB or CD/DVD.
Step 2: Remove the device safely and keep it ready for the next method.
Step 2: Boot the computer from Clonezilla media
Once your media is ready, you must start the computer from it. This allows you to use Clonezilla recovery tools. This step is simple but very important.
Steps
Step 1: Insert the USB or CD/DVD and turn on the computer.
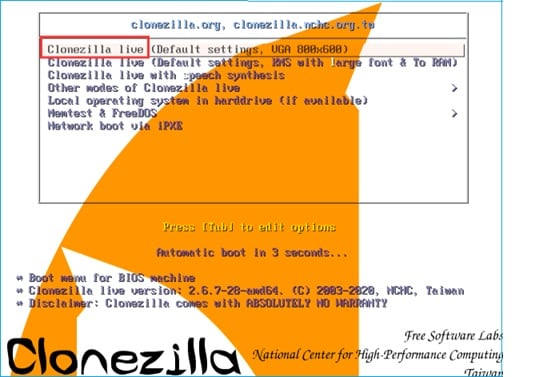
Step 2: Enter the boot menu, choose the boot device, and load Clonezilla.
Step 3: Select the device-image option to work with the saved image
Clonezilla has several modes. You must choose the one that works with saved images. This mode helps you restore a full disk from your stored backup.
Steps
Step 1: On the Clonezilla screen, choose device-image mode.
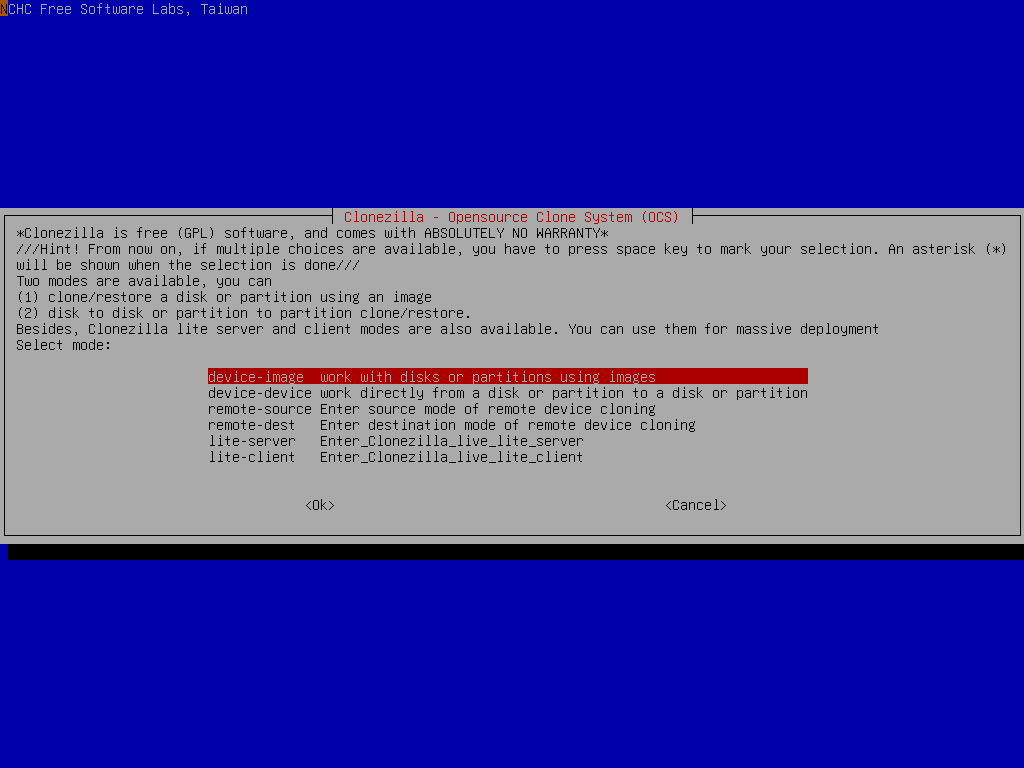
Step 2: Move to the next screen to choose storage settings.
Step 4: Choose the location of the saved image
Your image may be on a local drive, external storage, or network share. Clonezilla gives choices for all. This step helps you point Clonezilla to the right folder.
Steps
Step 1: Choose the storage source such as local disk, external device, or network.
Step 2: Select the folder where the image is stored.
Step 5: Select the restore disk option and choose the target disk
You now choose the action and the disk you want to restore. This must be done with care. If you select the wrong disk, you may lose data.
Steps
Step 1: Input a name for the saved image to use. Select the restore disk option on the screen.

Step 2: Choose the target disk where the image will be restored.
Step 6: Confirm restoration and allow Clonezilla to overwrite target disk
This step starts the real restoration. Clonezilla replaces all data on the target disk. It writes the saved image block by block. This restore process may take time.
Steps
Step 1: Confirm the action when Clonezilla asks for permission.
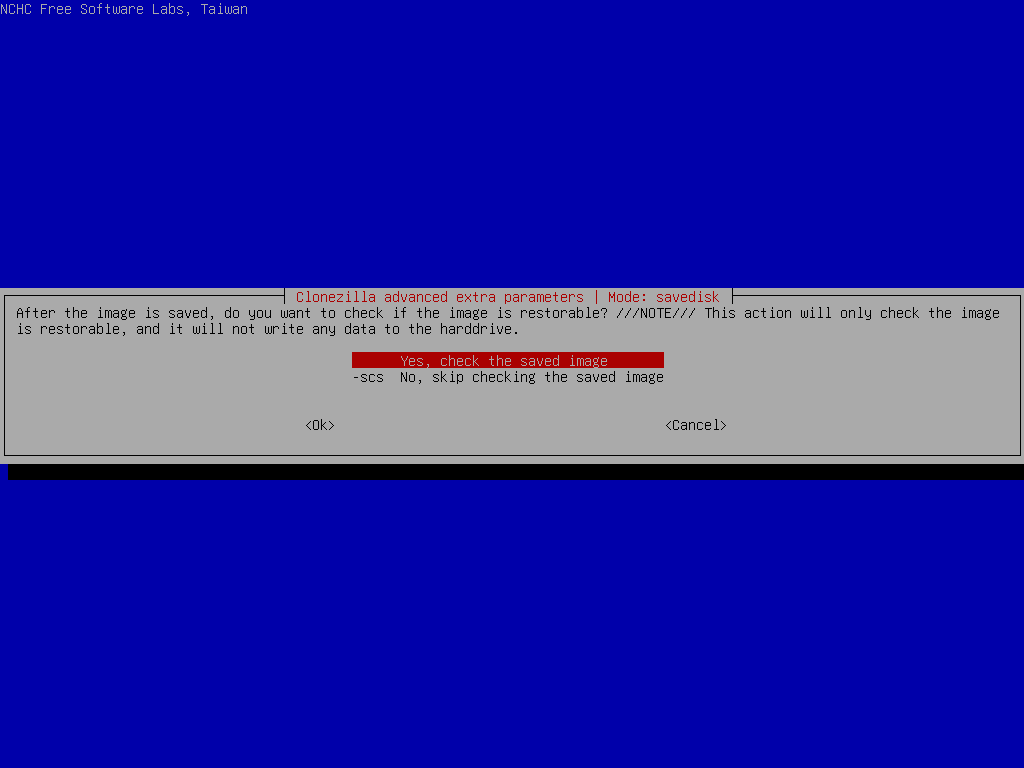
Step 2: Wait until the entire image is restored and restart your system.
Use Recoverit Data Recovery Tool if Files Are Lost or Corrupted During Restoration
Sometimes the restored system works, but some files may be missing. This can happen when the image is old or incomplete. In such cases, you need a strong recovery tool. Recoverit is a trusted tool that helps retrieve many types of files. It works with photos, videos, documents, and many other file formats.
Recoverit helps when Clonezilla restore image fails to include missing data. It also helps when the disk shows errors or when the image was damaged. Many users face file loss because system images are not always updated. Recoverit solves this problem by scanning the disk deeply.
The tool works in simple steps. It supports many storage devices. It also works well after Clonezilla recovery operations. If some documents or media files do not appear after the restore, Recoverit can help find them again.
Why use Recoverit?
• Easy for beginners • Recovers files from damaged disks • Works with many file systems • Supports photo and video repair • Allows deep scanning • Provides safe recovery results
Three detailed recovery steps
Step 1: Install Recoverit and choose the disk that was restored.

Step 2: Start a full scan and wait as the tool checks the disk.

Step 3: Preview the files, select the needed ones, and save them to a safe location.

Pro Tips for Using Clonezilla Restore Image
You can make the process safer by following some simple tips. These tips reduce errors and help you complete Clonezilla restore image tasks without stress.
- Keep your image updated Always create image backups after major changes.
- Store the image in more than one place Use an external drive and a network folder for safety.
- Check the health of the disk This prevents errors during restoration.
- Do not interrupt the restore process A sudden stop may corrupt the disk.
- Label your storage devices Helps avoid selecting the wrong disk.
- Test the image on another system This confirms that the image works.
- Keep the Clonezilla version updated New versions fix bugs and add support.
- Avoid using damaged cables A bad cable can interrupt reading or writing.
Conclusion
Restoring a disk image with Clonezilla is one of the safest ways to fix a broken system. If you follow the methods in order, the process becomes simple. You only need a stored image and a bootable media device. With these steps, you can complete Clonezilla recovery in less time.
If some files do not return after the restore, tools like Recoverit help you recover missing data. This gives an extra layer of safety. Every system user should keep a fresh full image to avoid large losses. When needed, it is easy to learn how to use Clonezilla to restore image to disk. A clean image can save many hours of repair work.
FAQs
-
1. Can I use Clonezilla restore image to smaller disk?
Yes. Clonezilla can restore to a smaller disk if the used space in the image is smaller than the target disk. Make sure the target disk has enough space for the actual data. -
2. How long does Clonezilla recovery take?
The time depends on disk size, read speed, and storage device. A small disk may take minutes. A large disk may take much longer. Clonezilla shows progress on the screen. -
3. What happens if the image is corrupted?
A corrupted image may fail during restoration. If this happens, you may need another image or use a recovery tool like Recoverit to get back missing files.


