

 TL;DR:
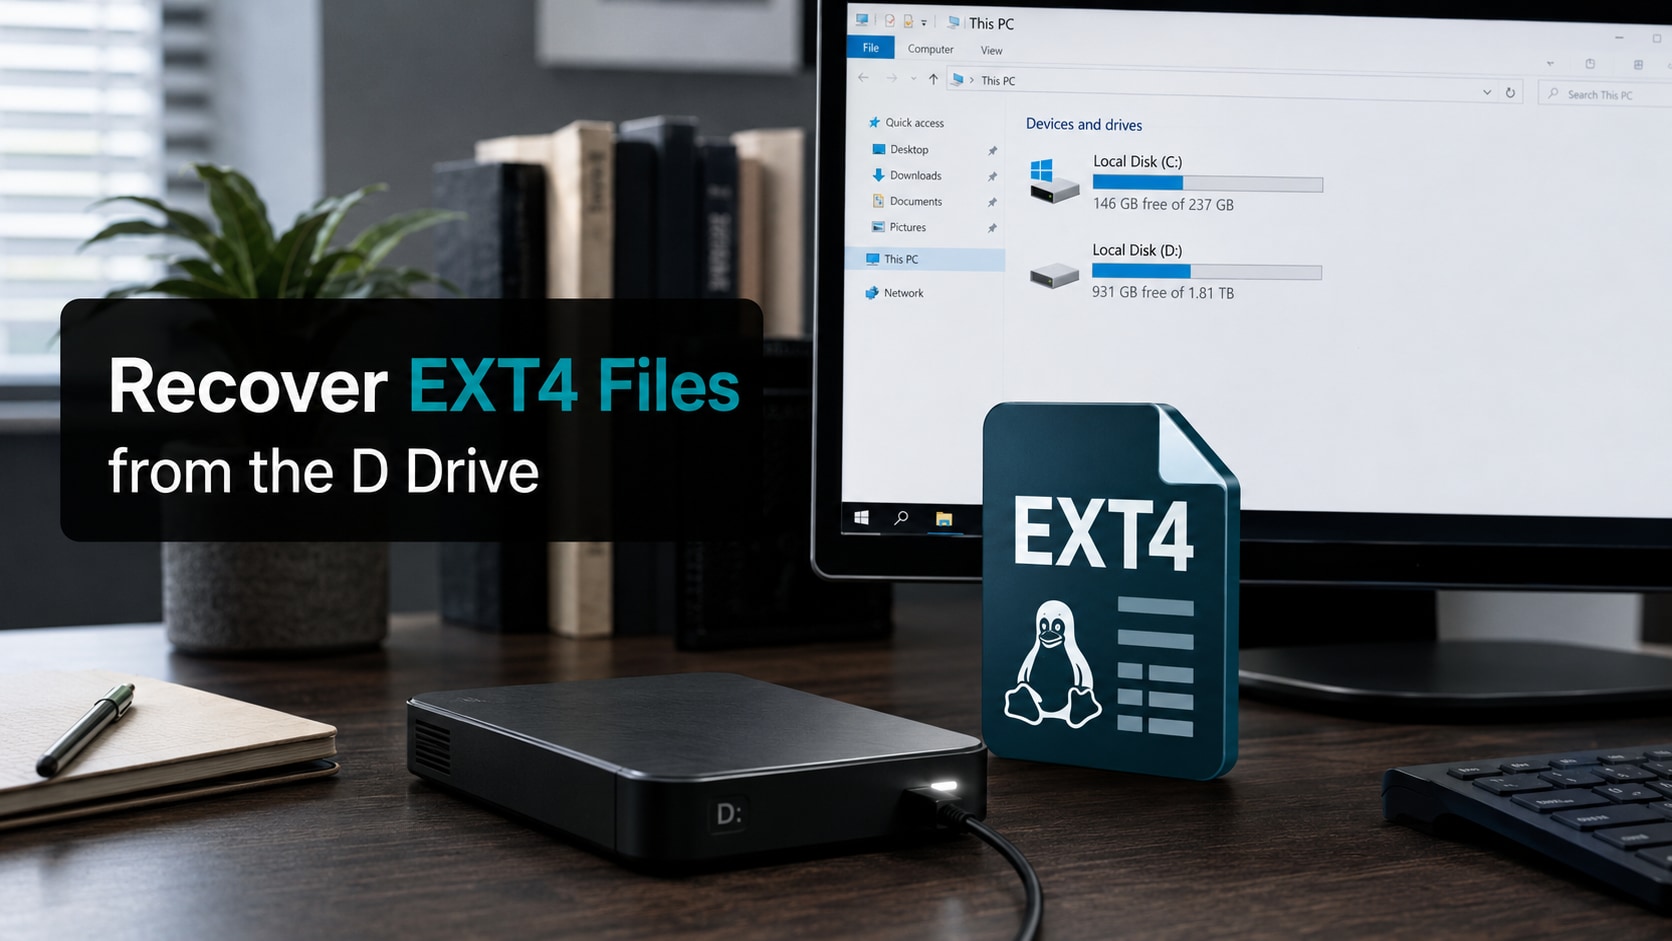
You can recover EXT4 files from a D drive that appears RAW, unallocated, or inaccessible in Windows by bypassing format prompts and running a sector-level deep scan with a data recovery tool like Recoverit.
● Stop writing new data immediately and cancel any Windows prompts asking to format or initialize the partition, as this will overwrite the EXT4 file system structure and lower your chances of success.
● Check for existing Linux-based backups, such as rsync folders, Timeshift snapshots, or Clonezilla disk images, which offer the safest restoration method without requiring a full drive scan.
● You must save all recovered files to a completely different healthy drive or external storage device, because writing data back to the original D drive will permanently overwrite the remaining lost sectors.
Ask AI for a summary
 ChatGPT
 Perplexity
 Gemini
 Claude
 Grok
Grok
Can You Recover EXT4 Files From the D Drive?
You can often recover EXT4 from D Drive even when the partition looks RAW, missing, or inaccessible, as long as the underlying disk is still detected and has not been heavily overwritten. Success depends on factors like whether Windows or disk tools can still see the D drive, how the EXT4 file system was damaged, and how quickly you stop using the affected partition.
Recovery is not guaranteed, especially if the D drive has been reformatted, repartitioned, or used extensively after data loss, but careful handling greatly improves your chances. Start by checking how the D drive appears in File Explorer and Disk Management, avoid formatting prompts, look for any backups, and then use data recovery software to scan the drive before attempting any repair.
In this article
Common Reasons EXT4 Files Get Lost From the D Drive
EXT4 files on the D drive can disappear for many reasons, ranging from simple user mistakes to serious file system corruption. Understanding what went wrong helps you choose the safest recovery approach and avoid making the problem worse.
- Accidental deletion of files or folders on the EXT4 partition that was mapped to the D drive in a Linux or dual-boot setup.
- File system corruption on the EXT4 volume due to improper shutdowns, power loss, forced restarts, or unsafe removal of a disk or enclosure hosting the D drive.
- Repartitioning or formatting the disk that held the EXT4 D drive, such as converting the space to NTFS or merging partitions, which can overwrite file system metadata.
- Windows showing the D drive as RAW or unallocated after a crash, driver issue, or system update, making the original EXT4 structure inaccessible.
- Using or uninstalling third-party EXT4 drivers or virtual machines in a way that leaves the EXT4 D drive unmounted, hidden, or accidentally formatted.
- Physical issues with the disk that contains the D drive, such as bad sectors or failing hardware, which can damage parts of the EXT4 file system and stored data.
How to Recover EXT4 Files From the D Drive
To recover EXT4 files from the D drive safely, start with non-destructive checks, then restore from any available backups, and finally use professional data recovery software to scan the affected space. Work methodically and avoid formatting, converting, or writing new data to the D drive until you have retrieved what you need.
Method 1. Check Whether the D Drive and EXT4 Partition Are Still Accessible
Start by confirming that Windows can still see the D drive and that the EXT4 volume is not simply hidden or unmounted. These checks help you understand whether the issue is visibility, file system corruption, or accidental deletion.
- Open File Explorer and confirm whether the D: drive is listed. Note any error messages when you try to open it, such as Access Denied or You need to format.
- Right-click Start, choose Disk Management, and look for the D drive. Check if the partition shows as Healthy, RAW, Unallocated, or has no drive letter assigned.
- If the D drive partition exists but lacks a drive letter, right-click it, select Change Drive Letter and Paths, and assign D or another free letter without formatting.
- If you previously used an EXT4 driver for Windows, reopen that software and confirm the EXT4 volume on the D drive is mounted and not disabled or hidden.
- Avoid running format or quick initialize wizards suggested by Windows. Close them and proceed with data recovery steps before any repair or conversion.
Method 2. Restore EXT4 Files from Backups or Previous Copies of the D Drive
If the D drive held an EXT4 partition used by a Linux system or dual-boot setup, you may already have backups or disk images. Restoring from these copies is often the safest way to get your data back.
- Check any Linux backups you created, such as rsync folders, Timeshift snapshots, Deja Dup archives, or tar archives that include directories from the D drive EXT4 volume.
- If you previously imaged the disk with Clonezilla or a similar tool, locate the image file stored on another drive and verify it covers the partition that was mapped as the D drive.
- On Windows, review external drives or NAS devices for manually copied project folders, virtual machine disks, or home-directory backups originally stored on the D: EXT4 partition.
- If you used cloud sync from Linux, sign in to that cloud account and check whether important directories from the D drive, such as /home or project folders, were synchronized.
- When restoring from backups or images, write the recovered files or restored folders to a different healthy drive, not back onto the damaged D drive, to avoid overwriting recoverable data.
Method 3. Use Recoverit to Recover EXT4 Files from the D Drive
When the D drive partition is EXT4 and Windows shows it as inaccessible, RAW, or unallocated, you can scan it with Recoverit. The tool focuses on reading sectors and rebuilding lost files without repairing or converting the file system.
Recoverit is designed to help you access and recover data from drives and partitions that have become RAW, inaccessible, or accidentally formatted, including situations where an EXT4 volume was on the D drive under Windows. You can download it from the Recoverit official website and run a deep scan before attempting any repair or repartitioning.
- Scans entire disks or specific partitions, including areas previously used by EXT4 volumes on the D drive.
- Supports deep sector-level scanning to locate lost folders, large project files, and other user data even when the file system is damaged.
- Allows preview of many recovered files before saving them to another safe location, helping you verify results without altering the D drive.
- Choose a Location to Recover Data. Open Recoverit and look under Hard Drives and Locations. Select the D: drive or the physical disk that contained the EXT4 partition so the scan targets the correct area.

- Deep Scan the Location. Start the scan and let Recoverit analyze the entire selected space. This may take time, especially if the D drive is large or has suffered file system corruption.

- Preview and Recover Your Desired Data. Browse the scan results, filter by type or search by name, and preview important files. Select needed items and recover them to a different drive or external storage device.

Try Recoverit to Recover EXT4 Files from the D drive
 Security Verified. 3,591,664 people have downloaded it.
What to Check Before and During Recovery
Before you run any repair tools or make major changes to the D drive, verify a few key points to avoid unnecessary data loss and to give your EXT4 recovery the best chance of success.
- Confirm the D Drive Is Detected: Check both File Explorer and Disk Management to ensure the D drive or its underlying disk still appears. If it is missing entirely, recovery may require professional hardware diagnostics.
- Avoid Formatting or Initializing the Partition: If Windows prompts you to format or initialize the D drive, cancel the dialog. Formatting can overwrite file system structures and reduce the chance of recovering EXT4 data successfully.
- Check Drive Letter and Partition Layout: Verify that the D drive letter has not been reassigned and that the partition size matches expectations. Unexpected changes may indicate overwrites or repartitioning that affect recoverability.
- Ensure the Drive Connection Is Stable: If the D drive is hosted on a removable bay or external enclosure, check cables and ports. Intermittent disconnections during scanning can corrupt results and interrupt recovery operations.
- Prepare Enough Space on Another Drive: Before scanning, confirm that another internal or external drive has enough free capacity to store all recovered EXT4 files. Lack of space can force you to pick and choose under pressure.
- Check for Encryption or Access Restrictions: If the EXT4 volume was encrypted or protected, make sure you can unlock it in its original system. Recovery software cannot bypass missing keys, passwords, or container passphrases.
Tips to Improve the Recovery Success Rate
A few careful habits can significantly improve how many EXT4 files you can get back from the D drive and how intact they are after recovery.
- Stop Writing New Data to the D Drive: As soon as you notice missing EXT4 files, avoid copying, installing, or downloading anything to the D drive. New writes can overwrite deleted data and reduce recovery chances.
- Work From a Different System Drive When Possible: Install recovery software and store recovered files on a separate partition or external disk. Keeping all new activity away from the D drive helps preserve its remaining EXT4 data.
- Run a Full Scan, Not Just a Quick One: For an EXT4 partition that appears RAW or unallocated, let the recovery tool complete a full deep scan. This increases the likelihood of finding fragmented folders and large project files.
- Verify Recovered EXT4 Files on a Safe System: After recovery, open and test important files on a stable system or in a virtual machine. Confirm that documents, databases, and project directories behave as expected before deleting old media.
- Document the Original Partition Layout: Before attempting any repair, take screenshots of Disk Management or Linux partition tools. Recording sizes and positions helps avoid mistakes if you later rebuild or migrate the EXT4 volume.
- Create a Sector-Level Image Before Experiments: If the D drive is unstable, consider imaging the disk with a specialist tool first. Working from an image can reduce risk while you try different recovery or repair approaches.
Conclusion
Recovering EXT4 files from the D drive is often possible if you act carefully and avoid formatting or repairing the partition too early. Start by checking how Windows and disk tools see the drive, then look for any existing backups or disk images.
When no recent backup exists, a deep scan with Recoverit can help locate and recover data from the affected D drive space before you attempt any file system repair or repartitioning. Always save recovered files to a different storage device and verify them before making permanent changes to the drive.
Next: Recover BTRFS Files from the D drive
FAQ
-
1. Can Windows recover files from an EXT4 partition on the D drive directly?
Windows does not natively support EXT4, so it cannot directly browse or repair that file system. However, data recovery tools like Recoverit can scan the underlying sectors of the D drive and extract recoverable files. -
2. The D drive shows as RAW. Can I still recover EXT4 files?
If the D drive now appears as RAW or unallocated, do not format it. In many cases, a deep sector-level scan can still detect and recover files that were previously stored on the EXT4 partition. -
3. What if I accidentally formatted the D drive that contained an EXT4 volume?
Stop using the drive immediately. A quick format does not erase all data at once, so recovery software may still find some EXT4 files, but the success rate depends on how much new data was written afterward. -
4. Can Recoverit repair a damaged EXT4 file system on the D drive?
Recoverit focuses on recovering data, not repairing or converting file systems. Use it to extract your files first, then consider rebuilding, reformatting, or converting the D drive with appropriate partition tools afterward. -
5. Is it safe to save recovered EXT4 files back to the D drive?
No. Saving recovered data to the same D drive can overwrite remaining recoverable sectors. Always choose a different partition, external drive, or network location as the destination for recovered files.


