Is your computer refusing to start? Saying it's frustrating would be an understatement. After all, you could lose critical business documents, personal files, and other data.
Don't panic because you can still salvage all your data. How is that possible? Well, your files aren't inaccessible when Windows won't boot. You only need specific tools to access them.
Discover how to back up files when computer won't boot to avoid data loss.
Table of Content
5 Ways to Back Up Files When Computer Won't Boot
The following tried-and-tested methods will help you back up files when your Windows computer won't boot. They include many similar steps, so following through will be a breeze.
Way 1: Use a Recovery Tool
Professional recovery tools are perfect for backing up files when your computer won't boot. Wondershare Recoverit, a powerful and reliable data recovery tool, is highly recommended for efficiently backing up and recovering files from an unbootable computer using a bootable USB.
To use Wondershare Recoverit to extract data from a Windows computer that won't boot, you will need:
- An additional working computer
- A blank USB drive with at least 4 GB of space
Here is a video tutorial on how to copy data from an unbootable computer using this crashed computer recovery software:
Here's the step-by-step guide for backing up files from an unbootable computer using Wondershare Recoverit:
- Plug a blank USB flash drive with at least 4 GB of space into a working computer.
- Download and install the program on the computer.
- Click System Crashed Computer and hit Start.

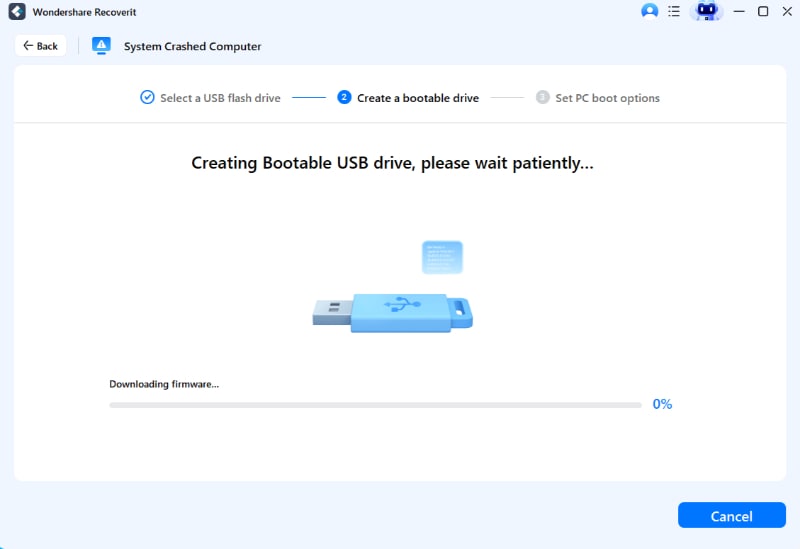
- Select the connected USB drive and click Start.

- Follow the on-screen instructions to make the USB bootable.
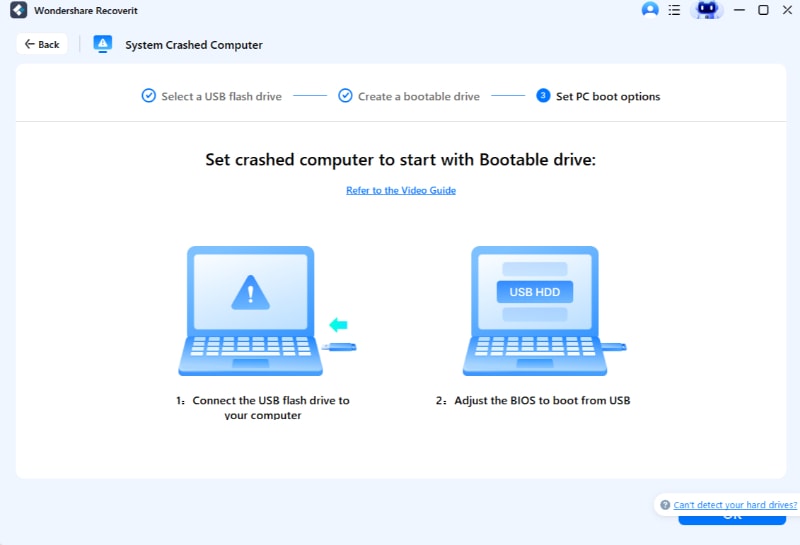
- Connect the bootable USB to your crashed computer and follow the steps for setting the PC to boot from the USB drive. You'll find a helpful video tutorial in the interface.
- Once everything is in order, click on either Hard Disk Copy (to copy existing files from the unbootable computer to an external storage) or Data Recovery (to scan the computer for any deleted or lost files and save them to an external storage). Then, connect an external drive to your PC to move data to a safe storage location.

Way 2: Back Up Your Files in Safe Mode
Safe Mode loads the bare minimum of Windows resources to help you troubleshoot system issues. However, you can also salvage files if your PC refuses to start.
Here's how to back up files from an unbootable computer in Windows Safe Mode:
- Long-press the Power button to shut down your PC forcibly.
- Power it back on and repeat Step 1 once you see the Windows logo.
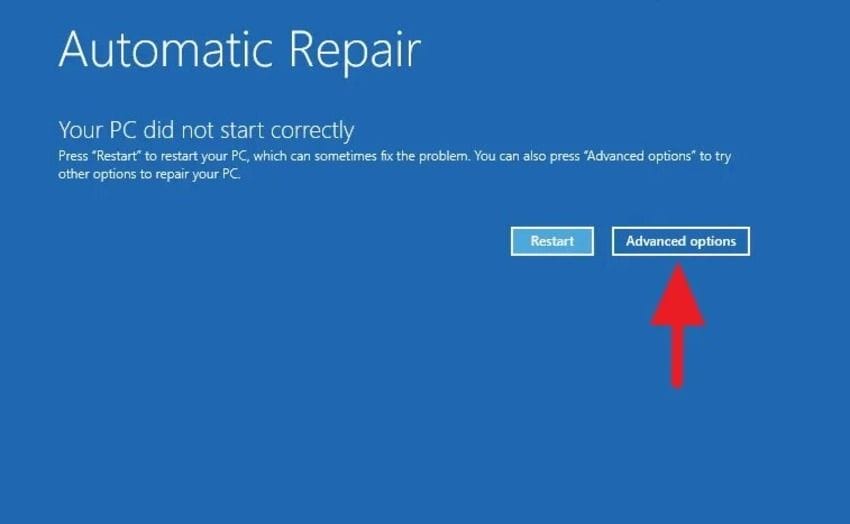
- Repeat Steps 1–2 so your computer can enter the Automatic Repair environment.
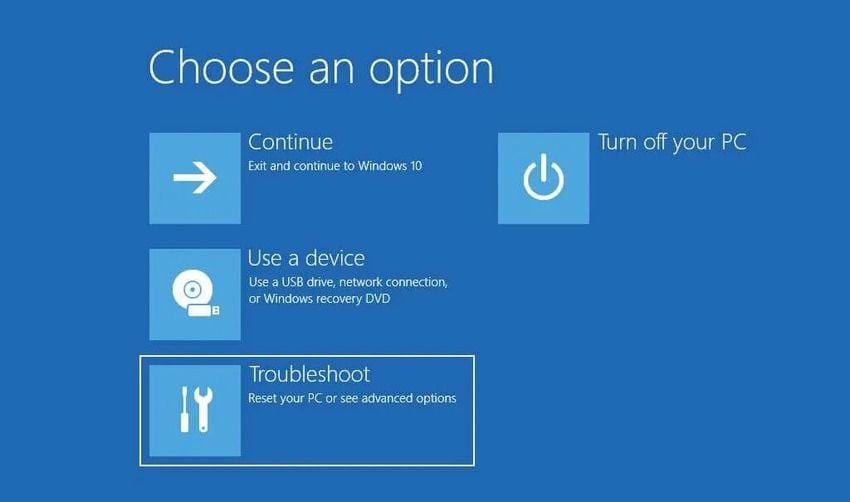
- Click Advanced Options if your PC still won't start.
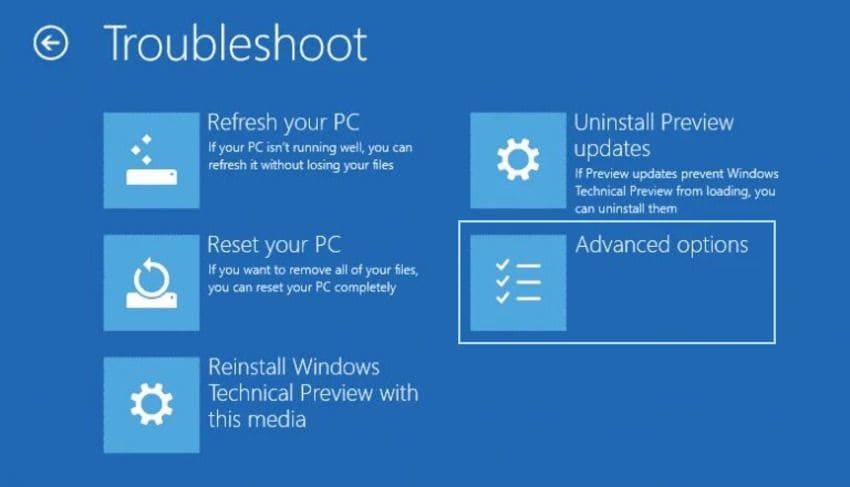
- Click Troubleshoot.
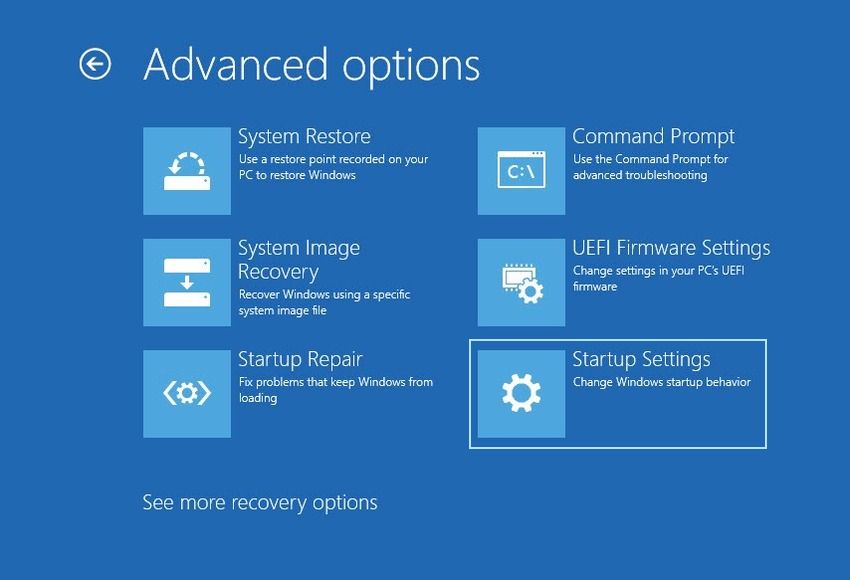
- Select Advanced Options.
- Click Startup Settings.
- You'll see three Safe Mode options. Press the corresponding function or number key.
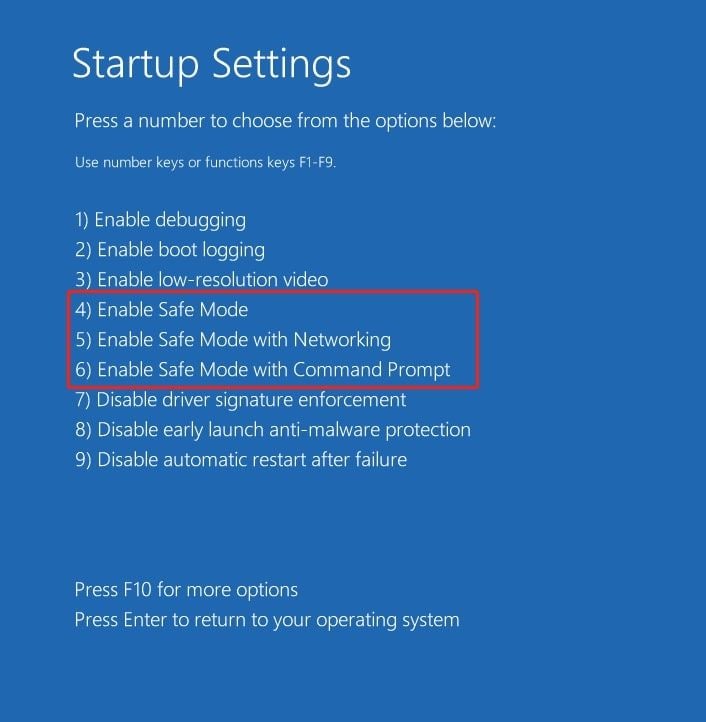
- Connect a USB or another external drive to your computer.
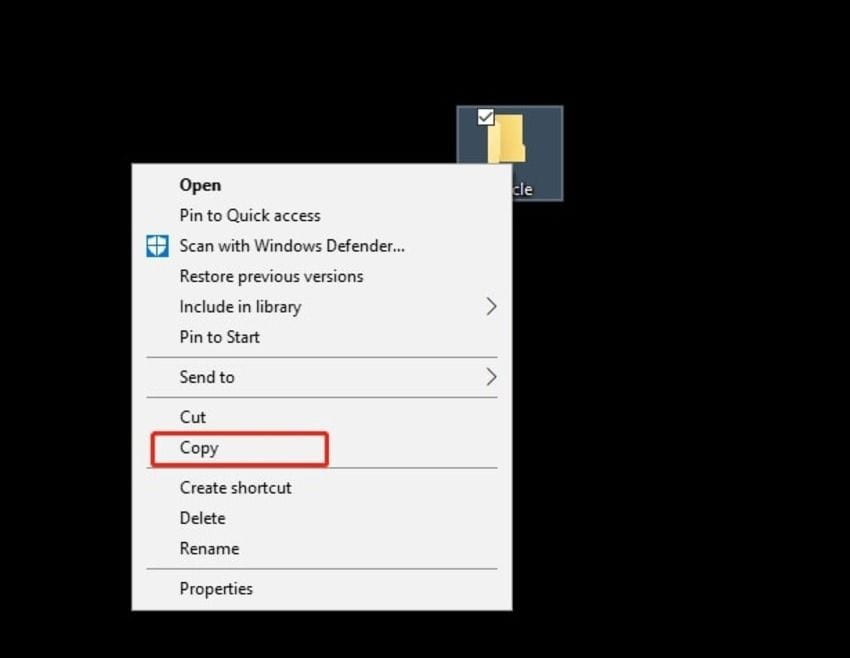
- If you've enabled Safe Mode with F4, copy and paste the desired folders or files to the removable disk.
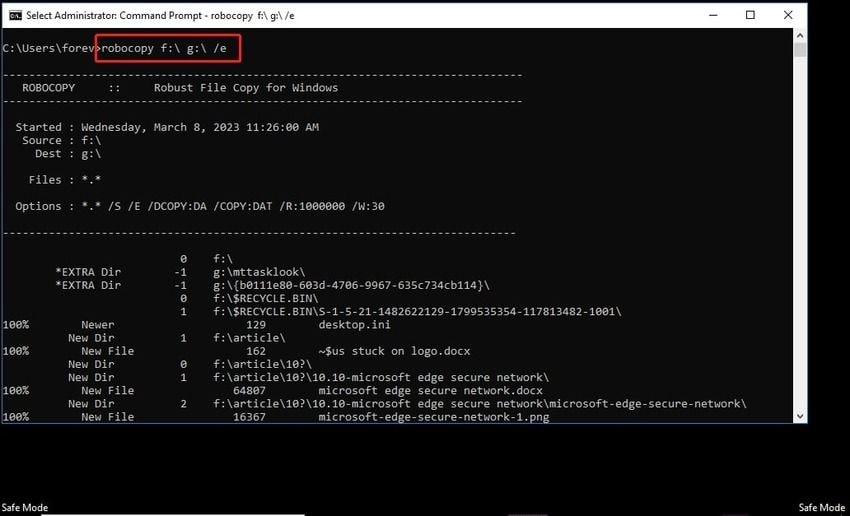
- If you've started Safe Mode with the Command Prompt (F6), use Robocopy to back up data from your unbootable computer. This command-line utility is ideal for copying entire volumes. Run this command: robocopy f:\ g:\ /e (replace f with the drive you wish to save and g with the target disk). The e parameter instructs Robocopy to include all subfolders.
Way 3: Use a Windows Installation Disc to Back up Files
A Windows installation disc (if you have one) can help you boot your computer. It's perfect when your PC won't start in Safe Mode or when you need to reinstall the OS.
Here's how to boot your PC from a Windows installation disc and back up files:
- Insert the disc into your PC.
- Long-press the Power button to shut down your computer before powering it back on.
- Immediately press F2, F8, F10, F12, or Delete to enter the BIOS (depending on your computer's brand and model). You'll see the correct key at the bottom of the screen.
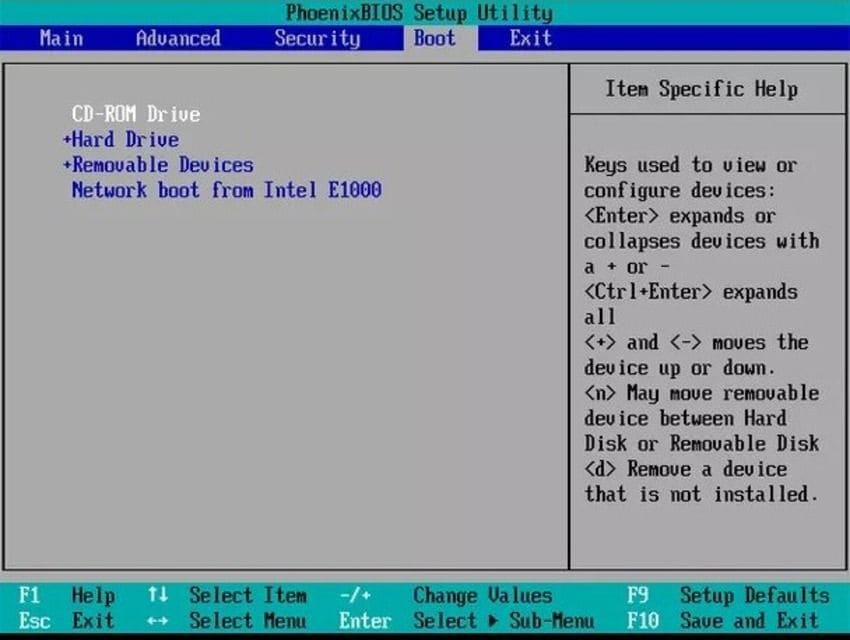
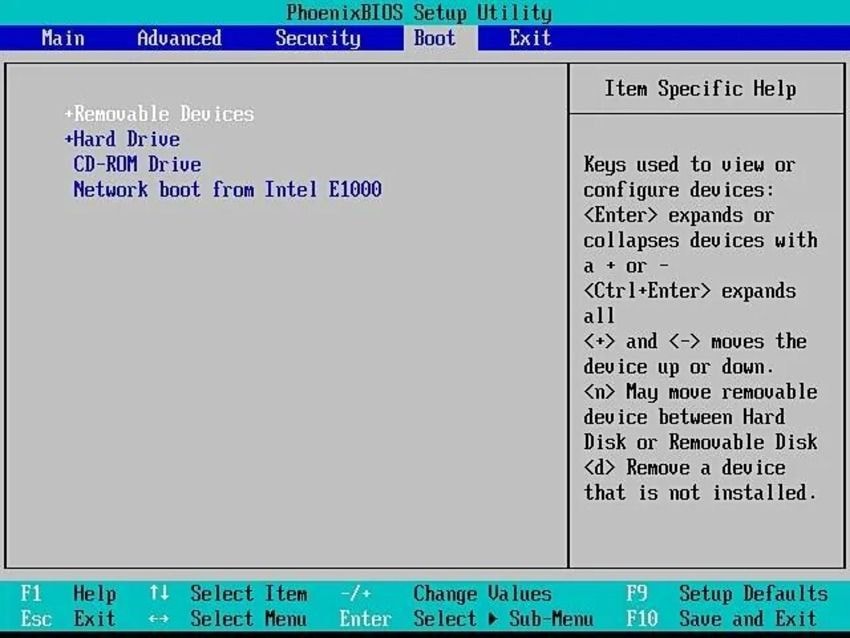
- Switch from the Main to the Boot tab using the ➜ key.

- Move the CD-ROM Drive option to the top (if it isn't there already) using the + or - key.
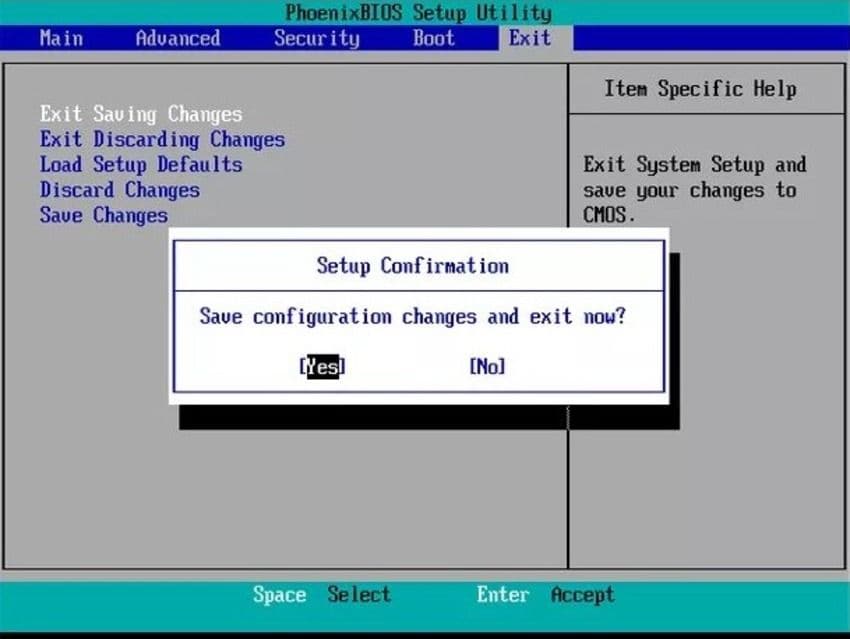
- Navigate to the Exit tab and hit Enter > Yes to save the changes (or discard them if you've set something incorrectly so you can go back). Alternatively, press F10.
- You'll see a black screen with this text: "Press any key to boot from a CD or DVD." Do what it tells you.
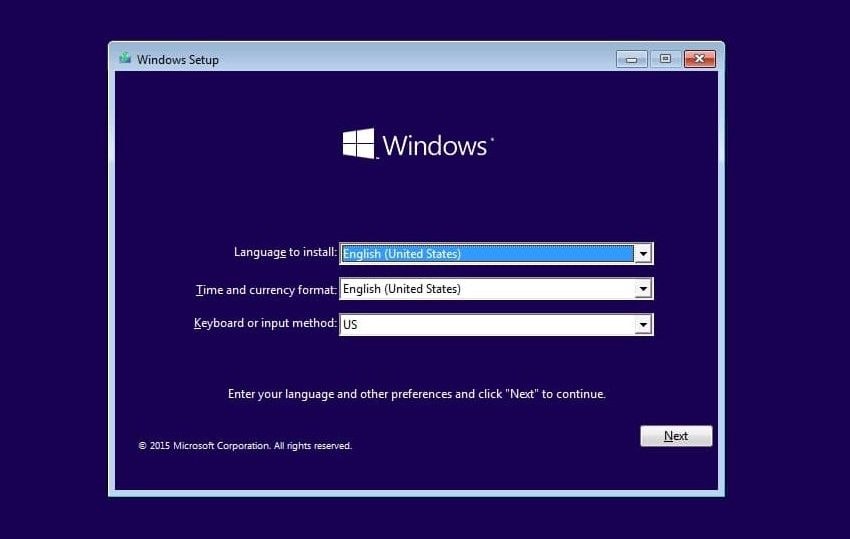
- Click Next on the Windows Setup screen.
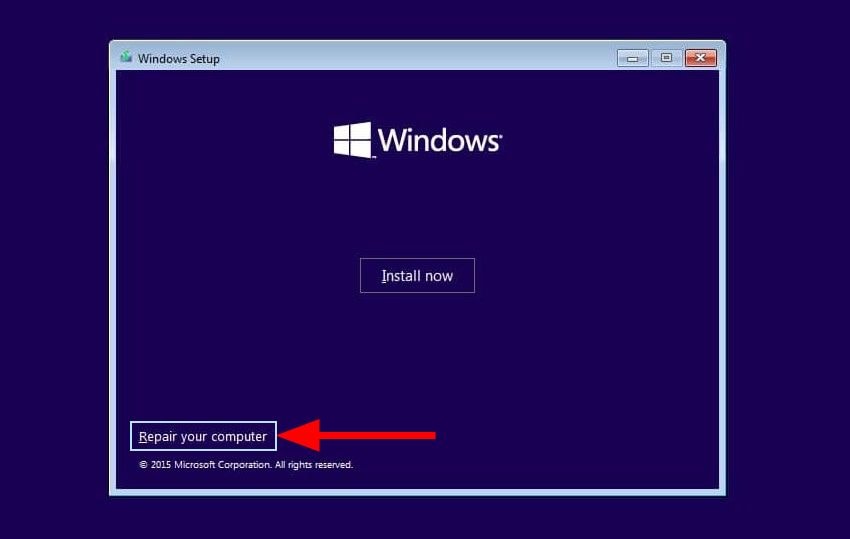
- Click Repair your computer.
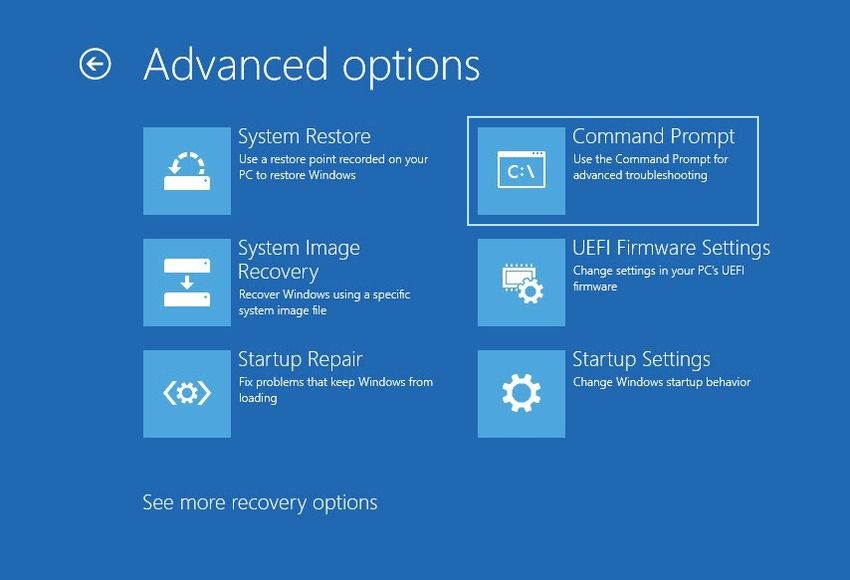
- Navigate to Troubleshoot > Advanced Options > Command Prompt.
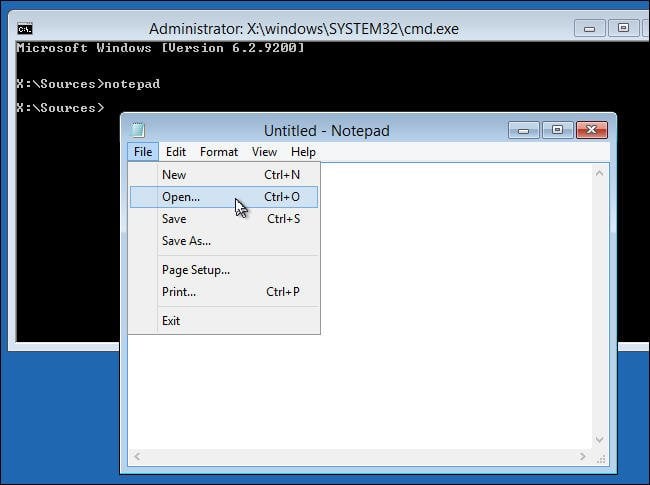
- Type notepad or notepad.exe to execute the program.
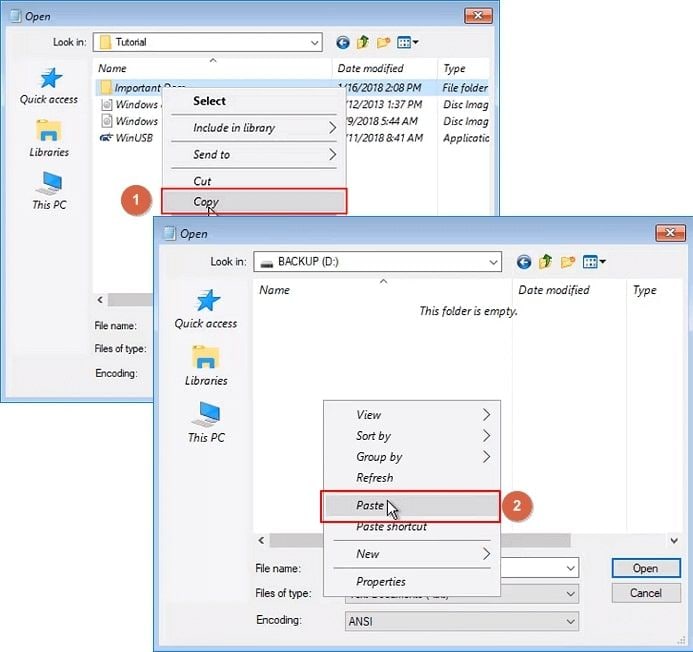
- Click File > Open to find the data you wish to salvage.
- Connect a USB or another external storage device to your PC.
- Use the Open dialog box like File Explorer to navigate to the desired folders and files. Right-click them to copy and paste them to the removable drive.
You can now boot your system from the installation disc and have access to your files stored on the computer.
Way 4: Boot From a USB Drive to Back Up Files
Booting Windows from a USB drive is your only option if your computer doesn't have an optical drive. Although a recovery tool like Wondershare Recoverit can help you create a bootable USB and retrieve data, you can do it manually by following these steps:
- Connect a blank USB drive with at least 8 GB of space to a working computer.
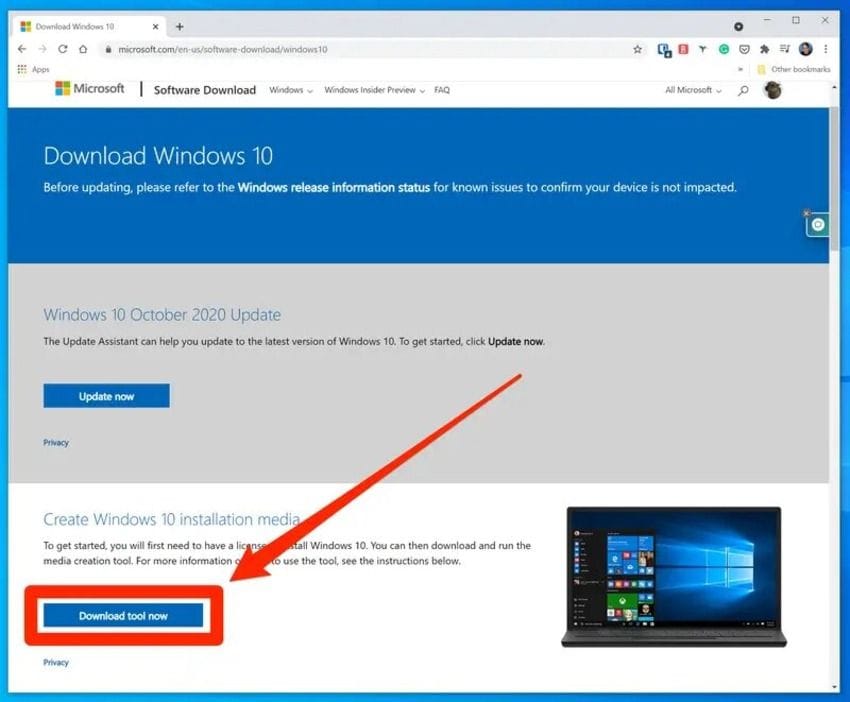
- Get Microsoft's Media Creation Tool from the official Windows 10 Software Download or Windows 11 Software Download page.
- Open the file and accept the terms and conditions.
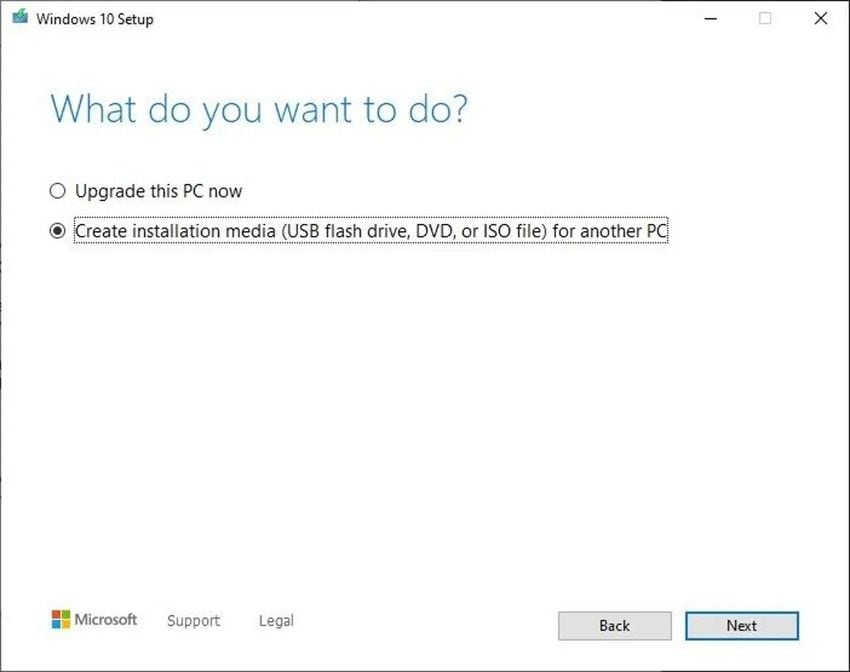
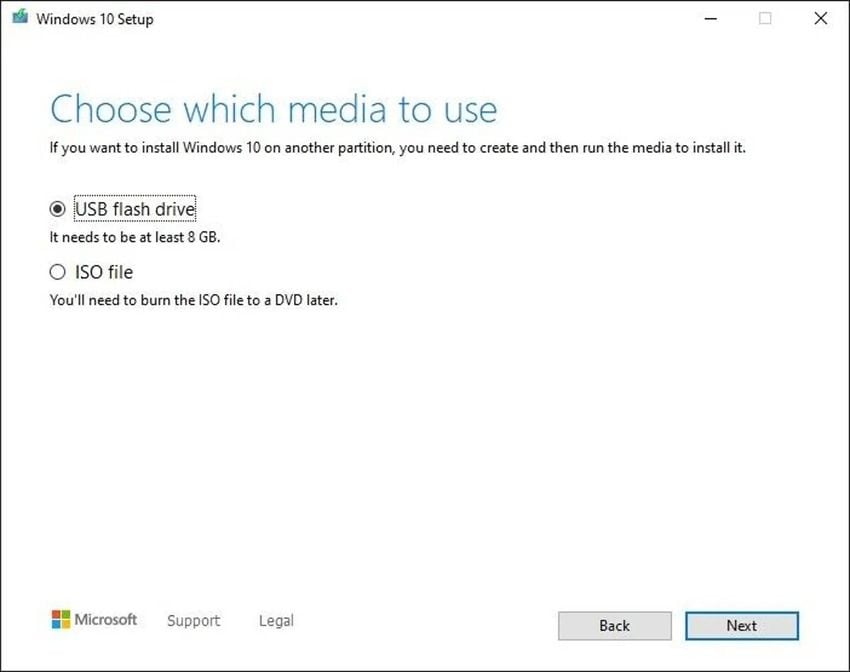
- Click Create installation media for another PC and hit Next.
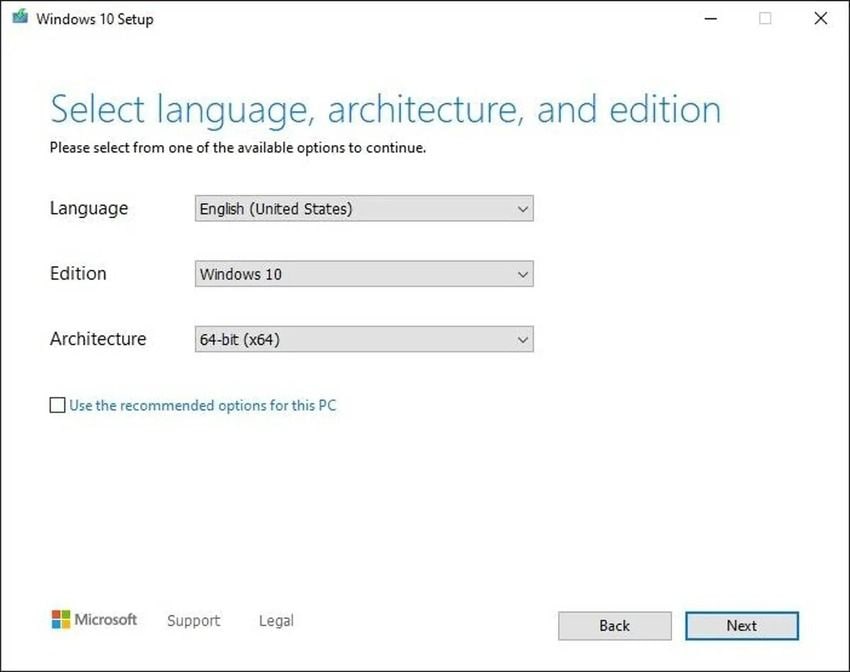
- Tick the checkbox for recommended PC options and click Next.
- Click the USB flash drive and hit Next.
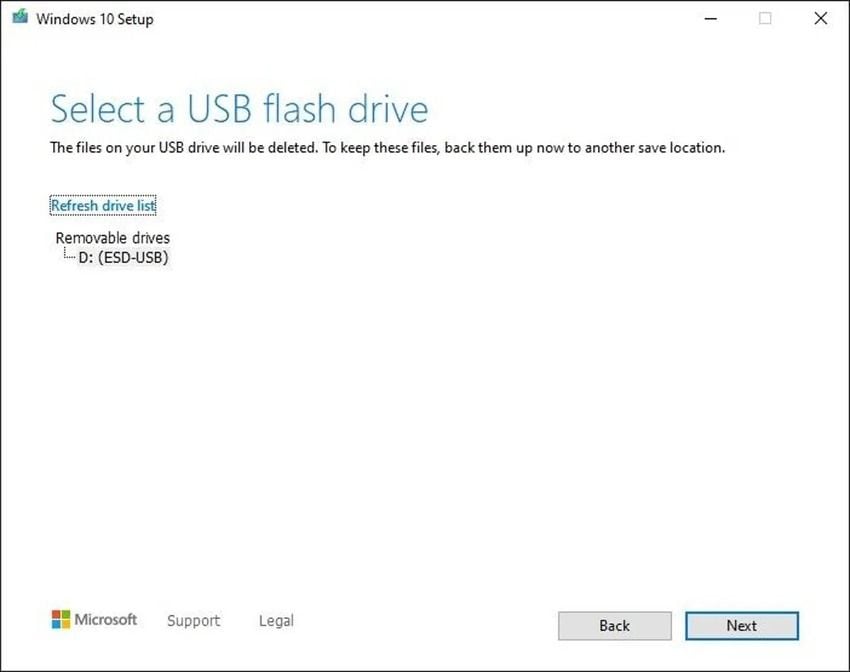
- Select your USB and click Next.
- Once you have a bootable USB, plug it into your crashed computer and forcibly restart the PC to enter the BIOS (follow the steps from the previous section).
- Navigate to the Boot tab and press Ctrl + Enter to expand all options to see where your USB is (under Removable Devices or Hard Drive). Select it with the Enter key and move its parent folder to the top with the + or - key. Hit F10 to save the changes and exit the BIOS.
- Your PC will now boot from the USB. Follow the steps from the previous section to launch the Command Prompt and save your files to another external drive.
Way 5: Remove the Computer Hard Drive and Connect It to Another Computer
Another way to back up data from a computer that won't boot is to remove the hard drive and connect it to a working PC. Here's what to do:
- Shut down your Windows PC, unplug the power cable, and disconnect your HDD.
- Connect your SATA or IDE drive with a compatible USB HDD adapter to a working computer. You can also use a disk enclosure, but it's faster without it.
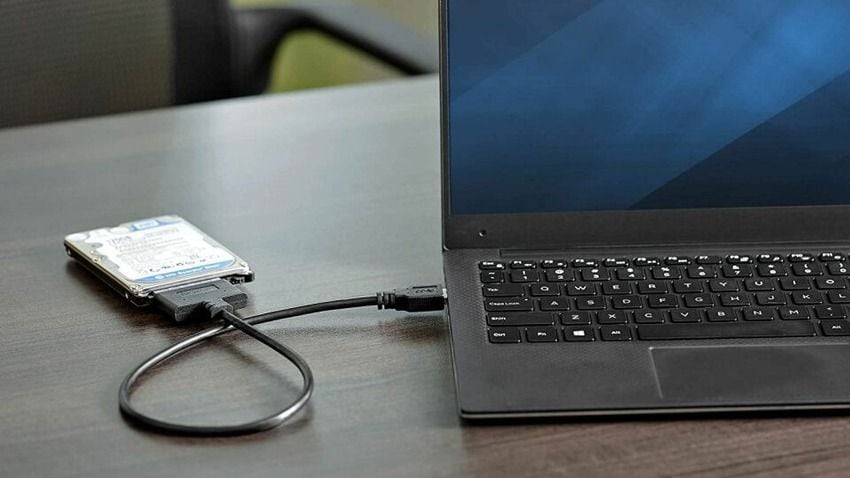
- Go to File Explorer > This PC and copy the desired data to the computer.
Always Back up Data in the Future to Avoid This Problem

Regular data backups can save you the trouble and headache of following all the steps above and trying to salvage files when Windows refuses to boot.
A reliable backup manager like Wondershare UBackit can be your best ally because it lets you schedule automatic backups (daily, weekly, monthly, or ongoing) and encrypt files, emails, disks, partitions, and NAS devices.
Here's how straightforward it is:
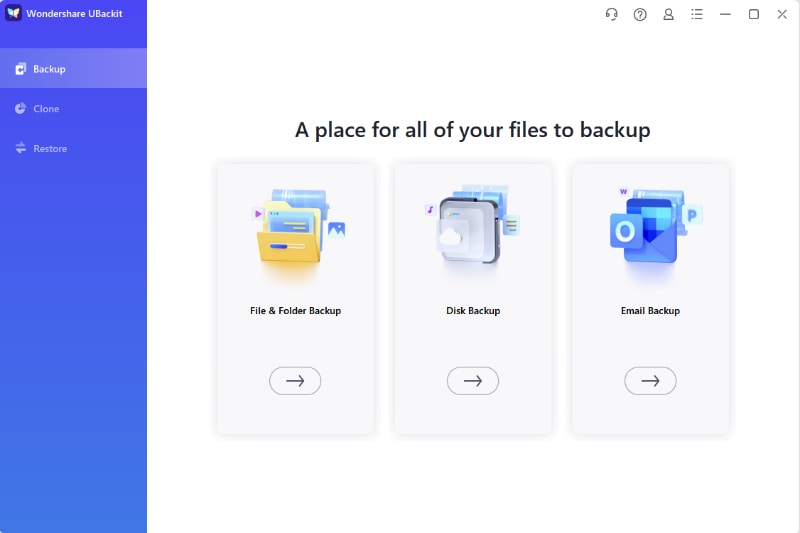
- Once you download and install the program, click Backup and select File & Folder Backup or Disk Backup.
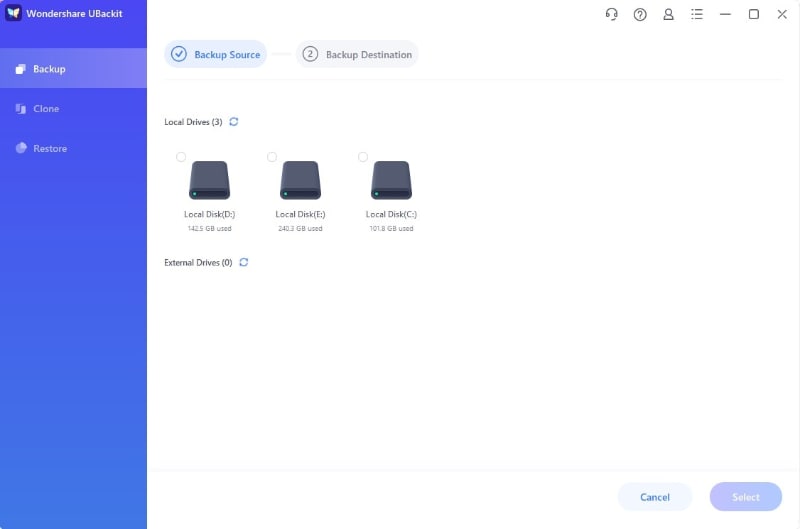
- Choose the desired folders and files or an entire disk (depending on your chosen backup option).
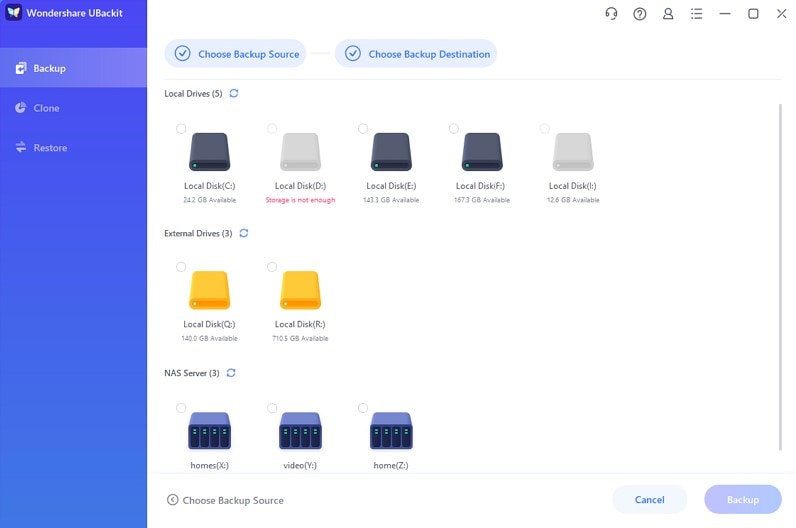
- Pick a local or external drive as the target destination and click Backup.
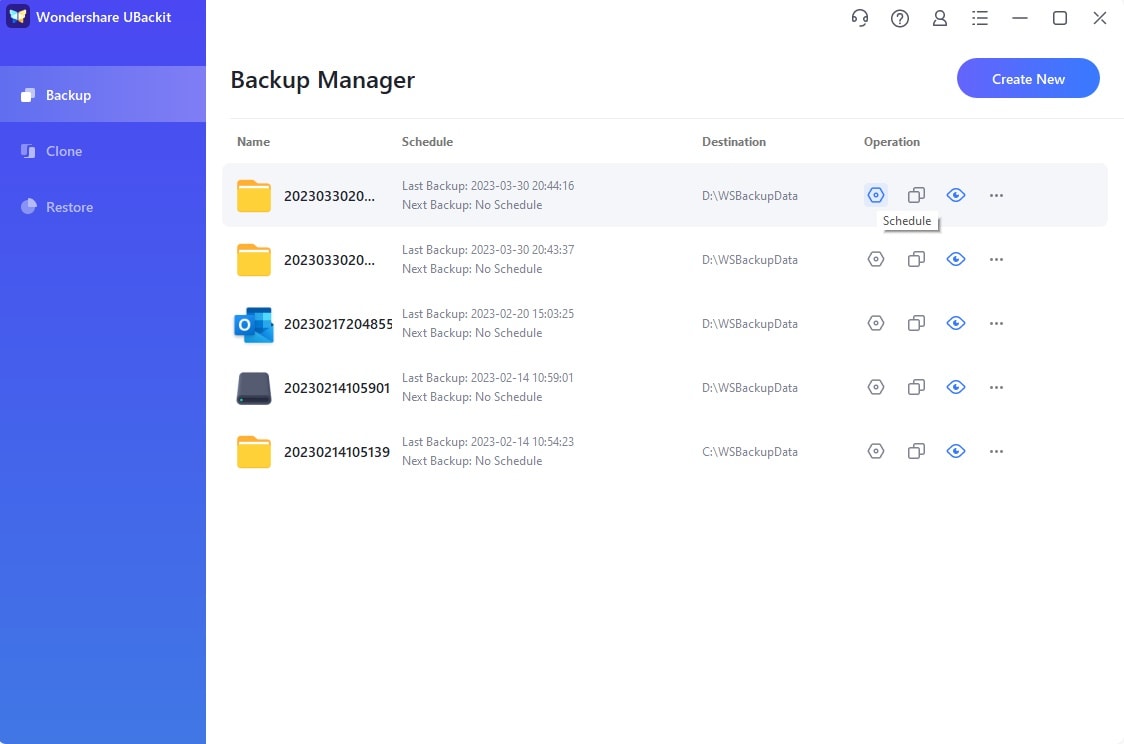
- Once the process completes, schedule automatic backups to avoid data loss in expected scenarios like Windows refusing to boot.
Conclusion
Windows refusing to boot can be problematic because you might need to reinstall the OS. However, that doesn't necessarily mean losing data. You can still access it with specific tools like Wondershare Recoverit and the Command Prompt in Safe Mode.
Now that you know how to back up data from an unbootable computer, it's time to follow the steps and recover all files. Once you do, utilize the intuitive Wondershare UBackit to schedule automatic backups and avoid data loss.
FAQs
-
How do I transfer files from a computer that won't boot?
The most straightforward method includes using Wondershare Recoverit. Here's what to do:- On a working computer, download and install Recoverit.
- Launch Recoverit and select "System Crash Data Recovery."
- Connect a blank USB drive (at least 4 GB) to the working computer.
- Click "Start" and select the connected USB drive to create a bootable media.
- Once the bootable media is created, eject the USB drive from the working computer.
- Connect the bootable USB to the unbootable computer and access its BIOS setup.
- Change the boot order in the BIOS to prioritize booting from the USB drive.
- Once the computer boots up, click Hard Disk Copy
- Connect an external drive to your PC to transfer data to an external drive.
-
How do I restore my computer if it won't start?
You can boot your computer in Safe Mode, rely on Windows Automatic Repair, or troubleshoot the problem in the Advanced Options. If that doesn't bear fruit, restore your computer from a bootable USB drive or Windows installation disc and recover files with the Command Prompt or Wondershare Recoverit. -
Is it possible to retrieve data from a dead laptop?
You can recover data from a dead laptop by removing the hard drive and connecting it to a working computer using a USB HDD adapter compatible with your SATA or IDE disk. Then, you can use File Explorer to copy data to the PC. -
Can I reinstall Windows on an unbootable computer?
You can reinstall Windows on an unbootable computer using a Windows installation disc or bootable USB. Find the corresponding steps above to boot your PC. The subsequent steps to install Windows will be a breeze because the on-screen instructions are easy to follow and require no technical knowledge.