

 TL;DR:
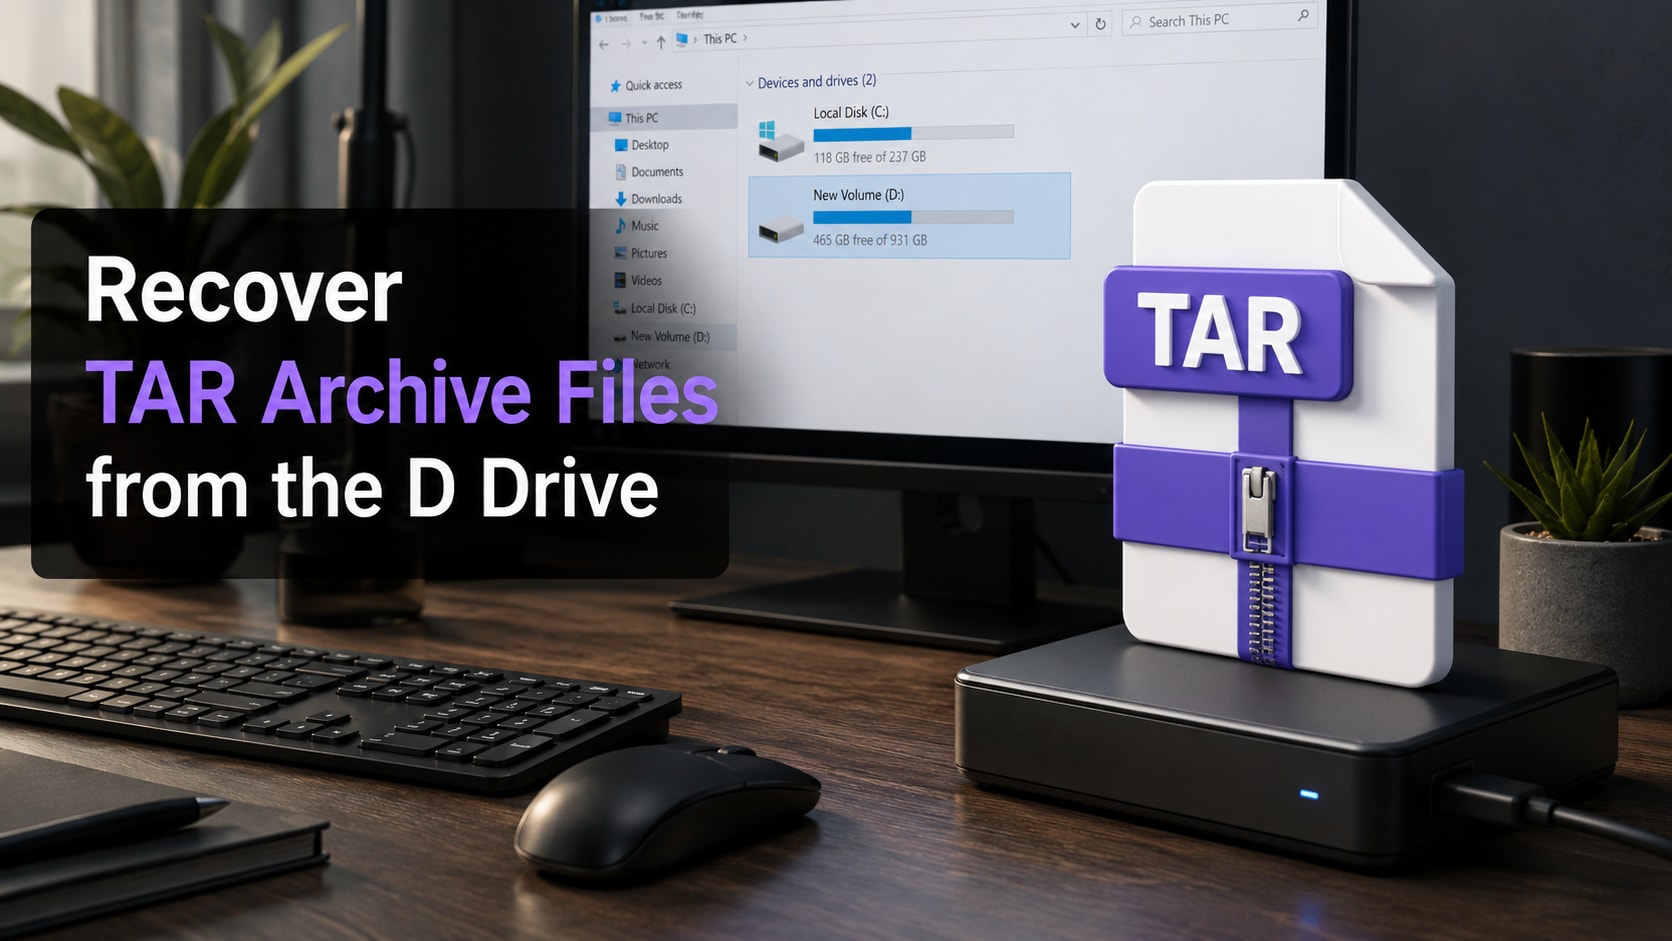
You can recover lost TAR archive files from a D drive as long as the drive remains detectable by the OS and the storage sectors haven't been overwritten by new data, though complete restoration is never guaranteed.
● Check the Recycle Bin and Windows File History first, or use the chkdsk D: /f /r and dir /a D: administrative commands to fix logical file system errors and reveal hidden files before running deep-scan software like Recoverit.
● Immediately stop copying, installing, or downloading any new files to the D drive to prevent overwriting the lost TAR archives, and ensure you save any successfully recovered files to a completely different storage device.
● Recovery from a formatted D drive is only viable if a quick format was performed without subsequent large data writes, and restored TAR files must be manually test-extracted post-recovery to verify they are not partially corrupted.
Ask AI for a summary
 ChatGPT
 Perplexity
 Gemini
 Claude
 Grok
Grok
Can You Recover TAR Archive Files From the D Drive?
In many situations, it is possible to recover .TAR (Tape Archive) from D Drive, especially if the loss was recent and the drive has not been heavily used since the TAR archive files went missing. As long as the D drive is still detectable by your computer and the sectors where the archives were stored have not been fully overwritten, specialized data recovery tools may be able to scan the drive and restore some or all of the lost TAR archives.
However, recovery is never guaranteed. If the D drive is physically damaged, has been formatted multiple times, or large amounts of new data have been saved to it, the chance of successfully restoring TAR archive files is reduced. To give yourself the best opportunity, stop writing new data to the D drive, keep it connected safely, and follow careful recovery steps using reliable software or built-in system options.
In this article
Common Reasons TAR Archive Files Get Lost From the D Drive
TAR archive files on the D drive can disappear for many reasons, ranging from simple human error to more serious drive corruption. Understanding what caused the loss helps you choose the right recovery approach and avoid repeating the problem.
- Accidental deletion of TAR archives from the D drive, including emptying the Recycle Bin before realizing important backup archives were removed.
- Formatting or re-partitioning the D drive, which can remove file system references to existing TAR archive files even though their data may still be present on disk sectors for a time.
- File system corruption on the D drive caused by improper shutdowns, power failures, or unsafe drive removal, leading to missing or inaccessible TAR archives.
- Malware or ransomware attacks that delete, hide, or encrypt TAR archive files stored on the D drive.
- Bad sectors or hardware issues on the D drive that make certain folders or TAR archives unreadable or cause them to vanish from directory listings.
- Software crashes or interrupted archiving/backup operations that leave TAR files incomplete, corrupted, or missing from their expected locations.
How to Recover TAR Archive Files From the D Drive
There are several ways to attempt recovery of lost TAR archive files from the D drive, depending on how they disappeared and what tools you have available. You can start with simple checks such as the Recycle Bin and File History, then move on to professional data recovery software if needed.
Method 1. Check the Recycle Bin and File History for TAR Archives
If your TAR archive files were recently deleted or overwritten, Windows features like the Recycle Bin and File History may allow you to restore them quickly without any extra software. This method is non-destructive and should be tried first before deeper scans.
- Open the Recycle Bin on your desktop and look for deleted TAR archive files that were previously stored on the D drive.
- If you find the desired TAR archives, right-click them and choose "Restore" to return them to their original locations on the D drive.
- If the TAR files are not in the Recycle Bin, open the folder on the D drive where they were stored and check if Windows File History or Previous Versions are enabled.
- Right-click the folder, select "Restore previous versions," and browse available snapshots for earlier versions that still contain your TAR archives.
- Restore the entire folder or specific TAR files from the chosen snapshot to recover the missing archives to the D drive or another safe location.
Method 2. Use Windows Commands to Repair and Locate TAR Files
When TAR archive files vanish due to file system errors or directory corruption on the D drive, Windows command-line tools can sometimes fix logical issues and make hidden or inaccessible data visible again. This method focuses on repairing the drive rather than scanning raw sectors.
- Press Win + X, choose "Terminal (Admin)" or "Command Prompt (Admin)," and allow it to run with administrator privileges.
- Type "chkdsk D: /f /r" and press Enter to scan the D drive for file system errors and bad sectors, then allow Windows to repair detected issues.
- After the scan completes and your system restarts if required, browse the D drive again to see whether your missing TAR archives have reappeared.
- If the files are still missing, use the "dir /a D:" command in the terminal to list hidden or system-marked files and folders that may contain your TAR archives.
- Copy any recovered or newly visible TAR archive files from the D drive to another healthy storage device to avoid further data loss.
Method 3. Recover TAR Archives From the D Drive With Professional Software
When manual checks and basic tools cannot locate your missing TAR files, specialized data recovery software can perform a deep scan of the D drive and attempt to reconstruct lost TAR archives from remaining disk data. This is often the most effective option for complex or severe data loss.
You can download and install Recoverit from the Recoverit official website, then follow an intuitive wizard to scan the D drive and preview recoverable TAR archive files before restoring them.
- Supports recovery of many file types, including archive files like TAR, under various data loss scenarios such as deletion, formatting, or partition issues.
- Provides deep scanning of selected drives to locate lost data while offering file preview to verify TAR archives before recovery.
- Offers a user-friendly interface with step-by-step guidance suitable for both beginners and advanced users.
- Choose a Location to Recover Data. Launch the software and select the D drive as the target location where your TAR archive files were stored before they were lost. Confirm that the drive is correctly detected and then start the scan process.

- Scan the Selected D Drive. The program will perform a comprehensive scan on the D drive, automatically searching for deleted, lost, or formatted TAR archive files. You can monitor progress and use filters such as file type or path to narrow down potential results while the scan runs.

- Preview and Recover the TAR Files. After the scan, browse or search the list of found items for TAR archive files, then preview what is available. Select the TAR files you want to restore and choose a different safe location (not the D drive) as the recovery destination before starting the recovery process.

Try Recoverit to Recover TAR Archive Files from the D drive
 Security Verified. 3,591,664 people have downloaded it.
What to Check Before and During Recovery
Before you attempt to recover TAR archive files from the D drive, it is important to confirm a few key conditions and follow safe practices so you do not accidentally worsen the data loss situation.
- Drive Recognition Status: Ensure the D drive is recognized by your operating system and appears in File Explorer or Disk Management so that recovery tools can access it.
- Physical Condition of the Drive: Listen for unusual noises and avoid using recovery software if the D drive shows signs of serious hardware failure; seek professional help instead.
- Available Storage Space: Prepare another internal or external drive with sufficient free space to store recovered TAR archive files safely.
- Stop Writing New Data: Do not copy, move, or install new files or programs to the D drive to reduce the risk of overwriting lost TAR archives.
- Stable Power Supply: Keep your computer connected to a reliable power source to prevent interruptions during scanning and recovery operations.
- Read-Only Access When Possible: Treat the D drive as read-only during recovery attempts and avoid running disk cleanup or defragmentation tools on it.
Tips to Improve the Recovery Success Rate
Certain habits and precautions can significantly increase the likelihood of successfully restoring lost TAR archives from the D drive and help you protect future backups or compressed data.
- Act Quickly After Data Loss: Start the recovery process as soon as you notice TAR files are missing, because waiting and using the D drive normally can overwrite recoverable data.
- Use Reliable Recovery Software: Choose well-known and trusted tools instead of random free utilities that might damage the file system or provide poor results.
- Recover to a Different Drive: Always save recovered TAR archives to another partition or external disk rather than back to the D drive you are scanning.
- Avoid Repeated Formatting: Do not reformat or repartition the D drive multiple times, as each operation can reduce the chance of restoring complete TAR archives.
- Back Up Important Archives Regularly: Maintain multiple copies of critical TAR archive files on separate drives or cloud storage to minimize the impact of any single-drive failure.
- Verify File Integrity After Recovery: After restoring TAR archives, test-open them and check their contents to confirm that the data inside can still be extracted correctly.
Conclusion
Losing TAR archive files from the D drive can disrupt backups, software packages, or bundled project data, but in many cases the archives are not gone immediately. By avoiding new writes to the drive, checking simple options like the Recycle Bin and Previous Versions, and then using professional recovery software when necessary, you may be able to retrieve some or even many of the missing TAR archives.
No solution can ensure that every lost TAR file will be restored, especially if the D drive is badly damaged or heavily overwritten. Still, working methodically, following safety checks, and applying the tips above will give you a better chance of recovering valuable TAR archive files and protecting them more effectively in the future.
Next: Recover GZIP Archive Files from the D drive
FAQ
-
1. Can I recover TAR files from a formatted D drive?
It is sometimes possible to restore TAR archive files from a formatted D drive if the formatting was quick and no large amount of new data has been written afterward. Data recovery software can scan the drive for remnants of previous file structures and attempt to reconstruct TAR archives. However, repeated formatting or extensive new writes significantly reduce the chance of successful recovery. -
2. Are recovered TAR archive files always usable?
Recovered TAR archives are not always fully intact. Some may be partially overwritten or corrupted, which can prevent them from opening or extracting correctly. After recovery, you should test each important TAR file with your archiving tool and, if possible, compare its size or checksum against known-good copies. -
3. Should I keep using the D drive while recovery is running?
It is best not to use the D drive for anything other than the recovery process itself. Copying files, installing software, or downloading data to the D drive during recovery can overwrite sectors that still contain fragments of your lost TAR archives, lowering the chances of restoring them successfully.


