![[Safe & Easy] Downgrade Sonoma to Ventura With Three Methods](https://images.wondershare.com/recoverit/article/downgrade-from-sonoma-to-ventura.jpg)
Have you gotten the latest Sonoma operating system but don’t like what it offers? We have got your back. If you’re unsatisfied with your latest OS, you can downgrade your Sonoma to Ventura and get your Mac device to fit your preferences.
Since the downgrade process may seem complicated, we will present three methods with step-by-step guides to help you make the journey easier. We will also include all issues you may encounter and teach you how to solve them effectively.
In this article
Why Downgrade Sonoma
Here are a couple of reasons why you may want to downgrade your Sonoma operating system:
- 🐌Performance – since Sonoma can take up more space on your device, your computer may lose its performance;
- 💻Compatibility – Some apps you use regularly may not be compatible with the latest Sonoma version, so you should downgrade;
- Personal preferences – if you don’t like Sonoma’s interface or features, you may downgrade to Ventura;
- 🧸Familiarity – Sonoma offers an entirely different interface, and many Mac users have difficulty adjusting to it. If you cannot get used to it, downgrading is a good option.
Although Sonoma is a newer operating system, downgrading may be an ideal choice for some, as seen in the abovementioned scenarios.
Things to Do Before Downgrading Sonoma
Before you start your downgrading journey, you should consider these things:
Check Your Device’s Compatibility
The first thing you should do is search for your device’s model online and check whether it’s compatible with the Ventura operating system. You can find the list of compatible models on Apple’s official website, search for your device, and confirm you can proceed with this action.
Check System Requirements
MacOS Ventura requires your device to have a 64-bit processor and at least 4GB of RAM. You can also check whether your device fits the system requirements from Apple’s original list of Ventura-compatible Macs.
Backup Your Data
The downgrading process may delete your data, so you should create an additional copy before you start. You can use advanced tools, such as Wondershare Ubackit, to make the backup journey easy, productive, and time-efficient.
How to Downgrade Sonoma to Ventura
After ensuring your data is safe and your device is compatible, you can jump into the downgrading process. Below are three methods you can use to reach your operating system goals.
| 📌If you want… | 📝You can… |
| The most reliable method | Downgrade Using Time Machine |
| The easiest option | Downgrade Using Recovery Mode |
| To downgrade OS without a Ventura backup | Downgrade Using a Bootable Drive |
Downgrade Using Time Machine
Time Machine downgrade is one of the most reliable methods you can use. If you have created a Ventura backup before upgrading to Sonoma, you can try this method for the best results. Here’s how to downgrade to Ventura using the Time Machine:
- Connect the disk with the Time Machine backup to your computer.
- R estart your Mac into Recovery Mode (for Intel-based Macs, press and hold the Command + R> keys while restarting your device, and for Apple Silicon devices, press and hold the Power button until you see the startup options, click on Options, and then Continue).
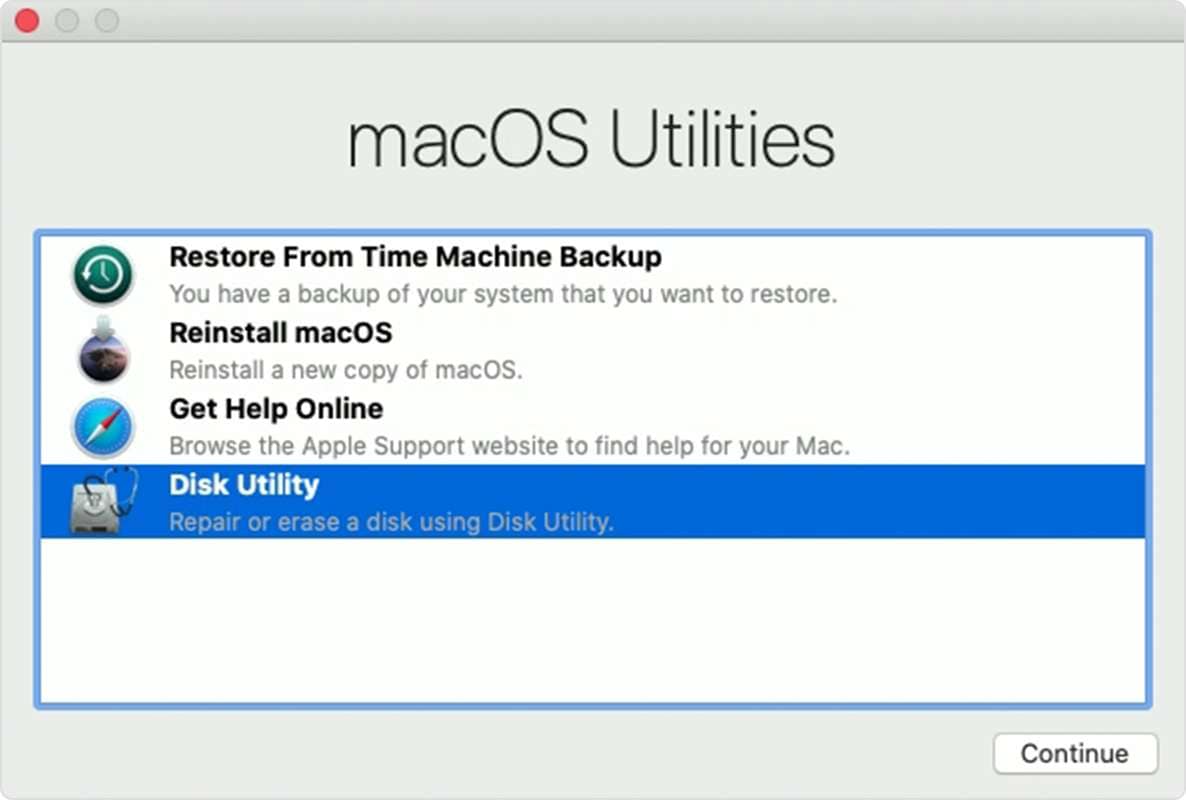
- From MacOS Utilities, select Restore from Time Machine Backup and click the Continue button.
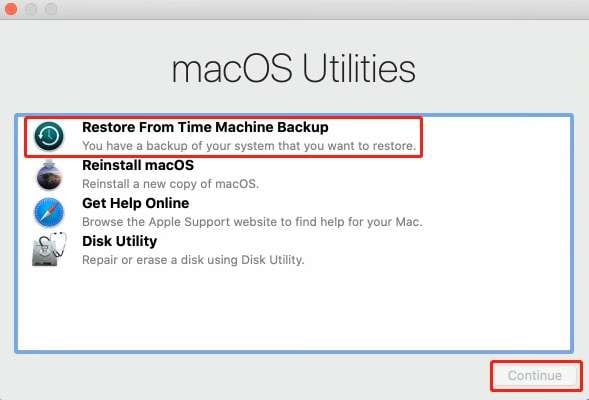
- Select Continue again.
- From the backup lists, select the one created immediately before Sonoma (made with Ventura).
- Click the Restore button.
After this, your computer will automatically start restoring data. However, this process may take a while.
Downgrade Using a Bootable Drive
Creating a bootable drive is an excellent option if you haven’t created a Ventura backup. However, the process may be complicated, so make sure to follow all of the steps presented below to downgrade successfully.
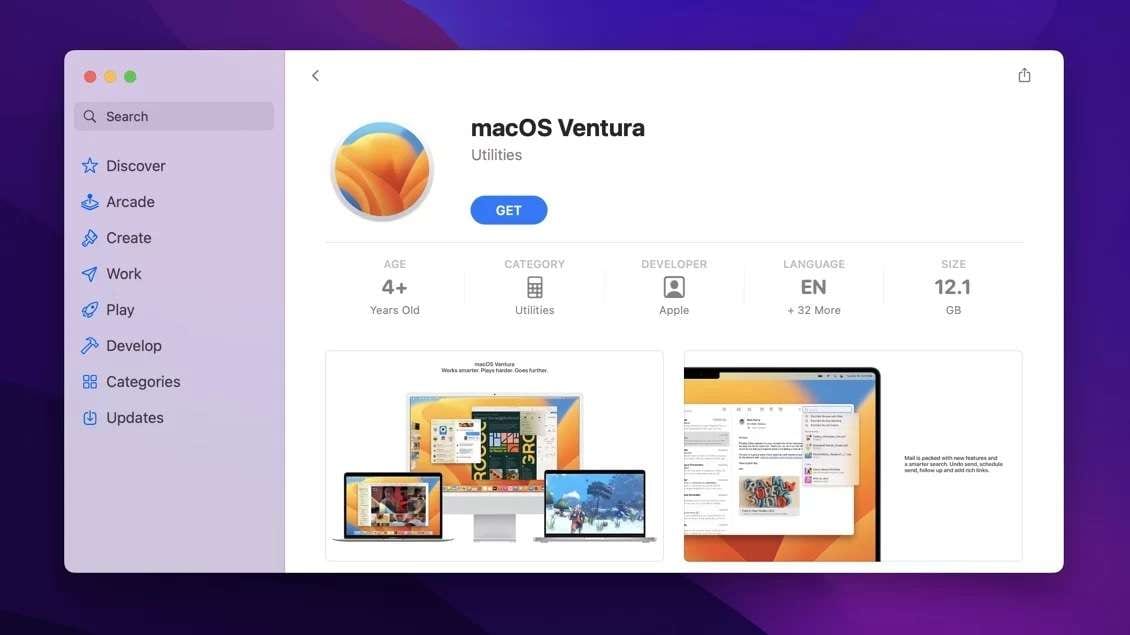
- Download the Ventura operating system from the App Store.
- Once downloaded, grab a USB stick with 16GB or above and plug it into your device.
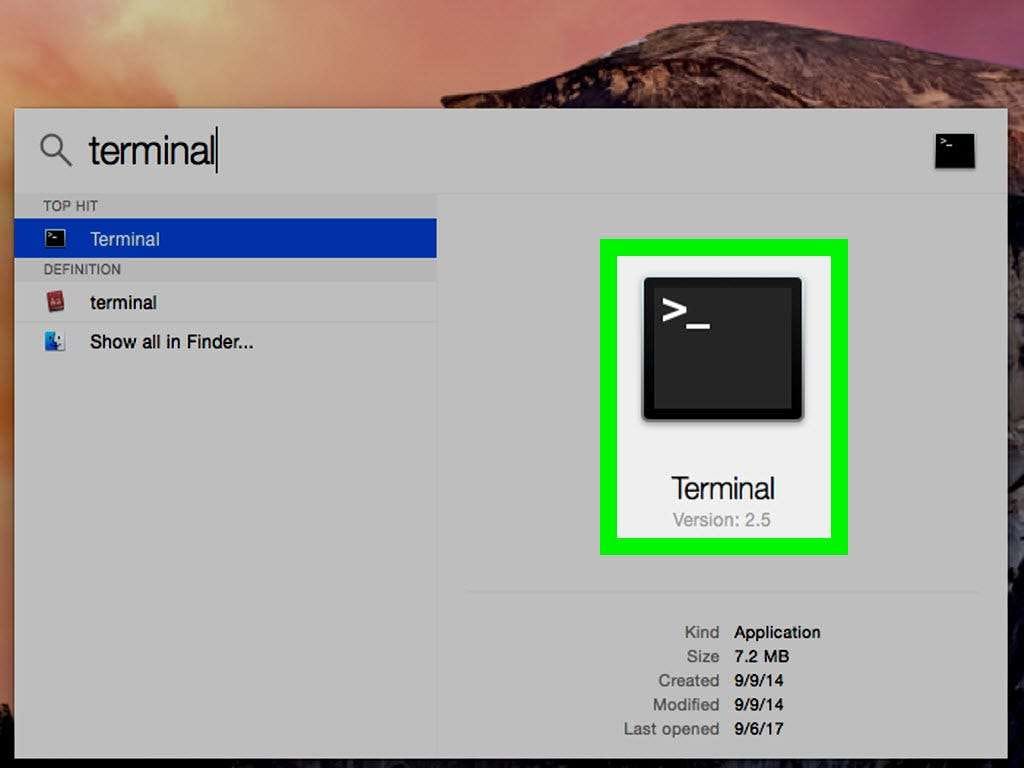
- Open the Terminal program.
- Type in the
sudo /Applications/Install\ macOS\ Ventura.app/Contents/Resources/createinstallmedia --volume /Volumes/MyVolumecommand and replaceMyVolumewith the USB drive’s name. Press the Return key.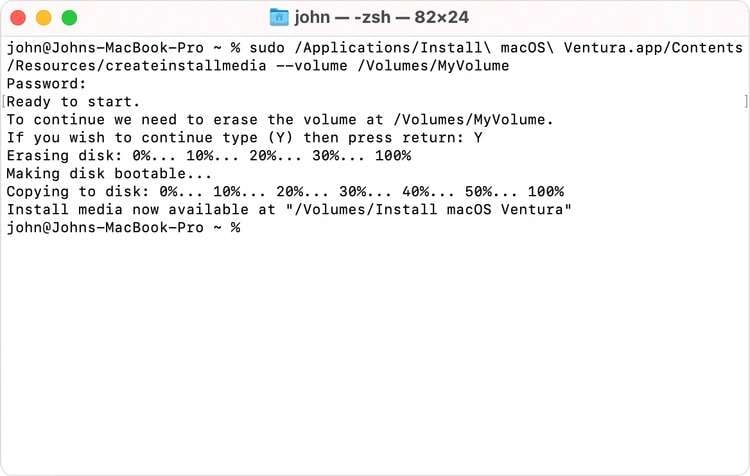
- After the program tells you it has created an installation, quit the Terminal app.
- Head to the Apple Menu>System Settings>General>Startup Disk.
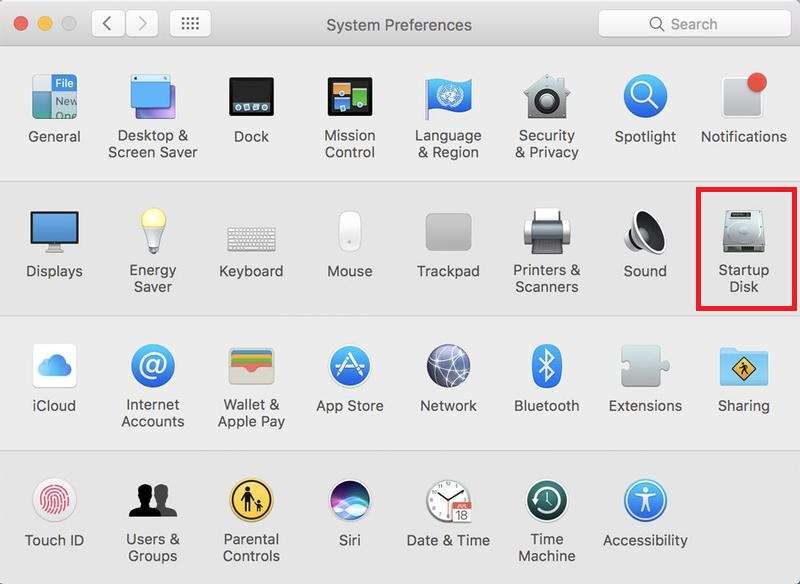
- Select the Ventura Installer as your startup disk.
- Shut down your Mac and boot it into Recovery Mode.
- From MacOS Utilities, choose Disk Utility.
- Select your startup disk and select Erase. Exit Disk Utility after erasing the drive.
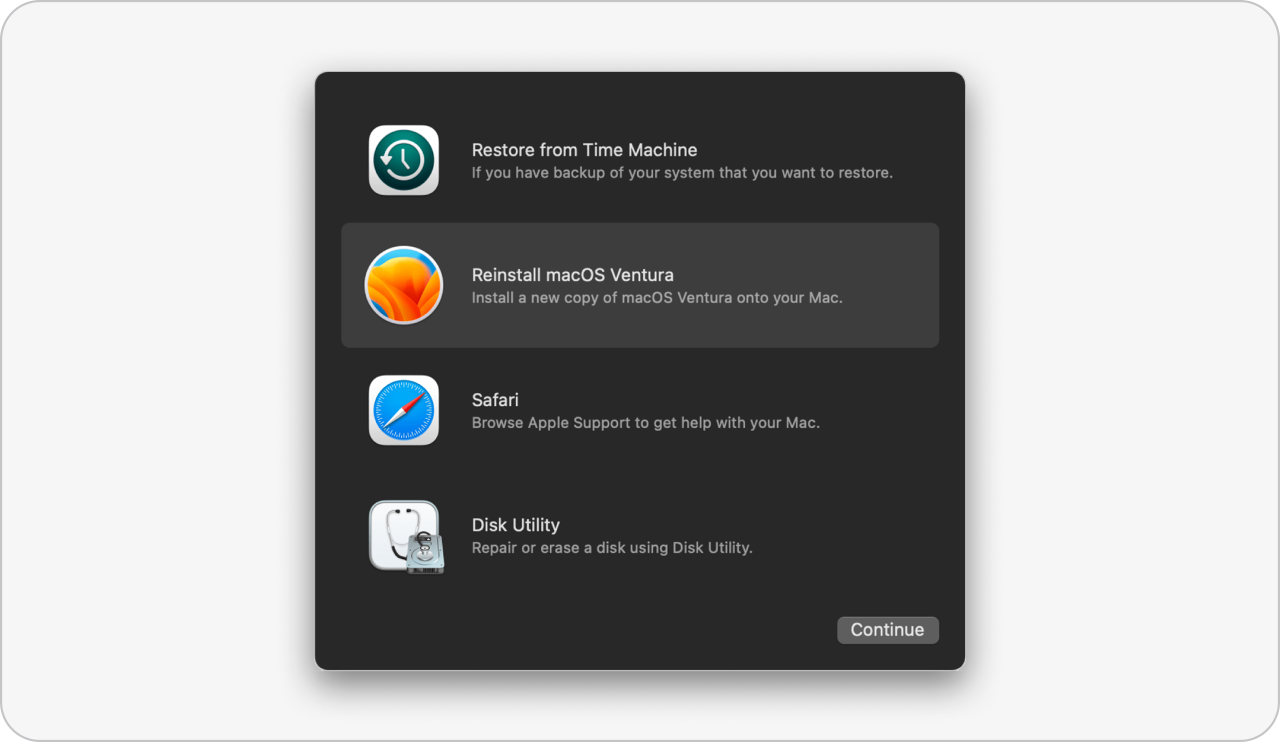
- From the menu, choose Reinstall Ventura OS.
Downgrade Using Recovery Mode
Using the Recovery Mode to reinstall the Ventura operating system may be the easiest option. Follow the guide below to complete the process:
- Shut down your computer.
- While turning it back on, press the Shift + Option + Command + R keys to reinstall the operating system that came with your Mac and boot your device into Recovery Mode.
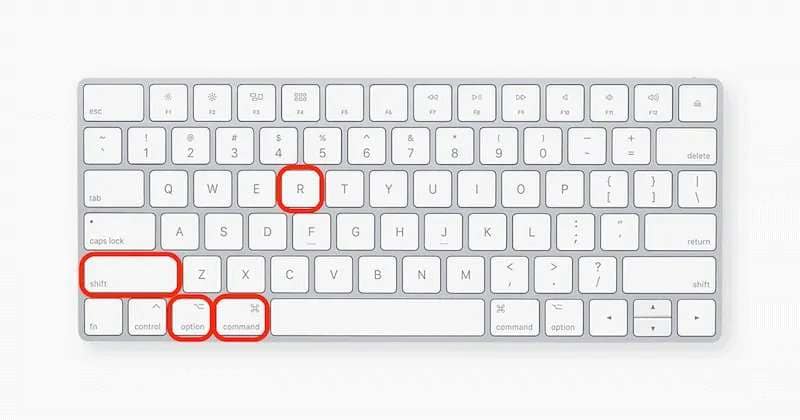
- After entering the Recovery Mode, choose Reinstall MacOS from the Utilities menu.
- Follow the onscreen instructions to complete the process.
During the reinstallation process, your device may turn on and off a couple of times.
Troubleshoot: Issues You May Have to Handle During The Downgrading
When reinstalling Ventura MacOS, you may experience some issues mentioned below.
🔧Issue 1: Lose Data After Downgrading Sonoma
One of the most common issues people encounter while downgrading Sonoma is losing their data. If you haven’t created a backup before downgrading, the stakes of losing your valuables are high. After all, you create a different computer when you indulge in this process.
If you have noticed some of your data is missing, don’t worry. You can recover data with third-party software solutions, such as Wondershare Recoverit. This tool has one of the highest success rates in the industry and can recover most file types. You won’t have to worry about your data if you act fast and download this tool.
- Manages over 500 data loss situations, such as losing data during macOS downgrading.
- The user-friendly interface allows you to recover data in just a few clicks.

After downloading Wondershare Recoverit, follow the guide below to get your data back:
- Open Wondershare Recoverit and head to Hard Drives and Locations.
- Choose the unit you want to recover data from.

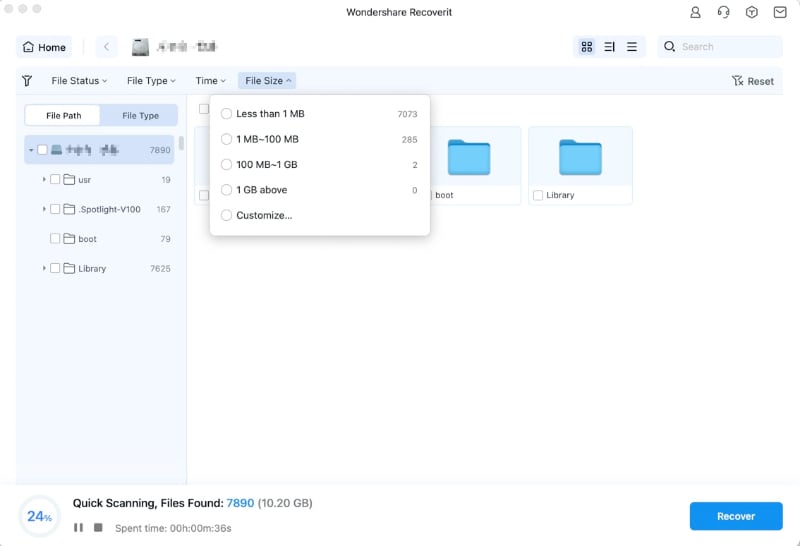
- After this, the program will start scanning your drive. You can pause this process if necessary.

- You can also filter the results according to Image names, types, size, status, or type to recover specific datasets.
- Once the program finishes scanning, you can preview your files and select the ones you want to recover. Press the Recover button to continue.
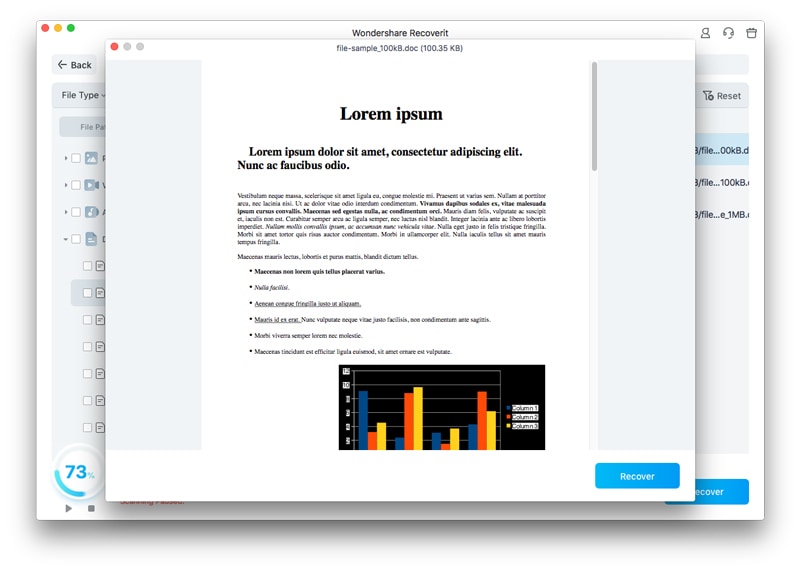
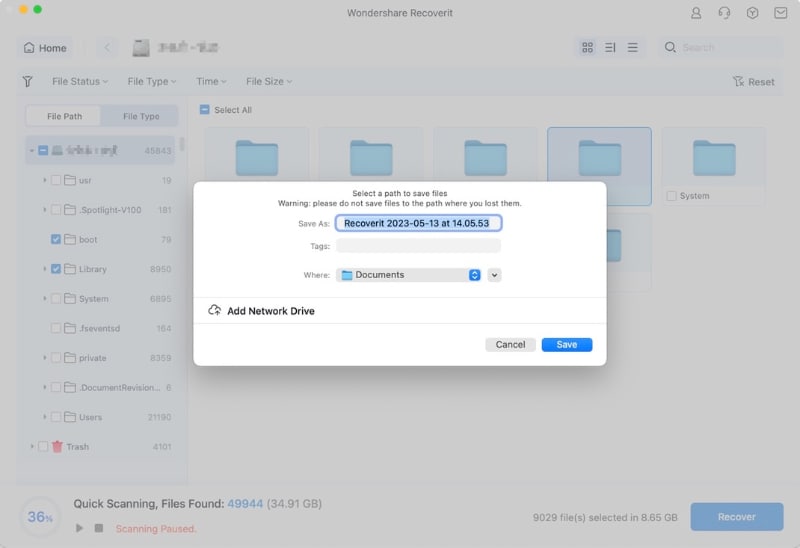
- Choose where to save the files.
The recovery process will only take a few minutes, and you will get your valuables back.
🔧Issue 2: Some of Your Apps Might Not Work
After installing the wanted operating system, some applications may slow down or stop working. This common issue can be solved by checking whether the operating system version offers updates considering the issue. You should also try uninstalling the applications and getting Ventura-suitable versions.
🔧Issue 3: Loss of New Features and Functionality
If the operating system version seems incomplete, it may be because you have downloaded the base version. To fix this issue, you can update your software once installed and get the most out of your new computer.
Conclusion
Although Sonoma and Ventura are both highly efficient operating systems, some people prefer one. You may not like the Sonoma version or have gotten used to the Ventura one, so you’re considering downgrading to the older operating system, Ventura. If so, follow our guide for the best downgrade methods and solutions to the issues you may encounter after downloading the Ventura version.
FAQ
Is Ventura better than Sonoma?
The answer to this question will depend on your preferences, lifestyle, and workflow. Although Sonoma offers more features, we cannot say that it’s inherently better than Ventura; you may enjoy using one more than the other. All we can conclude is that both operating systems are highly efficient and productive.Is it possible to downgrade to Ventura without losing data?
Although some methods, such as downgrading from Time Machine, may not delete your data, you can never be sure. You should always back up your data before you begin this journey or have a recovery plan if things go sideways.Is it safe to downgrade from Sonoma to Ventura?
Yes! However, you will need the proper tools and tutorials to make a smooth transition and ensure you don’t harm your device. That’s why we have prepared the most reliable solutions to make the downgrading process smooth, efficient, and completely safe.