Hard Drive Recovery
- Recovers deleted or lost files from hard drive effectively, safely and completely.
- Supports data recovery from 500+ data loss scenarios, including computer crash, partition loss, accidental human error, etc.
- Supports 1000+ file formats recovery with a high success rate and without any quality loss.

How to Hide a Partition in Windows 11/10

Sep 02, 2026 • Filed to: Windows Computer Solutions • Proven solutions
 TL;DR:
You can securely hide or unhide a partition in Windows 11/10 by removing or reassigning its drive letter using either the built-in Disk Management utility or an administrator Command Prompt.
● In Disk Management, right-click the target drive, select "change drive letter and path," and click "remove" to hide the partition, or use the "add" button to assign a new letter and restore visibility.
● In Command Prompt, execute "mountvol [drive letter] /D" to dismount the drive, or use "mountvol [drive letter] [VolumeName]" to unhide it.
● When unhiding via Command Prompt, you must first run "mountvol /?" to identify the exact VolumeName, proceeding carefully to avoid formatting errors or unexpected data loss.
Ask AI for a summary
 ChatGPT
 Perplexity
 Gemini
 Claude
 Grok
Grok
Hiding a drive or a partition on your computer means that it will no longer be visible to the users. There can be several benefits of hiding a partition which is why several inbuilt tools are provided by both Mac and Windows for hiding a specific partition on the computer. Some of the major reasons why people hide a partition include:
- Hiding the partition is a convenient way of restricting access to it. Once your partition is hidden, you are sure that even if other people use your computer, they will not be able to access your private data.
- You can create a backup of your important data and then hide that particular partition to discourage the damage to your backup.
- An indirect benefit of hiding a partition is that it increases the speed of search operation on your computer. Moreover, it also enables the user to handle the rest of the partitions effectively.
Part 1: How to Hide a Partition in Windows 11/10
1. Hide Partition Using Disk Management App
Windows operating system provides a convenient disk management utility tool that can help the users in hiding or un-hiding a partition effectively. You can follow the steps below to hide a partition through disk management utility in Windows:
- Launch the disk management utility
The first step in the process of hiding a partition through the disk management app is to launch the disk management utility. You can launch this tool by either searching through the start menu or the command prompt. Search for "computer management" from your start menu. You can also right-click on the "my computer" icon to open a context menu. Choose "manage" from the context menu to launch the disk management utility.
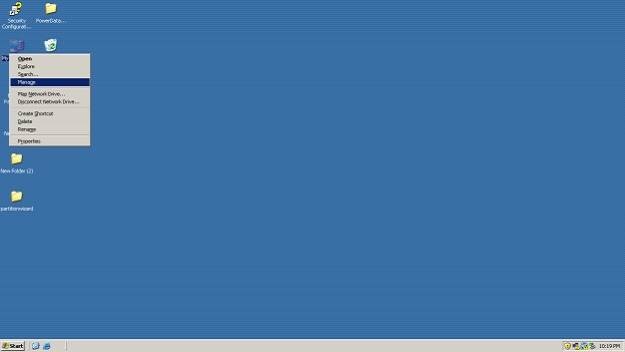

- Change drive letter and path
Once you have launched the disk management app, you can see the details of every partition and drive on your computer. Select any drive and right-click on it to open the context menu. Choose "change drive letter and path" from this context menu and a pop-up window will appear. Click the "remove" button in this new window. Check the confirmation box to hide the partition.


2. Hide Partition Using Command Prompt
You can also use the command prompt in Windows 11/10 to hide a specific partition on the computer. Follow the steps below to hide a partition in Windows 11/10 using command prompt:
- Open command prompt
Open the command prompt by typing cmd in your start menu and then "run as administrator".
- Run the command
Once you have opened the command prompt, type in the following command to hide the desired partition: mountvol drive letter /D. Here the "drive letter" is the name of the drive that you want to hide. /D stands for dismounting the drive or partition.

Part 2: How to unhide Partition in Windows
Unhide Partition using Disk Management Utility
If you are learning to hide a partition in Windows, it is equally important to know how to unhide it so that you can unhide a partition according to your convenience and view its content. The process of un-hiding a partition is very much similar to how we hide it. Please follow the steps below to learn how to unhide an already hidden partition:
- Launch disk management utility to view all the partitions
Similarly, launch the disk management utility as you launched for hiding the partition. Searching for computer management and using the command prompt are the easiest ways to launch disk management utility.
- Change the drive letter and path
Once you have launched the disk management utility, you will be able to see a list of all the drives and partitions even if they are hidden. Right-click on the partition name that you want to unhide and choose "change drive letter and paths" from the context menu. However as the partition is hidden, no drive letter will be visible. Click on the "Add" button to give a name to that partition so that it is visible again.

- Choose the drive letter that you want to assign
Once you have added the drive, the next step is to assign a drive letter to it. You can either choose a drive letter from the existing partition or mount it on an empty NTFS partition. Click on the ok button once done. The chosen partition will be visible again.

Unhide a partition with Command Prompt
Windows 11/10 also offers its users to unhide a partition similarly using command prompt as they have hidden it. Please follow the steps below to unhide a partition using command prompt in Windows 11/10:
- Open command prompt
Open the command prompt as an administrator of the system.

- Run the following command in command prompt
To show a hidden partition again, type the following command:
mountvol drive letter VolumeName
Here drive letter is the letter you want to assign to the drive that you want to show. To get the volume name, run the command as mountvol /?. You will get a list of volume names that can be hidden. Choose the volume name that you want to unhide and type it exactly in the VolumeName text.


Wrong operations to hide and unhide a partition on Windows will result in unexpected data loss from your partition hard drive or will cause partition formatted. Under these circumstances, you will need a partition recovery software to recover deleted data from hard drive partition.
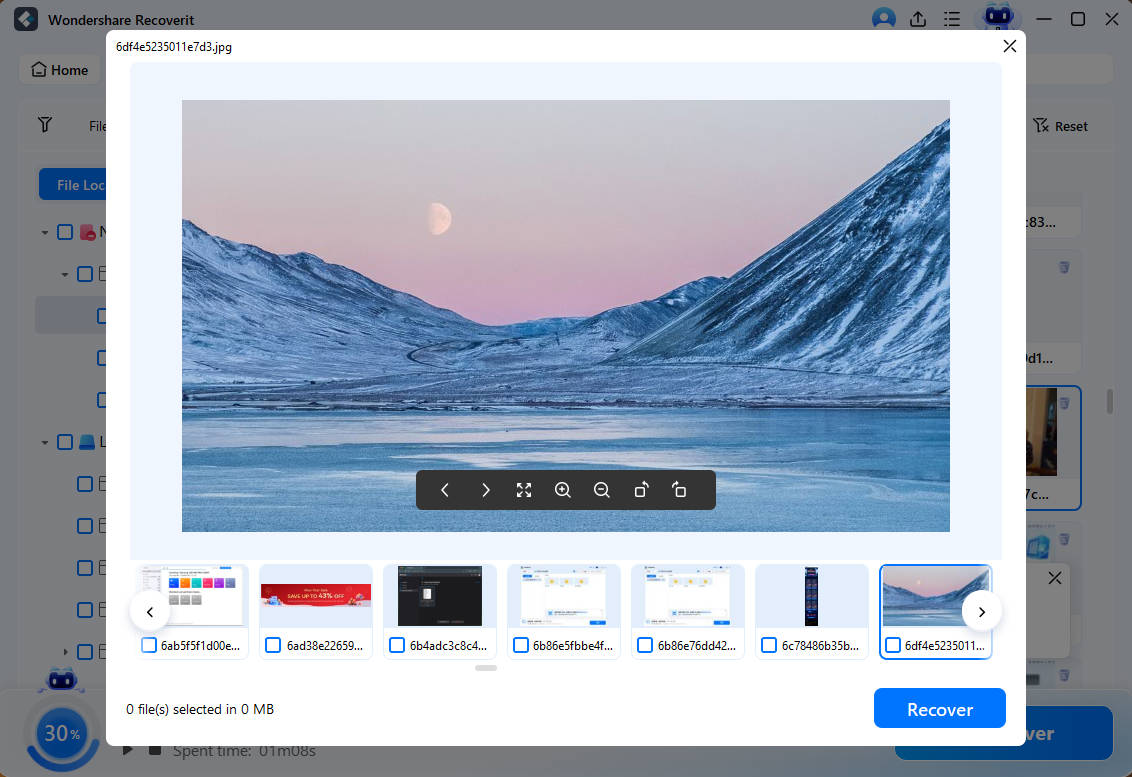
Your Safe & Reliable Partition Data Recovery Software
- Recover lost or deleted files, photos, audio, music, emails from any storage device effectively, safely and completely.
- Supports data recovery from recycle bin, hard drive, memory card, flash drive, digital camera, and camcorders.
- Supports to recover data for sudden deletion, formatting, hard drive corruption, virus attack, system crash under different situations.
Partition Solutions
- Manage Your Partition
- Top 9 Partition Manager for Mac
- How To Partition a Hard Drive
- RAW partition to NTFS
- Convert GPT to MBR
- Remove partition on Mac
- Recover deleted partition
- Create a boot partition
- Create partition on Win/Mac
- Convert exFAT to NTFS
- Fix Partition Errors
- Fix "Active Partition Not Found" Error
- Fix "No Bootable Partition in Table"
- Fix current read only state yes
- Repair a damaged partition
- Can't create new partition
- Partition Tips


Theo Lucia
chief Editor