Ever wondered how to create a Windows 10 live USB? You may need a portable version of Windows that you can carry with you wherever you go or a tool for troubleshooting and repairing your PC. A Windows live USB can be a real lifesaver in these scenarios.
In this article, we'll explain what a Windows live USB is and why it's so useful. We'll also discuss the common issues you might face when creating one and provide step-by-step methods to help you make a Windows 10 live USB.
Additionally, we'll cover how to recover any data you might accidentally delete during the process, ensuring you can create your USB without worry. So, let's dive in and learn how to make this handy tool, making sure you're prepared for any situation that might come your way.
In this article
Part 1: What is a Windows Live USB?
A Windows live USB is a USB drive that contains a full, working version of the Windows operating system. Take Windows 10 live usb for example, you can use it to boot any computer into Windows 10 without installing the OS on the hard drive. This is helpful for troubleshooting, repairing, or even using a temporary operating system.
With a Windows live USB, you can carry your personalized version of Windows 10 wherever you go. It's like having your entire computer in your pocket, ready to use on any compatible device.
Related Video Tutorial: How to Install Windows 10 from USB?
Part 2: Common Issues Faced When Creating Windows 10 Live USB
When creating a Windows 10 Live USB, you might face several common issues:
- Insufficient Storage Space: The USB drive may not have enough space to store the Windows 10 files.
- Corrupted ISO File: The ISO file used to create the live USB might be corrupted or incomplete.
- Incompatible USB Drive: Some USB drives may not be compatible with the bootable media creation tools.
- Boot Issues: The computer might not recognize the USB drive as a bootable device.
- File System Errors: The USB drive might have file system errors that prevent it from being formatted correctly.
- Incorrect Boot Order: The BIOS/UEFI settings might not be configured to boot from the USB drive.
- Write Protection: The USB drive could be write-protected, preventing files from being copied.
Understanding these issues can help you troubleshoot and successfully create a Windows 10 live USB.
Part 3: How to Create Windows Live USB on Windows 10?
Want to install or run Windows 10 directly from a USB drive? Creating a Windows 10 Live USB can help you with this. Here’s a simple guide on how to create live USB on Windows 10 effortlessly.
Method 1: Create Using Windows 10 Media Creation Tool
Using the Windows 10 Media Creation Tool is a smart choice because it is an official and straightforward tool provided by Microsoft. This ensures that you are getting a genuine, unaltered copy of Windows 10. The tool guides you through the process step-by-step, making it easy even for those who aren’t tech-savvy.
By using this tool, you can avoid issues like corrupted files or malware that might come with unofficial downloads. Plus, it simplifies the creation of a bootable USB drive, making sure everything is set up correctly and efficiently.
To create the installation media, you'll need the following items:
- A PC with a Reliable Internet Connection: The download time will vary based on your internet speed.
- A Blank USB Flash Drive: Use a blank USB flash drive with at least 8 GB of space. Any data on the drive will be deleted. For virtual machines (VMs), you can create an ISO file instead of using a USB drive. This ISO file can also be used to create installation media on a DVD.
- A Product Key: You might need a 25-character product key, but it's not required for digital licenses. Many modern devices have the product key embedded in the firmware, so you won't need to enter it manually if it matches the version and edition of Windows being installed.
By preparing these items, you'll be ready to create the installation media efficiently.
Steps:
- Download the Windows 10 Media Creation Tool from the Microsoft website. Run the tool.

- Choose the USB drive and follow the prompts to create the Windows 10 live USB. Wait for the process to complete and safely eject your USB drive.
Method 2: Create Live USB on Windows 10 Using Rufus
Rufus is a highly reliable and fast tool specifically designed for creating bootable media like USB drives and SD cards. Its efficiency stands out because it supports a wide range of ISO files and can handle various partition schemes, including MBR and GPT. Rufus is particularly known for its speed, often completing the process faster than other similar tools. It's user-friendly with a straightforward interface, making it accessible even for those who aren't tech experts.
Whether you're setting up a new operating system or creating a rescue drive, Rufus ensures the process is smooth and hassle-free, delivering fully functional bootable media.
Steps:
- Install Rufus from its official website. Insert your USB drive into the computer. Open Rufus. Use the "Device" dropdown menu and select the USB drive. Click "SELECT" and choose the Windows 10 ISO file.

- Choose "GPT" for UEFI or "MBR" for BIOS under "Partition scheme." Click "START" to begin creating the Windows 10 live USB.
- Wait for the process to complete and safely eject your USB drive.
Method 3: Using Command Prompt (Diskpart Command)
Command Prompt is a built-in feature of Windows that offers a powerful way to interact with your system using text commands. Because it comes pre-installed on all Windows systems, you don't need to download or install any additional software to use it. This makes it a convenient and efficient tool for performing a variety of tasks, including creating a bootable USB drive. The simplicity and accessibility of Command Prompt make it an excellent choice for users who prefer to use native Windows tools rather than third-party applications.
With Command Prompt, you can execute commands directly, giving you more control over the process.
Steps:
- Open Command Prompt as an administrator. Type diskpart and press Enter. Type list disk and press Enter to see all disks. Select your USB drive by typing select disk X (replace X with the disk number) and press Enter.

- Type clean and press Enter to erase the USB drive.
- Type create partition primary and press Enter. Type select partition 1 and press Enter. Type active and press Enter. Type format fs=fat32 quick and press Enter to format the drive. Type assign and press Enter. Copy all files from the Windows 10 ISO to the USB drive manually.

- Safely eject your USB drive.
Part 4: Accidentally Deleted Data on USB? Use Recoverit
If you accidentally deleted data on your USB while creating the Windows 10 live USB, Recoverit can help you get it back. This powerful tool is designed to recover lost data from USB drives that have been formatted, corrupted, or otherwise become inaccessible.
Whether your files were deleted during the setup process or lost due to a drive error, Recoverit uses advanced scanning algorithms to find and restore your data. It’s user-friendly and effective, letting you recover your important files with just a few clicks. With Recoverit, you don't have to worry about losing data during the process of making a bootable USB drive.
Why Use Recoverit?
- Accidental Deletion: Recover files you deleted by mistake.
- Formatted Drive: Retrieve data from a formatted USB drive.
- Corrupted Drive: Recover files from a corrupted USB drive.
- Inaccessible Data: Access and restore data from an inaccessible USB drive.
Steps to Recover Lost Data Using Recoverit:
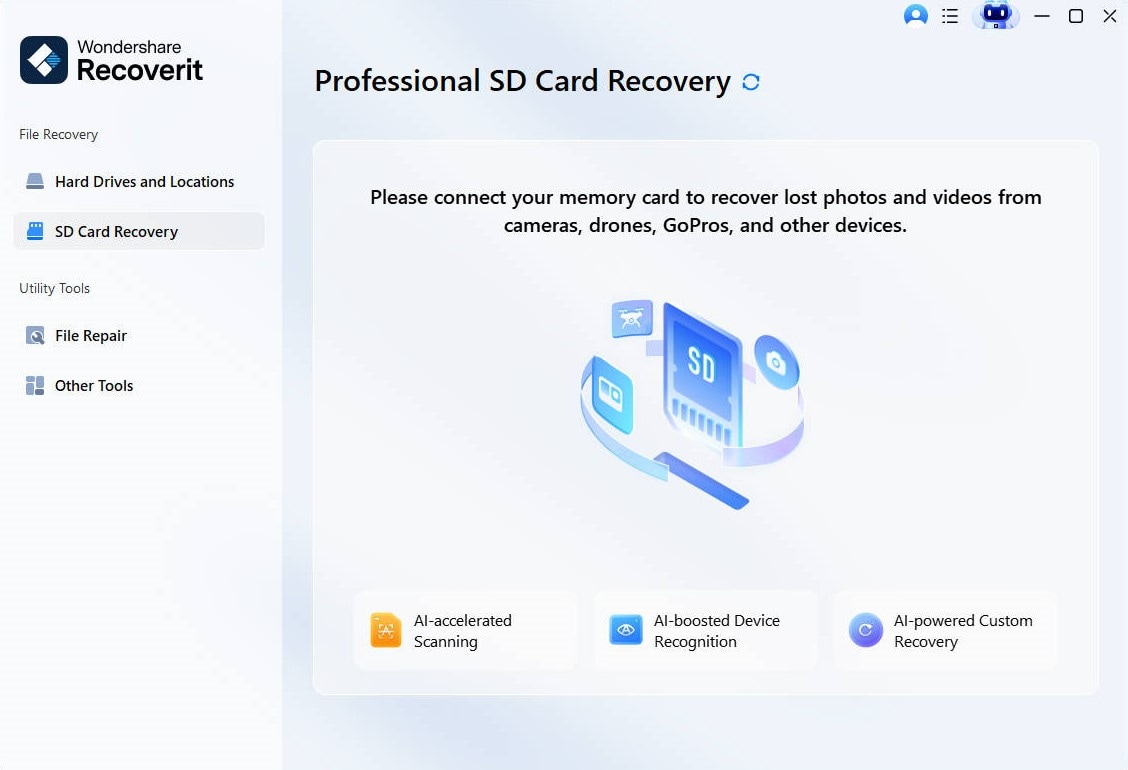
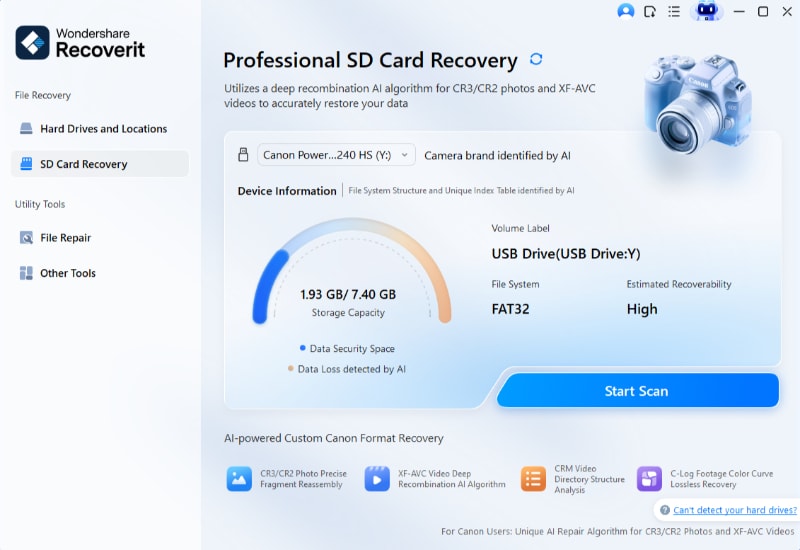
- Install Recoverit on your PC. Open Recoverit and select the USB drive from which you want to recover data.

- Click "Scan".

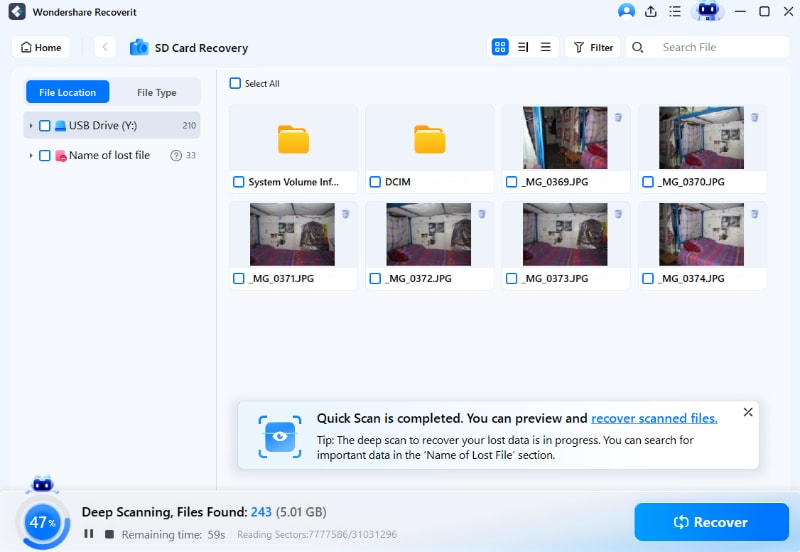
- Preview the recoverable files and click "Recover" to save them to a safe location.

Part 5: Tips to Create Live USB on Windows 10
Here are some tips to help you create a live USB on Windows 10:
- Choose a Reliable USB Drive: Use a high-quality USB drive with at least 8GB of storage to ensure enough space for the Windows 10 files.
- Verify the ISO File: Make sure the Windows 10 ISO file you download is from a reliable source like the official Microsoft website to avoid corrupted files.
- Backup Your Data: Always back up any important data on your USB drive before starting the process, as it will be erased during the creation.
- Use Trusted Tools: Utilize reputable tools like the Windows 10 Media Creation Tool, Rufus, or Command Prompt (Diskpart) to create the live USB. These tools are known for their reliability and ease of use.
- Check System Compatibility: Ensure that your computer's BIOS/UEFI settings support booting from a USB drive. You might need to adjust the boot order to prioritize the USB drive.
- Follow Instructions Carefully: Follow the step-by-step instructions given by the software to create the live USB. This will help reduce the chances of making any errors.
- Keep Software Updated: Ensure that the tools you use are updated to their latest versions to take advantage of any improvements and bug fixes.
- Test the Live USB: Before relying on it, test the live USB on a secondary device to ensure it boots up correctly and that the Windows 10 installation runs smoothly.
Maintain a Stable Internet Connection: If downloading the ISO file or other tools, ensure your internet connection is stable to prevent interruptions.
By following these tips, you can create a Windows 10 live USB efficiently and effectively, ensuring a smooth process and a functional bootable USB drive.
Conclusion
Creating a Windows 10 live USB is a useful skill that can help you troubleshoot and repair your computer or carry your personalized OS wherever you go. Whether you use the Windows Media Creation Tool, Rufus, or Command Prompt, the process is straightforward.
If you accidentally delete any data on your USB drive during the process, Recoverit is there to help you retrieve it. Always remember to back up your data and follow the best practices for creating a Windows live USB. This way, you can enjoy the benefits of having a portable and bootable Windows 10 on your USB drive.
Try Wondershare Recoverit to Perform Data Recovery

Learn more >>:
How to Fix Invalid Partition Table?
How to Format SPYPOINT SD Card?
How to Fix Issue "Removing USB without Ejecting Safely"?
How to Fix Windows Boot Manager Failed?
FAQ
-
Q1: What are the benefits of using a Windows 10 Live USB?
A Windows 10 Live USB allows you to boot and run Windows 10 from a USB drive on any compatible computer. This is useful for troubleshooting, testing new software, or using it as a temporary operating system without making changes to the internal hard drive. It's a portable and flexible solution that gives you access to your personalized settings and files on different devices. -
Q2: How long does it take to create a Windows 10 Live USB?
The time it takes to create a Windows 10 Live USB depends on several factors, including the speed of your USB drive, your computer's performance, and the method you choose. Using tools like the Windows 10 Media Creation Tool or Rufus, the process typically takes between 15 to 30 minutes. However, this can vary based on the size of the ISO file and the speed of your internet connection if downloading the file. -
Q3: How do I create a Windows 10 Live USB?
To create a Windows 10 Live USB, you can use several methods:- Using the Windows 10 Media Creation Tool: Download the tool from Microsoft’s official website, and follow the instructions to create a bootable USB.
- Using Rufus: Download and open Rufus, select your USB drive, choose the Windows 10 ISO file, and follow the prompts to create the live USB.
- Using Command Prompt: Use the Diskpart command in Command Prompt to manually create a bootable USB.


 ChatGPT
 Perplexity
 Google AI Mode
 Grok
Grok


