

 TL;DR:
You can recover lost audio from gaming drives using backups or dedicated software like Recoverit, provided you immediately stop writing new data, such as game installs or captures, to prevent permanently overwriting the missing files.
● Do not format the gaming drive or reinstall large game libraries before attempting recovery, as these actions destroy the underlying data sectors needed for restoration.
● If the audio is not hidden in game launcher folders or cloud syncs, use Recoverit to deep scan the drive, ensuring you first unlock it if protected by encryption tools like BitLocker.
● Always save the recovered sound files and recordings to a completely different internal or external drive with sufficient storage space to prevent partial restores and further data loss.
Ask AI for a summary
 ChatGPT
 Perplexity
 Gemini
 Claude
 Grok
Grok
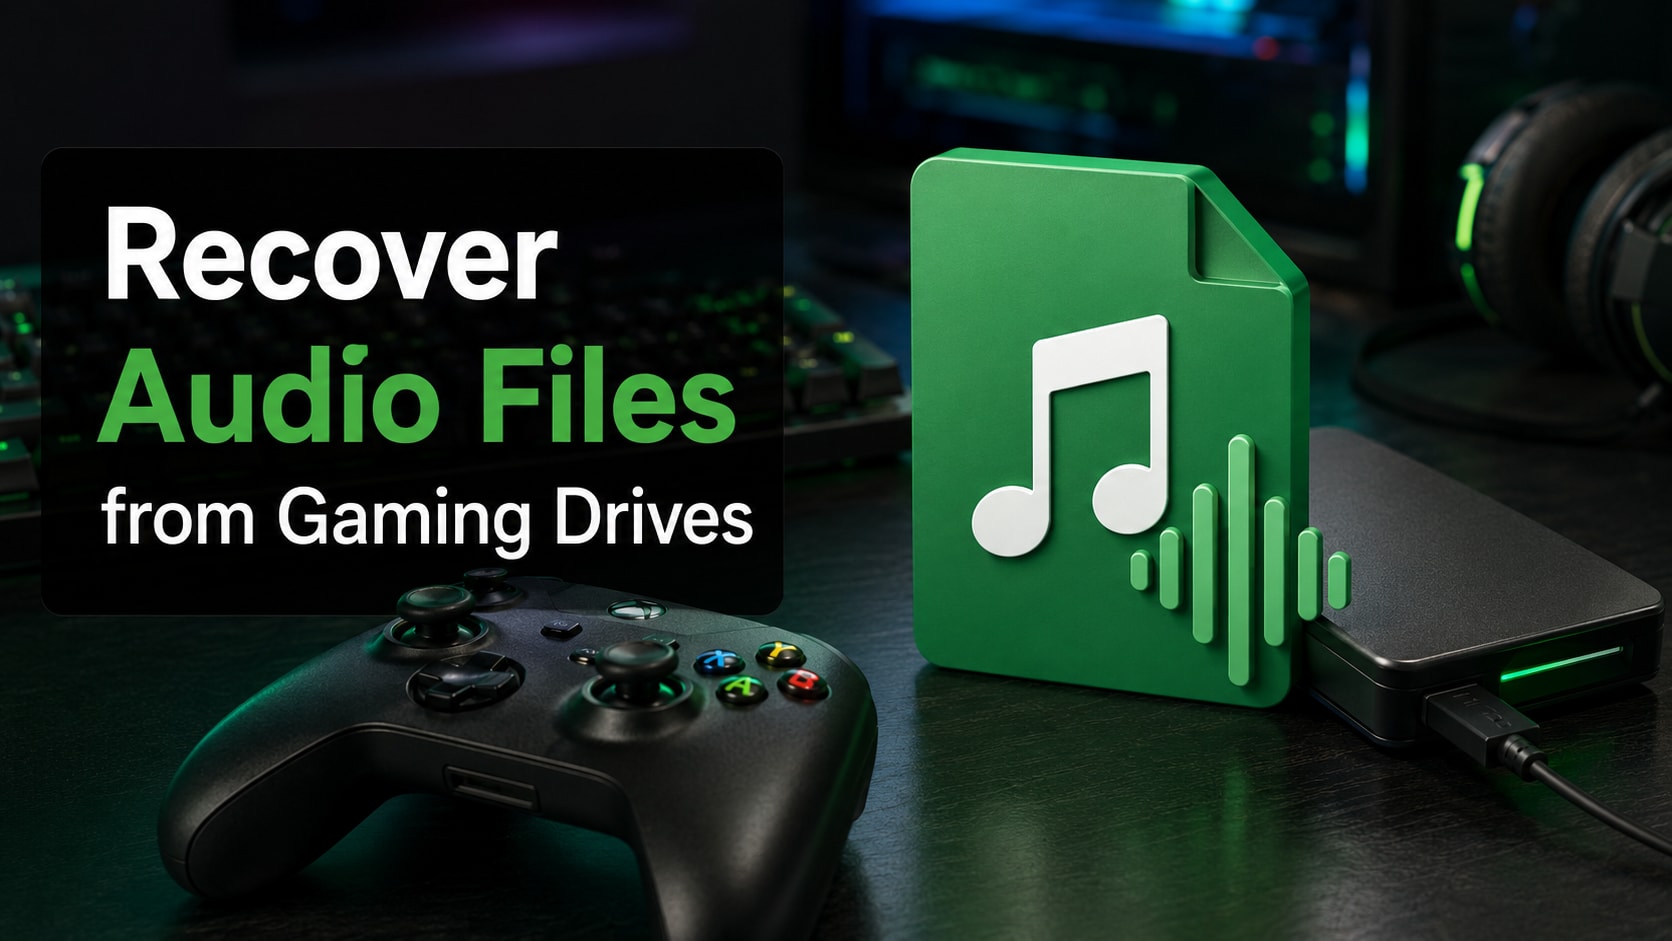
Can You Recover Audio Files From Gaming Drives?
You can often recover Audio from Gaming Drives if the drive is still detectable and the lost tracks have not been heavily overwritten by new game installs, downloads, or captures. In many situations, checking game folders, capture libraries, backups, and then scanning with a dedicated recovery tool gives you a realistic chance to restore deleted or missing audio files.
However, recovery is never guaranteed. If the gaming SSD or HDD is physically damaged, repeatedly reformatted, or filled with new data after the loss, some or all audio files may be permanently unrecoverable. Acting quickly, avoiding writes to the affected drive, and following safe steps is essential to protect whatever soundtracks, recordings, and commentary clips are still left on the device.
In this article
Common Reasons Why Audio Files Get Lost From Gaming Drives
Audio tracks, in-game sound files, and recording clips stored on gaming SSDs and HDDs can disappear for many reasons. Understanding what likely caused the loss helps you choose the safest and most effective recovery approach.
- Accidental deletion of game recordings, commentary tracks, or soundtracks from the game folder, capture library, or Recycle Bin/Trash.
- Game launcher or capture software overwriting or moving older audio files when updating, changing save locations, or clearing cache and temporary data.
- File system errors or corruption on the gaming drive caused by sudden shutdowns, crashes, unsafe ejections of external gaming drives, or power interruptions.
- Drive formatting, partition changes, or reinstalling game libraries on the same gaming drive, which can overwrite sectors previously used by audio files.
- Physical issues with the gaming SSD or HDD, such as bad sectors, wear, cable faults, or unstable USB connections that make certain audio data unreadable.
- Malware or software conflicts that corrupt media folders, modify game data, or interfere with how capture tools save and index audio recordings.
How to Recover Audio Files From Gaming Drives
To improve your chances of getting lost audio back, start with simple checks in your existing folders and libraries, then move on to backups and finally a dedicated recovery scan. The methods below progress from least to most intensive, so follow them in order whenever possible.
Method 1. Check Game Folders, Capture Libraries, and Recycle Bin
Before running any recovery software, verify that your audio is not simply hidden, moved, or soft-deleted. Many game launchers and capture tools store audio in dedicated folders or libraries that can be overlooked.
- Open your game launcher or capture software settings and note the current save or capture directory for clips, streams, and highlights with audio tracks.
- Browse to that folder in File Explorer or Finder and enable viewing of hidden files, then sort by date or file type to look for the missing audio.
- Check the Recycle Bin or Trash for recently deleted audio files, right-click any you recognize, and restore them to a safe location on another drive.
- Search your gaming drive for common audio extensions such as .mp3, .wav, .aac, .flac, or .ogg using the system search box and filter by modification date.
- If the gaming drive is external, make sure it is firmly connected directly to the computer, avoiding hubs, and try another USB or data port if the drive disconnects.
Method 2. Restore Audio from Game Cloud, Backups, or Local Copies
If you regularly sync games, captures, or audio projects, you may be able to restore missing audio from cloud storage, backup software, or manual copies stored on another drive or NAS.
- Sign in to your cloud storage or backup service connected to your gaming PC and check recent versions of your game capture or audio project folders.
- Look inside game launcher cloud settings to see whether game soundtracks or custom audio packs are redownloadable, then reinstall or verify game files without formatting the drive.
- If you export streams or voice chat recordings to a secondary drive, NAS, or SD card, connect that device and search by audio file extensions and recording dates.
- For manual backups, compare folder structures with your gaming drive and copy only the missing audio files back to a different working folder, not overwriting newer files.
- If backups contain large compressed archives of captures, extract them to a separate drive and confirm the recovered audio opens and plays correctly in your preferred media player.
Method 3. Use Recoverit to Recover Audio Files from a Gaming Drive
When the audio is not in visible folders or backups, a deep scan with Recoverit can help locate deleted or lost media files on your gaming SSD or HDD without modifying the drive contents further.
Recoverit is a dedicated data recovery solution that can scan gaming SSDs, HDDs, and external gaming drives for lost audio tracks, game sound files, and recordings. You can download it from the Recoverit official website and use it to preview and restore media without altering the original drive structure.
- Supports deep scanning of gaming SSDs and HDDs for a wide range of audio formats used by games and capture tools.
- Provides media preview so you can confirm the correct audio track before recovering and avoid restoring unnecessary files.
- Offers flexible filtering by file type, size, and date to quickly isolate large game recordings or soundtrack files on busy gaming drives.
- Choose a Location to Recover Data. Open Recoverit and select the gaming drive or its specific game or capture partition as the target location, confirming the capacity and label match the drive you use for gaming audio.

- Deep Scan the Location. Start a full scan so Recoverit can read every accessible sector of the gaming drive, indexing deleted and existing audio files without formatting or attempting to repair the file system.

- Preview and Recover Your Desired Data. Filter the scan results for audio formats, preview important tracks where available, then recover the selected files to a separate internal or external drive with enough free space.

Try Recoverit to Recover Audio Files from a Gaming Drives
 Security Verified. 3,591,664 people have downloaded it.
What to Check Before and During Recovery
Before launching long scans or copying files back, run through a few quick checks to avoid making the situation worse and to give your lost audio the best chance of being recovered.
- Confirm the Gaming Drive Is Detectable: Open Disk Management or Disk Utility to verify your gaming SSD or HDD appears with the expected capacity. If it is not detected, avoid power cycling repeatedly and seek hardware diagnostics first.
- Avoid Formatting or Reinstalling Games: Do not format the gaming drive or reinstall large game libraries before recovery, as these actions can overwrite deleted audio sectors and significantly reduce the chance of successful restoration.
- Ensure a Stable Physical Connection: Use a direct motherboard or primary USB port for the gaming drive, avoiding loose cables, hubs, or adapters that may interrupt scanning or cause the drive to disconnect during recovery.
- Check for Encryption and Access Restrictions: If the gaming drive is encrypted with BitLocker or another tool, unlock it with the correct password or key before scanning. Recovery tools cannot access data on a locked volume.
- Prepare Enough Space on Another Drive: Before restoring audio, confirm that a separate internal or external drive has sufficient free space to hold all recovered files, preventing partial restores or fragmentation-related performance issues.
- Monitor Drive Health During Scans: If the gaming drive makes unusual noises or frequently disconnects, stop intensive scanning, back up any immediately accessible data, and consider professional help to avoid further physical damage.
Tips to Improve the Recovery Success Rate
Good habits before, during, and after data loss can significantly increase the amount of audio you are able to bring back from a gaming drive.
- Stop Writing New Games or Captures to the Drive: Pause game downloads, updates, and new recordings on the affected gaming drive. New data can overwrite deleted audio clusters, making previously recoverable sound files permanently unrecoverable.
- Focus on Likely Audio Locations First: Prioritize scanning folders used by your game launcher, capture software, and voice chat apps, as these are the most common locations for missing in-game soundtracks and commentary recordings.
- Use File Filters for Large Recordings: When scanning, filter by audio type and file size to quickly surface long game sessions or stream recordings, which are typically much larger than sound effects or short voice lines.
- Verify Recovered Audio Quality: After recovery, play each important track completely using a reliable media player to ensure there are no glitches, missing segments, or corruption before deleting any remaining backups.
- Organize Restored Audio on a New Drive: Store recovered audio on a different internal or external drive, sorted by game or project, reducing clutter on the gaming drive and lowering the risk of accidental overwrites during future sessions.
- Set Up Regular Backups for Game Audio: Configure your capture or audio software to save copies to a backup drive or cloud folder, so future losses on the primary gaming drive can be restored quickly without deep scanning.
Conclusion
Recovering audio files from a gaming drive is often possible if you act quickly and avoid overwriting the lost data. Start with simple checks in game folders, capture libraries, and backups, then move to a specialized recovery tool when necessary.
By scanning the correct gaming SSD or HDD, previewing audio before restoring, and saving it to a different drive, you greatly reduce the risk of further loss. With careful steps and realistic expectations, you can often bring back crucial game soundtracks, commentary, and recordings.
Next: Recover Large Files from a Gaming Drives
FAQ
-
1. Can I recover deleted game recordings with commentary from my gaming drive?
In many cases, yes. If the sectors have not been overwritten by new game installs or captures, a media-focused recovery tool like Recoverit can often detect and restore deleted recording files. -
2. Will reinstalling a game restore its missing audio files?
Reinstalling or verifying game files may restore official in-game audio assets, but it will not bring back your personal recordings. Perform recovery attempts on the drive before large reinstalls when possible. -
3. Can Recoverit restore corrupted audio files from a gaming SSD?
Recoverit can often recover corrupted or incomplete audio files, but playback is not guaranteed. You may be able to salvage usable segments, though severely damaged files might remain partially or fully unplayable. -
4. Is it safe to scan an external gaming drive while playing games from it?
No. Scanning while playing increases read and write activity, raises the chance of overwriting deleted data, and may cause instability. Finish scans with the drive idle before launching games. -
5. Do I need to decrypt my gaming drive before audio recovery?
Yes. The drive must be unlocked and accessible through the operating system. Recovery software cannot access encrypted data without the correct credentials.


