

 TL;DR:
You can often recover lost game screenshots from a gaming drive as long as the storage device is still recognized by your computer, unlocked from encryption, and the missing files have not been overwritten by new game installations or large updates.
● Before attempting deep recovery, manually check the default capture directories in launchers like Steam or the Xbox app, and verify if utilities like GeForce Experience or OneDrive automatically synced the images to a cloud backup.
● Immediately pause all new game downloads, patches, and system formatting on the affected drive, as writing new data will permanently destroy the recoverable photo sectors.
● If backups do not exist, use a read-only data recovery tool like Recoverit to scan the drive, ensuring you save all restored photos to a completely separate internal disk or external drive to prevent overwriting the original data.
Ask AI for a summary
 ChatGPT
 Perplexity
 Gemini
 Claude
 Grok
Grok
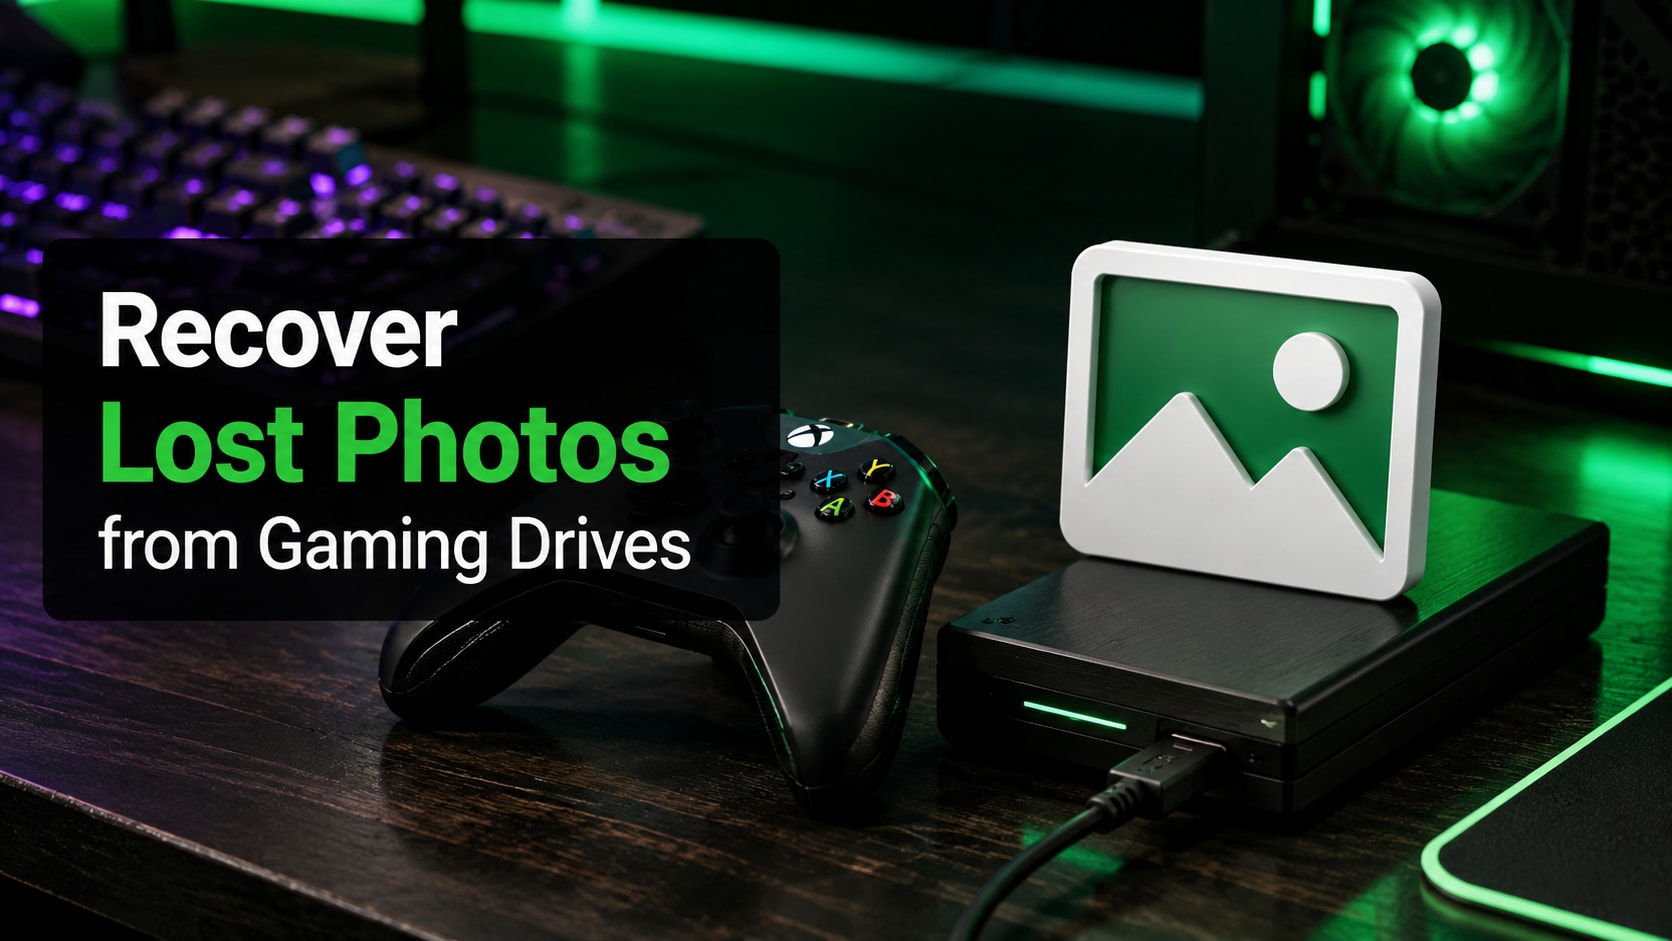
Can You Recover Photos From a Gaming Drive?
You can often recover Photo from Gaming Drives as long as the drive is still detected by your computer and the lost data has not been heavily overwritten by new games, updates, or downloads. In many cases, screenshots and other game captures are simply moved, hidden, or removed from libraries rather than being permanently destroyed right away.
However, recovery is not guaranteed. If the gaming drive is physically failing, encrypted but locked, or has been formatted and reused extensively, some or all photos may no longer be recoverable. Handling the drive safely, avoiding new writes, and using a dedicated photo recovery tool like Recoverit can help you explore what images are still possible to restore without adding extra risk.
In this article
Common Reasons Photos Get Lost From Gaming Drives
Game screenshots and other captures stored on gaming drives can disappear for many different technical or human reasons. Understanding what happened helps you choose the safest and most effective recovery approach.
- Accidental deletion of screenshot folders or individual image files from the gaming SSD or external gaming drive while cleaning up storage space.
- Game launcher or platform updates (such as Steam, Xbox app, or other clients) changing default capture locations or clearing old libraries without obvious prompts.
- Drive formatting, partition changes, or reinstallation of the operating system that removes or hides existing screenshot directories on the gaming drive.
- File system corruption or sudden power loss during downloads, installs, or game crashes that damages the folders where photos and captures are saved.
- Disconnecting an external gaming drive improperly, causing logical errors or missing directories that make stored photos appear to be gone.
- Malware, conflicting utilities, or manual tweaks that modify or clean temporary folders and inadvertently remove stored screenshots or image caches.
How to Recover Photos From Gaming Drives
To improve your chances of restoring lost gaming screenshots and captures, start with simple checks, then move on to backups and finally specialized recovery software. Work methodically and avoid writing new data to the affected gaming drive while you try each method.
Method 1. Check Game Capture Folders and the Gaming Drive Manually
Start with quick checks before using any recovery software. Many gaming screenshots and in game photos are simply misplaced, saved to a different folder, or filtered out in your library rather than permanently deleted.
- Stop installing new games or updates on the gaming drive to avoid overwriting deleted photo data, then keep the drive connected and powered on steadily.
- Open your game launchers, such as Steam, Epic, or Xbox app, and check their screenshots or captures folders and any custom save locations you previously configured.
- Browse the gaming drive in File Explorer or Finder, searching by common image extensions like .png or .jpg and keywords such as the game title or capture date.
- Check the desktop Recycle Bin or Trash and restore any deleted screenshots or image folders that still appear there from the gaming drive.
- Note any missing game libraries or moved folders, as this information will help you target the correct locations if you need to run a deeper recovery scan later.
Method 2. Restore Gaming Photos from Cloud Sync or Backup
If you enabled cloud sync or backup for your game captures, you may be able to restore lost photos without scanning the gaming drive. Many platforms automatically upload screenshots or back up user folders.
- Check whether Xbox, PlayStation Remote Play, GeForce Experience, or similar tools were configured to sync screenshots to a cloud account or online gallery.
- Sign in to services like OneDrive, Google Drive, iCloud, or your NAS dashboard and look for backed up Desktop, Pictures, or custom game capture folders.
- On Windows, right click the folder where you stored screenshots, select Properties, then use the Previous Versions or Restore menu if available to recover older copies.
- If you exported screenshots to another external drive or USB stick for sharing, connect that device and search it for the missing photo files before attempting deep recovery.
- After restoring backups, copy the recovered photos to a safe location on a different drive and verify that key images open correctly and match your expected resolutions.
Method 3. Use Recoverit to Recover Photos from a Gaming Drive
When photos are deleted or no backup exists, a dedicated recovery tool helps scan the gaming drive for recoverable image data. Recoverit can search large gaming SSDs and HDDs for lost screenshots and photo captures.
Recoverit is a data recovery solution designed to scan internal and external gaming drives for lost media files, including screenshots and other photos. From the Recoverit official website, you can download the desktop application and run a focused scan on your gaming storage without attempting risky manual repairs.
- Deep scanning for deleted or lost image files, including large game screenshots on HDDs, SSDs, and external gaming drives.
- File filters and preview support for common photo formats so you can confirm screenshot quality before recovering.
- Read only scanning process that avoids modifying the gaming drive content while you search for recoverable photos.
- Choose a Location to Recover Data. Open Recoverit, review the listed drives, and select the gaming SSD or HDD where your screenshots were stored. Ensure the correct partition or external gaming drive is chosen before starting.

- Deep Scan the Location. Start the scan and let Recoverit analyze the gaming drive sector by sector. Avoid using games or downloading updates while the scan runs so potential photo data is not overwritten.

- Preview and Recover Your Desired Data. Filter results by image type, preview key screenshots, and select the photos you need. Recover them to a separate internal disk or external drive, not back onto the gaming drive itself.

Try Recoverit to Recover Photos from a Gaming Drives
 Security Verified. 3,591,664 people have downloaded it.
What to Check Before and During Recovery
Before running scans or moving files, verify the basic health and visibility of your gaming drive so you do not accidentally worsen the situation or waste time on approaches that cannot work.
- Confirm the Gaming Drive Is Detected: Make sure the gaming drive appears correctly in your operating system and in any recovery software. If it does not show up, check cables, USB ports, and power before proceeding.
- Avoid Formatting or Repartitioning: If the system prompts you to format the gaming drive, cancel the request. Formatting or repartitioning can overwrite file structures and make photo recovery more difficult or impossible.
- Stabilize the Connection Before Scanning: Use a reliable SATA or USB connection for external gaming drives and avoid loose hubs. An unstable connection can interrupt scans and potentially corrupt partially recovered files.
- Check for Encryption and Access Restrictions: If the gaming drive uses BitLocker or other encryption, unlock it with the correct password or key first. Recovery tools cannot bypass encryption or missing access permissions.
- Prepare a Separate Destination Drive: Have another internal disk or external drive ready with enough free space. Saving recovered photos to a different device reduces overwrite risk on the gaming drive.
- Monitor Drive Health During Recovery: If the gaming drive clicks, disconnects often, or shows serious hardware issues, avoid repeated scans and consider professional help to prevent further damage to the remaining data.
Tips to Improve the Recovery Success Rate
A few careful habits can significantly increase the likelihood of recovering your favorite game screenshots and photo captures from a problematic gaming drive.
- Stop Installing or Updating Games: New installations, patches, and large downloads can quickly overwrite sectors that store deleted photos. Pause game updates on the affected gaming drive until you finish your recovery attempts.
- Prioritize Irreplaceable Screenshots: During recovery, focus on rare in game achievements, artwork, and important captures first. Recover those key photos before selecting less important images to make best use of limited time and space.
- Use Filters to Narrow Photo Results: When scanning a large gaming drive, filter by image type and approximate date range. This reduces clutter from other files and helps you quickly identify the screenshots you actually need.
- Verify Recovered Photos Immediately: After recovery, open several screenshots in an image viewer to confirm resolution, absence of corruption, and correct colors. If some are damaged, rerun a scan focusing on different copies if available.
- Keep Recovered Photos Backed Up: Once your gaming photos are restored, back them up to at least two locations, such as an external drive and a cloud service, so future drive failures are less likely to cause permanent loss.
- Document Capture Locations for Future Use: Note where each launcher or game saves screenshots by default. Using consistent folders on non system drives makes it easier to locate and back up photos before any drive issues occur.
Conclusion
Losing game screenshots and other photos from a gaming drive is frustrating, but you often have options. Start with simple checks in your game launchers and file explorer, then look for cloud or local backups that might still hold your captures. If those steps do not work, a focused scan with a recovery tool like Recoverit can help you search the gaming drive for deleted photos while minimizing additional risk.
By avoiding new writes to the affected drive, verifying its condition, and following a structured recovery process, you give yourself the best chance to bring back your favorite in-game moments and preserve them more safely going forward.
Next: Recover Videos from a Gaming Drives
FAQ
-
1. Can I recover photos from a formatted gaming drive?
In some cases, yes. If the formatting was quick and you have not heavily reused the drive, a deep scan with recovery software may find photos. Recovery is not guaranteed, so avoid writing new data. -
2. Are deleted game screenshots from Steam or Xbox permanently gone?
Not always. First check the Steam or Xbox captures folder and your Recycle Bin. If they are not there, a recovery tool may still detect the deleted image data on the gaming drive. -
3. Can Recoverit restore photos from an external gaming SSD?
Recoverit can scan many external SSDs and HDDs as long as the operating system recognizes the drive and you can unlock any encryption. It cannot access drives that remain locked or physically failed.


