

 TL;DR:
To immediately reveal hidden files on an SD card, check "Hidden Items" in the Windows File Explorer View tab or press `Cmd + Shift + Period (.)` in macOS Finder.
● Use the Windows Command Prompt command `attrib -h -r -s /s /d X:\*.*` (replacing X with your drive letter) to uncover files hidden by malware, but you must connect the SD card via a dedicated USB reader because this command cannot run on MTP-connected Android devices.
● Type `file:/x:` (replacing "x" with your drive letter) into the Google Chrome address bar to quickly bypass system graphical hiding rules and verify if the missing files still exist on the drive.
● If manual unhiding and drive letter reassignments fail, the directory is likely corrupted or the files are deleted, requiring a deep scan with a tool like Wondershare Recoverit before saving any new data to the card.
Ask AI for a summary
 ChatGPT
 Perplexity
 Gemini
 Claude
 Grok
Grok
When you are capturing precious moments and storing essential data, your SD card becomes more than a storage device. If this precious asset that holds memories and files appears empty suddenly or doesn’t show the needed files, it can cause panic. You might even think that your files are lost forever, but that’s not always the case.
Fortunately, it is possible to access those hidden files only if you stick to the right approach. In this guide, we will be guiding you through multiple ways to show hidden files on SD card, both on Windows and Mac. Plus, if your files were actually deleted, we will introduce you to a data recovery tool to ensure seamless data recovery.
Try Recoverit to Perform SD Card Data Recovery
 Security Verified. 3,591,664 people have downloaded it.
Part 1. Show Hidden Files on SD Card: Why Are They Hidden
Before we delve into ways to show hidden files on your SD card, let's go through the underlying reasons behind them:
- System Corruption: Power loss or device damage can cause corruption, which leads to directory records getting jumbled. This disruption of indexing causes previously accessible files to become invisible.
- Virus and Malware Infection: Some malicious software can deliberately make the files invisible to cover up its activity or confuse users. These viruses can alter the file attributes to make files seem missing from the system directory.
- User or App Action: Users may have hidden files with sensitive information for privacy reasons, intentionally or even accidentally. Certain applications can also hide specific files to protect the vital system functions and manage data without user interference.
- Compatibility Issues: When you move an SD card between devices running on different operating systems, they interpret files differently. This inconsistency leads to confusion about a file’s visibility with the system files.
- Interrupted File Transfers: If you abruptly disconnect your SD card, it leaves files partially written or flagged. As a result, these files do not appear in standard browsers until the transfer completes or file damage is repaired.
📊 Which Unhide Method Should You Use?
Find the best approach based on your current scenario:
| Scenario | Recommended Method | Difficulty |
| Accidental Manual Hiding | Windows File Explorer Settings | ⭐ (Easy) |
| Virus/Malware Infection | Command Prompt (Attrib) | ⭐⭐⭐ (Advanced) |
| Connection/Drive Conflict | Assign New Drive Letter | ⭐⭐ (Medium) |
| Quick File Preview | Google Chrome Browser | ⭐ (Easy) |
| Mac System Files | Terminal / Hotkeys | ⭐⭐ (Medium) |
| Files Deleted/Corrupted | Wondershare Recoverit | ⭐⭐ (Reliable) |
Part 2. 6 Approaches to Show Hidden Files on an SD Card in No Time
After having learned about the reasons behind the issue, let's explore 6 different approaches on how to unhide hidden files in your system:
1. Change Windows File Explorer Settings
There are powerful customization options available in Windows File Explorer that allow users to reveal all hidden files. When you enable the display of hidden and protected files, obscured media files are uncovered. It works for files hidden due to any accidental setting change or malware issue while being risk-free and direct. Below are step-by-step instructions to carry out the process smoothly:
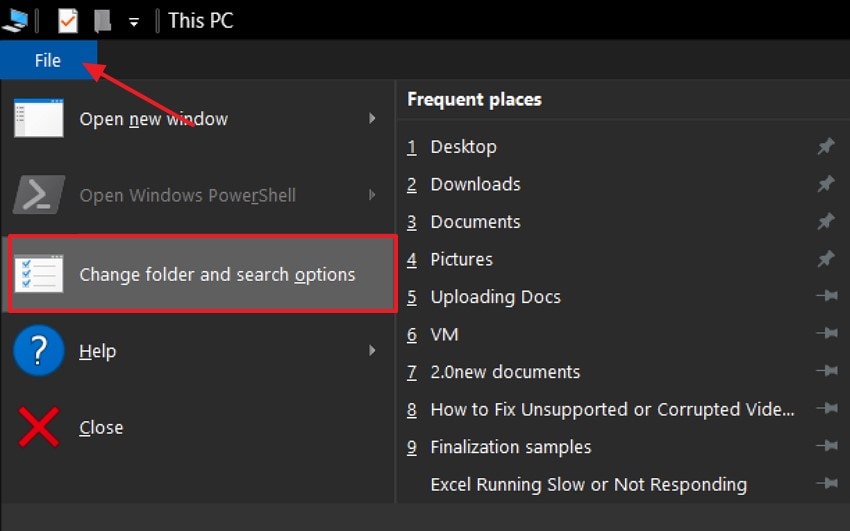
Step 1. Firstly, you will open “File Explorer” to select the “File” tab and choose the “Change Folder and Search Options” option from the menu.
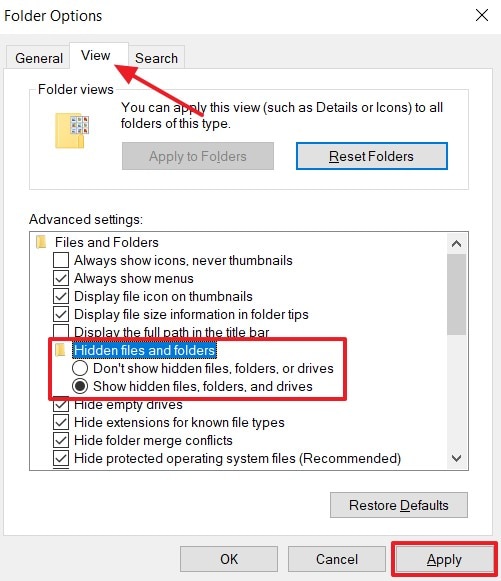
Step 2. You will go to the “View” tab and enable the “Show hidden files, folders and drives” option under the “Hidden files and folders” tab to hit the “Apply” button.
2. Adjust File Explorer View Settings for the SD Card
Windows File Explorer view settings can be changed for any folder, including your SD card. You can adjust this option in just a few simple clicks to make critical system data visible. This will grant you full transparency to the specific drive or card’s content without having to change the entire Explorer’s settings. To adjust File Explorer view settings and show hidden files of your SD card, follow these instructions:
Instructions. Once your SD card is inserted, find and open it in the File Explorer. Click on the “View” tab in the top panel and check the “Hidden Items” box, and your hidden files will be instantly visible on the screen.

3. Assign a New Letter to Unhide Hidden Files
Assigning a new drive letter to your SD card can repair certain accessibility and visibility issues to make files visible. It can resolve problems that result from file system conflicts with the previously assigned letter. When you refresh this letter assignment, Windows might be able to re-index files previously hidden due to logical errors. Resolve the minor detection issues and recover hidden files on the SD card with the following steps:
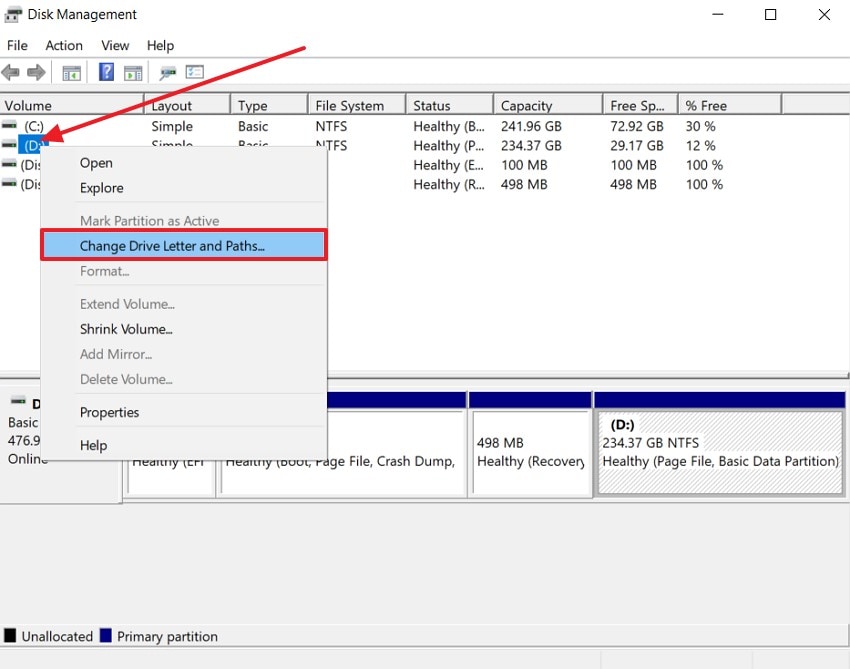
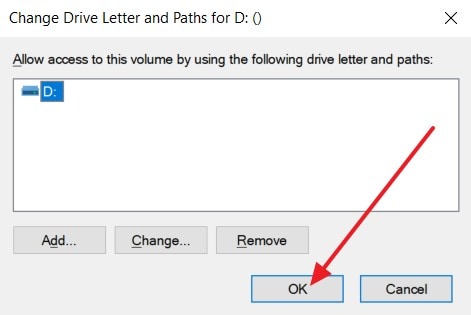
Step 1. Open “Disk Management” and right-click on your SD card in the volumes to select “Change Drive Letters.”
Step 2. Click on the “Change” button to choose an alphabet from the dropdown list and tap the “OK” button.
4. Utilize Google Chrome to Show Hidden Files in SD Card
If you have tried the above methods, you can use a web browser to make all your files visible. This browser can be used as a file explorer to automatically show all the hidden files in both Mac and Windows Explorer. Google Chrome, being the most used default browser on the system, can be used with these simple steps when your File Explorer misses files:
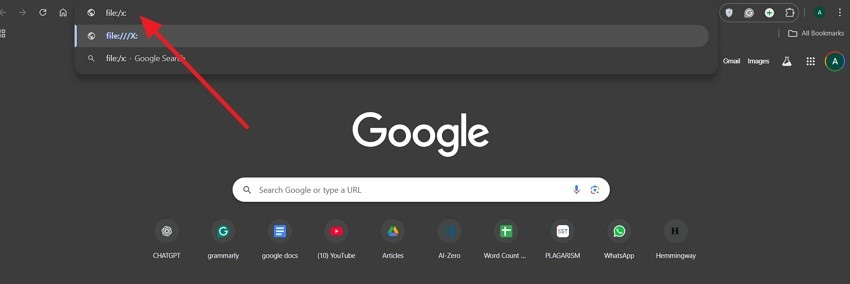
Instructions. Attach your SD card to the device and launch Google Chrome. Then, type “file:/x:” on the address bar, changing x with the drive letter of the SD card. The Chrome browser will show hidden files on your SD card.
5. Show Hidden Files Using Command Prompt
The system command prompt lets you directly alter and view the file attributes by bypassing the graphical hiding rules. You can run the prompt command to instantly change all the hidden file attributes and permanently reveal your system-protected data. This approach can help you uncover files hidden by viruses and attribute changes. Use the Windows command to show files on the SD card by proceeding with the given steps:
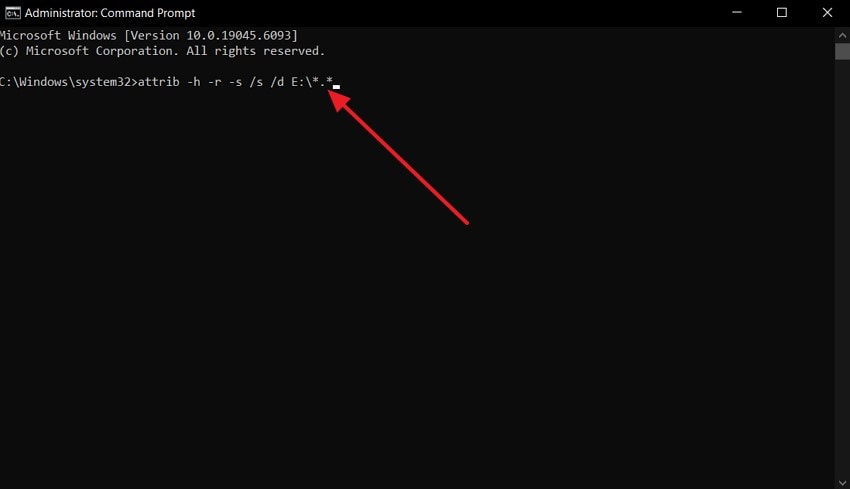
Instructions. Once your SD card is connected and recognized by the system, open “Command Prompt” and insert the “attrib -h -r -s /s /d E:\*.*” in it. At this point, change the letter “E” with the letter assigned to your drive letter. Hit the “Enter” key to execute the command and let the system recover hidden files on the SD card.
If your SD card is inside an Android phone connected via USB, Windows Command Prompt (CMD) cannot run attrib commands directly on it. You must unmount the SD card and use a dedicated USB SD Card Reader for these technical commands to work.
6. Unhide All Hidden Files Using Terminal on Mac
Mac’s terminal is a powerful utility tool that allows complete control over file visibility through command-line instructions. This method works by changing the macOS Finder preferences to display files marked as invisible with hidden flags. Once the Finder restarts, it applies the changes to help you find out if your data is hidden or permanently lost. Use the command-line interface of your Mac computer to display your files again with the following steps:
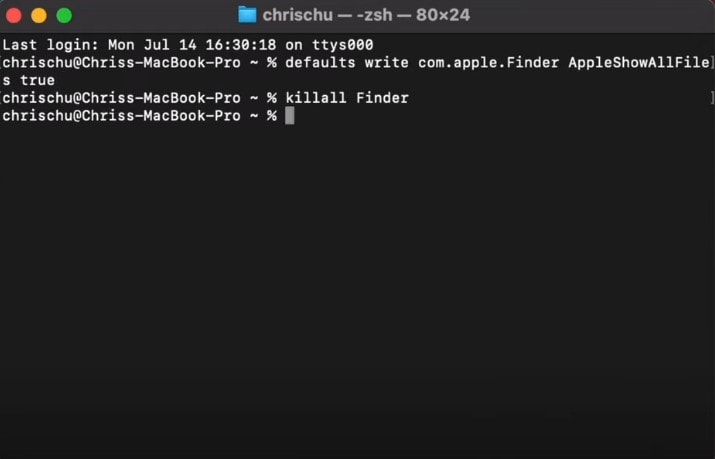
Instructions. Open the Terminal on your Mac and type the “defaults write com.apple.Finder AppleShowAllFiles true” command. Press the “Enter” key now to run the command and type “killall Finder” and confirm by pressing the “Enter” key again.
Part 3. Your SD Card Files Got Deleted? How to Recover Hidden Files on SD Card via Recoverit
If you have tried these fixes to show hidden files, and none of them could recover your files, this could mean your files have been deleted. As scary as it may sound, it is not the end, as your files are still recoverable through the advanced recovery options like Wondershare Recoverit. The advanced recovery algorithms allow users to recover files of over 1000 formats, including many video and photo formats.
It also has strong data protection protocols that keep your data secure and free from viruses. The program can recover data that might have been deleted due to system corruption, accidental deletion, or improper ejection of the card. Apart from the data recovery from SD cards, it also supports CF and MMC cards. This tool can retrieve data from NAS systems and Linux partitions, apart from being compatible with Windows and Mac.
Why Recoverit succeeds when "Unhiding" fails
Sometimes files aren't just "hidden"; they are orphaned in the file system.
| Feature | Benefit for Hidden Data |
| RAW Partition Recovery | Finds files even if the SD card shows as "Unallocated" or "RAW." |
| Advanced Video Stitching | Recovers 4K/8K security or drone footage that standard "unhide" commands miss. |
| Virus-Deleted Recovery | Specifically designed to find data deleted by "Shortcut Viruses" that hide original files. |
| Cross-Platform Support | Recovers Mac-hidden files on Windows and vice-versa. |
Key Features
- Deep Scanning: The software performs a deep scan of the entire device to find any hidden or missing files that are not discoverable by the system.
- Preview Option: You can preview your recovered files before saving them to the device for complete satisfaction.
- Filter Availability: There is an option to choose from a number of filters, like file type and time, to make the recovery and search faster.
A Complete Step-By-Step Guide to Recover Deleted Files Using Wondershare Recoverit
If you want to recover hidden files on SD card, here is a simple guide to do it using the Recoverit tool:
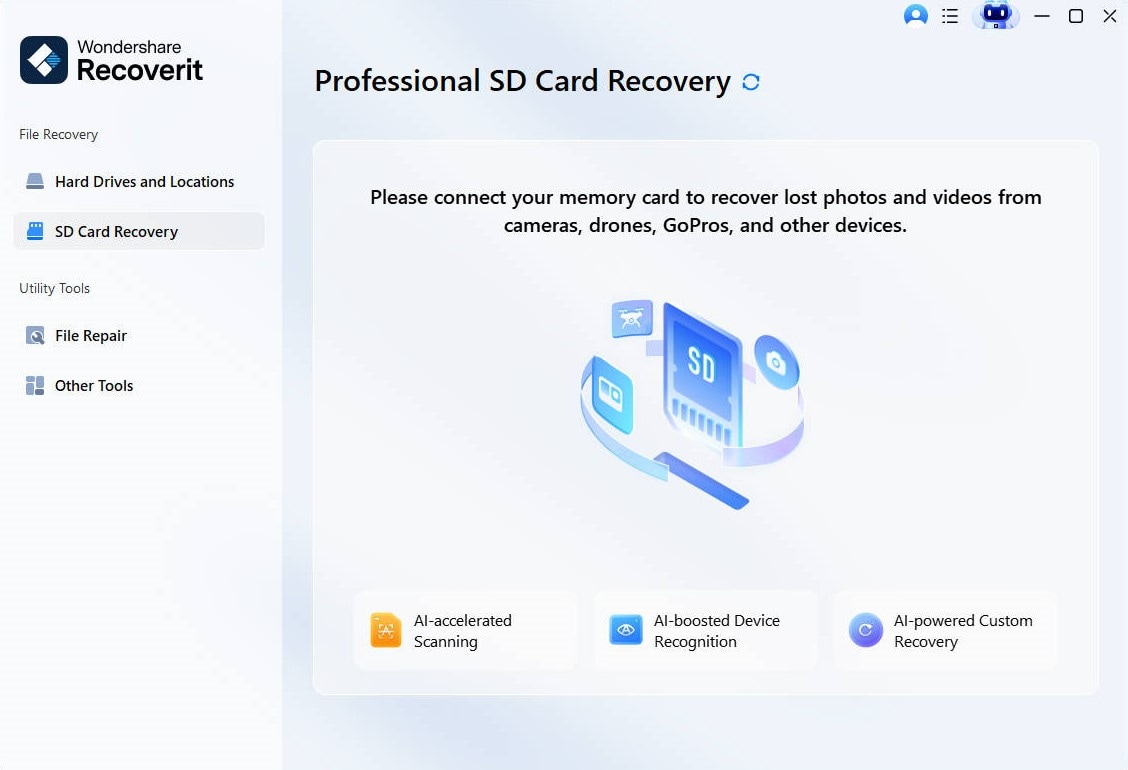
Step 1. Connect the SD card and Select The SD card Recovery Feature
Once you have connected your SD card to your computer, launch the program and choose the “SD Card Recovery” tab from the left panel. When you see on your screen that the card is detected, hit the “Scan” button to start the search for your data.
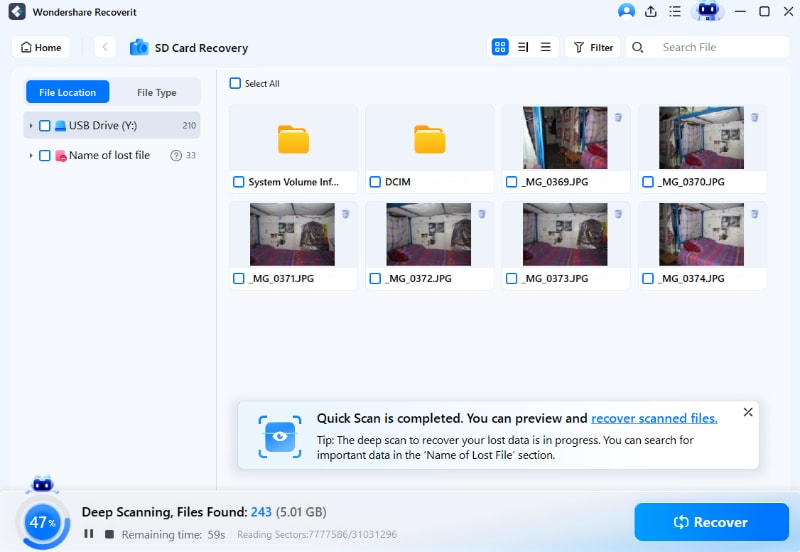
Step 2. Scan the Card to Find the Lost Files
After the scan is complete and you see all your recovered files on the screen, select the ones you want to recover to proceed.
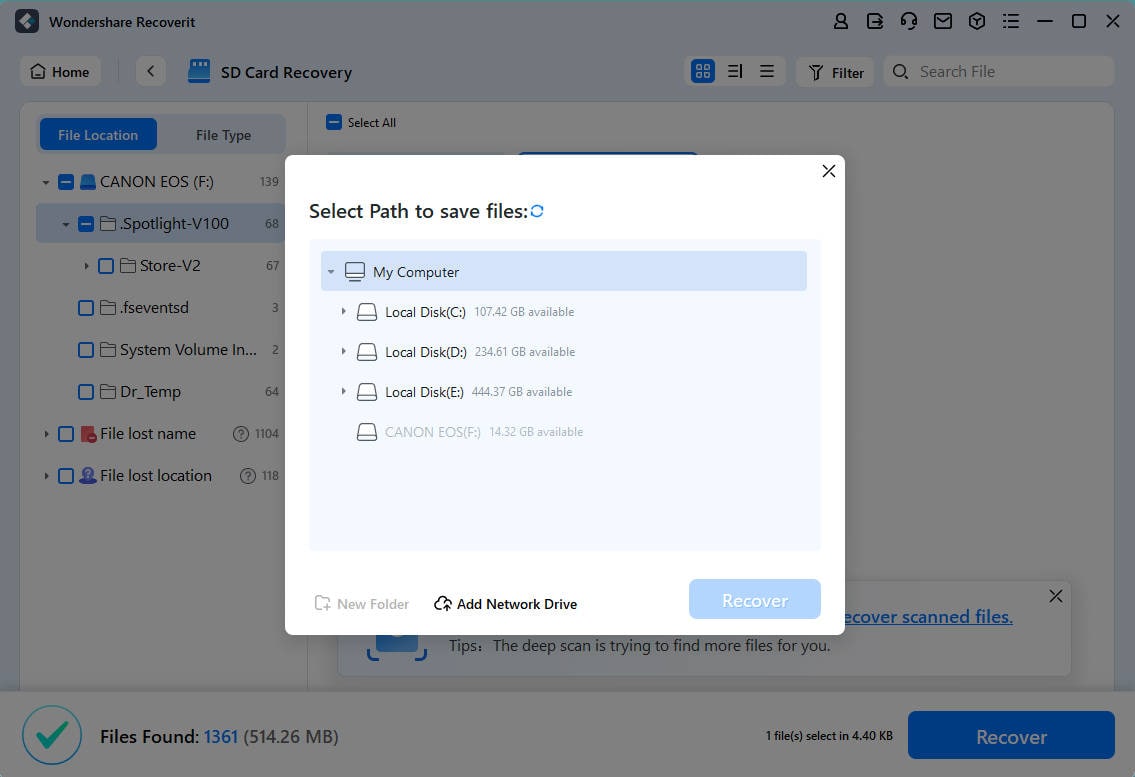
Step 3. Preview The Recovered Files and Save
When the files are selected, press the “Recover” button at the bottom of the screen and pick a path for restoring those lost files.
🏁 Final Checklist: How to Ensure Your Files Stay Visible
- Disable "Hide" Attribute: Right-click your main folders, select Properties, and ensure the "Hidden" box is unchecked.
- Scan for Malware: Use a trusted antivirus to remove "Folder Hider" viruses.
- Use Eject Safely: Always "Eject" the SD card in Windows/Mac to prevent file system "Dirty Bits" that hide files.
- Refresh Drive Letter: If the card shows "0 bytes," use Disk Management to re-assign a letter.
- Deep Scan: If all manual methods fail, use Recoverit immediately before saving new data to the card.
Conclusion
Summing up, inaccessible files can be a frustrating issue when we are tackling multiple tasks at once. In this article, we have explored 6 different fixes to show hidden files on the SD card again. Moreover, we also recommended a data recovery tool named Wondershare Recoverit to retrieve your deleted or lost files.
FAQ
-
1. What can I do if my SD card is not showing up in the File Explorer?
You can reconnect the card using a different reader or check the Disk Management to assign a drive letter. If the card is still not recognized, it could mean severe physical damage or corruption. -
2. Are there risks to changing settings to show system files using the command prompt?
Yes, important system files and configuration data are revealed, and accidental deletion or modification of those files can cause harm to applications. To avoid this, you must avoid deleting files that you don’t recognize. -
3. How can I tell if my missing files are hidden or deleted permanently?
The simple Windows settings will show hidden files through the File Explorer if you still have them in the system. If not, Command Prompt will surely show them; otherwise, your files were likely deleted. -
4. Is it safe to use third-party tools to recover hidden or deleted data?
Reputable third-party tools like Recoverit are completely safe to use as they claim 100% data security. The risk of malware infection increases if you go for unverified tools with no guarantee of data privacy protocols.


