

 TL;DR:
The "We couldn't find any drives" error during Windows 10/11 installation is primarily caused by missing NVMe/RAID drivers or incompatible BIOS configurations, and is most effectively fixed by manually loading the motherboard's storage drivers or switching the SATA controller mode to AHCI.
● To manually supply missing drivers during the Windows setup prompt, download the SATA, AHCI, or RAID drivers from your PC manufacturer onto a USB flash drive, click "Load Driver," and select the specific driver INF file.
● If the storage device remains undetected, access the BIOS/UEFI menu during startup to change the SATA Controller Mode to AHCI, and disable Secure Boot and Fast Boot to prevent the system from blocking drive initialization.
● Resolving deep partition conflicts by formatting the drive will permanently erase all existing data, requiring users to secure backups or use a recovery tool like Recoverit before executing this advanced step.
Ask AI for a summary
 ChatGPT
 Perplexity
 Gemini
 Claude
 Grok
Grok
A user trying to clean-install Windows 10/11 suddenly hits a wall when the setup screen shows the alarming message, “We couldn’t find any drives.” This frustrating error stops the installation entirely, leaving you unable to select or format a disk. It usually appears when Windows can’t detect the storage drive.
Fortunately, this problem is completely fixable with the right steps. In this guide, you’ll learn the most effective solutions to restore drive visibility, load essential drivers, and ensure your PC recognizes your storage device during installation.
Try Recoverit to Perform Data Recovery
 Security Verified. 3,591,664 people have downloaded it.
In this article

Part 1. Why “We Couldn’t Find Any Drives” Appears During Install
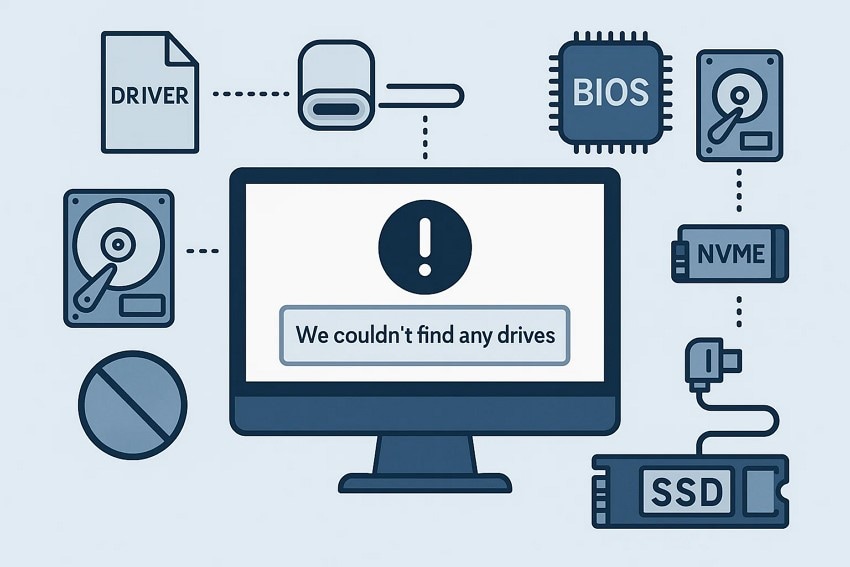
Before jumping into the solutions for “we couldn't find any drives Windows 11 installation,” it helps to understand what triggers this error. Several system-level issues can prevent Windows from detecting your storage drive during installation.
- Missing Storage or SATA Drivers: Windows often fails to recognize modern NVMe or RAID drives without the correct drivers. When these drivers are absent, the installer simply shows no available disks.
- Incorrect BIOS Storage Mode: Settings like RAID, AHCI, or Intel RST can affect how drives appear. If configured incorrectly, the drive becomes invisible to the Windows setup environment.
- Disabled or Hidden Drive in BIOS: Some motherboards allow storage ports or NVMe slots to be disabled. When these are turned off, the installer cannot detect the connected drive.
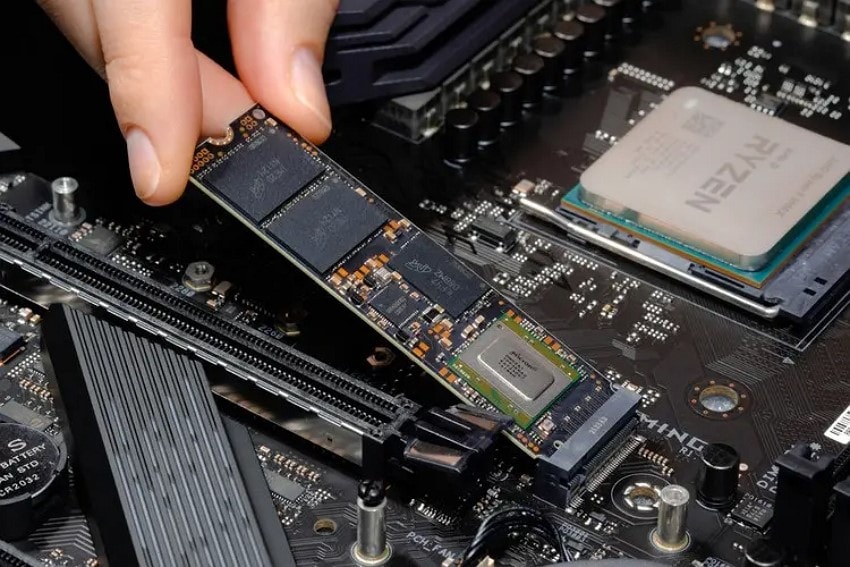
- Faulty or Loose Drive Connection: A loose SATA cable or improperly seated NVMe drive can cause detection issues. Physical problems often mimic software-related errors in the installer.
Part 2. Check Hardware Connections Before Fixing the Issue
Many installation errors, including the “We couldn’t find any drives” message, stem from an unstable hardware setup. Mentioned below are some of the quick checks you can try before fixing the issue:
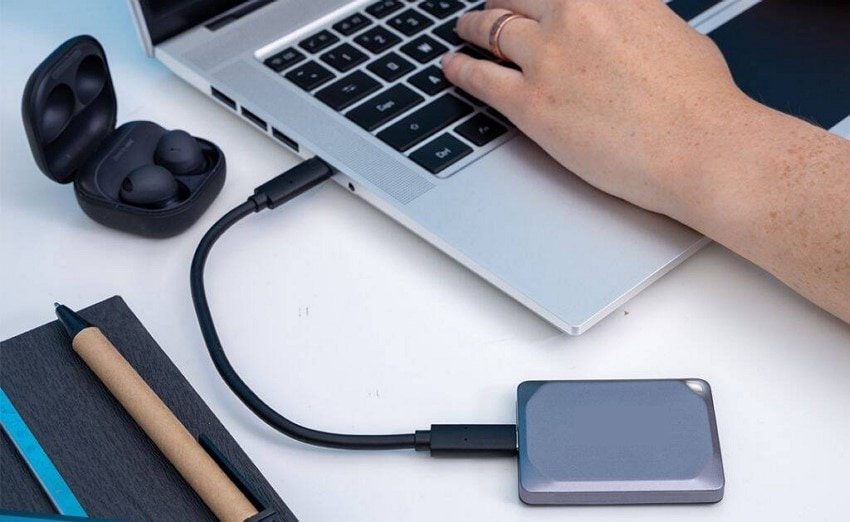
1. Ensure SSD/HDD Is Properly Connected
Ensure your SSD or HDD is firmly seated in its slot without any loose alignment issues that might. A misaligned drive can prevent the Windows installer from detecting essential hardware required during setup in most cases. Reinserting the storage device carefully helps restore proper connectivity and eliminates detection errors appearing during installation for you.
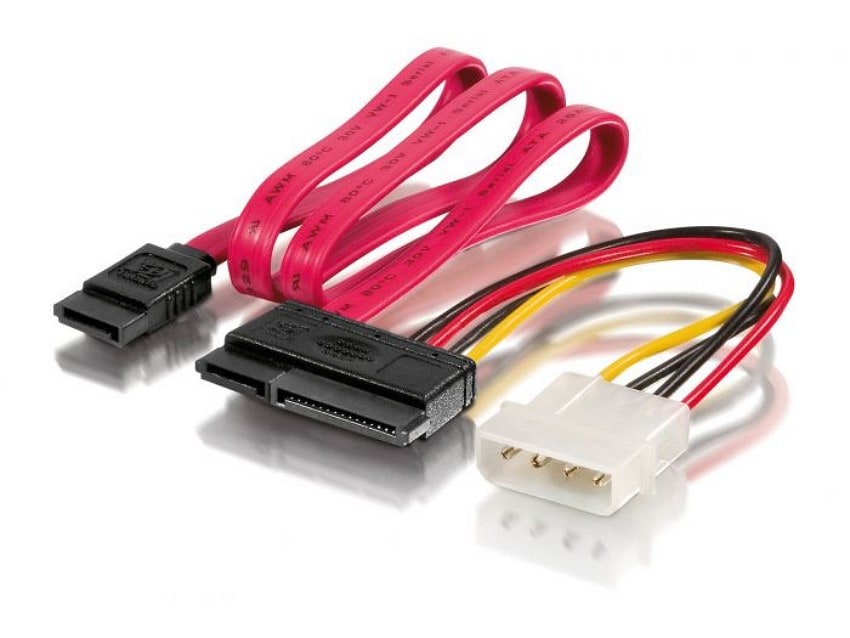
2. Have a Check of SATA/Power Cables
Check whether the SATA data cable is securely attached because loose connections frequently interrupt drive detection processes today. Also, confirm the power cable is delivering stable current since insufficient power often prevents drives from being recognized properly. Replacing damaged cables quickly resolves many installation errors, such as we couldn't find any drives windows 10 installation, and ensures Windows correctly identifies connected storage hardware for users.
3. Verify Drives on Another PC
Testing the drive on another computer helps confirm whether the issue involves hardware faults or system misconfigurations today. A healthy drive will appear normally elsewhere, indicating your current device may have connectivity or motherboard problems inside. If the drive fails on multiple systems, it strongly suggests internal defects requiring replacement before proceeding further reliably.
Part 3. Step-by-Step Fixes “We Couldn’t Find Any Drives” Error on Windows 10/11
Now that you've ruled out any hardware-related issues, it's time to move on to the actual software fixes, as we couldn't find any drives. The following step-by-step methods will guide you through resolving the issue and making your drive detectable during installation:
1. Change SATA Controller Mode to AHCI/NVMe
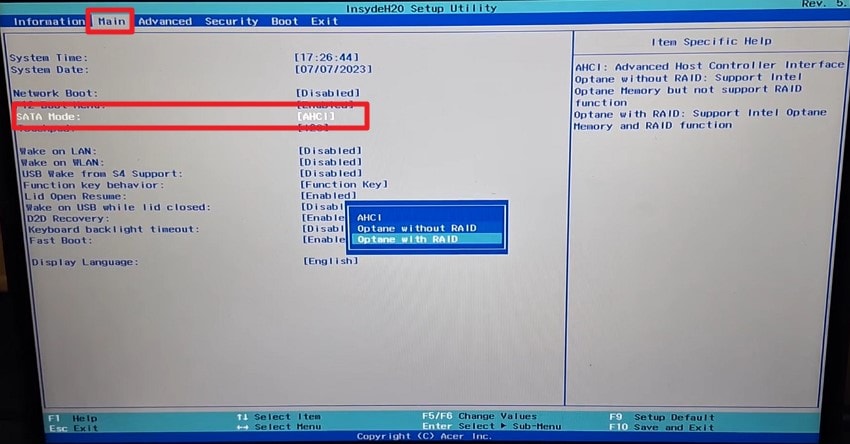
One of the easiest methods to resolve this error is switching the SATA Controller Mode to AHCI, which often restores drive visibility instantly. This adjustment fixes conflicts created by RAID or legacy modes that prevent proper disk detection. Setting the controller to the correct mode improves compatibility with modern SSDs, helping Windows accurately recognize your storage device. Follow the instructions mentioned next to learn how to change this controller mode:
Instructions. Restart your computer and press the BIOS key repeatedly during startup. (Common keys: F2, DEL, ESC, F10, depending on your motherboard.) Next, access the “Main” section from the top and locate the “SATA Mode” option. Choose “AHCI” from the options and save the changes made to fix the we couldn't find any drives windows 11 installation error.
2. Load Storage Controller Drivers During Setup
This method helps Windows detect drives that aren't showing because the required storage controller drivers are missing. By loading these drivers during setup, the installer gains the ability to communicate with NVMe, RAID, or chipset-based storage devices. It's particularly effective for newer SSDs and systems using Intel RST, where default installation files lack proper support. To learn how to perform this fix, since we couldn't find any drives, read the steps mentioned next:
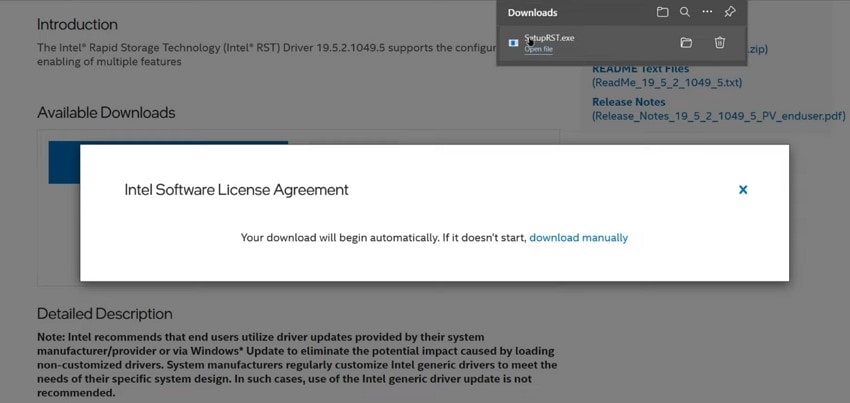
- Download the required SATA/AHCI/RAID driver from your laptop manufacturer. Extract the ZIP file and place the driver folder on a USB flash drive.
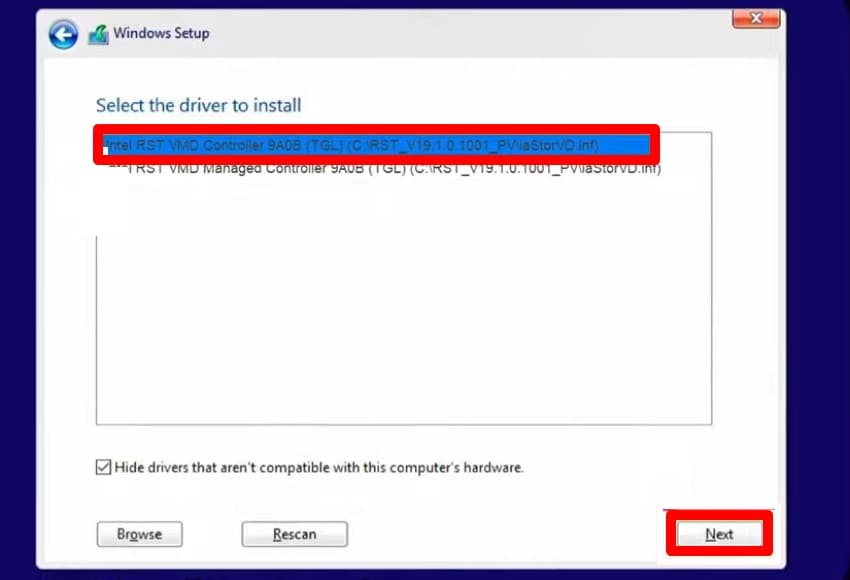
- Boot from the Windows installation USB. When you reach the “Where do you want to install Windows?” screen (where no drives appear), click “Load Driver.”
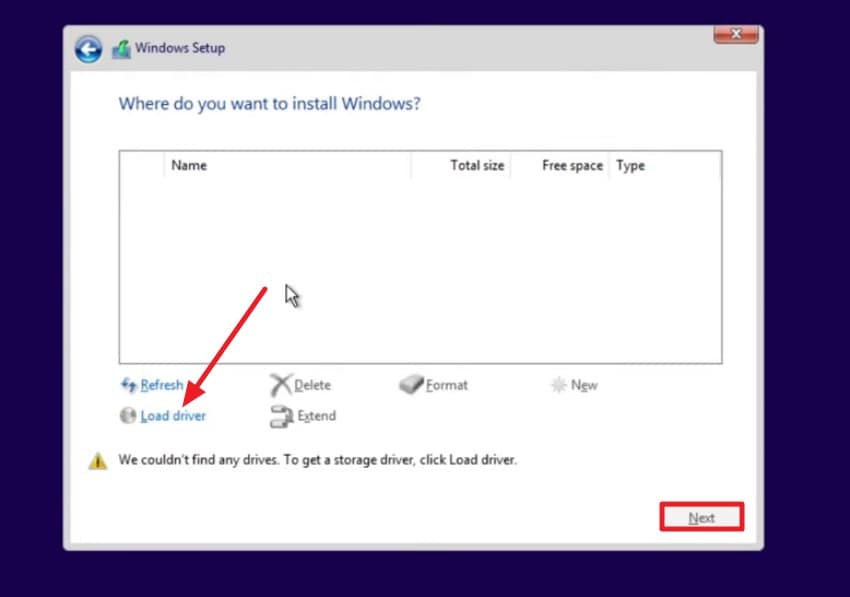
- Insert the USB containing the storage controller driver. Browse to the folder (usually Drivers, SATA, RAID, or F6flpy). Select the correct driver INF file and press “Next.” Windows Setup will load the driver immediately, and your drives should now appear in the list.
3. Check Drive Visibility in BIOS
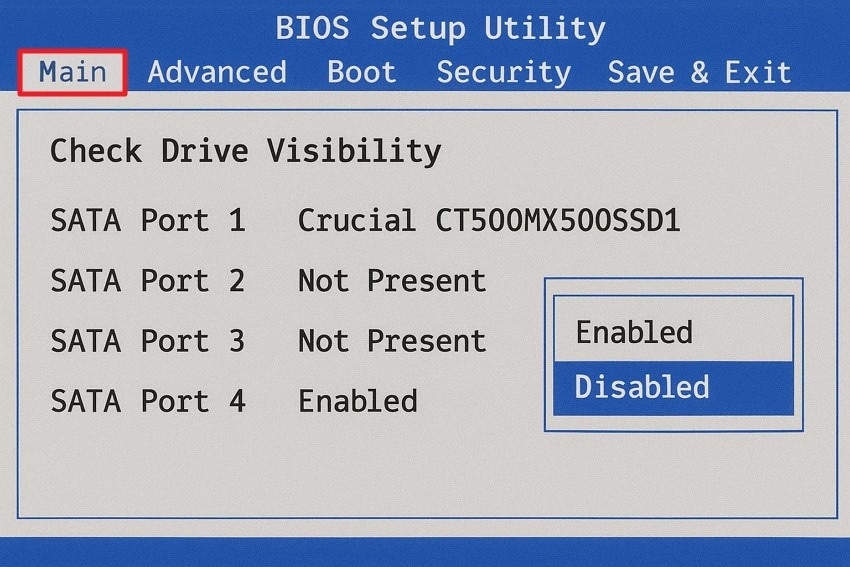
Checking drive visibility in the BIOS is a simple yet essential method to diagnose why we couldn't find any drives windows 10 installation. If the SSD or HDD doesn’t appear in the BIOS, the issue is likely related to hardware connections. Ensuring the drive is recognized at this level confirms that your system can communicate with it. To learn how to check visibility in BIOS, read the instructions mentioned below:
Instructions. Restart your computer and repeatedly press the BIOS key (such as F2, DEL, ESC, or F10) to enter the BIOS/UEFI menu. Once inside, navigate to the "Main" section and look for connected drives under SATA ports, NVMe listings, or M.2 storage. Check whether your drive appears with its model and capacity; if it doesn't, reset the drive.
4. Clean/Format the Drive (Advanced)
Cleaning or formatting the drive is an advanced method that resolves deep partition or file-system issues preventing Windows from detecting the disk. By wiping corrupted partitions, the installer can access the drive without conflicts. This approach is effective but risky, so always back up or recover important data before performing it. Follow the steps mentioned below to learn how to format a drive, and fix the we couldn't find any drives error:
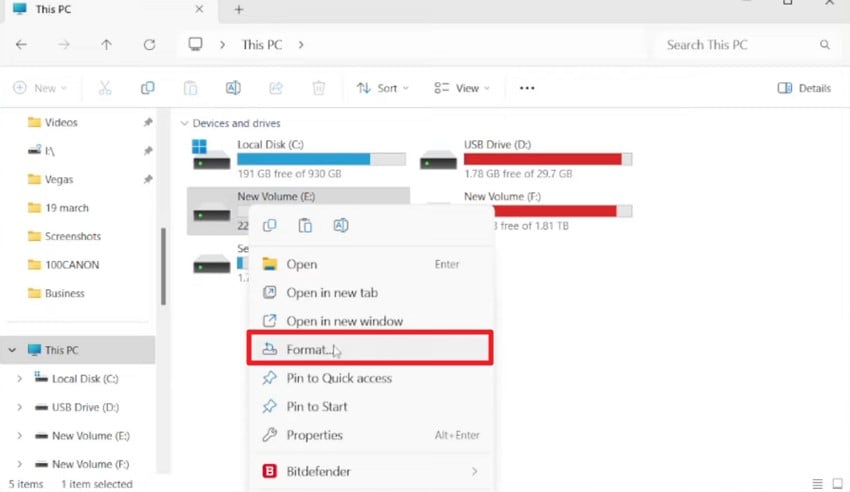
- Begin by opening the file explorer and accessing the “This PC” section from the left. Now, select the drive from the folder and right-click on it to press the “Format” option.
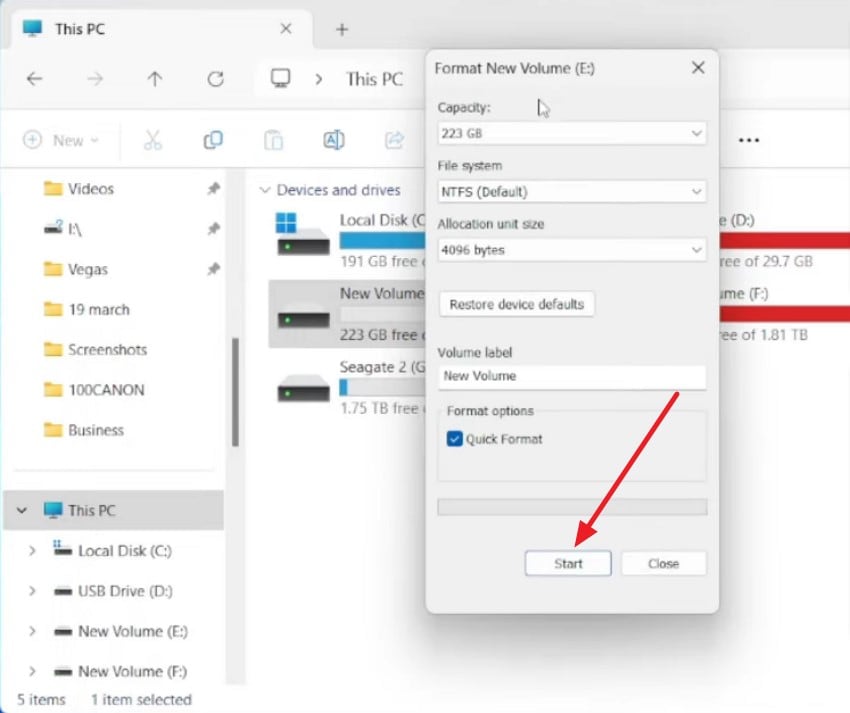
- In the following dialogue box, press the “Start” button to confirm and begin the drive formatting process.
5. Use Another USB Port or Recreate Boot Media
If your PC doesn’t detect the bootable USB, try using a different USB port, preferably a USB 2.0 port, since some BIOS versions have compatibility issues with USB 3.0/3.1. If the issue persists, recreate the boot media using tools such as Rufus or the Windows Media Creation Tool. Then, insert the USB drive, restart, and select it from the BIOS boot menu to proceed.
6. Disable Secure Boot and Fast Boot
Another effective approach is turning off Secure Boot and Fast Boot, which can interfere with drive detection during Windows installation. These security and speed features sometimes prevent the system from fully initializing storage devices. Disabling them allows Windows Setup to properly communicate with your SSD or HDD. If you do not know how to disable them to fix we couldn't find any drives Windows 11 installation issue, read the steps mentioned next:
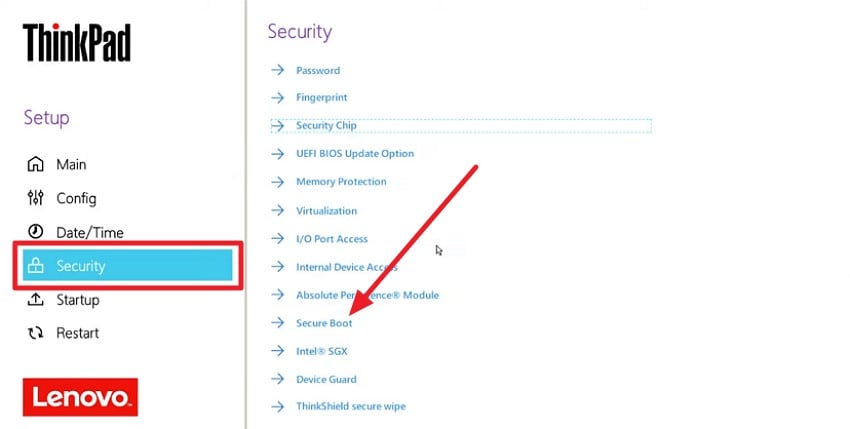
- Restart your computer and press the BIOS/UEFI key (such as F2, DEL, ESC, or F10) to enter the BIOS menu. Now, access the “Security” section from the left and choose the “Secure Boot” option.
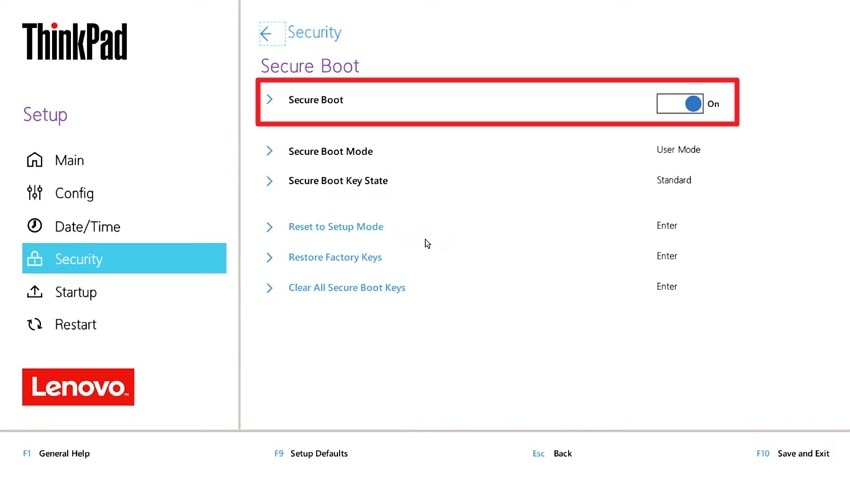
- In the following interface, turn the toggle off for “Secure Boot” to successfully disable it.
Pro Tip: Protect Your Files—Recover Lost Data with Recoverit First
After applying several fixes, there’s always a chance that disk formatting may affect your data. One such tool that will help you recover your lost data is Recoverit. The tool can detect drives that recently became visible but still contain corrupted partitions or unreadable sectors from failed installations. Its “Disk Scan” and “Partition Recovery” features help restore files from drives that were reinitialized.
If the installation process caused missing folders or accidental partition loss, Recoverit retrieves them before you proceed with a fresh Windows install. For users who ran advanced steps to resolve we couldn't find any drives issue, Recoverit provides a secure way to recover affected files without risking further damage. Besides this, users get the ability to preview files within the tool’s interface before saving them to their devices.
Amazing Features Offered by Recoverit
- Batch Recovery: Recover multiple images simultaneously, saving significant time and effort compared to restoring each file manually.
- Multiple Format Support: Recoverit restores many file formats, including JPEG, PDF, XML, PNG, and others, ensuring comprehensive compatibility across various devices.
- Advanced Recovery Mode: The deep scan option locates severely damaged or lost files accurately, offering higher success rates even in difficult recovery scenarios.
Step-by-Step Guide on How to Recover Lost or Damaged Files with Recoverit
As discussed, Recoverit offers a simple and effective solution to get back your damaged and lost files instantly. To learn how to use this tool for file recovery, read the steps mentioned below:
1. Choose the File Location
Once Recoverit launches, select the file location from the homepage and click it to proceed. After choosing the location, the tool automatically begins scanning to identify all recoverable files.

2. Select the Files and Recover
When the scan completes, and Recoverit lists all recoverable items, choose the damaged or missing files you want to restore. Click the “Recover” button at the bottom to begin retrieving them.

3. Review and Export Computer Files
Before saving the recovered files, preview them inside the tool’s interface to ensure everything is correct. Once satisfied, press “Recover” again to export and save the restored files to your device.

Conclusion
In conclusion, this article provided a complete guide on how to fix “We Couldn’t Find Any Drives” during Windows 10/11 installation. We explored the step-by-step solutions to make your storage drive detectable. Additionally, we emphasized the importance of protecting your data using Recoverit, ensuring lost or damaged files can be safely recovered before applying fixes.
FAQ
1. Why does Windows 10/11 show “We Couldn’t Find Any Drives” during installation?
This error occurs when Windows Setup cannot detect any storage devices due to missing drivers, incorrect BIOS settings, or uninitialized disks. Ensuring the correct storage drivers are loaded and checking BIOS configurations usually resolves the detection issue quickly.2. Can I recover lost data if my drive becomes invisible during installation?
Yes, data on drives that appear missing or unrecognized can often be retrieved before performing fixes. Using Recoverit allows you to scan these drives and safely recover important files, ensuring no loss occurs during formatting or BIOS adjustments.3. What should I do if the error persists after checking hardware and BIOS settings?
If hardware connections and BIOS configurations are correct but the drive still doesn’t appear, reinstalling or updating storage drivers may solve the issue.4. Is it safe to use Diskpart or format the drive to fix this error?
Yes, Diskpart or formatting can resolve certain detection problems, but these methods will erase all existing data on the drive. Always back up or recover your files beforehand to avoid permanent loss.


