

 TL;DR:
Upgrading a desktop from a mechanical HDD to a 2.5" SATA or M.2/NVMe SSD resolves slow boot times and system lag by delivering sequential speeds up to 3,500+ MB/s, provided your motherboard has the compatible slots and spare SATA power connectors.
● SSDs are best suited for housing the operating system, applications, and active projects due to their low latency and physical shock resistance, while cheaper HDDs are ideal to keep as secondary drives for bulk storage.
● You must decide between a fresh OS installation or a drive clone beforehand, as cloning requires downloading specific software and obtaining a SATA-to-USB cable or an external enclosure.
● Prior to the hardware swap, optimize your current storage by uninstalling extra applications so the data fits the new SSD capacity, and resolve any file system errors using disk management tools to minimize transfer risks.
Ask AI for a summary
 ChatGPT
 Perplexity
 Gemini
 Claude
 Grok
Grok
Many desktop users eventually notice their systems slowing down or system slowing down. These issues often stem from the limitations of traditional hard disk drives, which typically rely on mechanical parts. As you download more applications on your device, it will affect your system, making users frustrated.
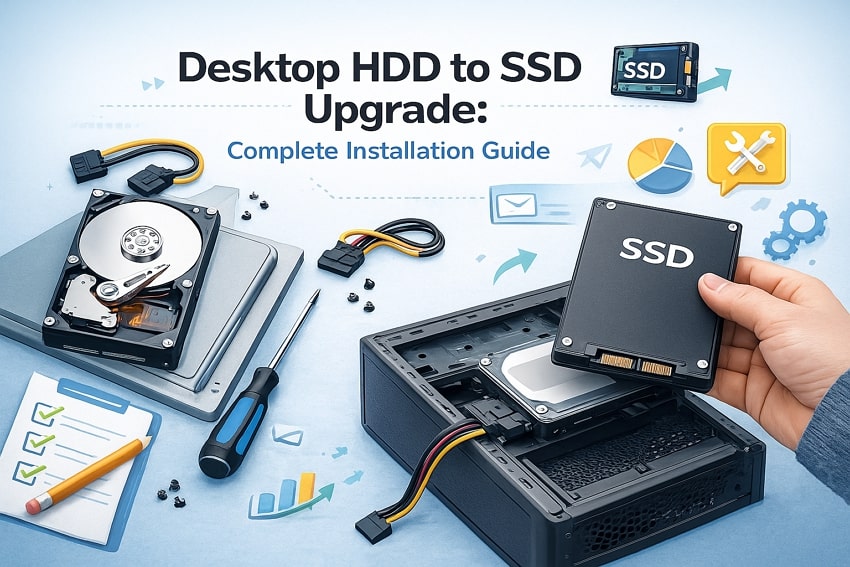
To resolve this issue, upgrading from an HDD to a solid-state drive (SSD) is one of the most impactful and cost-effective solutions. So, if you are also exploring how to replace HDD with SSD, this guide will help you cover all the important aspects of replacing it.
Try Recoverit to Perform Hard Drive Recovery
 Security Verified. 3,591,664 people have downloaded it.
In this article

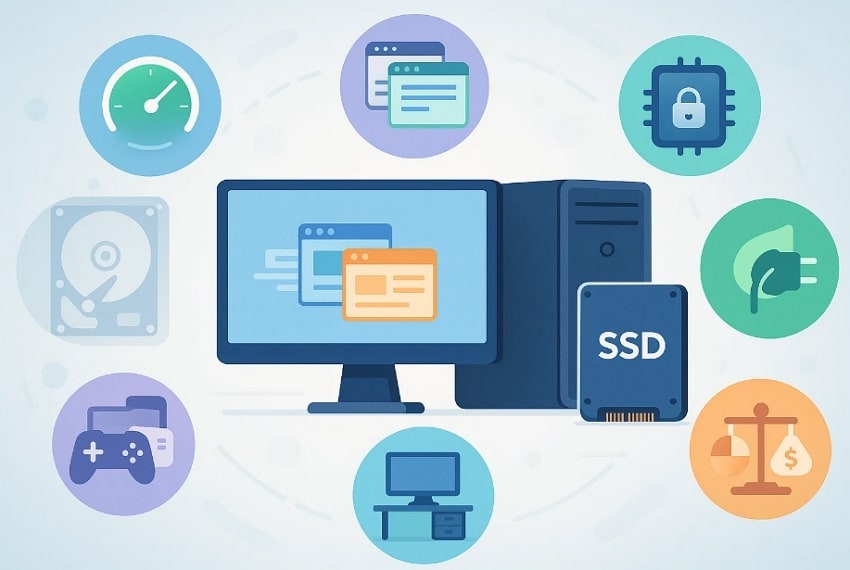
Part 1. HDD vs. SSD: Why Upgrading Boosts Your Desktop Performance
Before you dive into why you should upgrade your drive, have a look at a quick comparison between HDD and SSD:
| Factors | HDD (Hard Disk Drive) | SSD (Solid-State Drive) |
|---|---|---|
| Core Technology | Mechanical spinning platters | Flash memory with no moving parts |
| Typical Sequential Speed | Around 80–200 MB/s for common desktop drives | Around 500–3,500+ MB/s, depending on the SATA or NVMe model |
| Boot Time (Desktop OS) | Often about 30–40 seconds on a typical system | Commonly about 10–15 seconds on similar hardware |
| App And Game Load Times | Slower loading, more stutter under heavy I/O | Much faster loading and smoother responsiveness under load |
| Random Access & Latency | Higher seek times due to head movement and rotation limits | Very low latency and near-instant random access |
| Noise And Vibration | Audible spinning and clicking, minor vibration | Silent operation, no vibration |
| Power And Heat | Higher power draw and more heat output | Lower power consumption and cooler operation |
| Capacity Range | Commonly 1–20 TB for consumer/desktop models | Commonly 250 GB–4 TB for consumer drives, larger models at a higher cost |
| Cost Per Gb | Cheaper per gigabyte, best for bulk storage | More expensive per gigabyte, best for OS, apps, and active projects |
| Durability | Sensitive to drops, shocks, and vibration | More resistant to physical shock due to the lack of moving parts |
Why Do You Need to Replace a Desktop Hard Drive with an SSD
After examining the comparison table, let’s look at why updating the hard drive is the right choice for the user:
- Faster Boot Time: Instead of taking minutes to boot, the SSD drive takes just seconds to power on and shut down the PC.
- Easy Everyday Usage: Programs open faster, folders with many files load quickly, and the system is less likely to freeze during multitasking.
- Lower Data Loss Risk: HDDs are more susceptible to mechanical shock, whereas SSDs are more resistant to it, extending their lifespan.
- Lower Power Consumption: SSDs typically use less power than HDDs, reducing overall system energy consumption.
- Extend Usable Life: With an SSD upgrade, you make an older desktop feel modern, enabling it to run current software more smoothly.
- Better Pricing: SSD prices have fallen significantly, making mid-sized drives like 500 GB or 1 TB affordable for most users.
- Better Performance: With its higher read and write speed, tasks like gaming, video editing, and large file transfers run more smoothly.
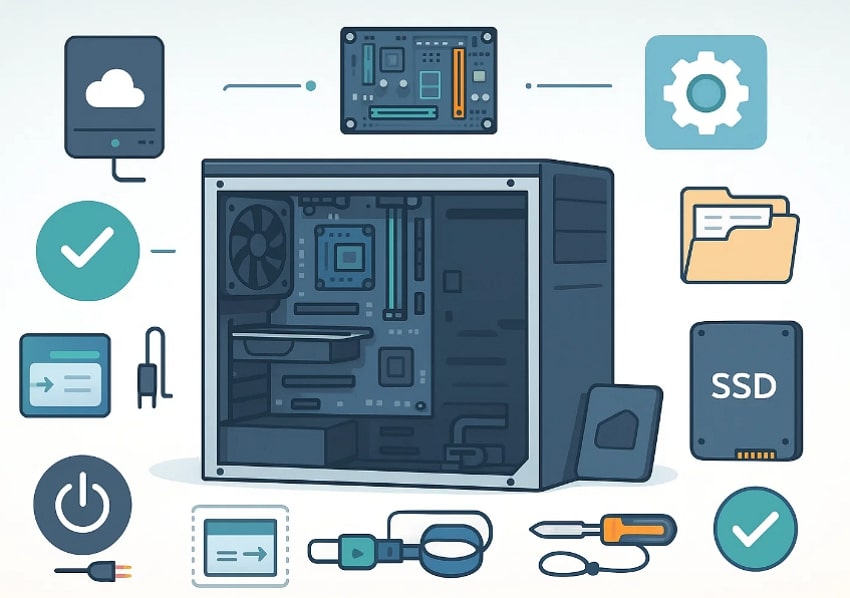
Part 2. Get Ready: Preparing Your Desktop for an SSD Upgrade
Before replacing the hard drive with an SSD, it’s important to prepare your desktop properly to avoid issues:
- Back Up Important Data: Start by copying your data files, like documents, photos, and work projects, to an external drive or cloud storage. Furthermore, always open the backup first to ensure it is accessible before the upgrade procedure.
- Check Desktop Compatibility: As the SSD has its own system requirements, ensure your motherboard has a free SATA port. Furthermore, it has a 2.5" SATA SSD, or an M.2 slot if you plan to use an M.2/NVMe SSD. Also, confirm that the power supply includes a spare SATA power connector and that you have a spare drive mount.
- Decide: Fresh Install or Clone. Always decide in advance whether to perform a fresh OS installation or clone your existing HDD to the SSD. Depending on your choice, plan your tools accordingly, like if you prefer cloning, then download the app. On the other hand, if you chose a fresh install, then gather the physical equipment.
- Gather Required Tools: For physical install, collect a small Phillips screwdriver, an anti-static wrist strap, and any SSD mounting brackets or 2.5" to 3.5" adapters. Consequently, you may need a SATA-to-USB cable or an external enclosure to clone.
- Update Operating System: Ensure your OS is up to date, so the cloned or newly installed OS starts from a more stable, up-to-date base. You can also update the motherboard BIOS/UEFI to improve SSD compatibility and performance.
- Clean Up And Optimize Storage: Uninstall unwanted and extra apps from the PC to reduce the amount of data that needs to be cloned or moved. With this move, it comfortably fits on the new SSD, leaving some free space for performance.
- Check Current Disk Health and Layout: Use disk management tools to check partitions, file system errors, and overall disk health before cloning. If you find an error, correct it beforehand to reduce the risk of data transfer issues to the SSD.
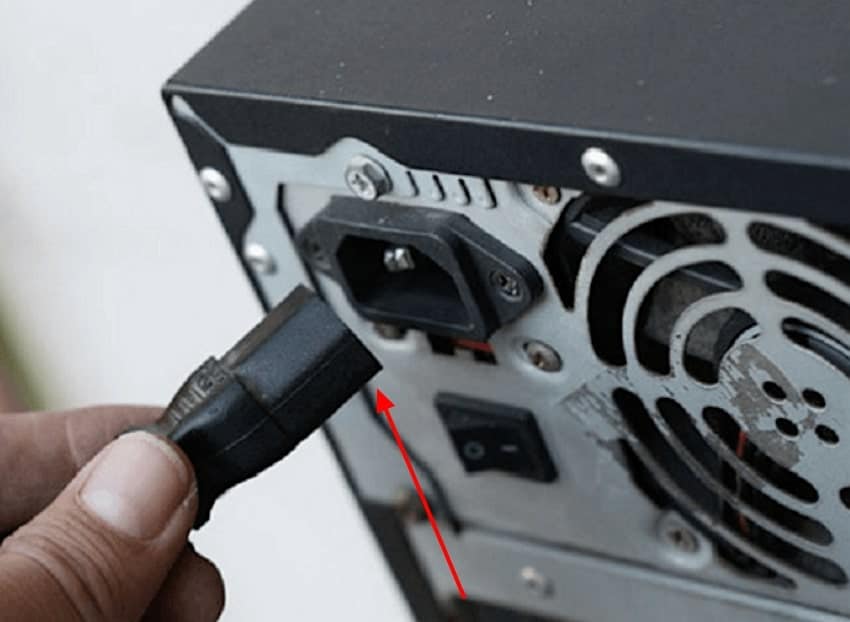
- Power Down And Discharge Safely: Shut down the desktop completely, turn off the power supply switch on the back, and unplug the power cable. Press and hold the power button for a few seconds to discharge any remaining electricity, then proceed with processing.
Part 3. Step-by-Step Ways to Upgrade from HDD to SSD Efficiently
With your desktop prepared, let’s walk through the exact steps on how to replace an HDD with an SSD efficiently.
- Start by backing up your data, turning off your PC, and unplugging all the cables.
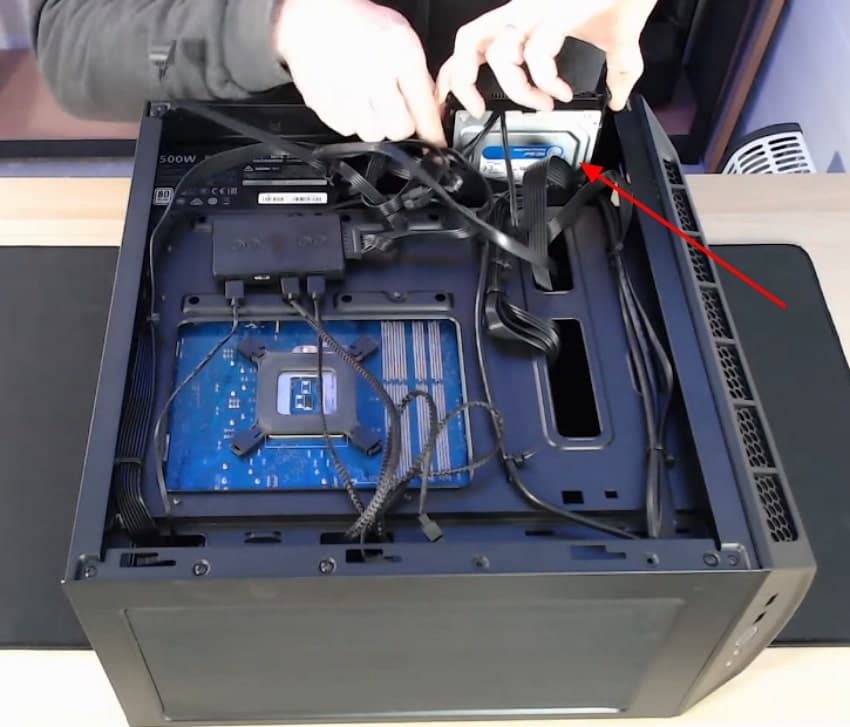
- After opening your CPU, remove the hard disk from it by unplugging the wires.
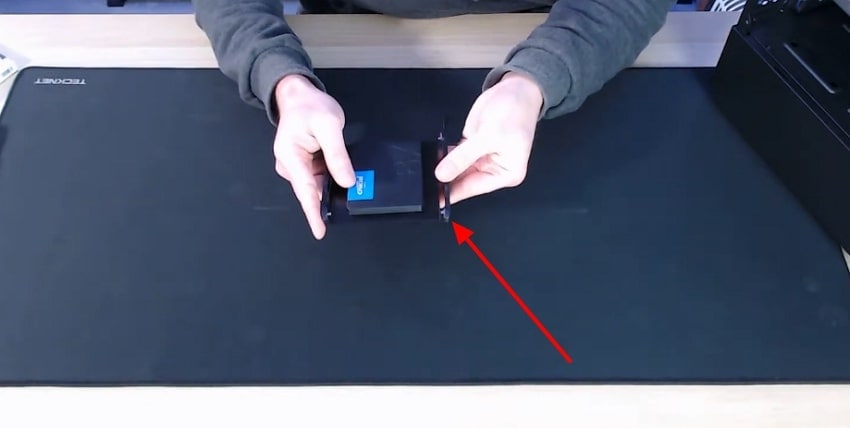
- Afterwards, take your SSD drive and push on its side brackets.
- Finally, take the SSD drive and plug in its cables or connectors in its designated slot. Here, ensure that you have plugged all the cables correctly and mount and screw the new drive in carefully.
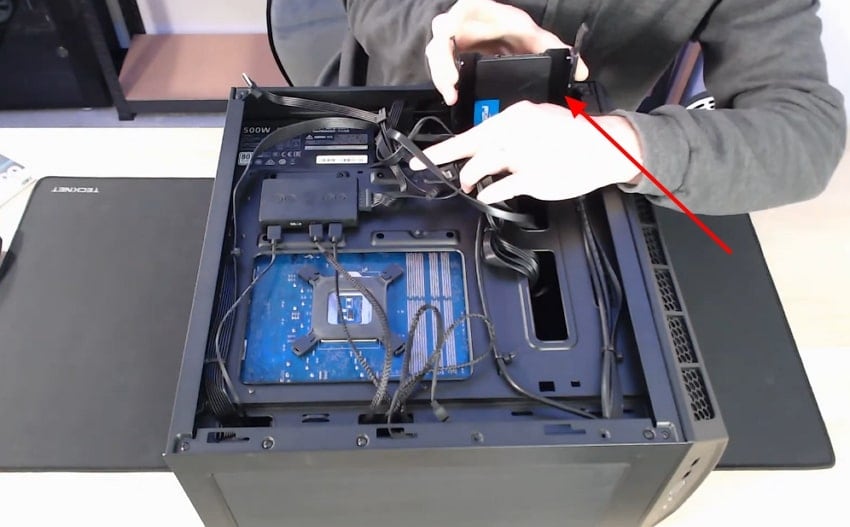
- After successfully installing the new SSD, you need to boot the computer.
Pro Tip: Retrieve Old Deleted Files: Using Recoverit Before Replacing HDD with SSD
You are upgrading from HDD to SSD, as your system has recently gotten slower. While organizing your files, you suddenly remember an important folder is missing from your device, which you require for your project. Rather than panicking, we recommend using Recoverit, which is capable of retrieving multiple files simultaneously.
This tool lets you easily choose between different scanning modes, making it easier to choose accordingly. Furthermore, it works on advanced AI technology to retrieve lost data with complete accuracy. Users can even access the batch processing system to recover multiple files simultaneously to save on more manual work.
Key Features
- Preview Feature: Users can examine their recovered outcome before saving to ensure that it has accurate formatting and data.
- Supporting Media Devices: Wondershare Recoverit efficiently supports file recoveries from media devices like cameras, drones, and GoPro devices.
- Built-in Deep Scanning Mode: It provides a built-in deep scanning mode to cater to complex data loss scenarios effortlessly.
Comprehensive Guide to Know How to Use Wondershare Recoverit
Upon hearing the extensive features of Recoverit, let's recover essential data before updating the hard drive:
- Click Hard Drives and locations, and select Lost File Location
As you enter the tool, select the “Hard Drives and Locations” menu from the left panel. Following this, choose the desired location of the lost file in the “Quick Access” menu.
- Begin the Quick Scanning Procedure For Data Recovery
After selecting the file location, the system will automatically begin scanning to locate the lost file.
- Examine the Outcome to Render to the Device Folder
Finally, review the recovered files for ensuring their accuracy and hit the "Recover" button to save them to the designated device folder.
Conclusion
In conclusion, users can now easily upgrade their HDDs to SSDs for a smoother, faster workflow. To explore how to replace an HDD with SSD, this article has covered the necessary preparation and a detailed stepwise guide. Furthermore, if you want to recover lost data before this upgrade, we recommend Recoverit, which offers multiple scanning options with high accuracy.
FAQ
-
1. Will upgrading from HDD to SSD really speed up my desktop?
Yes, an SSD greatly improves boot time, application launch speed, and overall system responsiveness. Furthermore, you will also notice that opening browsers, games, and large files becomes smoother. -
2. Can I keep my old HDD after installing an SSD?
Yes, in most desktops, you can keep the HDD as a secondary drive for extra storage if there are free SATA ports. Many users place Windows and applications on the SSD and use the HDD for large files such as videos and backups. -
3. Should I clone my HDD or do a fresh Windows install on the SSD?
Yes, cloning copies your existing system, programs, and settings, so it becomes faster and more convenient. Moreover, a fresh install gives a cleaner system with less clutter and fewer errors. -
4. Is it necessary to back up your essential data before upgrading to SSD?
Yes, it is necessary, as sometimes you lose your data while updating the hard drive. Here, we recommend using a recovery tool like Recoverit, which lets you retrieve data instantly before the upgrade procedure.


