

 TL;DR:
Changing a drive letter in Windows 10 is a safe process for secondary storage using built-in tools like Disk Management, provided you never attempt to rename the primary operating system drive.
● Always verify the target drive is not the system or boot drive (typically C:), as altering this letter will break Windows paths, cause service errors, and prevent the computer from booting.
● Use the visual Disk Management tool ("Change Drive Letter and Paths") or command-line interfaces like Diskpart and PowerShell to safely reassign letters for data-only, USB, or removable drives.
● Before modifying a letter, verify that no installed applications, saved shortcuts, or active backup tools depend on the current drive path, as changes will cause these links to fail.
Ask AI for a summary
 ChatGPT
 Perplexity
 Gemini
 Claude
 Grok
Grok
Windows computers sometimes show drives with wrong letters after updates or new storage is added. This can confuse users, break shortcuts, and make saving or finding files difficult. Many people think fixing drive letters is risky, but it is simple. However, clear steps help stay organized and avoid problems during daily computer use. So, this guide explains how to change drive letter in Windows 10 with ease.
Try Recoverit to Perform Hard Drive Recovery
 Security Verified. 3,591,664 people have downloaded it.
In this article

Part 1. What Is a Drive Letter in Windows?
A drive letter in Windows is a single alphabetical label for each storage space. It appears with a colon like C or D to identify files with ease. Windows also uses these letters, so the system knows where data is saved. Each letter points to a separate location, such as hard disks, USBs, or DVDs.
However, programs rely on drive letters because they follow fixed paths to open files. If a letter changes, saved links may stop working or show errors. Plus, learning what drive letters mean helps users manage storage with more confidence. This knowledge is useful before you change the drive letter in Windows 10.
Why You Might Need to Change a Drive Letter
Users may face issues when default drive letters cause access or recognition problems. The following reasons help users decide when to change the drive letter in Windows:
- Path Recovery: Saved shortcuts depend on fixed letters to locate files every time. Therefore, letter changes break saved paths when drives reconnect in different system orders.
- Backup Stability: Backup tools record exact drive letters when saving copy instructions. Additionally, unexpected letter changes interrupt backup tasks by pointing to the wrong locations.
- Clear Organization: Too many drives with random letters create confusion during regular file browsing. Unclear letters can make users forget where personal or work data is stored.
- Software Needs: Some programs are designed to search data using specific drive letters only. As a result, alphabet mismatches cause apps or games to fail to open stored files.
- Network Access: Shared drives use letters, so users recognize common storage areas. Plus, different letters across networks create confusion about shared data locations.
Part 2. Is It Safe to Change Drive Letters?
It's very safe to change drive letters for most storage drives. If it were unsafe, Windows would not allow letters to appear everywhere. Windows assigns "C" to the system drive while other letters go to the remaining internal, external, or removable drives. Plus, changing letters on data-only drives usually keeps all personal files safe, including media. However, problems appear when programs depend on fixed letters to locate installed files.
As a result, backups and saved paths may fail because they remember old letter locations. External USB and removable drives are safer to reassign because Windows handles them dynamically. Yet, the main risk involves system drives, which Windows needs for startup operations. Users should understand limits before they change the drive letter in Windows 10.
Part 3. Organize Your Drives: How to Change Drive Letters in Windows 10
Organizing your drives is important to get easy access and smooth file management. This part explains how to change drive letter in Windows 10, which helps keep your storage structured:
Precautions Before Changing a Drive Letter
- Drive Check: Always verify the drive is not the system or boot drive to prevent startup failures.
- Program Awareness: Must check if apps or games depend on this drive, or paths may break.
- Backup Files: Back up all important data to another drive or cloud storage first.
- Standardize Letter: Use the same letter on all PCs if the drive moves many times.
- Tool Choice: Use Disk Management and follow Windows warnings to avoid errors or data loss.
Change Drive Letter Using Disk Management
Disk Management provides a visual interface to view all drives and their letters. It ensures users can change the drive letter in Windows 10 using this built-in method. The tool also shows volume size and the current assigned letters. This task prevents changes to the system or protected partitions to avoid serious errors. So, take guidance from the steps below to change the drive letter using Disk Management:
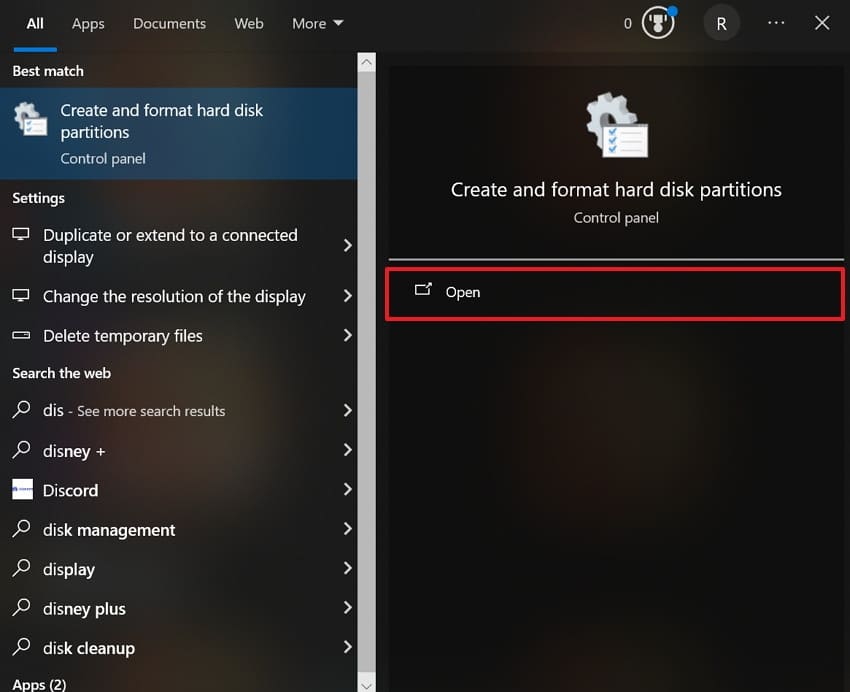
- Search "Create and Format Hard Disk Partitions" from the "Start" menu and click the "Open" option.
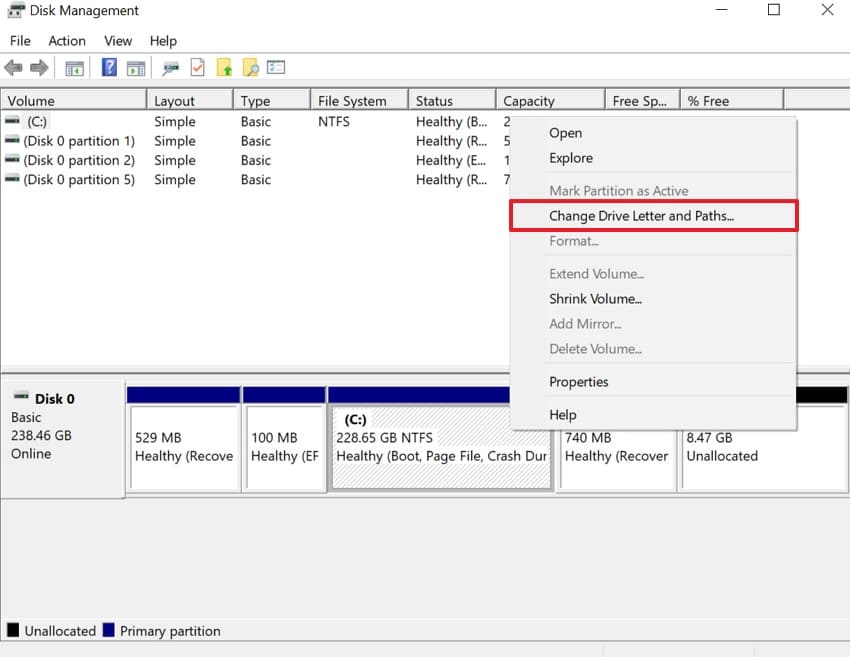
- Now, choose the one you want to change the letter of, then right-click on it and select "Change Drive Letter and Paths."
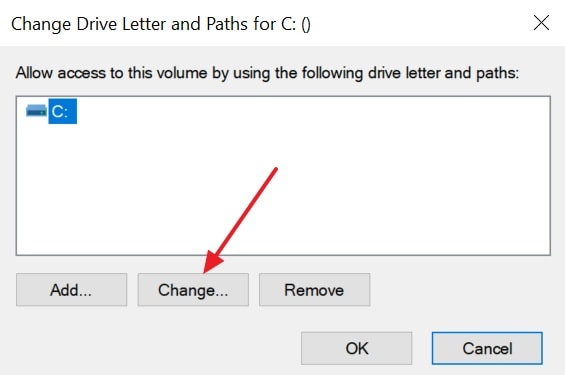
- Upon accessing the new interface, click the "Change" button.
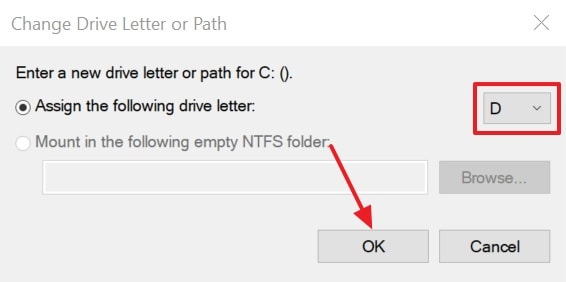
- Next, click the dropdown box next to the "Assign the following drive letter" option. Choose the drive letter you want Windows to give the storage device from this menu and opt for "OK."
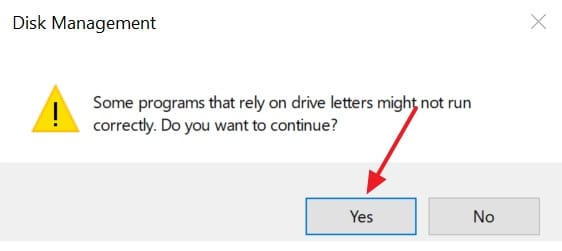
- At last, hit the "Yes" option to change the drive letter.
Change Drive Letter Using Command Prompt
Command Prompt is another built-in method to manage drive letters using Diskpart. It allows users to change drive letter in Windows using text commands instead of visuals. Moreover, Diskpart shows all volumes with numbers, letters, and sizes for clear identification. This method is useful for scripting or automating multiple drive changes. Hence, adhere to the steps below to change the drive letter using CMD:
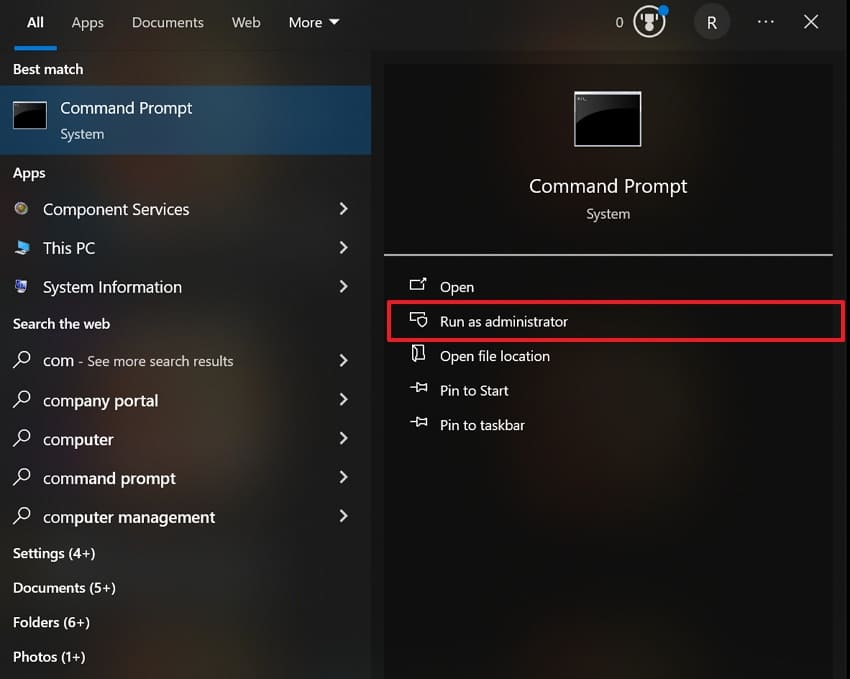
- From the "Start" menu, find "Command Prompt" and choose "Run as Administrator."
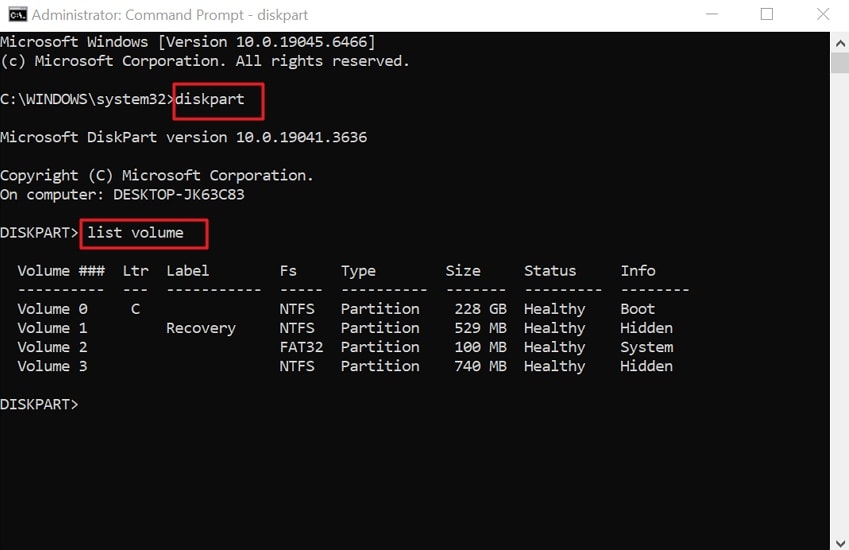
- After accessing it, type "diskpart" and press "Enter," then enter "list volume."
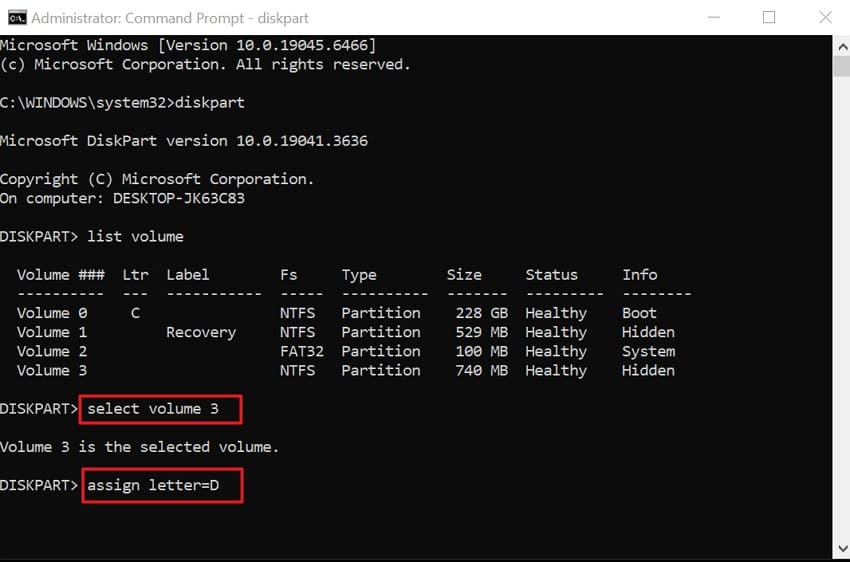
- Now, select your desired volume by typing "Select Volume 3" and then pressing the "Enter" key. Finally, type "assign letter=D" and hit "Enter" one more time.
Change Drive Letter in PowerShell
You can also use PowerShell to change drive letter in Windows 10 using commands. It supports automation for multiple computers, useful in scripting or bulk management tasks. Besides, Cmdlets like Set-Partition let administrators assign, modify, or remove letters. However, caution is needed on system or boot drives to prevent serious startup errors. You need to review the steps below to change the drive letter in PowerShell:
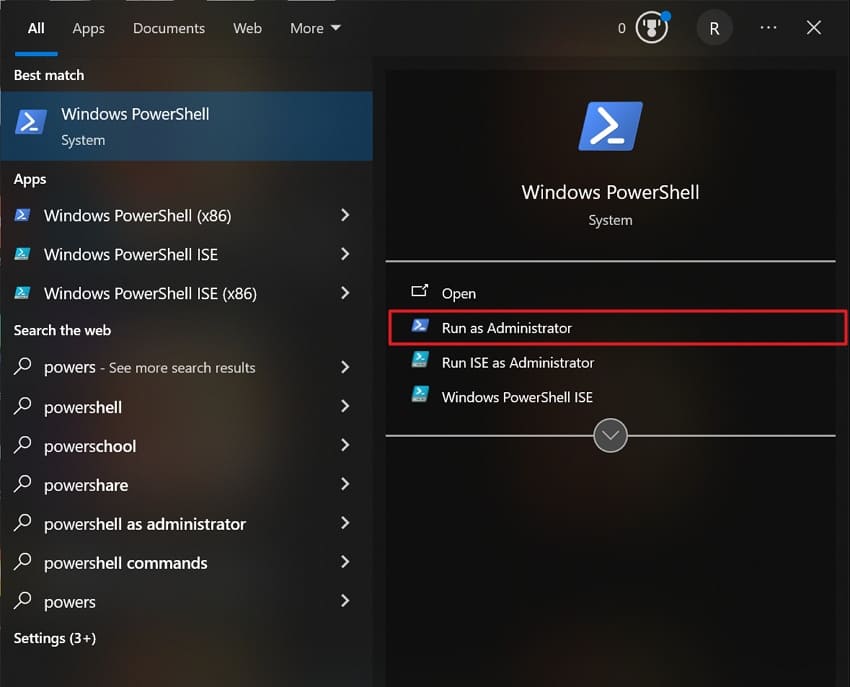
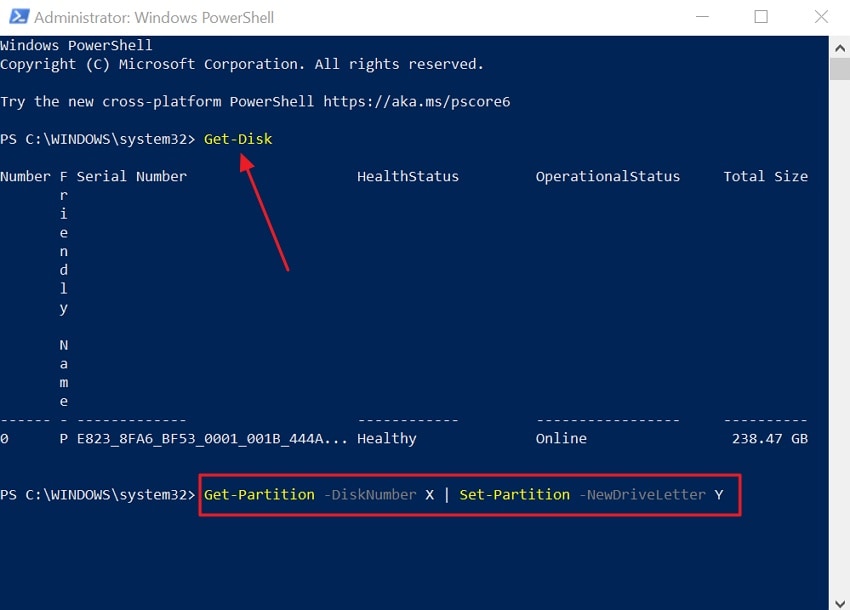
- Access "Windows PowerShell" from the "Start" menu and choose the "Run as Administrator" option.
- Upon accessing it, type "Get-Disk" and press "Enter." Next, enter "Get-Partition -DiskNumber X | Set-Partition -NewDriveLetter Y." Run this command, replacing X with the disk number and Y with the new drive letter you want to assign.
To Change the Drive Letter in the Registry Editor
Registry Editor is another advanced tool for safely modifying Windows drive-letter assignments. Windows stores letter assignments under MountedDevices, linking each volume to a specific letter. It allows users to change drive letter in Windows by editing internal mappings. However, this method is risky and is used when standard tools cannot modify letters. Go through the guide to change the drive letter in the registry editor:
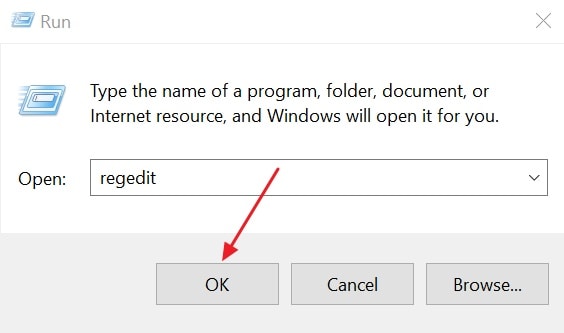
- To initiate, press "Windows + R" together and click the "OK" option.
- Now, enter this key "HKEY_LOCAL_MACHINE\SYSTEM\MountedDevices" and double-click the "Mounted Device" option. Next, right-click the "\DosDevices\X" and choose the "Rename" option.
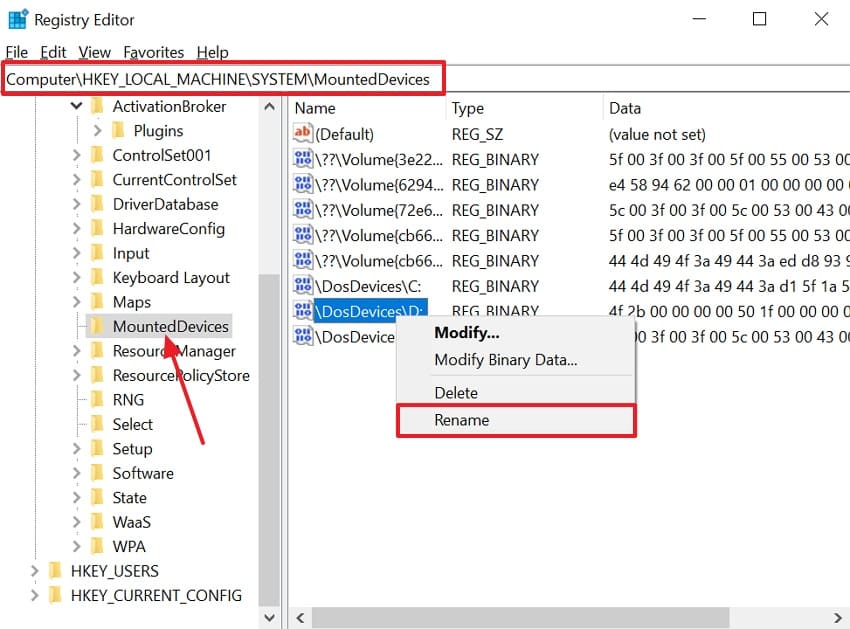
Note: Replace X with your new letter.
No Changes for the Operating System Drive
Apart from the above, the operating system drive, usually C, should never have its letter changed. Changing it can break Windows paths, services, and internal system file references. Many programs, drivers, and scripts assume the OS drive uses the same letter, causing errors or crashes.
Moreover, accidental changes may prevent booting or cause missing files and system instability. Therefore, users should avoid attempts to change drive letter in Windows for the system drive.
Pro Tip: Dynamic Partition Management:How to Adjust Your Disk Layout
When your C Drive is clogged with system files and "Low Disk Space" warnings appear, UBackit allows you to intelligently borrow unused space from other partitions (like your D Drive) to balance your disk layout.
Step 1. Identify and Select Disk
Launch UBackit and navigate to the Partition Management tab. Select the physical disk you wish to modify. Double-click the disk or click the Adjust Disk Layout option from the right pane to continue.

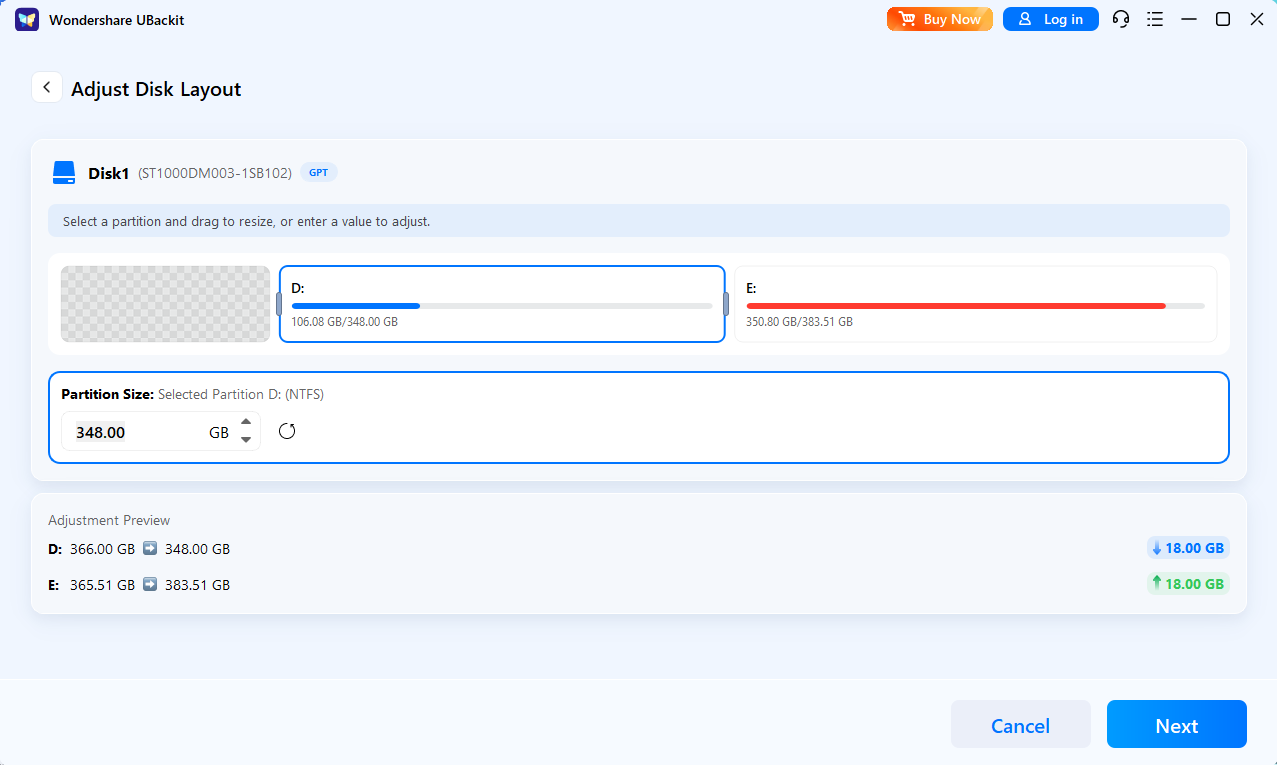
Step 2. Adjust the Disk Layout
Use the intuitive visual interface to drag the edges of your partitions. Alternatively, enter specific GB/MB values to precisely reallocate unallocated space from one volume to another.
Step 3. Initiate the Process
Review and confirm the partition layout. Once confirmed, click Next to execute the operation.
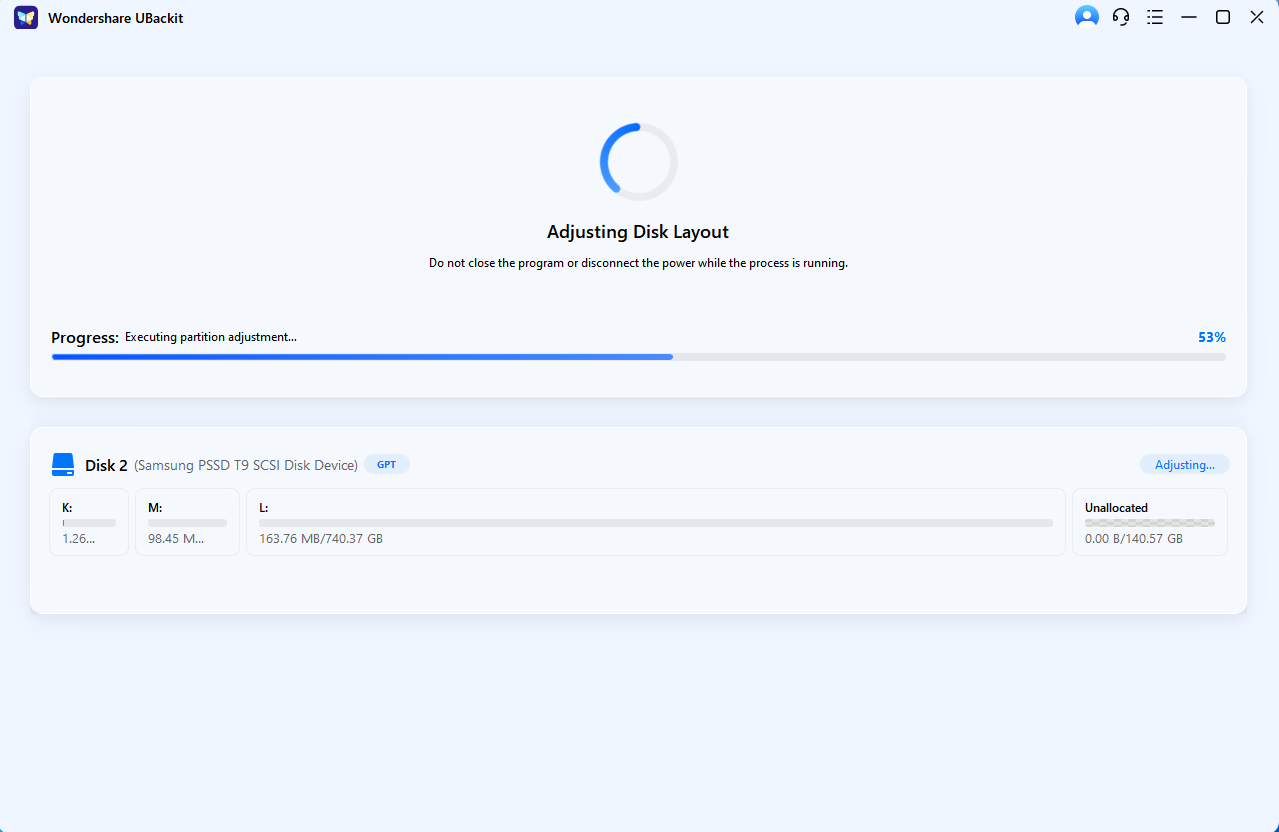
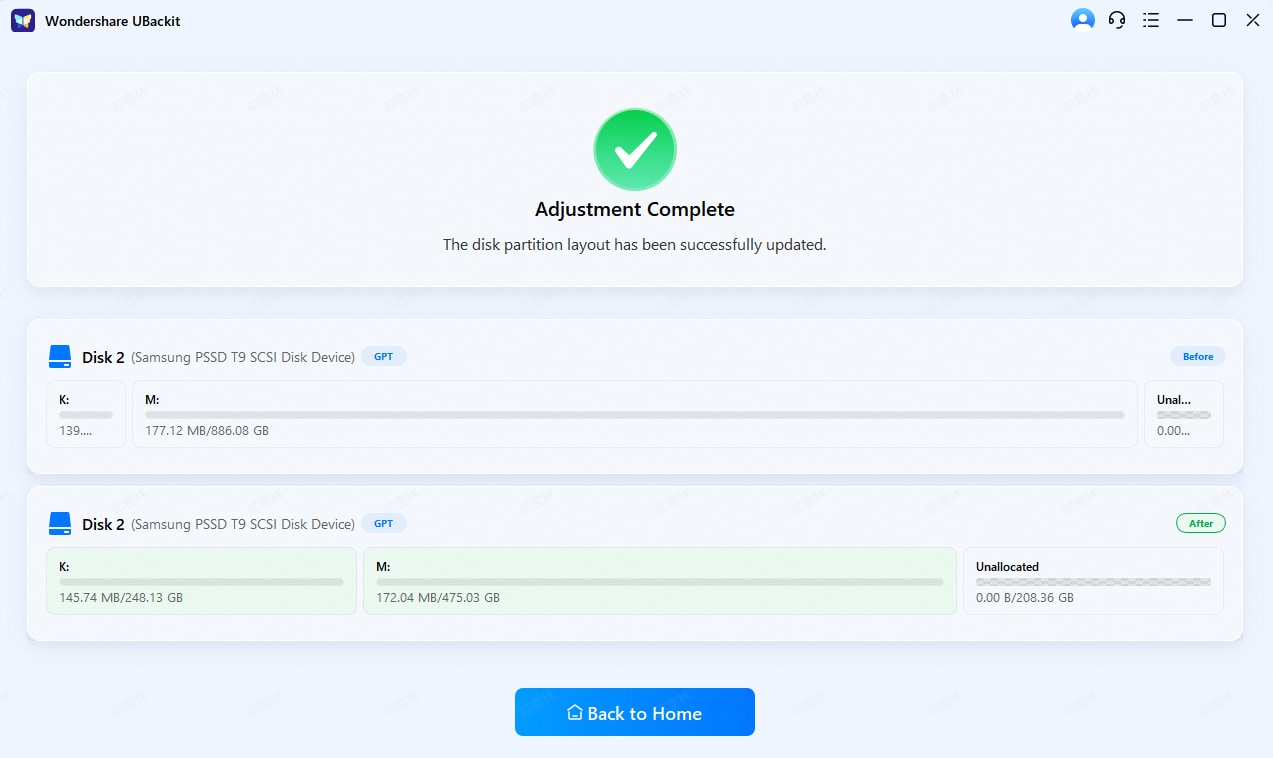
Step 4. Complete Management
Wait for the process to finish and view the updated disk layout. UBackit will safely move data blocks to accommodate the new boundaries. Once the progress bar reaches 100%, your disk will reflect the updated capacity instantly.
Part 4. 5 Best Practices for Managing Drive Letters
Managing drive letters with care helps prevent errors and keeps Windows stable. Below are some habits to ensure you can change the drive letter in Windows without issues:
- Consistent Letters: Use clear and consistent letters for data drives to avoid confusion or lost paths. Uniform labelling prevents shortcuts, scripts, and apps from breaking across volumes.
- Avoid System: Never change system or recovery partitions, as Windows relies on their fixed letters. Modifying C: or EFI drives can prevent Windows from booting or functioning.
- Document Layout: Record all drive letters and their purposes for easy future reference. Documenting the layout helps restore the same scheme after reinstalling Windows.
- Avoid Frequent: Do not rename drives repeatedly; pick letters and stick with them. Frequent changes can break app paths, backup destinations, and mapped network drives.
- Reserve Letters: Reserve letters like X: Y: Z: for external or backup storage devices. Avoid using A: and B: for main drives to prevent legacy conflicts.
Conclusion
To conclude, changing drive letters is a simple yet powerful way to keep your storage organized and avoid access issues. When done carefully, it prevents broken shortcuts, backup errors, and software conflicts. This guide showed how to change drive letter in Windows 10 using simple, built-in tools. If files become inaccessible during changes, you may need reliable recovery support. Therefore, Recoverit offers a safe, AI-powered solution to restore lost data.
FAQ
-
1. Can changing a drive letter fix Windows recognition errors?
Yes, sometimes Windows misassigns letters after updates or adding storage. Changing the letter can restore proper recognition of drives and partitions. This helps avoid errors when opening files or accessing applications daily. -
2. Are USB drives safer to rename compared to system drives?
USBs and removable drives pose less risk when changing their letters. System drives contain critical OS files, making renaming risky and potentially damaging. On the other hand, USBs are flexible storage devices that allow users to organize without boot issues. -
3. How do I recover data lost after changing a drive letter?
Recoverit AI-powered recovery can restore lost files from drives or partitions. It supports over one million devices and recovers data without errors. Using Recoverit ensures efficient restoration even after accidental drive letter changes. -
4. Are there risks when changing the letters of SSDs or new drives?
New SSDs or drives are generally safe, but programs depending on paths may break. Unexpected errors can occur if system or recovery partitions are mistakenly modified. Therefore, confirm drive usage and backup data before changing the drive letter in Windows 10.


