


 TL;DR:
Resolve black lines at the bottom of a MacBook Pro screen by first disabling automatic graphics switching, resetting the NVRAM and SMC, or running an Apple Hardware Test to eliminate software and firmware glitches before assuming physical hardware failure.
● Turning off "Automatic graphics switching" in the Energy Saver preferences stops the MacBook Pro from toggling between dual graphics cards, preventing screen artifacts caused by driver transitions.
● If the black lines darken as the machine heats up or trigger unexpected system crashes, the underlying issue is likely a failing GPU or a damaged display flex cable ("Flexgate") requiring professional repair.
● Firmware resets and built-in diagnostic scans cannot fix physical hardware damage; if the LCD panel has dead pixels from a physical impact, a full screen assembly replacement is mandatory.
Ask AI for a summary
 ChatGPT
 Perplexity
 Gemini
 Claude
 Grok
Grok
Seeing persistent black lines at the bottom of your MacBook Pro screen is frustrating and can seriously disrupt your workflow. This common issue, whether it appears as a single horizontal bar or multiple vertical lines, can point to several causes, from simple software glitches to more complex hardware problems.
But don't worry, you don't have to rush to a repair shop just yet. This guide is here to help you troubleshoot the MacBook Pro black lines on the bottom of your screen. We will explore the common causes and provide you with nine proven methods to fix this issue and get your display back to pristine condition.
Table of Content
The Primary Causes of Macbook Pro Black Lines at the Bottom of the Screen
Before fixing your MacBook Pro black lines at the bottom of the screen, you must know what caused them. Numerous causes can lie behind this screen issue, but we'll cover the most common:
- Graphic card problems - If your graphic card has corrupted drivers or other issues, your display output won't work correctly, and you'll see black lines at the bottom of the screen.
- Software issues - Software updates, glitches, or bugs can cause black lines at the bottom of the MacBook Pro screen. Any problem with your MacBook's software can result in this screen issue.
- Overheating - The most prevalent reason for black lines at the bottom of the screen is the MacBook getting hot. The lines may be gray when you turn your MacBook Pro on but become darker as you use it. They may also appear due to the accumulated dust.
- Physical damage - If you hit your laptop, you could damage its screen, causing black lines due to dead pixels. The black lines may not appear immediately after impact but develop over time.
How To Fix Macbook Pro Black Lines at the Bottom of the Screen
Replacing your MacBook Pro display can be an expensive solution to the black lines at the bottom of the screen. Therefore, try our free methods beforehand. We've prepared nine step-by-step guides to help you resolve the problem.
Fix 1: Do the Hardware Test
Testing the hardware will help you discover what caused the black lines at the bottom of the screen. The Apple hardware test will scan your MacBook Pro and find and eliminate issues.
Follow these steps to do the hardware test on your MacBook Pro:
- Turn on your Macbook Pro.
- When you see the startup screen, press and hold the Power button.
- Release the Power button once the options appear on your screen.
- Press the Command + D or click Test to start the hardware test.

- Wait for the test to finish scanning and fixing your problem.

This diagnostic test fixes only minor bugs and glitches. If it doesn't work, try the following method.
Fix 2: Restart the Mac
The cause of black lines at the bottom of the screen on your MacBook Pro may be a glitch. If that's the case, restarting your MacBook might do the trick. This way, you'll refresh your MacBook Pro and possibly solve the problem.
Follow these steps to restart your MacBook Pro:
- Click the Apple logo in the upper left corner.
- Select Restart and wait for your MacBook Pro to boot.

Fix 3: Reset PRAM or NVRAM
If there are corrupted files on PRAM or NVRAM, they can cause the memory to malfunction and show black lines at the bottom of the screen. That can disrupt your system's functioning, so resetting PRAM or NVRAM is the best solution.
Follow these steps to reset your PRAM or NVRAM:
- Turn off your MacBook Pro.
- Press the Power button, then hold Command + Option + P + R.

- Continue holding the buttons until your MacBook restarts. That will reset your PRAM and NVRAM.
Fix 4: Reset SMC
SMC or System Management Control manages the physical components of your MacBook Pro and the power on your computer. Thus, if the black lines are the consequence of power issues, resetting SMC can solve the problem.
Follow these steps to reset your MacBook Pro SMC:
- Turn off your MacBook Pro.
- Press and hold the right Shift + left Option + left Control for seven seconds.
- Press and hold the Power button with the three keys from the previous step.
- Release them after seven seconds.

Restarting your MacBook Pro after several seconds should fix the problem.
Fix 5: Update Your macOS
You can experience some bugs and glitches if your macOS needs an update. One of those may be the black lines at the bottom of the screen of your MacBook Pro. Therefore, updating your macOS is the best way to fix this problem.
Follow these steps to update your macOS:
- Click the Apple Menu and select System Preferences.

- Click Software Updates.

- You'll see the Upgrade Now option if a software update is available. Click it and wait for the update to install.

Fix 6: Turn off Graphics Card Switching
MacBook Pro has dual graphics cards and switches between them according to your required performance. It helps your MacBook Pro battery last longer.
However, switching between the two graphics cards can cause the black lines at the bottom of the screen. Thus, turning that off can solve the problem.
Follow these steps to turn off graphics card switching:
- Click the Apple logo and select System Preferences.
- Go to the Energy Saver.

- Untick the checkbox for Automatic graphics switching.

- Reset your MacBook Pro and check if the black lines disappeared.
Fix 7: Boot in Safe Mode
Antivirus software may not help if a virus attack or malware has caused the black lines at the bottom of the screen. However, you can boot your MacBook Pro in Safe Mode. That can help you find the malware causing the black lines problem.
Boot your MacBook in Safe Mode following these steps:
- Power off your MacBook Pro.
- Press and hold the Power button until you see the Loading startup options on the screen.

- Select a volume.
- Then, press and hold the Shift button and click Continue in Safe Mode.

- After you're done with Safe Mode, restart your MacBook Pro. Wait for it to turn on, and your black lines should be fixed.
Further reading: MacBook won't start in Safe Mode
Fix 8: Reinstall macOS
If none of the methods above work, your operating system might be the problem. If your macOS is causing the black lines to appear at the bottom of the screen, reinstall the system to fix the issue.
Follow these steps to reinstall macOS on your MacBook Pro:
- Press and hold the Power button on your MacBook Pro. That will turn on your MacBook Pro and open the Loading startup options.
- Click Options and then Continue.

- Select the user and click Next. Enter the password and press Enter.
- You'll see several options. Click Reinstall macOS.

- Click Continue and let the system reinstall.
- Once the process is complete, you'll see a Setup Assistant. Follow the steps in the Setup Assistant to finish the installation.
Fix 9: Contact a Professional
If your MacBook Pro has suffered physical damage or continuous overheating, you may experience black lines at the bottom of the screen. If that's the case, contacting a professional is the best way to go around the problem. Find a reliable, professional service to help you fix or replace your display.
Bonus Tip #1: How to Recover Data From a Macbook Pro With Black Lines on the Screen
If your MacBook Pro has black lines at the bottom of the screen, your computer will probably malfunction. That can result in data loss. However, you can recover your files using a reliable data recovery tool.
Wondershare Recoverit is data recovery software that can recover lost photos, videos, files, audio, emails, and other files. Therefore, it is perfect for restoring your data from a MacBook Pro with black lines on the screen.
- Recovers data from 2000+ storage media, including HDDs, SSDs, USB drives, SD cards, etc.
- Enables recovery of data lost due to system crash, disk corruption, virus attack, and more.
- Works with all popular file systems, such as NTFS, FAT, HFS+, and APFS, among others.

Follow these steps to recover files using Wondershare Recoverit:
- Download, install, and launch Wondershare Recoverit on your MacBook Pro.
- Go to Hard Drives and Locations. Select the one from which you wish to recover files.

- That will start the scan. You can monitor the scanning process at the bottom of the screen.

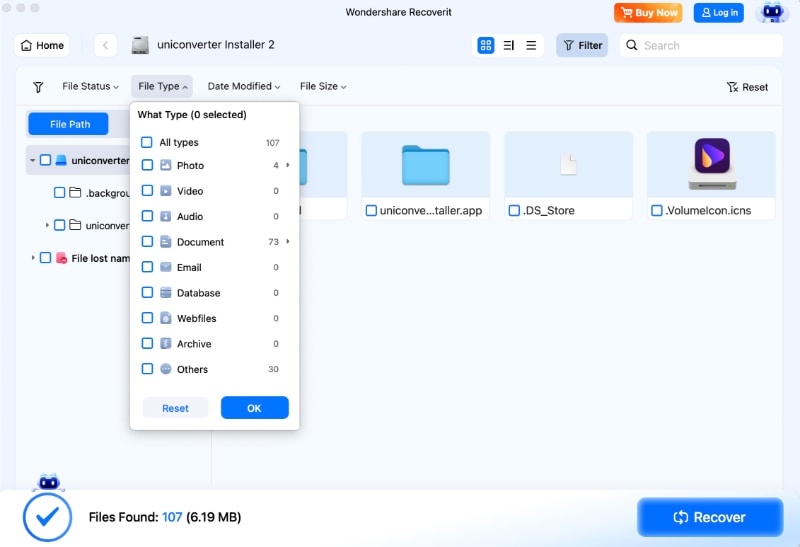
- You can filter the files that Wondershare Recoverit finds with various parameters.
- Once the scan is complete, preview the retrieved files and click Recover.

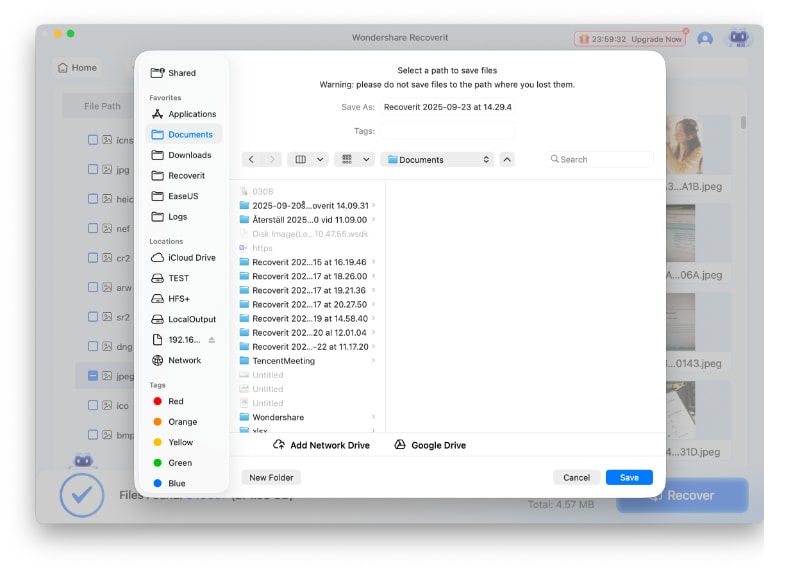
- Save the data to a different location.
Bonus Tip #2: How To Prevent MacBook Pro Black Lines at the Bottom of the Screen
Many MacBook Pro users have reported the issue of black lines at the bottom of the screen. However, you can take several steps to prevent the problem from happening again.
- Close your MacBook Pro carefully and gently. If you close the lid forcefully, you might damage the screen and cause black lines to appear.
- Use a protective case for your MacBook Pro. It can safeguard it from physical damage while carrying it and prevent black lines.
- Cleaning your MacBook Pro is crucial. Regularly clean your display with a microfiber cloth. That will prevent dust from accumulating and causing black lines on the screen.
- Lastly, don't let your MacBook Pro overheat. Avoid high-performance actions, and don't use the laptop in direct sunlight. Moreover, avoid using it for an extended period to prevent the black lines at the bottom of the screen.
Conclusion
Black lines at the bottom screen are among the most prevalent display issues on MacBook Pro devices. This problem can happen due to overheating, physical damage, graphics card problems, or software hiccups.
However, you can try the nine methods above to fix the MacBook Pro black lines at the bottom of the screen before opting for the expensive solution of replacing your display. Remember to recover lost files with a trusted tool like Wondershare Recoverit.
People Also Ask
- Are the black lines on my screen a software or hardware problem?
It can be either. Software glitches can sometimes cause display artifacts. However, persistent lines at the bottom of the screen often point to a hardware issue, such as a failing display cable (known as "Flexgate" on some models) or a problem with the Graphics Processing Unit (GPU).
- Can these screen lines cause my MacBook Pro to crash or restart?
The lines themselves do not cause crashes. However, if the root cause is a failing GPU, it can absolutely lead to system instability, freezes, and an unexpected computer restart. If you experience a Mac failure reboot along with screen lines, the GPU is the most likely culprit.
- Will resetting the SMC or NVRAM fix the black lines permanently?
Resetting the System Management Controller (SMC) and NVRAM can fix the issue if it's caused by a firmware glitch or incorrect display settings. These resets are excellent first steps in troubleshooting, but they will not fix a physical hardware problem with the screen or its components.
- Does this issue mean I need a full screen replacement?
Not always. If the problem is the display's flex cable, a skilled technician might be able to repair it without replacing the entire screen assembly, which can be more cost-effective. However, if the LCD panel itself is damaged, a full replacement is typically the only solution.


