

 TL;DR:
To forcefully delete stubborn or restricted files on macOS, you must bypass background app conflicts and system protections using native terminal commands, safe mode booting, or file property modifications.
● Bypass system permissions and force removal of corrupted files by typing the "sudo rm R" command in the Terminal app, pressing space, and dragging the target file into the window before executing.
● Resolve "in use" errors and software conflicts by either using the "Force Quit" menu to close associated background applications or holding the "Shift" key during restart to delete the file in Safe Mode.
● If necessary files are accidentally purged during this process, use Wondershare Recoverit software to run a deep scan and restore the lost documents from the Mac hard drive.
Ask AI for a summary
 ChatGPT
 Perplexity
 Gemini
 Claude
 Grok
Grok
There are times when force-deleting files becomes necessary on your Mac, as users can encounter files that refuse to get deleted. This can happen due to system restrictions, corrupted data, or simply an application usage issue. Therefore, to cater to this problem, you have to force delete a file on Mac, which can sometimes delete important files as well.
This article will walk you through the various effective methods of how to force-delete files and retrieve the important ones. These methods will ensure that only those problematic files are deleted and don't overfill your Mac.
Try Recoverit to Perform Mac File Data Recovery
 Security Verified. 3,591,664 people have downloaded it.
In this article

Part 1. Why Do You Need to Force Delete a File on Mac?
Before learning how to completely delete files on Mac, go through the following reasons why there is a need to delete them:
- Locked or Restricted Files: Sometimes, the files get intentionally locked, or the system puts some restrictions on them, which prevents accidental deletion.
- Corrupted File: If the files are corrupted, they might resist the normal deletion commands and can even damage their surrounding documents.
- System Protection: macOS devices include various security features, including SIP, which protects critical files from accidental deletion.
- Mac System Permission: On any device, there are different documents that are under system permission and won’t be deleted using standard move-to-trash methods.
- File Stuck in Trash: In case you manage to move a file to Trash, it sometimes refuses to leave it and thus requires a force delete on a Mac.
Part 2. 6 Progressive Ways to Force Delete a File on Mac
Now, let’s proceed to the various methods in the following and learn how to delete files on Mac that won’t delete with step-by-step guides:
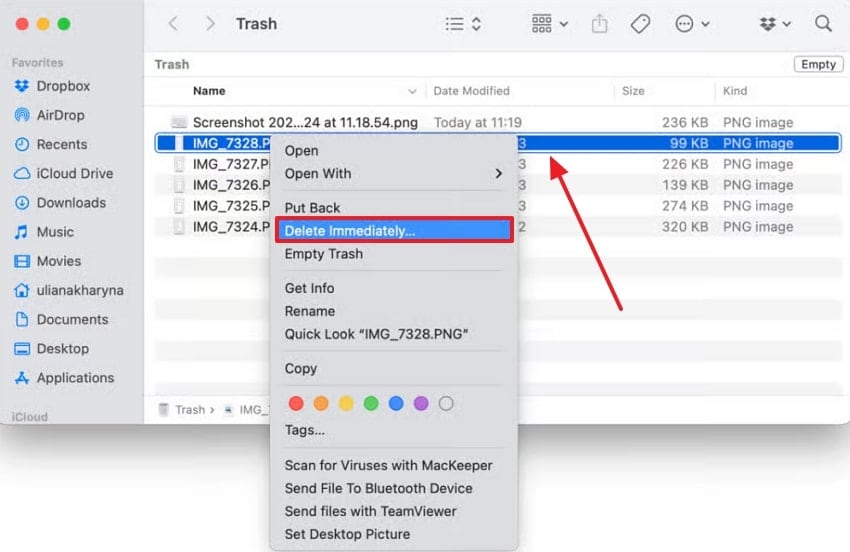
1. Use the “Delete Immediately” Option
This is the most rapid method and allows you to remove a file on your Mac instantly without it being sent to the Trash. It’s useful when you need to remove a file that is not functioning and is not responding. Moreover, try using the method on large files that can occupy a lot of space on your Mac. So, follow the given instructions and force delete a file with a simple method:
Instructions. Open the “Trash” app on the Mac device, right-click the unwanted file, and choose the “Delete Immediately” option from the drop-down menu.
2. Using the Terminal for Force Deletion
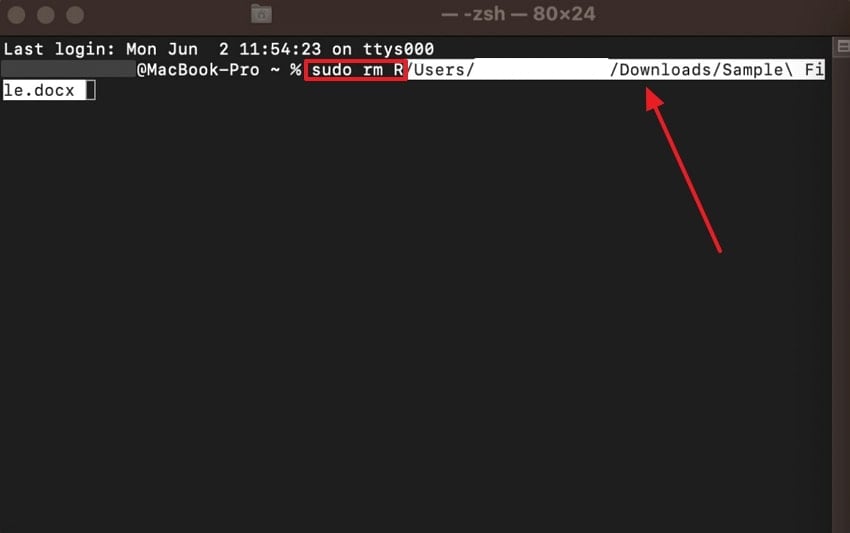
The Terminal provides command-line-level control over the Mac’s files that allows you to bypass permission restrictions and system barriers. You can use this process when the file is corrupted, hidden, or protected by the system. Furthermore, the Terminal commands can forcefully remove files that aren’t responsive to normal methods. Now, follow the given steps and learn how to force delete a file on Mac:
Step 1. First, access the “Terminal” app from the “Utilities” tab in the “Applications” folder. Now, type in the “sudo rm R” command and press the “Space” key. After that, drag the file you want to delete next to the entered command and press “Enter.”
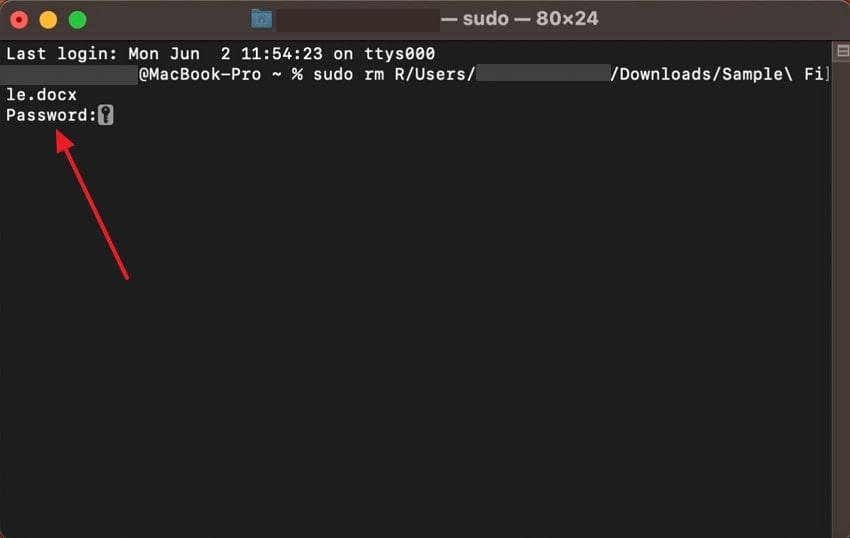
Step 2. Next, enter the “Password” in the next lane and hit “Enter” to permanently delete that file from your Mac.
3. Delete Files in Safe Mode
Mac users can turn their attention towards Safe Mode, which helps load only essential system functions and disables any third-party extensions. Also, without any system locks or permissions, you can easily remove the files that are stuck due to software conflicts. The mode is an effective method that requires no technical commands. The following are the steps that will help you force delete a file with ease:
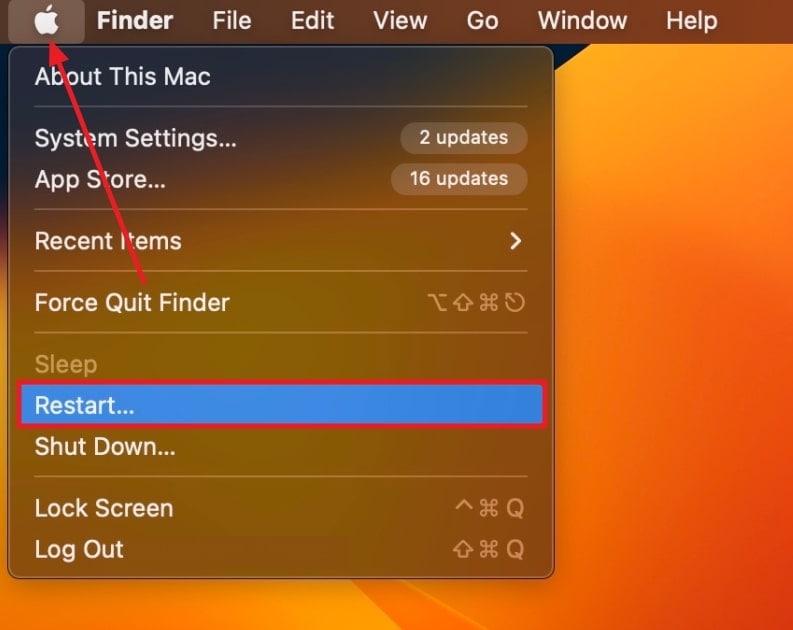
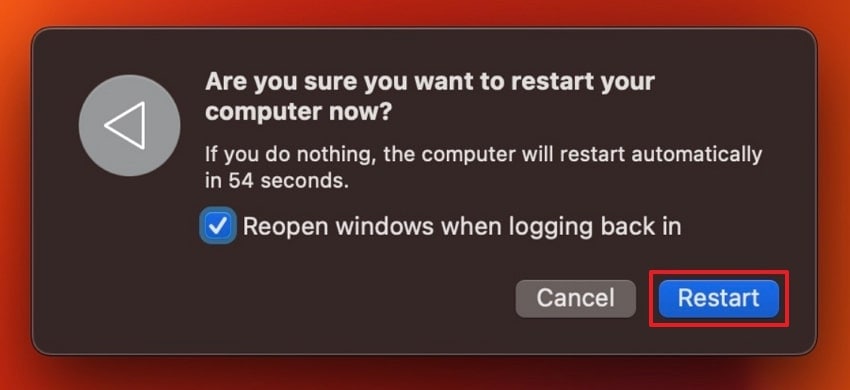
Step 1. In a bid to start the process of booting in safe mode, first locate and click on the symbolic “Apple” logo found in the corner of your screen. Second, from the pop-up drop-down menu, go ahead and click on the “Restart” option in an attempt to continue the process.
Step 2. Then select the “Reopen Windows When Logging Back in” option and click on the “Restart” button.
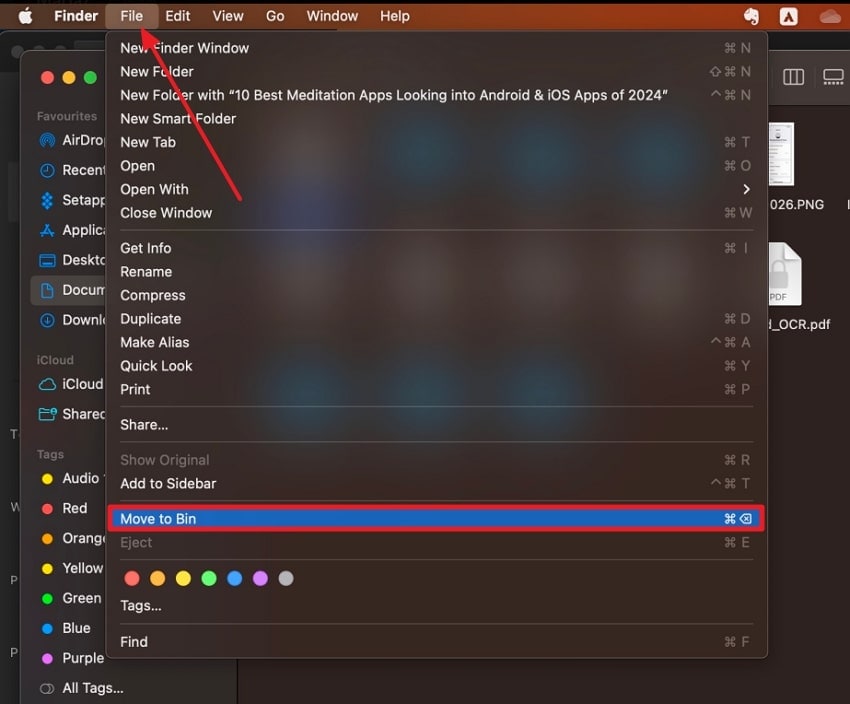
Step 3. As the Mac restarts, hold down the “Shift” key and release as the “Apple” logo appears. Locate the unresponsive file in Safe Mode, go to the “File” tab, and select “Move to Bin.”
4. Force Quit App and Delete
At times, if it is being used, such as when it is open in Word or is being edited using another application, your Mac will not allow you to delete it. Closing the program might not be effective in some cases, particularly if it is also running in the background. Forcing the application to close and deleting the file afterward might release it from use immediately and delete it from the system.
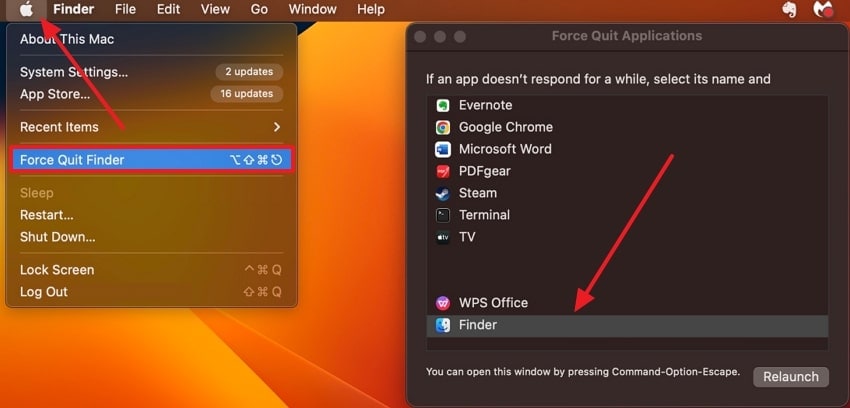
Instructions. Go to the menu bar, click on the “Apple” icon, and choose “Force Quit.” If the small “Force Quit Applications” window appears, choose the “Finder” option and “Force Quit Finder.”
5. Check If the File is Locked
If your system has intentionally locked some files, it’s usually to protect them from accidental deletion and removal. You are unable to force delete a file on a Mac if it’s locked, but the system might overlook the status. You can try accessing the file’s properties and changing the lock option for file deletion. When dealing with documents and backups, set them to the read-only option, which you can do with the following steps:
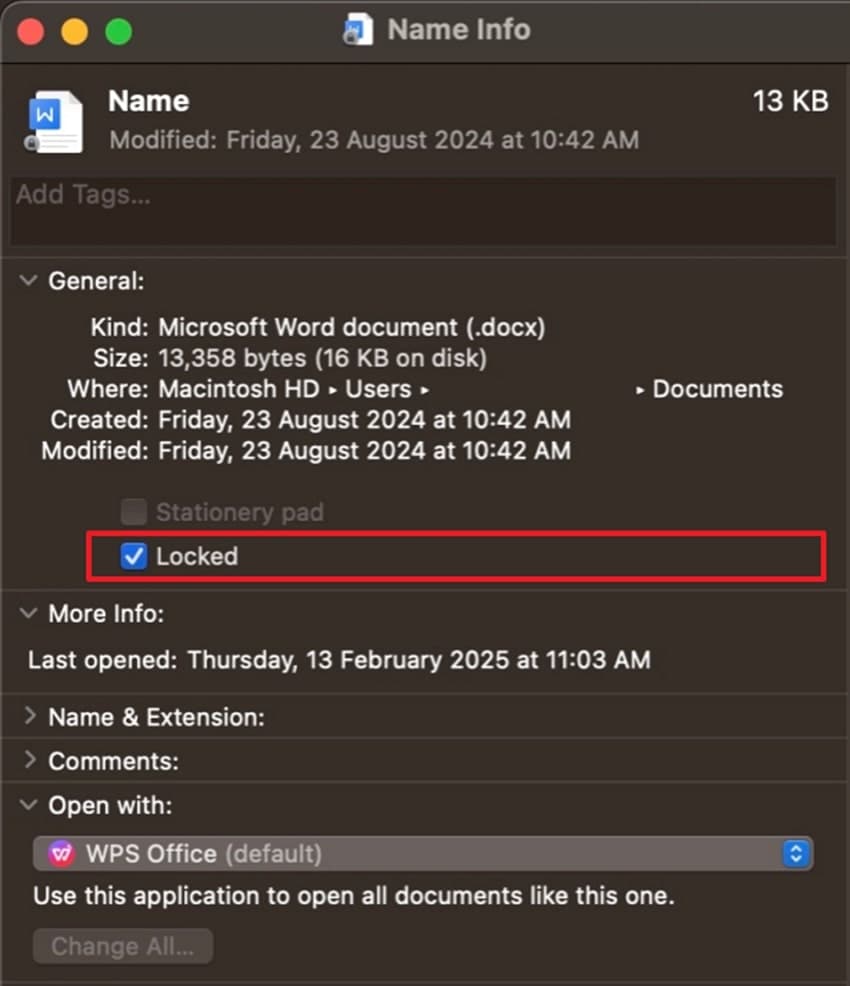
Step 1. Find the desired corrupted file on the “Finder” app, right-click it, and choose “Get Info.”
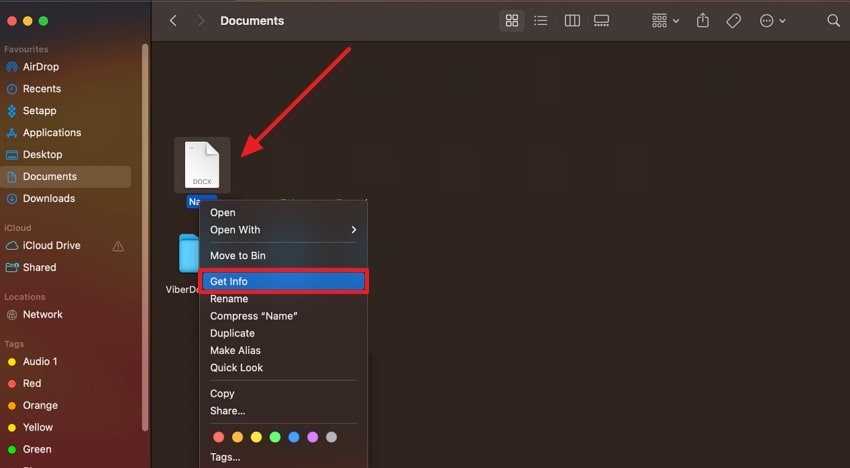
Step 2. When the "Name Info" small dialogue box appears, uncheck the "Locked" option from the "General" section. Next, you can easily delete the file from your Mac device permanently.
6. Secure Empty Trash
macOS has this option in its older versions, which was used to permanently eliminate files by overriding them. However, you can still apply this feature in the newer versions using the Terminal or a third-party app. This method is ideal for situations where the privacy of sensitive documents and personal records is at stake. So, ensuring the data and learning how to completely delete files on Mac can be done with the following steps:
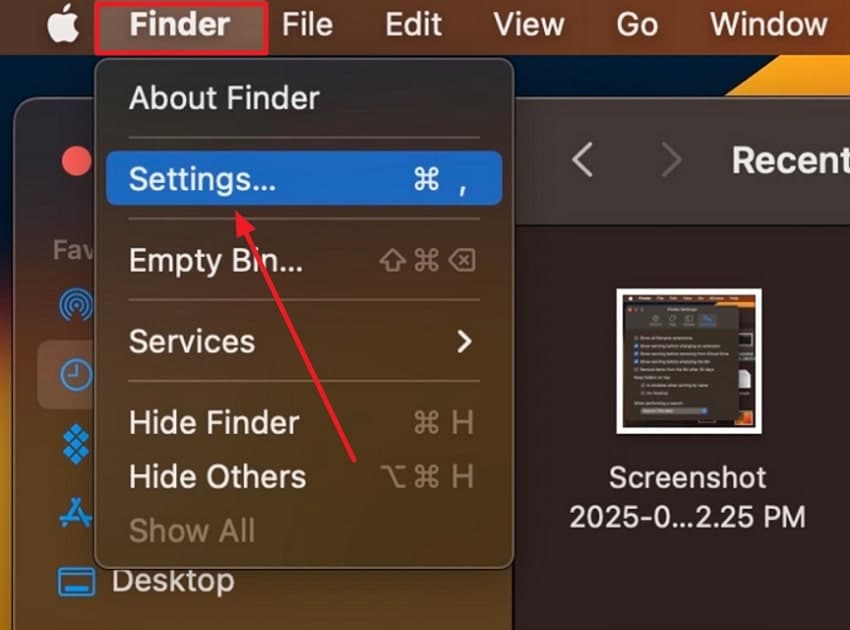
Step 1. On the Mac, press the "Finder" tab from the above toolbar and select the "Settings" option.
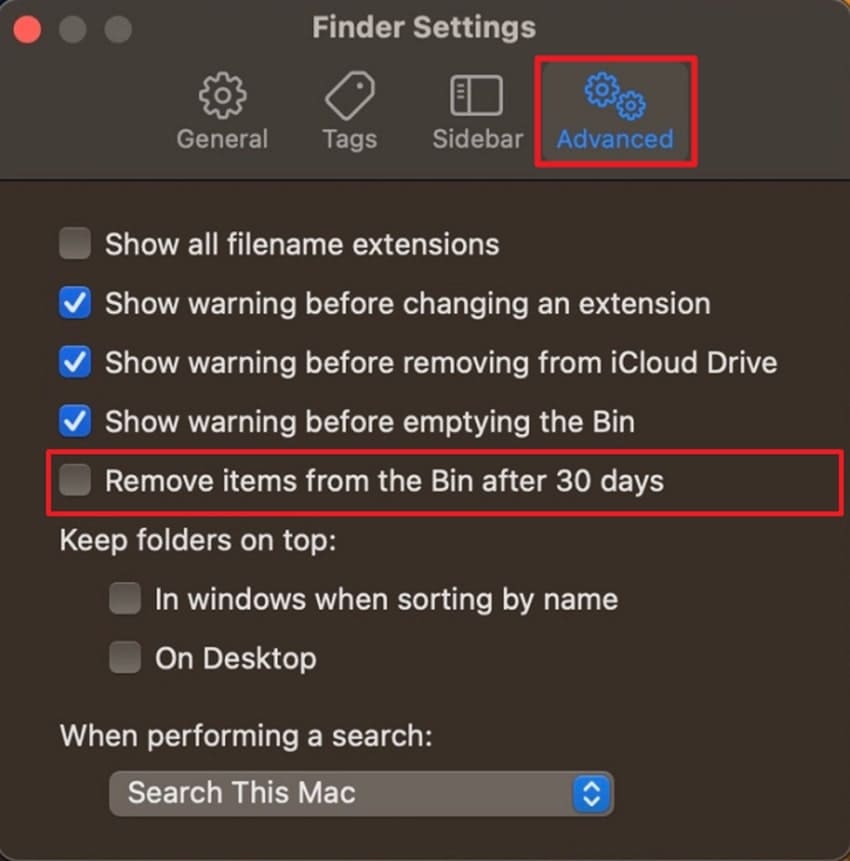
Step 2. When the "Finder Settings" dialogue box opens, access the "Advanced" tab and check the "Remove Items from the Bin after 30 Days" box.
Part 3. Accidentally Deleted an Important File on Mac? Try Wondershare Recoverit
As we discussed, there are times when you are trying to force delete a file on a Mac; important files can get accidentally deleted as well. It can be a frustrating situation as these files get permanently deleted from the system. To cater to this problem, use the advanced file recovery software Wondershare Recoverit. This tool is built to recover over 1000+ file types from different storage devices within seconds.
Whether it was a deleted document, video, image, or email, Recoverit can retrieve it for you with its advanced scanning technology. With this user-friendly software, even beginners can easily recover their deleted files with a 100% restoration rate. Moreover, it's a completely safe process with no data collection, theft, or unauthorized access. The software works with other systems and offers the same recovery features as Windows and Linux.
Key Features
- Preview Mode: The robust preview mode supports a wide range of file types and allows you to go through the content to ensure its relevancy before downloading.
- Filter Options: If you want to streamline the scanning process, sort it by file type, file size, or data modification options to narrow down the search results.
- Deep Scan Analysis: Recoverit is equipped with an advanced scanning mechanism that delves into the file system and recovers permanently deleted files with ease.
Comprehensive Guide on How to Retrieve Important Documents Using Wondershare Recoverit
After learning how this software can recover your deleted files, follow the given demonstrative steps to see how it’s done:
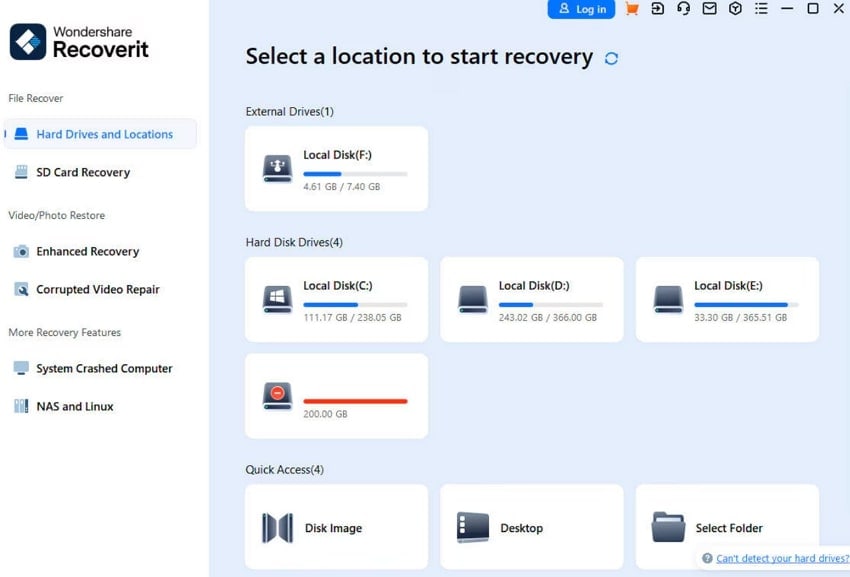
Step 1. Launch the Software and Choose a Drive Location
On installing the software after downloading, launch its interface and redirect to the “Hard Drives and Locations” tab. Choose the drive from the “External Drives” or “Hard Disk Drives” section to initiate the scanning.
Step 2. Initiate the Scanning Process
After the deep scanning starts, all the deleted files and document types will appear on the left panel in the “File Location” tab.
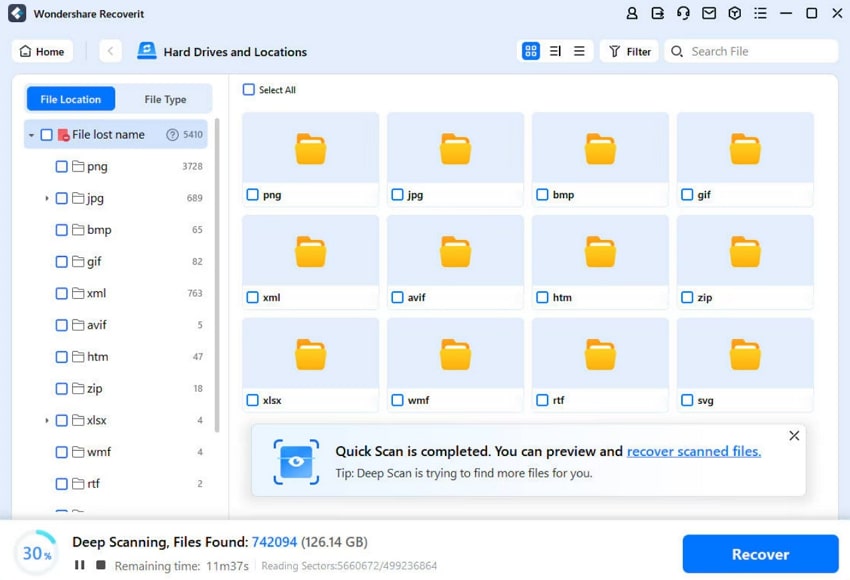
Step 3. Preview the Selected Files and Recover
Once the scanning is complete, select the desired important files and “Preview” them. If you are satisfied with the content, click the “Recover” button to save it on your Mac.

Conclusion
In summary, this article dealt with the issue of how some files cannot be deleted for various reasons. Therefore, it provided you with the 6 best methods on how to force delete a file on Mac and how they cater to different reasons. Other than that, the deletion methods might accidentally remove your important files as well. So, in this case, using Wondershare Recoverit can easily let you retrieve those files within seconds.
FAQ
-
1. Can a file be undeletable due to system protection (SIP)?
Yes, macOS includes a feature called SIP, which prevents any changes from happening to your critical system files. So, if you're trying to delete a file in a protected location, these SIPs may block access. The only solution is to disable these, but it’s not recommended unless you know exactly what you're doing. -
2. Why does my Mac say a file is “in use” even when it’s not open?
Sometimes, the device keeps these apps open in the background and keeps them active in the memory. Therefore, restarting the Mac and turning it into Safe Mode will help you force delete a file. -
3. Is there a way to delete stubborn files using third-party apps?
There are various tools that are apps designed to handle files that Finder cannot delete. They can override permissions, clear system caches, and force delete unwanted files. -
4. Can I delete files from an external drive or USB if they won't go away?
It is possible, but you may need to check the drive's file format, like NTFS, which macOS can't fully write. Also, you need to eject and reconnect the drive and then try deleting it in the Terminal.


