MacBook Camera Not Working? Ultimate Guide 2026
Your MacBook camera can disappoint you when you least expect it, especially with the MacBook camera not working.
FaceTime cameras as in Windows come in-built on the Apple computer top bezel. They are designed to work with other internal Apple components.
However, because of reduced or interrupted communication between various components such as the motherboard, MacOS, etc., the integrated camera fails.
Therefore, this article will discuss camera issues in four parts.
Part 1. Why Is MacBook Camera Not Working?
The ability to have face to face conversations and take photos without your iPhone has made Apple’s webcams very popular. The Apple company refers to them as FaceTime Cameras.
When you find your MacBook Pro camera not working, the chances are that it is a software-related issue. When MacBook camera malfunctions, it doesn’t come about progressively, so there is no way to know when it’ll stop working altogether.
However, the MacOS usually displays an error message when your camera is not working.

Some of the reasons why your laptop camera is not working may include but are not limited to:
- Internet connection
- Software malfunction
- Corrupted settings
- Incompatible with updates
- Wear and tear
- Physical damage
- Camera settings
Internet connection
As you all know, the Internet is the most fundamental medium of communication any time you find yourself to turn on the camera on Mac for a video call. The Internet connects the applications that require to use the camera with other users on the other side.
Unfortunately, most of us overlook this aspect. You might forget to check your Internet connectivity because you are in a hurry and at times it is a poor connection.
Software malfunction
What software, the MacOS? Well, no. These are the software apps that use your Mac camera.
The integrated camera can only be used by one application at a time. Therefore, when several applications are on, e.g., Skype or FaceTime app, coordination is disrupted. Therefore, none of the apps can use the camera, which results in an error.
You should realize that the MacBook camera has no dedicated application attached to it, so, any available app that can use it takes control.
Corrupted settings
Anything that corrupts is not a safe entity. Viruses are usually the number one culprit. But what are the viruses and how do they get into your system?
A virus is a malicious code designed to disrupt software or destruction of data. So even though MacBook computers are quite secure, it doesn’t mean they are entirely immune to virus attacks.
Therefore, you need to install a trustworthy anti-virus and scan your system regularly.
Incompatible updates
Update to the MacOS keeps it more secure and offers a much more seamless user experience. However, it doesn’t mean that they are going to play well with other apps.
It is so since specific updates can change the general operation of your macOS and disrupt the communication between software that uses the camera and the OS. It is more common with users that have their systems set to automatic updates.
Wear and tear
It refers to the aging process of your integrated camera. In case you are wondering how a built-in camera can wear out, you’re in the right place.
Your Mac camera has components that make it work. These components are exposed to elements such as dust and humidity. Furthermore, they require electricity to operate. Therefore, constant exposure to these entities wears down the camera.
Dust accumulation over time often contributes to a blockage of contacts on the tiny wires. Humidity and electricity can cause short-circuit of small components.
Physical damage
Physical damage to Mac cameras is more familiar with laptops. The portability of a MacBook makes it vulnerable to accidents. Most of the time, your camera gets hit by an object when you list expect it.
Furthermore, the MacBook can accidentally take a fall. In such cases, it’s difficult to tell what components have suffered from the fall, primarily if internal. In such cases, the only remedy is to replace your camera.
Camera settings
Apple has provided no dedicated application for its FaceTime camera. Instead, applications that require its use take charge by their settings.
The settings on these applications may not play well with the macOS. Also, different apps have different settings. Therefore, some applications may not even work.
It means when the OS gives a camera error message on your Mac, it doesn’t necessarily mean the camera has an issue. It could just as well be the software using it. You can, therefore, try different apps to ensure.
Part 2. How to Connect and Turn on the Camera on Mac
Your Mac computer comes with its integrated camera. However, you might want to make use of a webcam camera for various reasons such as High definition recording and better sound capturing.
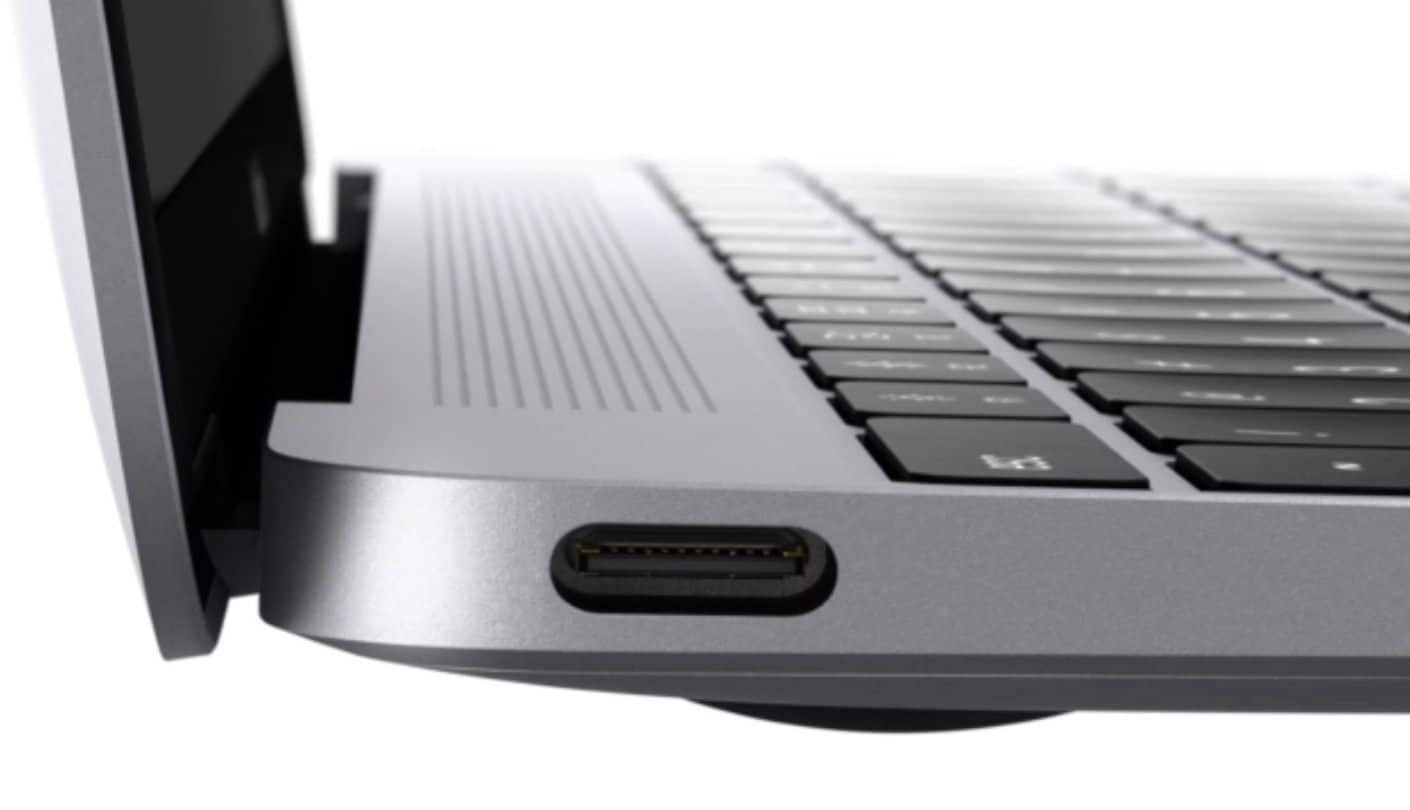
1. How to Connect Camera on Mac
- Check if your camera comes with a connection port on its side.
- Ensure there is a cable for connecting, and it should match the USB port on your Mac.
- Connect the camera to your MacBook using the cable.
- Ensure you use the Type-C port to facilitate two-way communication.
Once connected, your camera should be immediately detected and ready for use by any available app.
2. How to Turn on Camera on Mac
When it comes to turning on the camera on your Mac, there is no on and off switch. Neither is there a software dedicated to operating the camera.
With Mac Computers, application software such as Photo Booth, the FaceTime app, and Skype each have settings that control the camera. With Skype, go to:
- On the top left is the Skype tab. Click on it.
- Click on preferences on the Skype menu.
- Under preferences, click on the video option.

- Mark the checkbox ‘Enable Skype Video.’
Therefore, once you launch these applications, your camera should automatically turn on and at that moment, it’s in use by that particular software.
To turn on Camera using Facetime, Skype or Photobooth:
- Go to Applications > Utilities.
- Click on the app icon you want to use.
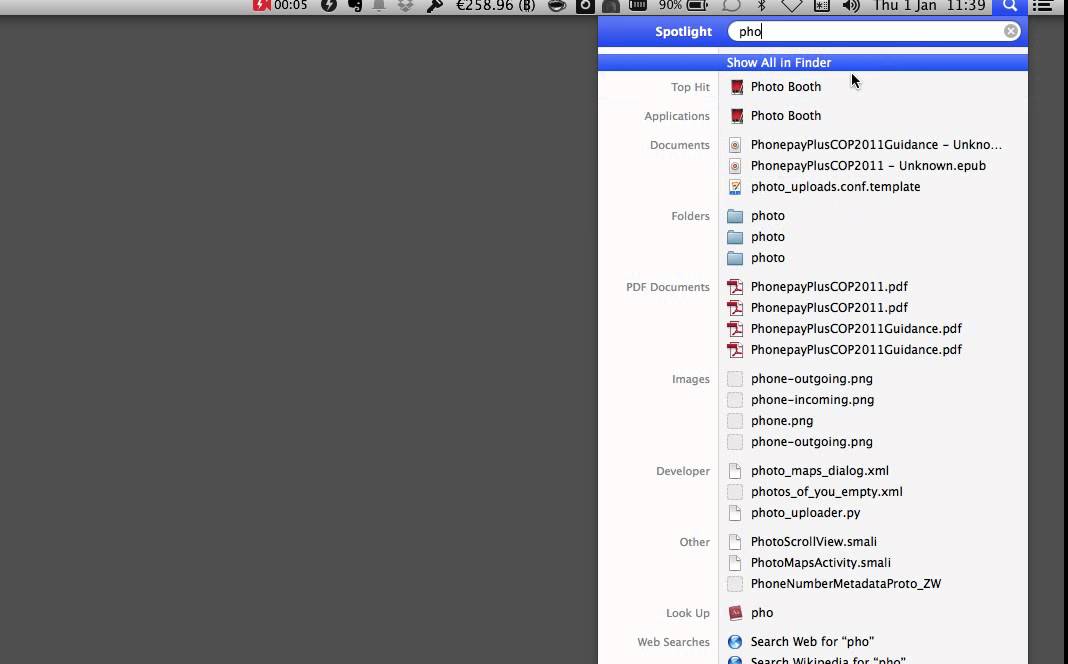
You can also use Spotlight to get to your application by typing its name.
Part 3. How to Fix MacBook Camera Not Working
Now for all the Mac users whose iMac camera is not working, this section is essential.
1. Restart the camera app
Restarting any camera app requires you to close it relaunch it.
Doing so gives it the chance to load up the settings anew, this time doing so correctly.
However, for some reason, your app may refuse to close.
When this happens, you’ll have to force quit the app.
2. Force quit the camera app
This option is for stubborn apps that refuse to close. It allows the application to start again with newly loaded configurations. To do so, follow the steps below:
- Go to the Apple icon at the top left.
- Select the ‘Force Quit apps’ option.
- On the window that appears, select a camera application.
- Click on the ‘Force Quit button at the bottom right.

To be sure, you can kill any other app that you may not know of, that might be using the camera. You will eventually force quit all applications.
It can be quickly done from the terminal using the following steps:
- Launch the terminal either from the utility folder or using the Spotlight app.

- Type the command ‘sudo killall VDCAssistant.’ The VDCAssistant is a process launched whenever an app tries to use your integrated camera. Therefore, when this process fails, that’s when you realize your laptop camera is not working.

- On the password prompt, enter your password. It is the same password you used to log in on your MacBook.
- No output should come up which means all applications should be closed.
If the terminal process sounds complex to you, you can make use of the Activity monitor.
- First of all, from the Spotlight app, type Activity Monitor.
- Click on the icon that comes up to launch it.
- Select the CPU tab at the top. Here you will see many processes in action.
- On the top right on the search box, type VDC. The VDCAssistant process will be isolated on the monitor.
- Select the process.
- On the top left is an ‘X’ icon (not the red dot). Click on it to end the process.

3. Restart your MacBook
Any processes using the camera in the background will terminate by a restart of your MacBook. There are three ways of doing so:
- By clicking on the Apple icon and choosing restart on its menu.

- By pressing the Power button and on the dialog box that appears, click on ‘Restart.’
- By simultaneously pressing Control + Command + Eject/Power button, which is the most reliable as it’s not dependent on the OS.
Once the computer is on, launch a camera app to see if it will still bring up an error.
4. Reboot MacBook in Safe Mode
Rebooting Mac in safe mode guarantees there will be no disruptions with the OS operations. But what is safe mode? Sometimes referred to as safe boot, allows your MacBook to perform certain software checks such as:
- Preventing startup apps from opening automatically.
- Verifies your MacBook startup disk and repair directory issues where possible.
- Fonts get disabled, specifically user-installed ones.
- The kernel cache and other system cache files get deleted.
- Only required kernel extensions are loaded.
So, how can you start up your MacBook in safe mode?
- Restart your MacBook, then immediately press and hold down the shift key. The Apple logo should appear.
- Release the shift key when the login window appears.

In the safe mode, if no issue arises, it means the problem was due to either a cache or directory issue.
But how do you know you are in safe mode?
- Go to system information.
- Click on the software tab an on the right panel find the Boot Mode. It should be labeled ‘safe’.

Part 4. How to Fix Camera Apps Not Working on Mac
Camera apps available on the MacBook include FaceTime app, Skype, and Photo Booth. These apps connect with the integrated camera and use the Internet for communication. Unfortunately, they can stop working for one reason or the other. Therefore, let’s take a look into how to fix each one.
1. FaceTime Camera Not Working
FaceTime is Apple’s app that you can use for video calling. So, how can you troubleshoot FaceTime not working on your MacBook?
- Try quitting facetime then restart it.
- Check your Internet connection
- Go to the Apple menu.
- Select Preferences.
- Click on ‘Network control panel and check if your Mac is connected to your Wi-Fi.
- Inspect to see if your macOS is up to date. Apple could have changed settings on the service that requires you to perform an update before enjoying the service. Therefore, to check on updates.
- Go to settings.
- Click on the General tab.
- Check on Software Update.
- The FaceTime app could be switched off.
- Go to settings and check on its status.
- Switch it on if it was off.
- Check on FaceTime set-up
- Click on FaceTime on the top menu bar.
- Go to preferences
- Next to ‘Start new calls from’ is a drop-down menu. Click on it.
Ensure the email address and phone number are correct.
2. Skype Camera Not Working
Solutions for Skype not working include:
- Restarting your MacBook
- Go to the Apple logo.
- On the drop-down menu, select Restart.
- Also, you can use the shortcut keys Control + Command + Eject/Power button to restart.
- Check on your Internet connectivity. We have already explained the process of connecting to Wi-Fi above. However, if you are using an Ethernet cable here are the steps:
- Check on your MacBook RJ45 port and try fixing it securely.
- Check on the router’s side if the cable is well secured.
- Inspect your ethernet cable for physical damage.
- Reinstalling Skype. To do so, you first must uninstall Skype completely, then install it again. It will give you the latest version of Skype.
- Go to Skype on the top menu bar.
- Select Quit Skype.
- Find Skype under the applications folder and drag and drop to the trash.
- Go to the preferences folder and move ‘com.skype.skype.plist’ to the trash.
- Open Finder. Type Skype. Delete all results that come up.
- Now empty the trash.
- Restart your Mac.
- Testing your camera
- Click on Skype on the top left of the menu bar.
- Go to preferences
- Under the audio/video, select your webcam.
3. Photo Booth Camera Not Working
- Check your Internet connection, as described above.
- Make sure your operating system is up to date.
- Lastly, reinstall Photo Booth by using the macOS DVD that came with it.
Conclusion
The integrated camera has been designed to be convenient for you when you need to do a video chat. However, some are not aware of how to enable the camera on Mac while some others wonder how to turn on the camera on Mac.
Well, you should realize that Apple made no extra control features for the webcam. It is designed to work with all camera apps such as the FaceTime app, Skype, and Photo Booth. Unfortunately, these very same applications cause inconveniences, and you face my camera isn’t working problem.
Many issues like Mac camera settings, there is no connected camera that leads to the failure of the camera. Hence, we tried to outline various methods you or anybody else can use in troubleshooting. Finally, we recommend that you share this article with your friends and relatives alike. Spread the word that MacBook cameras are not a failure.
What If Find Photos Lost on Mac?
What's Wrong with Mac
- Recover Your Mac
- Fix Your Mac
- Delete Your Mac
- Learn Mac Hacks


 ChatGPT
 Perplexity
 Google AI Mode
 Grok
Grok


Sue Wayne
staff Editor