
Jun 03, 2026 • Filed to: Solve Mac Problems • Proven solutions
With the introduction of the macOS 10.13 High Sierra, we have seen a major update in Mac's file system. It has replaced the existing HFS/HFS+ with a new and advanced Apple File System (APFS). Since APFS creates a container for the logical drives, it is of vital importance to know how to alter it. For instance, users might wish to resize APFS containers to optimize Mac file storage. In this post, we will help you do the same in a hassle-free way.
In this page
Overview of Apple File System on macOS High Sierra
The Apple File System (APFS) has been included in Mac with the release of High Sierra. Though, it is also compatible with iOS devices, tvOS, and watchOS as well. It has replaced the age-old HFS file system that has been supporting Apple devices for decades. The new file system makes everyday tasks faster and smoother. Additionally, it has an advanced encryption technology. Here are some of its other features.
- Since APFS maintains a real-time clone of the files, tasks like copying and editing has become faster and smoother.
- The file system also supports the encryption of an entire drive, providing an added layer of security. Not just a single key, it also supports multiple-key encryption as well.
- Also, since APFS supports 64-bit inode numbers, it can provide a more secure file storage technique when compared to HFS 32-bit ids.
- Now, with APFS, users can also create a maximum number of 9 quintillion files on one volume.
- It also leads to better data integrity and security.
- With the provision of space sharing, multiple users can access the same volume and have a logical bifurcation.
- Users can also create point-in-time (read-only) instances for a seamless backup of their data.
- It also has a crash-prevention feature with its safe-save technique to avoid any unforeseen situation.
2026 Technical Update: Do You Really Need to Resize?
Unlike the old HFS+ system, APFS features Space Sharing. This means multiple volumes (e.g., "Work" and "Personal") can exist within a single container and "share" the same pool of free space. You do not need to resize a container to give more space to a specific volume; it will automatically grow as needed. You only need to resize the APFS container if you are trying to shrink it to make room for a separate non-APFS partition (like Windows via Boot Camp) or an external backup partition.

You can simply go to Apple's website and update your macOS to High Sierra. This will automatically convert your file system to APFS. Now when you know the basics of the file system, let's learn how to resize the APFS container in the next section.
| Method | Complexity | Best Use Case |
| Disk Utility (GUI) | Low | Adding/Deleting Volumes within a container. |
| Terminal (diskutil) | High | Precise resizing of the physical container size. |
| Recovery Mode | Moderate | Resizing the primary "Startup" disk container safely. |
Part 2. How to Resize Your APFS Container
As you know, APFS maintains a container for other drives and provides a logical bifurcation of the space. Therefore, to make the most of your Mac storage, you need to resize the APFS container. Since it is a newer file system, you would have to take the assistance of Terminal (instead of Disk Utility) to resize APFS container. It can be achieved by following these steps:
Firstly, you need to launch a Terminal on your system. To do this, simply go to Utilities and launch the Terminal interface on the screen.

Now, to view the disk for APFS container, you need to run the command "diskutil list". This will provide a list of all the connected disks (internal and external).
From here, you need to note the identifier for the APFS container and the container scheme (that is, where APFS resides). Kindly note the identifier as it will be needed in the next commands. You can view from the screenshot that our container's identifier is disk 1 and it is residing at disk0s2.

Now, to resize the APFS container, you might be required to shrink the partition beforehand. This is done by reducing the size of the partition. To do this, we will use the "resizeContainer" command and write the name of the disk identifier where APFS resides. For instance, if we need to resize a 1 TB APFS to 750 GB, then we will give a command like "sudo diskutil apfs resizeContainer disk0s2 750g jhfs+ Extra 250g".
| Action | Command Template |
| Check Disk IDs | diskutil list |
| Shrink Container | sudo diskutil apfs resizeContainer [ID] [Size] |
| Expand to Max | sudo diskutil apfs resizeContainer [ID] 0 |
| Reclaim Free Space | diskutil eraseVolume "Free Space" %noformat% /dev/[ID] |
This will shrink the APFS container to 750 GB, which was originally of 1 TB. So what will happen to the remaining space? The 250 GB will be allocated as a free space to the HFS+ partition. Now, you can simply provide the "sudo" ad "diskutil" command to complete the process. It will be similar to something like "sudo diskutil apfs resizeContainer disk0s2 750g jhfs+ Media 0b". You will get something like this as an output for the command.

You can also reclaim space by giving the command "sudo diskutil ease volume "Free Space" %noformat% /dev/disk0s3" to resize the APFS container. Later, you can give a command like "diskutil apfs resizeContainer disk0s2 0" to make it work.
It might seem a little complicated in the beginning, but you can easily resize the APFS container by following these simple steps. If you are unsure, then you can also wait for a while for the Disk Utility tool to support various operations related to APFS containers. In this way, you would be able to resize the APFS container without facing any unwanted setback.
By the way, if unfortunately, you lost data when resizing the APFS container, don't worry. Recoverit Mac Data Recovery is a tool that can aid you in getting lost files back. Get the steps on restoring data from MacBook Air.
Part 3: How to Recover MacBook Air with Data Recovery Tool
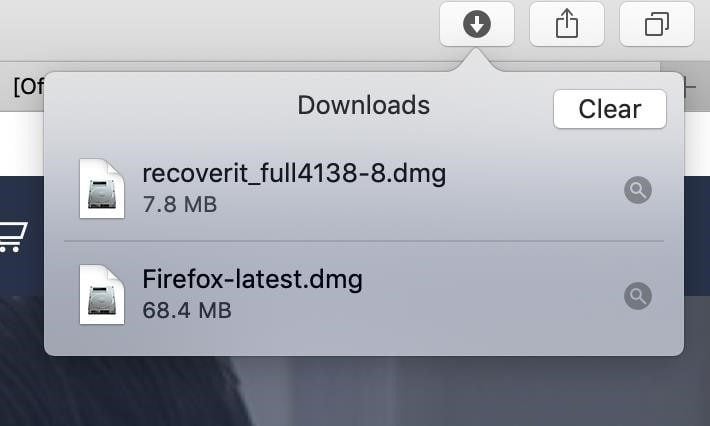
Step 1: Download and Install Wondershare Recoverit for Mac
After downloading Recoverit for Mac, click “recoverit_full4138.dmg" to install the software on your Mac.
Step 2: Select a device
To recover data from Mac computer, please select a drive under the "Hard Disk Devices" tab or "Desktop" under the "Select location" tab. If you know the exact file path of your lost data, you can also choose "Select Folder" under the "Quick Access" tab.

Step 3: Scan the location
Recoverit will start an all-around scan. With the advanced scanning and searching algorithm, all your lost, deleted or formatted data can be found. You can pause or stop the scanning process if you find your data at any time.

Step 4: Preview and Recover Files
Recoverit allows users to preview the recoverable files before proceeding to the recovery step. If you are premium users, you can preview files with no limits. If you utilize the free version, you can still get a 10-second preview. You can select the targeted files and click the "Recover" button to retrieve your files.

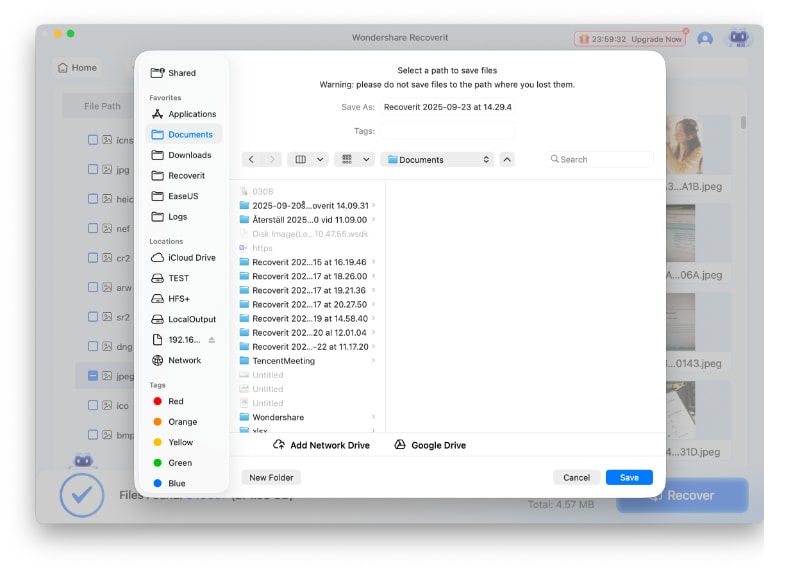
Step 5: Recover and save Mac files
After reviewing the files and confirming they are what you want, you can now get them all back using Recoverit. Directly hit on the "Recover" button to retrieve your lost data back and choose a path to save the recovered files. Please do not save the files on the hard disk where you deleted or lost the data before to prevent the overwriting of data.
macOS Container Resizing FAQ
-
Can I resize my Startup Disk container?
Yes. However, it is much safer to perform this action from macOS Recovery Mode Terminal. This ensures the APFS container is not "in use" by the active operating system, preventing potential mount errors. -
Will resizing delete my data?
Shrinking a container is generally non-destructive if there is sufficient free space. However, any interruption (such as power loss) during the process can cause file system corruption. If a resize operation fails and data becomes inaccessible, use Wondershare Recoverit to scan and restore your files. -
What is the '0' at the end of the command?
Indiskutilcommands, using '0' as the size parameter is a shortcut that tells macOS to expand the container to fill all available contiguous free space on the physical drive automatically.
What's Wrong with Mac
- Recover Your Mac
- Recover your data for free.
- What is New in MacOS 13 Ventura?
- Back Up Macbook Before Upgrade
- How to Downgrade MacOS System
- Files overwritten? Recover it.
- Top 5 Mac recovery tools.
- Get USB drive files on Mac.
- Recover a formatted SD card.
- Fix Your Mac
- Mac won't turn on? Solved.
- Know and fix kernel panic.
- You installed macOS anyway.
- Force quit Mac to fix issues.
- Make frozen Mac responsive.
- Delete Your Mac
- Delete files and folders.
- Do Ctrl Alt Delete on Mac.
- Format USB to FAT32.
- What's Other on Mac?
- 3 ways to format your Mac.
- Learn Mac Hacks


Sue Wayne
staff Editor